《Struts2.x权威指南》学习笔记1
第2章 Struts的hello world
在介绍hello world项目前,文中要求下载和安装Struts2,主要是下载lib库和文档,可用于通过命令行进行代码编译。由于公司采用IntelliJ进行java项目开发,我在学习中也想直接利用IntelliJ+Maven,因此不需下载,而是通过在pom.xml中加入struts包的形式,来完成对struts的依赖。
在IntelliJ+Maven+Struts环境新建项目,步骤如下,可参考链接:http://my.oschina.net/u/188924/blog/486614
在idea里搭建maven项目
看着网上大神发的各种博客,然后自己搭建出来一个最简单的maven-strtus2项目,供初学者学习
-
新建project
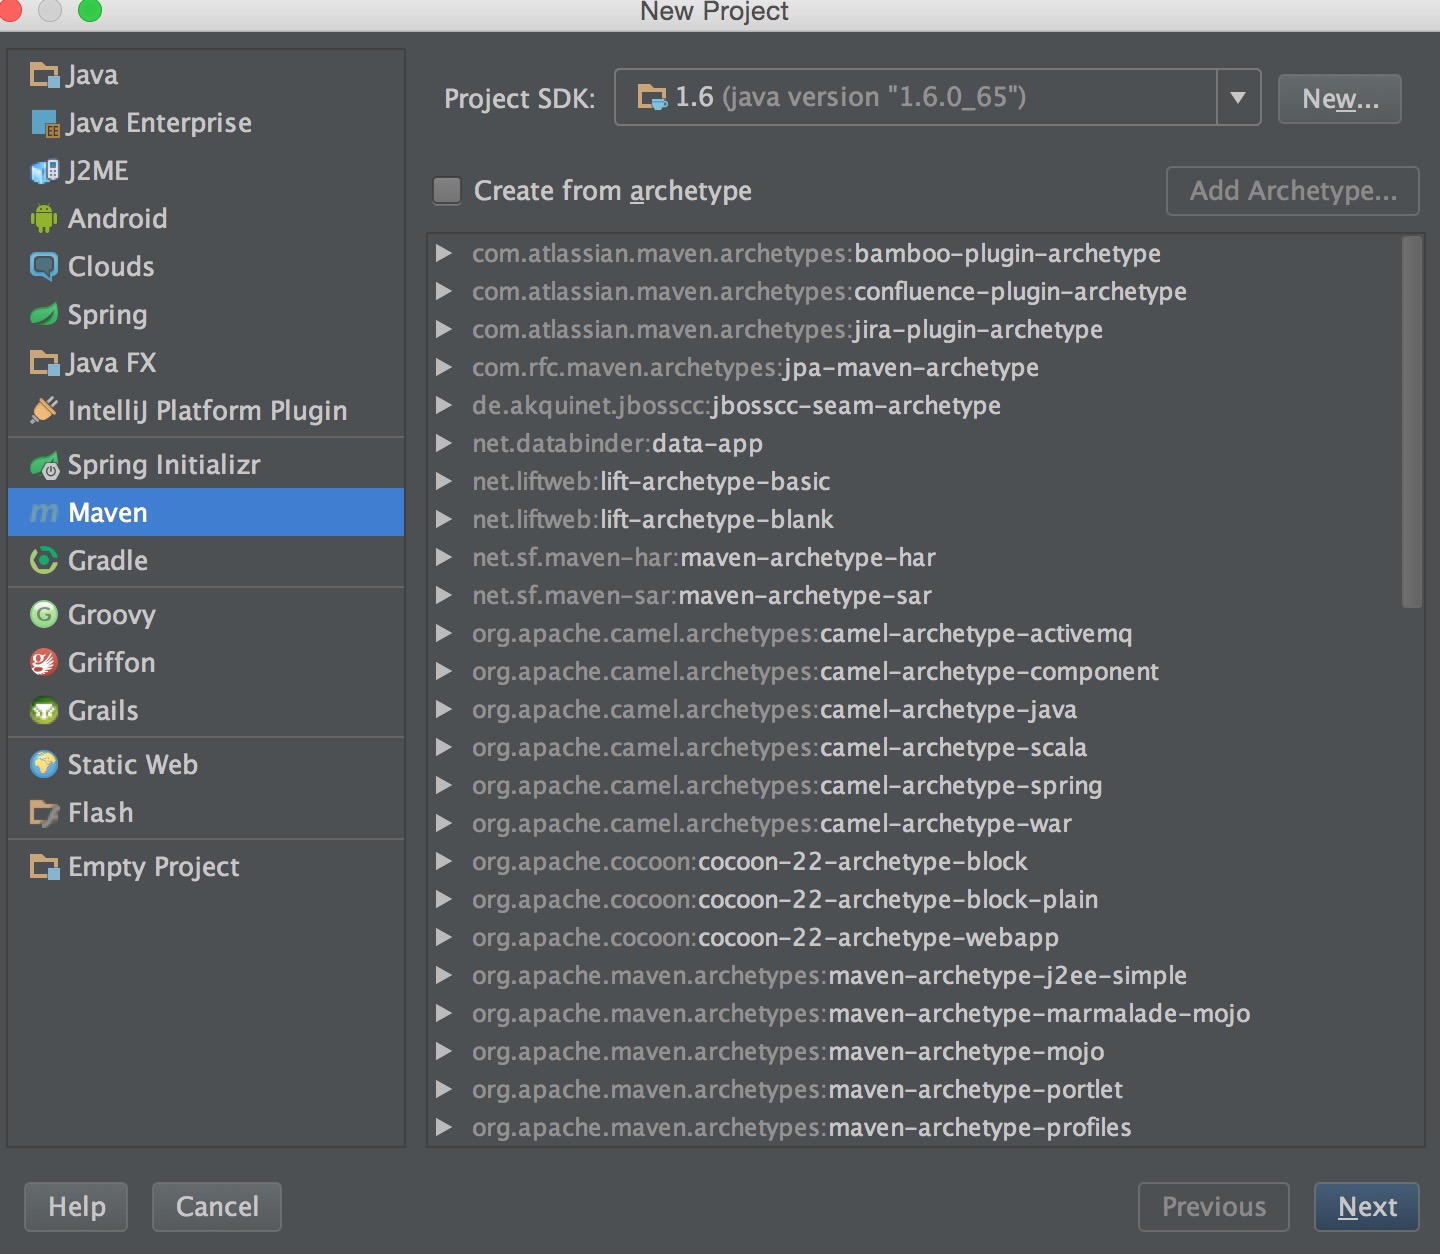
下一步 填写groupId、ArtifactId,项目名,finish
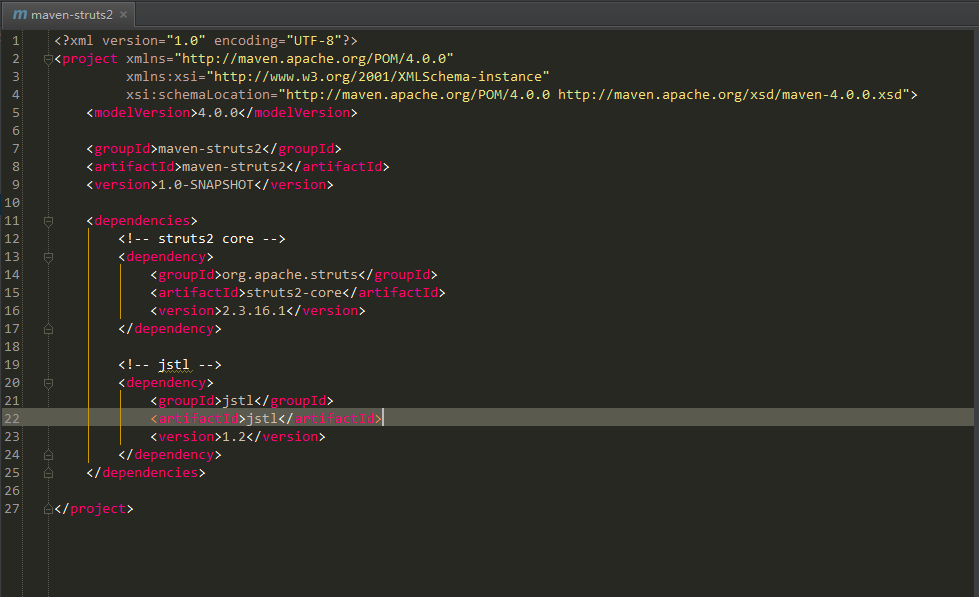
2.idea里的jar包管理都是通过pom.xml来实现的,下面就开始配置pom.xml文件,来给项目加上struts2的jar包
-
很多人会对pom.xml里的依赖配置迷惑,给大家推荐一个网站,里面有各种jar的依赖配置 http://maven.oschina.net/index.html#nexus-search;quick~struts
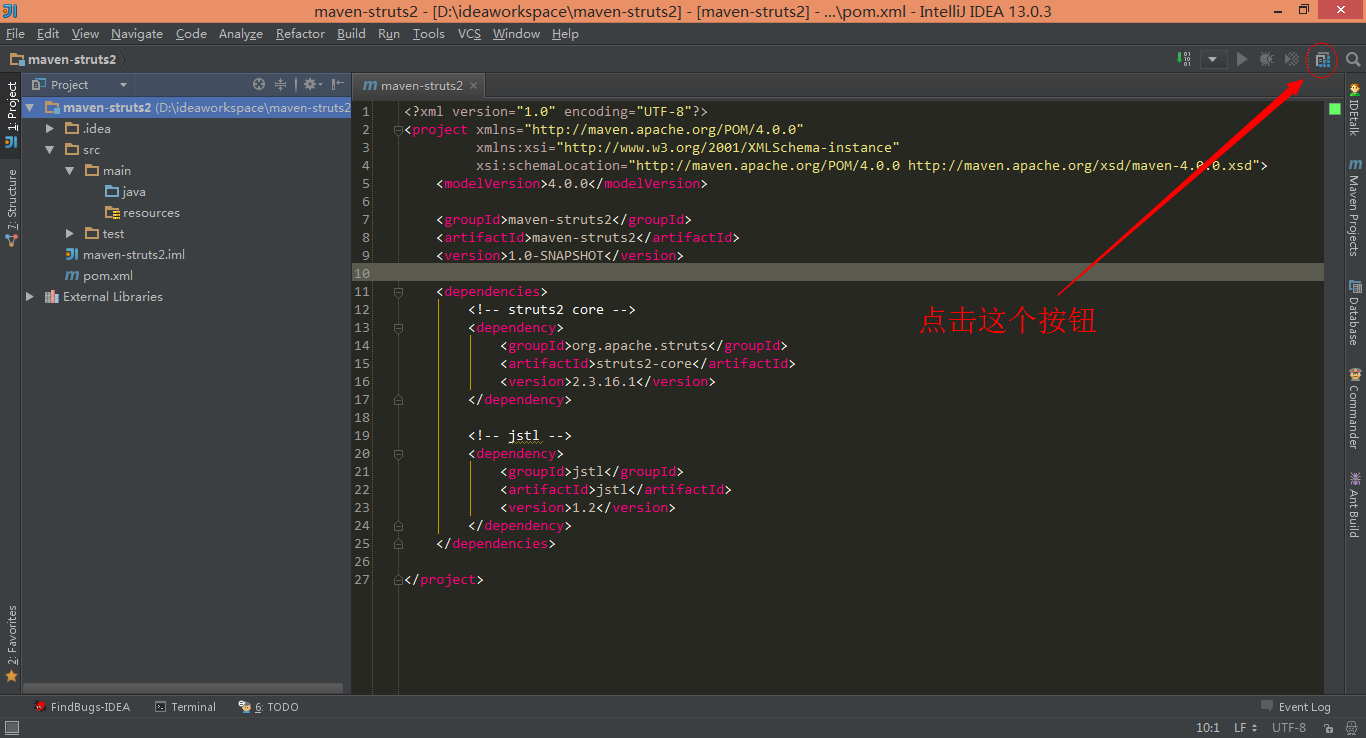
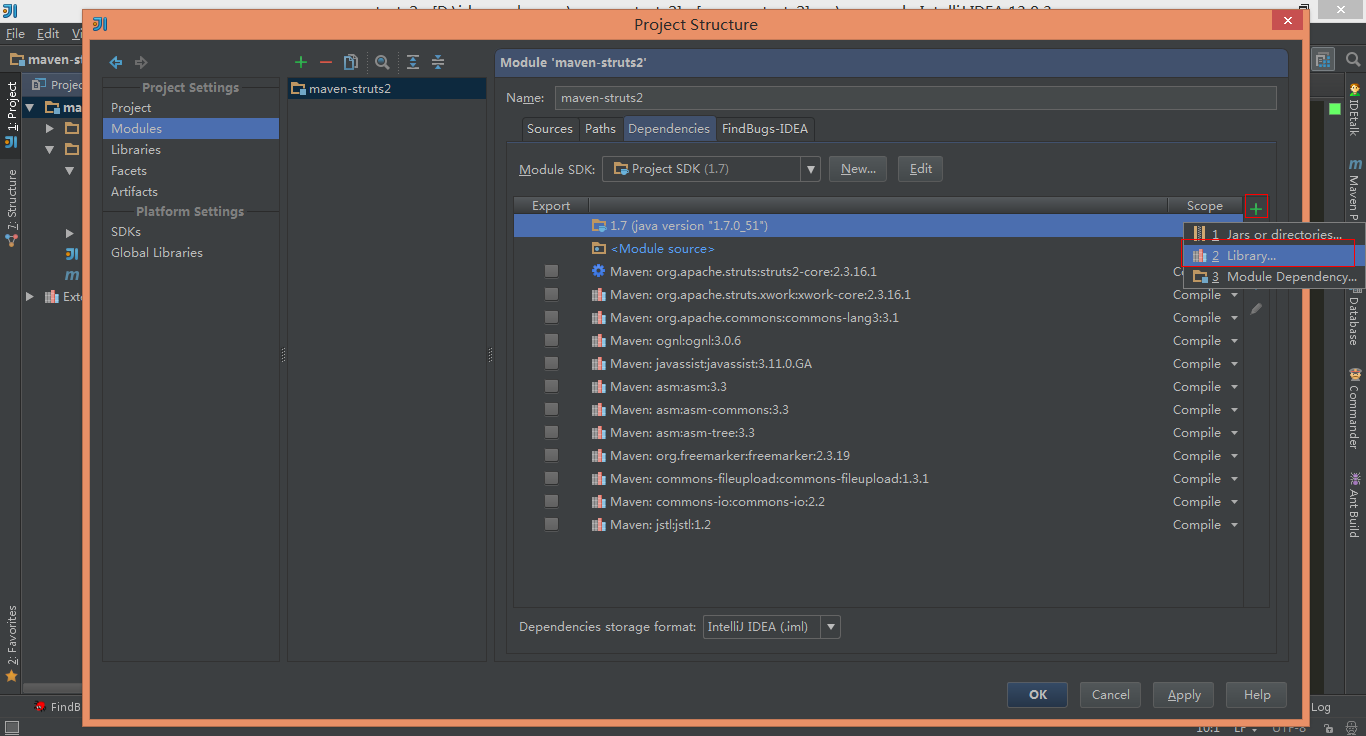
3.将依赖拷贝到pom.xml里保存,idea会自动下载jar文件到你本地安装的maven配置的库里(这里把jstl的包也添加一下)
注意!我一开始依照struts权威指南,除了struts2-core外,还加了跟spring有关的一些依赖,导致项目一直起不来,这里只要加struts2-core就可以。
另外,在<version>下面加一句
<packaging>war</packaging>
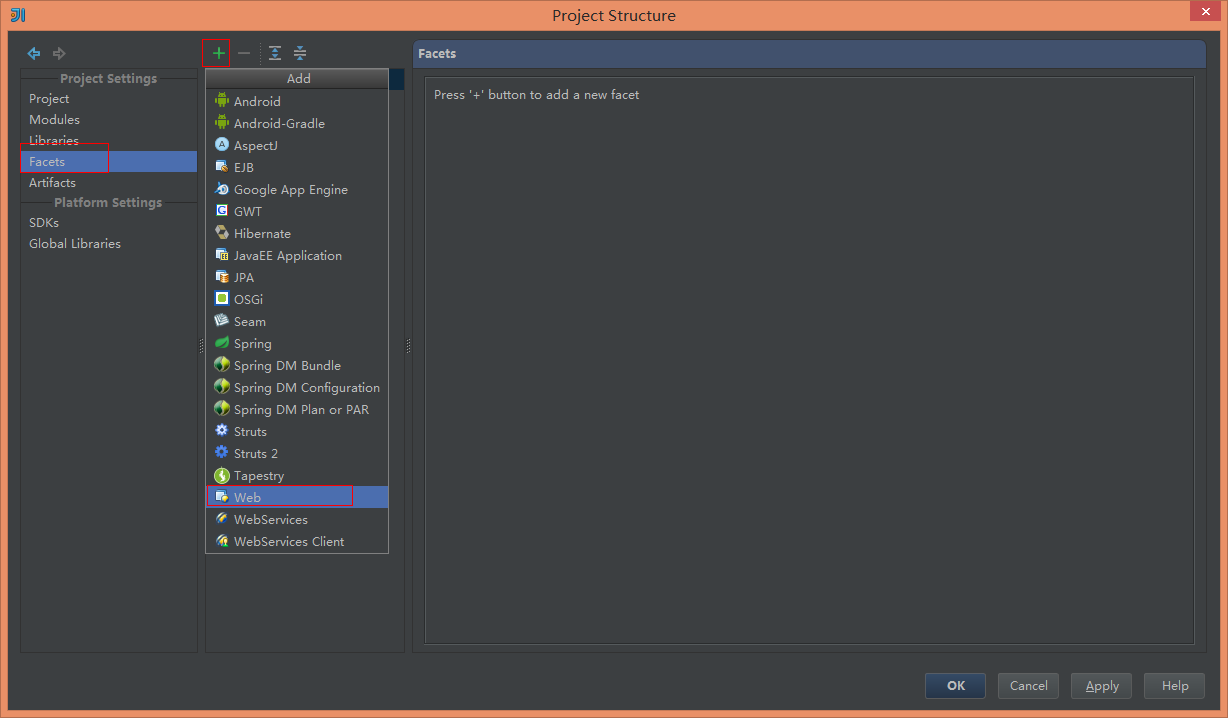
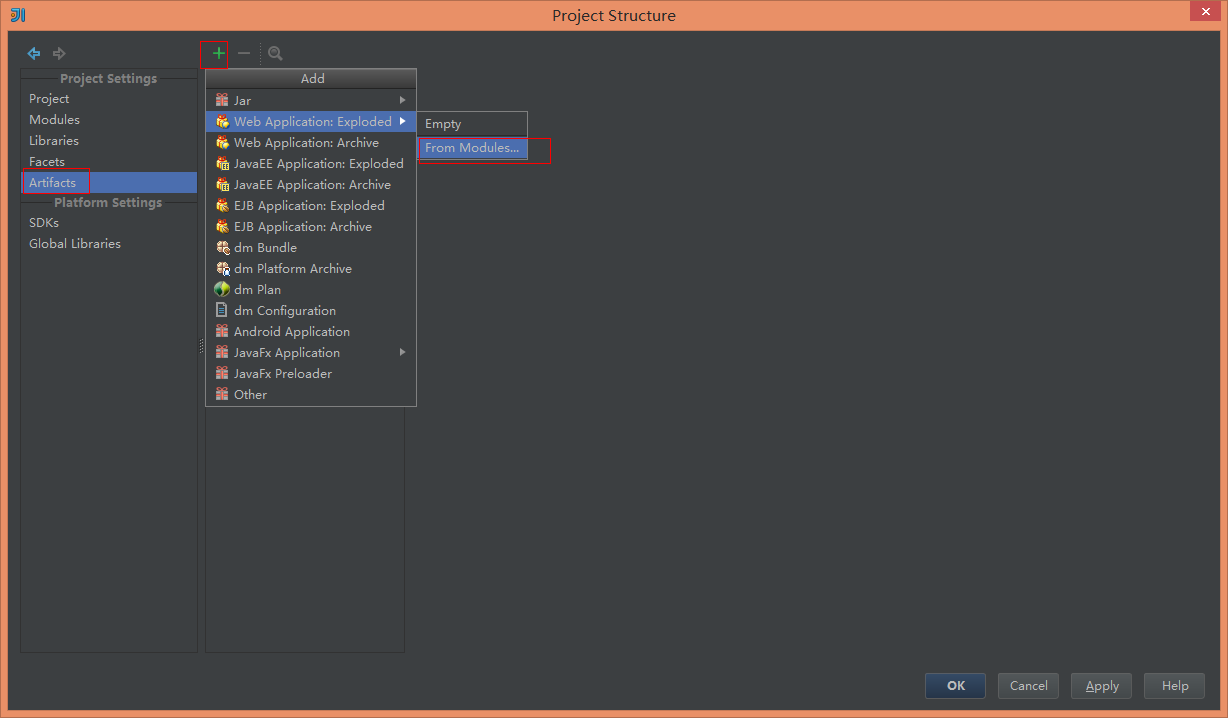
4.开始配置项目的服务器,添加web支持等
将服务器添加上后,在添加web支持
注意!我在添加Web的时候自己无聊把name改成了Webapp,导致tomcat起来了以后不能访问页面!!!所以不要瞎改啊。。。
5.接下来配置web.xml,struts.xml,并添加action包,以及action类,我这就直接贴代码
web.xml
<?xml version="1.0" encoding="UTF-8"?>
<web-app xmlns="http://java.sun.com/xml/ns/javaee"
xmlns:xsi="http://www.w3.org/2001/XMLSchema-instance"
xsi:schemaLocation="http://java.sun.com/xml/ns/javaee
http://java.sun.com/xml/ns/javaee/web-app_2_5.xsd"
version="2.5">
<filter>
<filter-name>struts</filter-name>
<filter-class>org.apache.struts2.dispatcher.ng.filter.StrutsPrepareAndExecuteFilter</filter-class>
</filter>
<filter-mapping>
<filter-name>struts</filter-name>
<url-pattern>/*</url-pattern>
</filter-mapping>
</web-app>
struts.xml
<?xml version="1.0" encoding="UTF-8"?>
<!DOCTYPE struts PUBLIC
"-//Apache Software Foundation//DTD Struts Configuration 2.3//EN"
"http://struts.apache.org/dtds/struts-2.3.dtd">
<struts>
<!-- 支持动态调用 -->
<constant name="struts.enable.DynamicMethodInvocation" value="true"/>
<!-- 设置开发模式 -->
<constant name="struts.devMode" value="true"/>
<package name="front" namespace="/" extends="struts-default">
<action name="user" class="hello.HelloAction">
<result name="success">/index.jsp</result>
</action>
</package>
</struts>
HelloAction.java
package hello;
import com.opensymphony.xwork2.ActionSupport;
import org.apache.struts2.ServletActionContext;
import javax.servlet.http.HttpServletRequest;
/**
* Created by Yang on 14-3-27.
*/
public class HelloAction extends ActionSupport{
HttpServletRequest request = ServletActionContext.getRequest();
public String hello() {
request.setAttribute("hello", "hello world!");
return SUCCESS;
}
}
index.jsp
<%--
Created by IntelliJ IDEA.
User: Yang
Date: 14-3-27
Time: 下午5:16
To change this template use File | Settings | File Templates.
--%>
<%@ page contentType="text/html;charset=UTF-8" language="java" %>
<html>
<head>
<title></title>
</head>
<body>
this is a jsp page.
<br> ${hello}
</body>
</html>
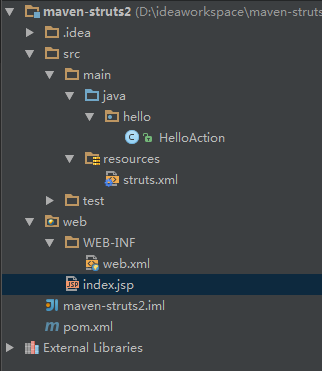
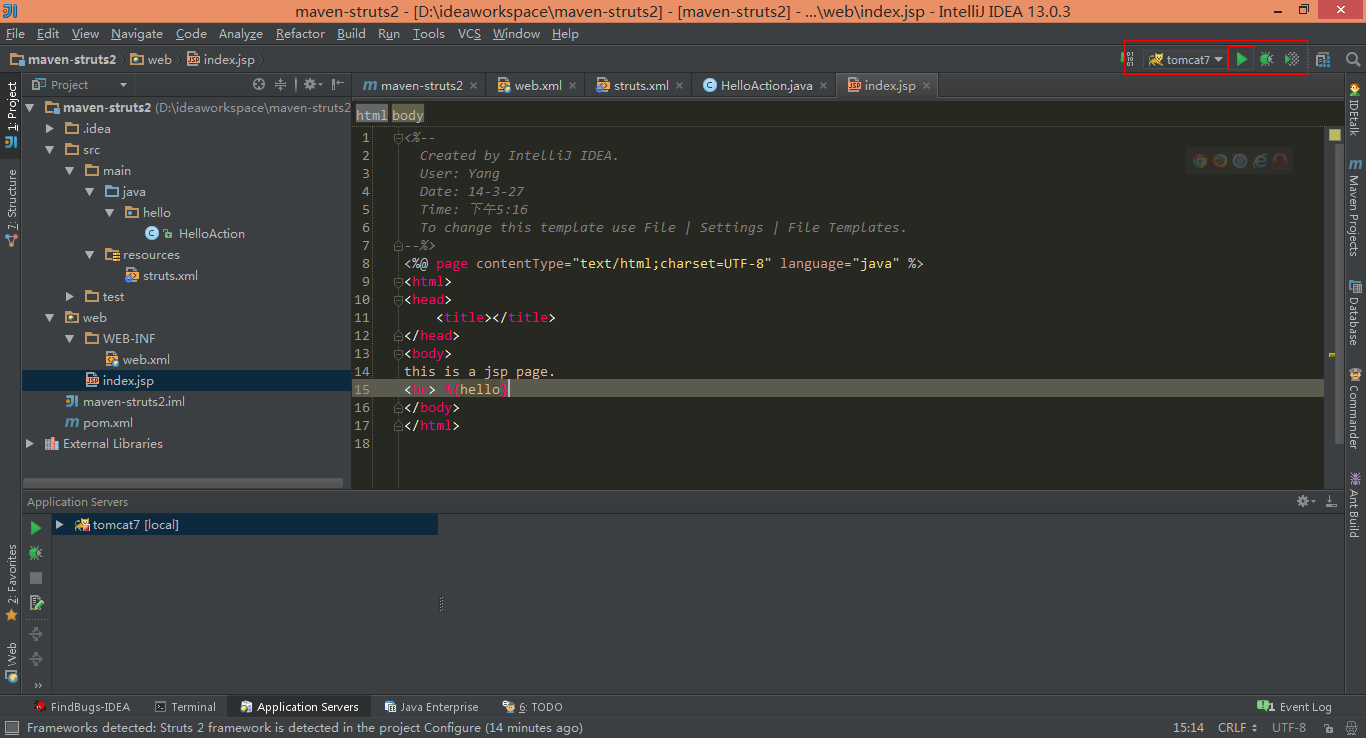
下面是项目的目录树:
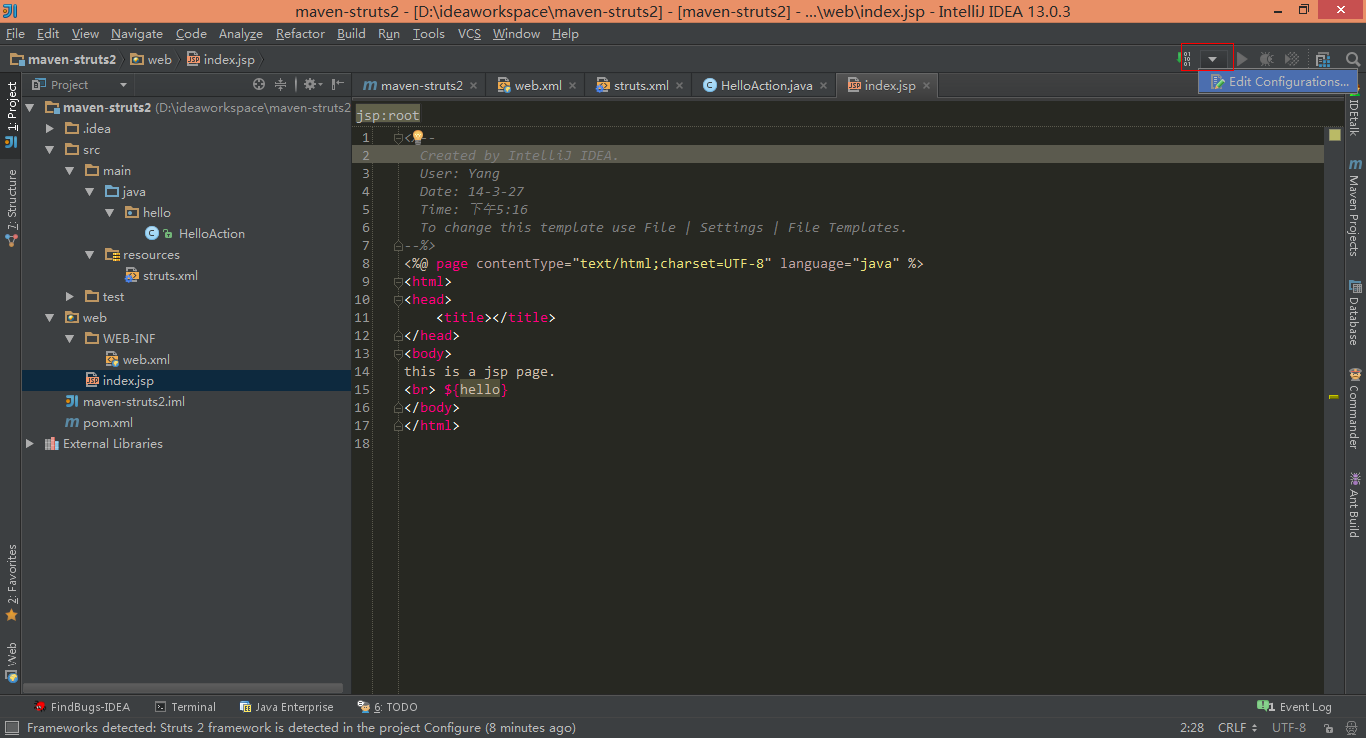
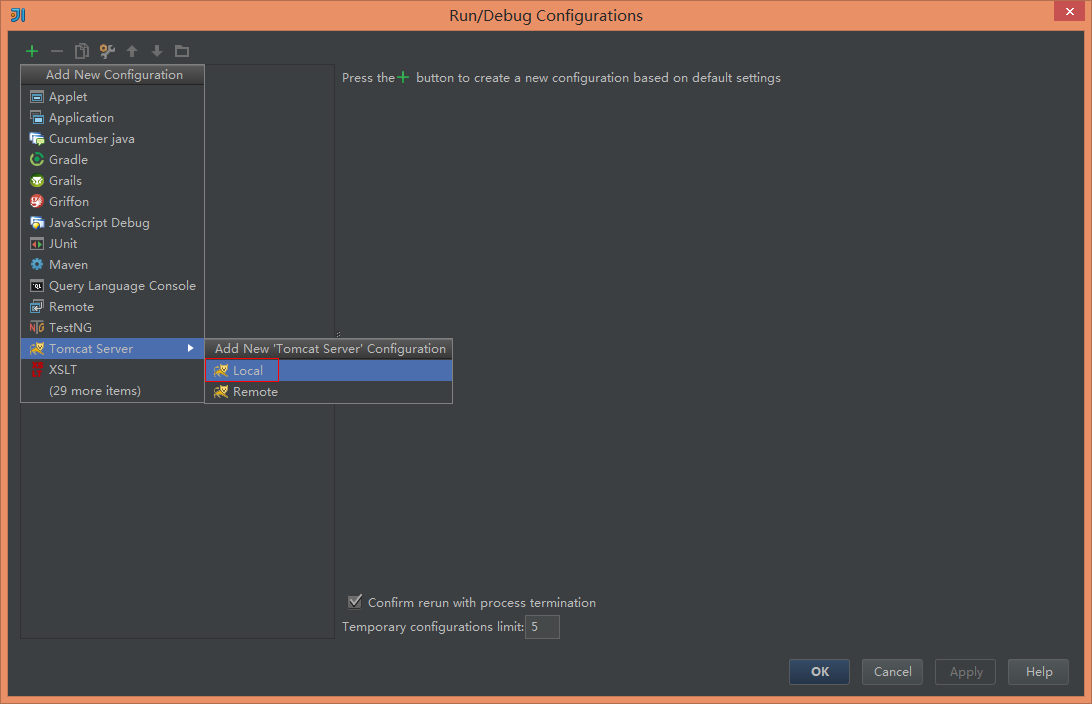
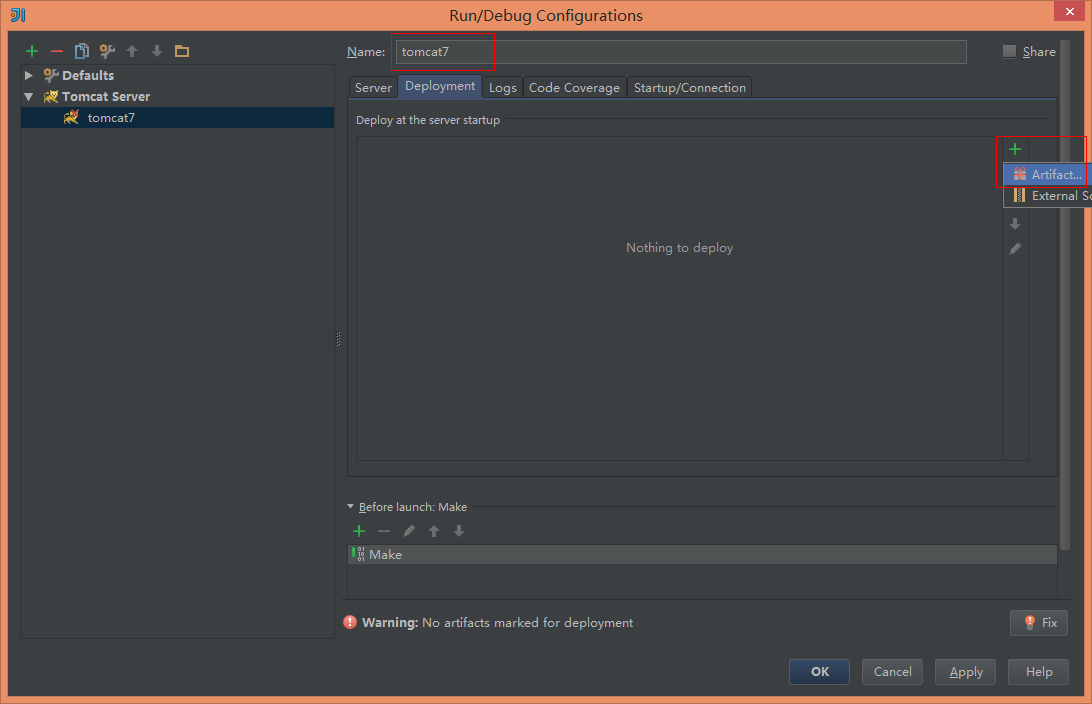
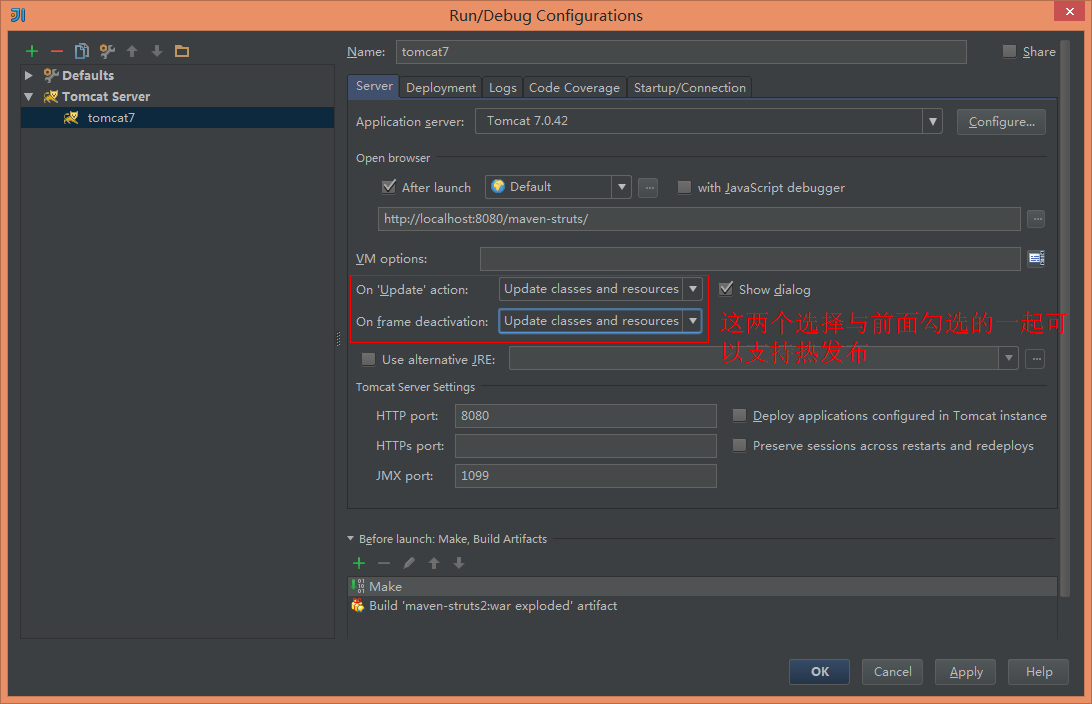
6.下面配置tomcat服务器
没有配置tomcat的需要先配置一个tomcat,配置方法就不发了,直接发布项目吧
ok,这样项目就配置到对应的服务器了,现在只需要启动服务器等待就可以了
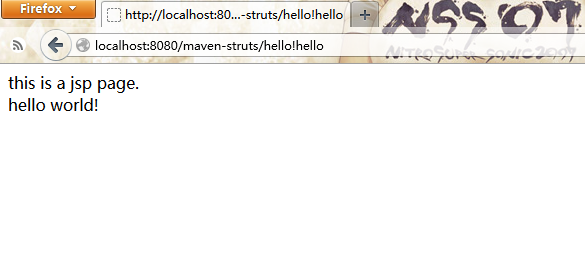
7.在浏览器里输入http://localhost:8080/maven-struts/hello!hello
访问的结果如图:大功告成


