实现自己的一个springboot-starter
前言
使用springboot开发项目简单迅速,学习sprinboot原理,先明白springboot基本原理,自己动手写一个springboot的简单启动类,了解properties文件中的配置被什么地方使用,如何使用,配置文件又是如何改变springboot启动类的。
原理
- 使用@ConfigurationProperties注解绑定配置文件与配置属性
- 使用@Configuration与@Bean生成Bean对象注入spring容器中
步骤
一、创建springboot项目
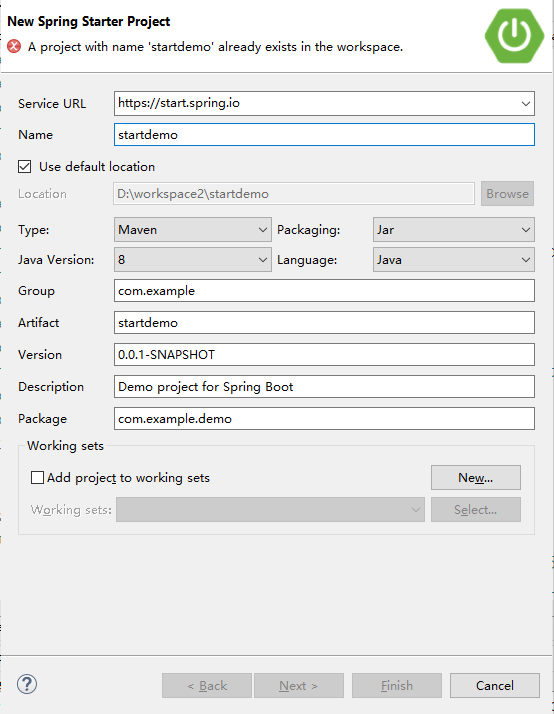
二、创建配置属性类DemoProperties
使用@ConfigurationProperties绑定前缀为demo的配置,例如 demo.name,demo.password
 1 @ConfigurationProperties(prefix = "demo")
 2 public class DemoProperties {
 3     private String name;
 4     private String password;
 5
 6     public String getName() {
 7         return name;
 8     }
 9
10     public void setName(String name) {
11         this.name = name;
12     }
13
14     public String getPassword() {
15         return password;
16     }
17
18     public void setPassword(String password) {
19         this.password = password;
20     }
21
22 }
三、创建一个service类DemoService用于实现starter的基本功能
在创建service时使用构造方法将配置信息传入对象
 1 public class DemoService {
 2     public String name;
 3     public String password;
 4
 5     public DemoService(String name, String password) {
 6         super();
 7         this.name = name;
 8         this.password = password;
 9     }
10
11     public void login() {
12         System.out.println(name + "使用密码" + password + "登录");
13     }
14 }
四、创建一个Configuration配置类,向spring容器中注入对象
@EnableConfigurationProperties注解的作用是:使使用 @ConfigurationProperties 注解的类生效。
@ConditionalOnProperty(prefix = "demo", name = "flag", havingValue = "true"),生效条件,配置文件中demo.flag = true 时才生效,除此之外的条件性注解还有@ConditionalOnBean
@ConditionalOnClass等
@Configuration
@EnableConfigurationProperties(DemoProperties.class)
@ConditionalOnProperty(prefix = "demo", name = "flag", havingValue = "true")
public class DemoConfiguration {
    @Autowired
    DemoProperties demoProperties;

    @Bean
    public DemoService demoService() {
        return new DemoService(demoProperties.getName(), demoProperties.getPassword());
    }
}
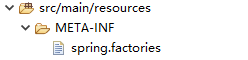
五、创建spring.factories文件
创建META-INF文件夹,创建spring.factories文件
#-------starter自动装配时使用的Configuration类路径---------
org.springframework.boot.autoconfigure.EnableAutoConfiguration=com.example.demo.config.DemoConfiguration
六、测试
- 使用maven install 将改项目打成jar包存入本地maven仓库
- 新项目中引入maven依赖
<dependency> <groupId>com.example</groupId> <artifactId>startdemo</artifactId> <version>0.0.1-SNAPSHOT</version> </dependency> - 配置文件(yml格式配置文件)
demo:
  flag: true
  name: 张三
  password: zhangshan
- 测试类
@Controller
public class DemoTest {
    @Autowired
    DemoService demoService;

    @RequestMapping(value = "/test")
    @ResponseBody
    public void test() {
        demoService.login();
    }
}
- 运行结果
张三使用密码zhangshan登录

 浙公网安备 33010602011771号