C#仿QQ皮肤-常用用户控件EnterFrom1和窗体EntryForm的实现
2010-06-22 11:09 苏飞 阅读(4061) 评论(7) 编辑 收藏 举报
导读部分
-------------------------------------------------------------------------------------------------------------
C#仿QQ皮肤-实现原理系列文章导航 最新版源码下载
http://www.cckan.net/thread-2-1-1.html
本次是我们窗体实现的最后一节,在这里首先感谢大家的支持,今天所说一个用户控件EnterFrom1和窗体EntryForm其实是分别继承自 基窗体FormBase与基用户控件FormBase1 而来的,而其中EnterFrom1是继承的用户控件EnterUserControl 这个控件而来,而EnterUserControl 又是继承的Formbase1而得来的,具体关于这个控件和窗体的实现请大家参考 相关的章节,而我们今天 要实现的两个小东东,其实是最简单, 因为在CS类里只要一行代码就OK了
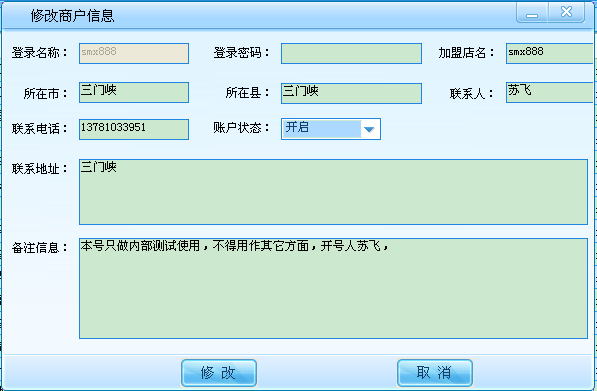
实现的效果如下

EnterFrom1
{
public EnterFrom1()
{
InitializeComponent();
}
}
关键的代码就是第一行,继承一下EnterUserControl
这个用户控件就行了,而在InitializeComponent()方法中简单的数行代码就可以完全搞定了
 代码
代码
/// 设计器支持所需的方法 - 不要
/// 使用代码编辑器修改此方法的内容。
/// </summary>
private void InitializeComponent()
{
System.ComponentModel.ComponentResourceManager resources = new System.ComponentModel.ComponentResourceManager(typeof(EnterFrom1));
this.SuspendLayout();
//
// pnlBackGroup
//
this.pnlBackGroup.BackgroundImage = ((System.Drawing.Image)(resources.GetObject("pnlBackGroup.BackgroundImage")));
this.pnlBackGroup.Size = new System.Drawing.Size(723, 496);
//
// EnterFrom1
//
this.AutoScaleDimensions = new System.Drawing.SizeF(6F, 12F);
this.AutoScaleMode = System.Windows.Forms.AutoScaleMode.Font;
this.Controls.Add(this.pnlBackGroup);
this.Name = "EnterFrom1";
this.Size = new System.Drawing.Size(723, 496);
this.Controls.SetChildIndex(this.pnlBackGroup, 0);
this.ResumeLayout(false);
}
再来看一下EntryForm的实现 吧,CS类
{
public EntryForm()
{
InitializeComponent();
}
}
它的InitializeComponent()方法代码如下
 代码
代码
/// Required method for Designer support - do not modify
/// the contents of this method with the code editor.
/// </summary>
private void InitializeComponent()
{
System.ComponentModel.ComponentResourceManager resources = new System.ComponentModel.ComponentResourceManager(typeof(EntryForm));
this.SuspendLayout();
//
// ptbBottomMiddle
//
this.ptbBottomMiddle.BackgroundImage = ((System.Drawing.Image)(resources.GetObject("ptbBottomMiddle.BackgroundImage")));
this.ptbBottomMiddle.Size = new System.Drawing.Size(951, 37);
//
// pnlBackGroup
//
this.pnlBackGroup.BackgroundImage = ((System.Drawing.Image)(resources.GetObject("pnlBackGroup.BackgroundImage")));
this.pnlBackGroup.Location = new System.Drawing.Point(2, 31);
this.pnlBackGroup.Size = new System.Drawing.Size(967, 430);
//
// EntryForm
//
this.AutoScaleDimensions = new System.Drawing.SizeF(6F, 12F);
this.AutoScaleMode = System.Windows.Forms.AutoScaleMode.Font;
this.ClientSize = new System.Drawing.Size(971, 498);
this.Controls.Add(this.pnlBackGroup);
this.Location = new System.Drawing.Point(400, 300);
this.Name = "EntryForm";
this.Text = "EntryForm";
this.Controls.SetChildIndex(this.pnlBackGroup, 0);
this.ResumeLayout(false);
}
其实说白了这两个东西是一个实现原理不同只是一个是窗体,一个是用户控件 而已,其它的差不是很大,相信以后他们两个是用的最多的窗体和用户控件 ,只要大家使用一定会慢慢的深入了解它们的。
我们实现原理这一块的就到这里了,下次就要到我们的框架的搭建了,呵呵,在这一块才是皮肤的核心东西,讲的是怎么样实现颜色,就是皮肤的转换,和使用,他们是用什么样的方式来实现 的,在写的过程中我会一节一节的分析一下是怎么样实现的,我们都用到了那些GDI+方面的东西,用到了那些方面的Windows消息,和颜色和坐标的一些算法等等。


【推荐】国内首个AI IDE,深度理解中文开发场景,立即下载体验Trae
【推荐】编程新体验,更懂你的AI,立即体验豆包MarsCode编程助手
【推荐】抖音旗下AI助手豆包,你的智能百科全书,全免费不限次数
【推荐】轻量又高性能的 SSH 工具 IShell:AI 加持,快人一步
· 如何编写易于单元测试的代码
· 10年+ .NET Coder 心语,封装的思维:从隐藏、稳定开始理解其本质意义
· .NET Core 中如何实现缓存的预热?
· 从 HTTP 原因短语缺失研究 HTTP/2 和 HTTP/3 的设计差异
· AI与.NET技术实操系列:向量存储与相似性搜索在 .NET 中的实现
· 周边上新:园子的第一款马克杯温暖上架
· Open-Sora 2.0 重磅开源!
· .NET周刊【3月第1期 2025-03-02】
· 分享 3 个 .NET 开源的文件压缩处理库,助力快速实现文件压缩解压功能!
· [AI/GPT/综述] AI Agent的设计模式综述