
Scrapy数据持久化
### piplines的使用
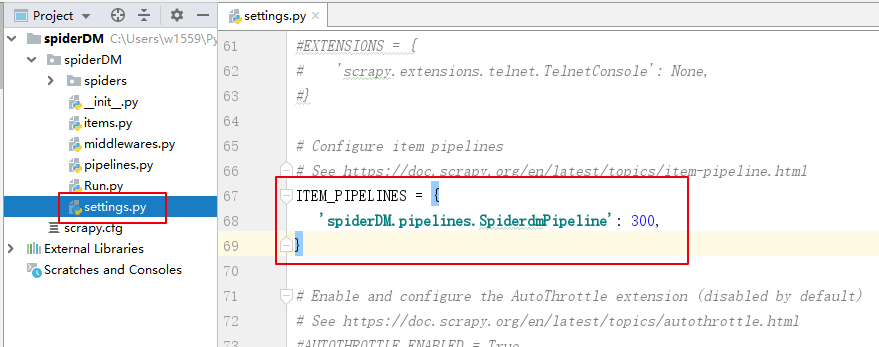
取消setings.py文件内管道的注释,开启数据管道,使得爬取到的数据可以传送过来。
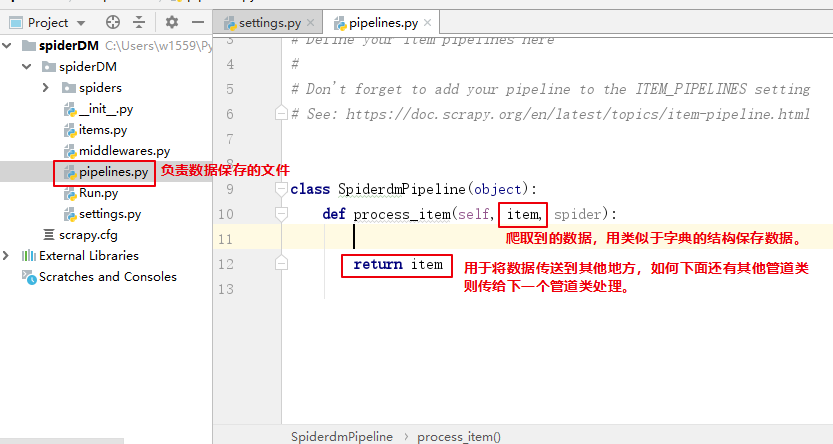
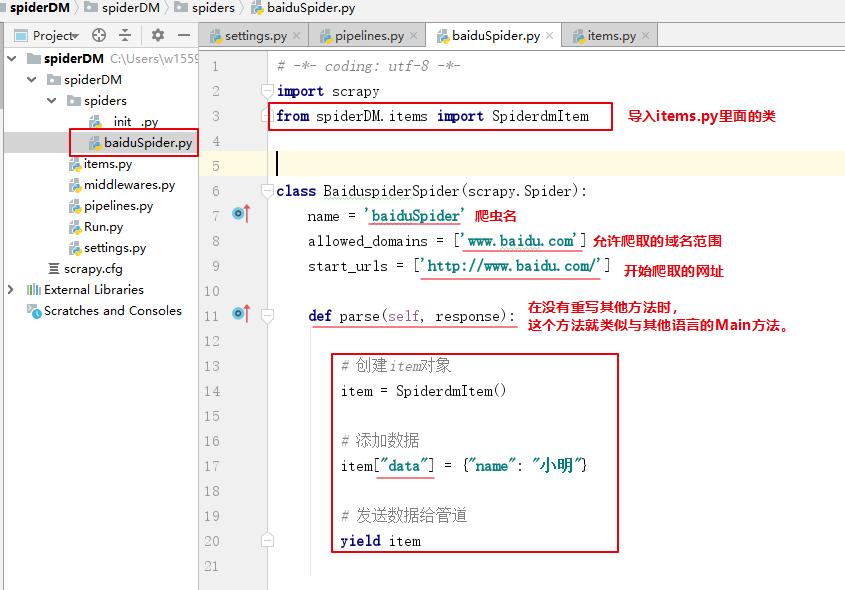
初始代码解释
利用重写spider的方法实现功能
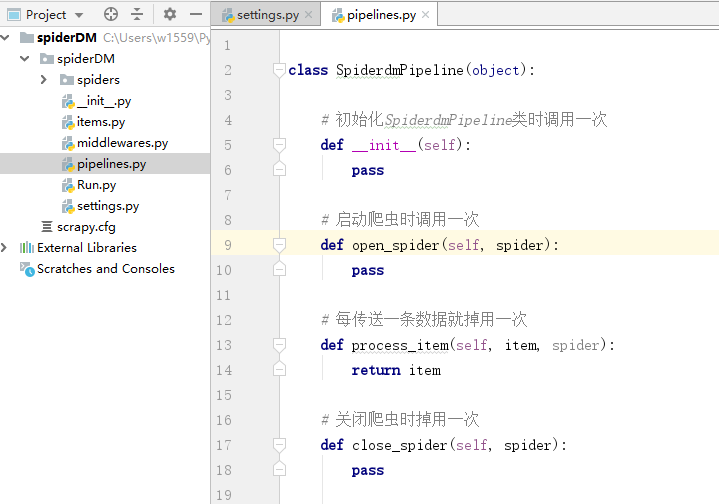
# 初始化SpiderdmPipeline类时调用一次
def __init__(self):
    # 创建数据库的连接对象
    # 数据表的创建
    pass

# 启动爬虫时调用一次
def open_spider(self, spider):
    # 同__init__方法,实现爬虫开始时,只需要执行一次的操作。
    pass

# 每传送一条数据就掉用一次
def process_item(self, item, spider):
    # 实现处理每一条数据保存和处理的代码
    # 或者直接交给下一个管道处理
    return item

# 关闭爬虫时掉用一次
def close_spider(self, spider):
    # 断开数据库连接
    # 释放资源等,在关闭爬虫前需要的操作。
    pass
多个管道处理实现数据流水线处理
创建SpiderdmPipeline_1类
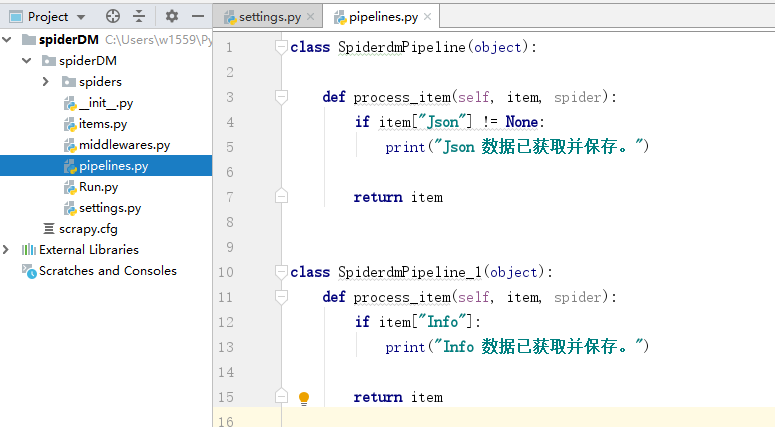
注册SpiderdmPipeline_1类并设置与资源调度器的距离
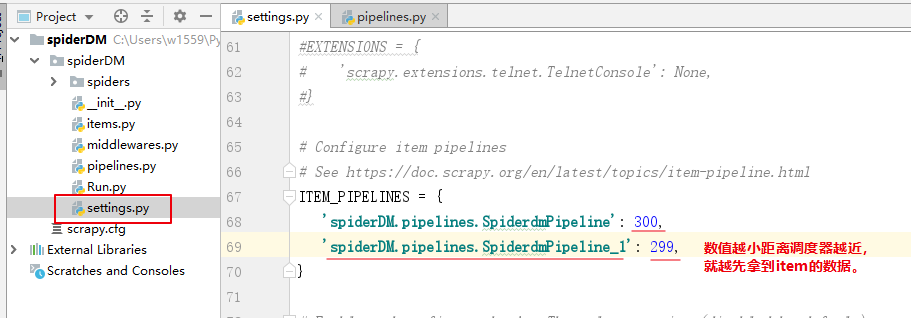
SpiderdmPipeline_1 先拿到数据后,处理item数据。return 一个item给下一个比它距离数值更大的下一个管道处理(SpiderdmPipeline),注意return返回的只是Item类型的数据不一定要是item。
保存数据的方式
使用pymysql保存到MySQL
安装pymysql库,启动MySQL服务
pip --default-timeout=100 install pymysql -i http://pypi.douban.com/simple --trusted-host pypi.douban.com
创建数据库
import pymysql

#连接数据库
db = pymysql.connect(host='localhost',user='root',password='123456',port=3306,charset='utf8')

#获取操作数据库的游标
cur = db.cursor()

#创建数据库
cur.execute('create database if not exists testdb')

#提交sql语句到数据库执行
db.commit()
#关闭游标和数据库连接
cur.close()
db.close()
操作数据库
import pymysql

db = pymysql.connect(host='localhost',user='root',password='123456',db='testdb',port=3306,charset='utf8')

#获取操作数据库的游标
cur = db.cursor()

#创建数据表
sql = '''create table if not exists pytable(
  id int(11) not null auto_increment,
  name varchar(11) null,
  age int(3) null,
  primary key (id)
)engine=innodb'''
cur.execute(sql)

#增
# 插入单条数据
result = cur.execute('insert into pymysqltest(name,age) values (%s,%s)',['张三',18])
# 多单条数据
result = cur.executemany('insert into pymysqltest(name,age) values (%s,%s)',[['张三',18],['李四',19],['王五',20]])

#删
result = cur.execute('delete from `pymysqltest` where `age`=%s or `name`=%s',[18,'李四'])

#改
result = cur.execute('update `pymysqltest` set `age`=%s where `name`=%s ',[18,'李四'])

#查
# 返回获得的数据数量
# result = cur.execute('select * from  `pymysqltest` ')
# result = cur.execute('select * from  `pymysqltest` where `age`=%s ',[18])
# 获取游标获得全部数据的元组 tuple
# data = cur.fetchall()
# # print(type(data))
# for e in data: #遍历输出数据
#     print(e)
#     print(e[0],e[1],e[2])

#提交sql语句到数据库执行
db.commit()

cur.close()
db.close()
保存数据到MongoDB
安装pymongo库,启动mongodb服务
pip --default-timeout=100 install pymongo -i http://pypi.douban.com/simple --trusted-host pypi.douban.com
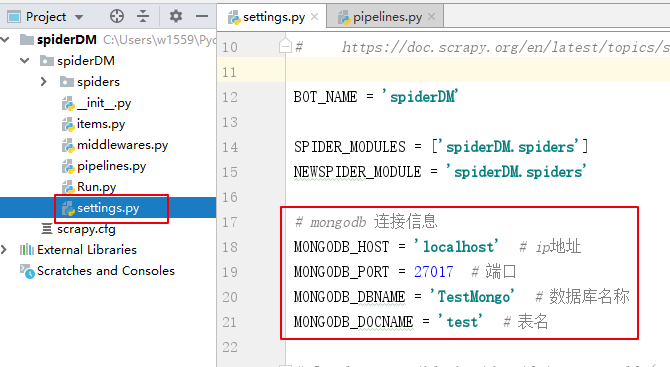
在setings里面配置MongoDB的连接信息(名称可以自己取,建议都大写)
#mongodb 连接信息
MONGODB_HOST = 'localhost' #ip地址
MONGODB_PORT = 27017 #端口
MONGODB_DBNAME = 'TestMongo' #数据库名称
MONGODB_DOCNAME = 'test' #表名
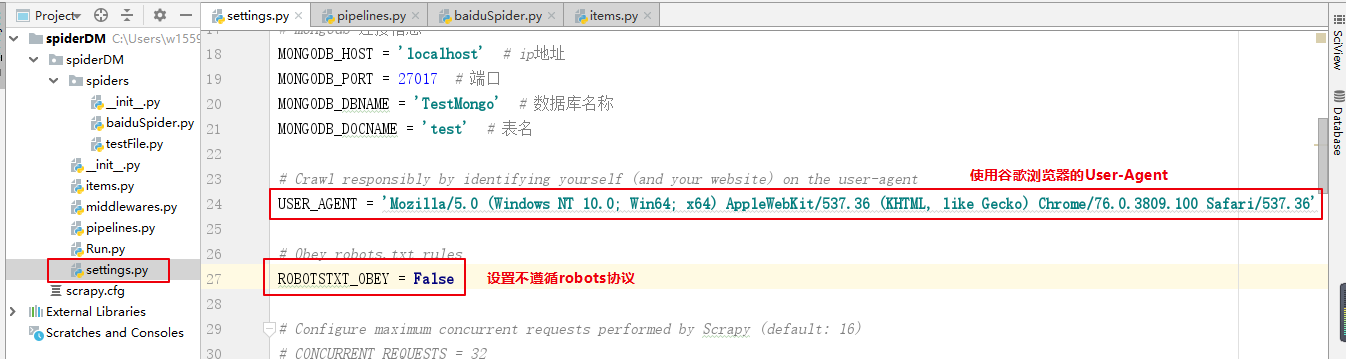
添加访问头User-Agent,模拟浏览器访问网页。由于百度首页不让爬,所以需要设置不不遵循robots协议。
USER_AGENT = 'Mozilla/5.0 (Windows NT 10.0; Win64; x64) AppleWebKit/537.36 (KHTML, like Gecko) Chrome/76.0.3809.100 Safari/537.36'

ROBOTSTXT_OBEY = False
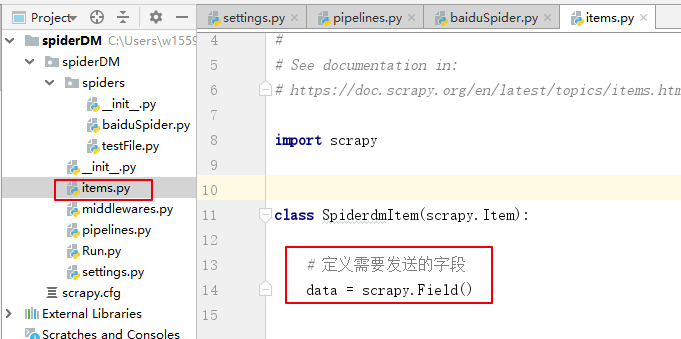
设置在items里面定义需要发送的字段。
# 定义需要发送的字段
data = scrapy.Field()
写发送数据给pipeline的代码
在调用setings里面的配置信息,在pipelines里面写操作MongoDB的代码(确保pipeline已开启)

import pymongo
from spiderDM.settings import *


class SpiderdmPipeline(object):

    # 初始化变量
    def __init__(self):
        # MongoDB主机IP
        self.MG_HOST = MONGODB_HOST
        # MongoDB端口
        self.MG_PORT = MONGODB_PORT
        # 操作的数据库
        self.MG_DBNAME = MONGODB_DBNAME
        # 操作的数据表
        self.MG_TABLE = MONGODB_DOCNAME

    def open_spider(self, spider):
        # 创建链接,不写默认值为'localhost',27017
        self.connection = pymongo.MongoClient(host=self.MG_HOST, port=self.MG_PORT)
        # 获得操作数据表的对象
        self.table = self.connection.get_database(self.MG_DBNAME).get_collection(self.MG_TABLE)

    def process_item(self, item, spider):
        data = item["data"]
        # 插入数据
        self.table.insert_one(data)
        # 查询插入的数据
        result = self.table.find({"name": "小名"})
        # 遍历查询的数据
        for e in result:
            print(e)

        return item

    def close_spider(self, spider):
        # 关闭与MongoDB连接
        self.connection.close()
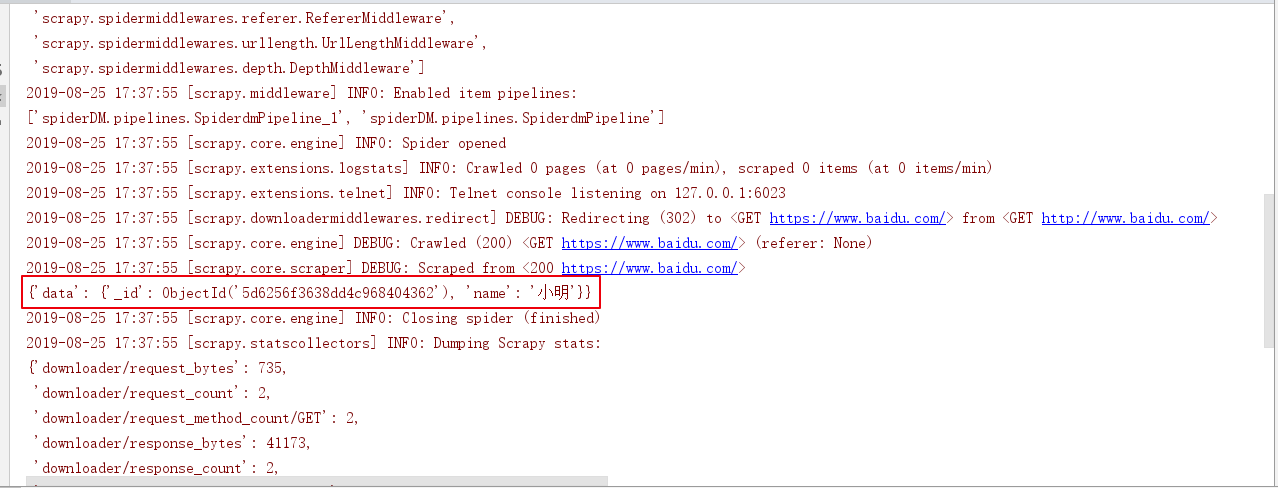
运行爬虫
保存为其他文件类型
读写CSV
import csv

# 写入CSV
# newline='' 使写入一行数据时不自动换行,writ.writerow()写入自带换行。
fo = open('./dataPackage/listToCsv.csv','w',encoding='utf8',newline='')
# dialect='excel'设置存储的格式
writ = csv.writer(fo,dialect='excel')
for i in range(10):
    # 0,1,2,3,4
    writ.writerow(list(range(i,i+5)))
fo.close()


# 读取CSV
fr = open('./dataPackage/listToCsv.csv','r',encoding='utf-8')
# 读取csv文件数据
data = csv.reader(fr)
for e in data:
    print(e)
fr.close()
with open('./dataPackage/list_to_csv.csv','w',encoding='utf-8') as f:
    for i in range(10):
        # 写入的数据只能是字符串
        data = ','.join(map(lambda num: str(num),list(range(i,i+5))))
        f.write(data+'\n')

with open('./dataPackage/list_to_csv.csv','r',encoding='utf-8') as f:
    data = f.readlines()
    for line in data:
        print(line)
#以json格式输出
from scrapy.exporters import JsonItemExporter #[所有数据]
#以jl格式输出
#from scrapy.exporters import JsonLinesItemExporter #一条数据一行
#以csv格式输出
#from scrapy.exporters import CsvItemExporter #保存为csv

def __init__(self):
    self.file = open('job.json','wb')

    self.export = JsonItemExporter(self.file,encoding='utf8',ensure_ascii=False)
    self.export.start_exporting()

def close_spider(self,spider):
    self.export.finish_exporting()
    self.file.close()

def process_item(self,item,spider):
    self.export.export_item(item)
    return item
    def open_spider(self, spider):

 浙公网安备 33010602011771号