
Android Studio运行、离线打包uni-app项目
下载HBuilderX
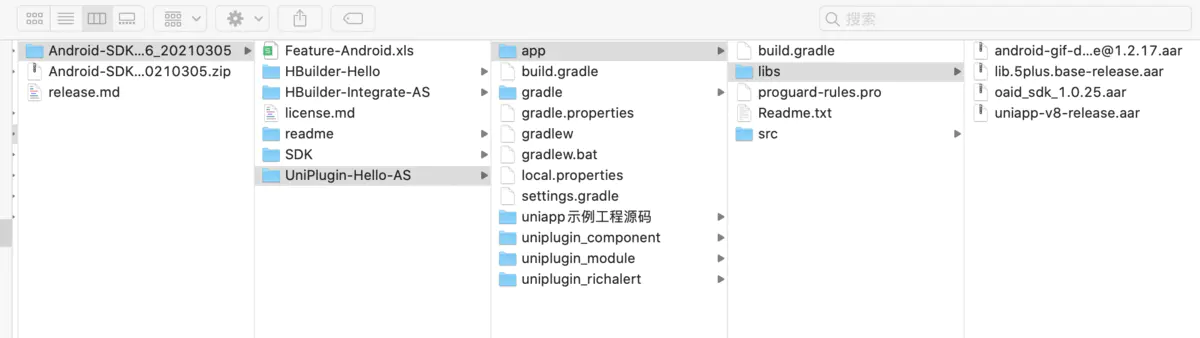
下载Android离线打包SDK(https://nativesupport.dcloud.net.cn/AppDocs/download/android)
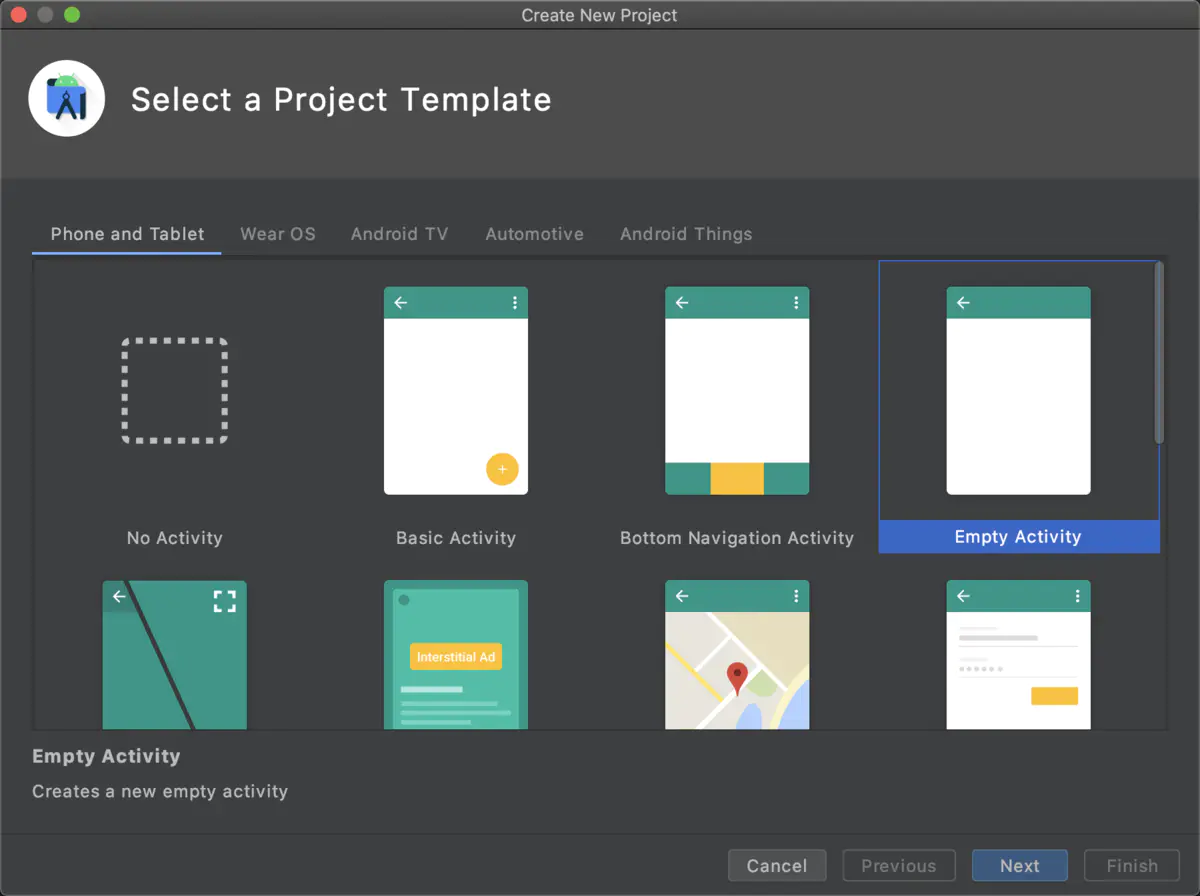
- 创建android项目


2. 配置项目

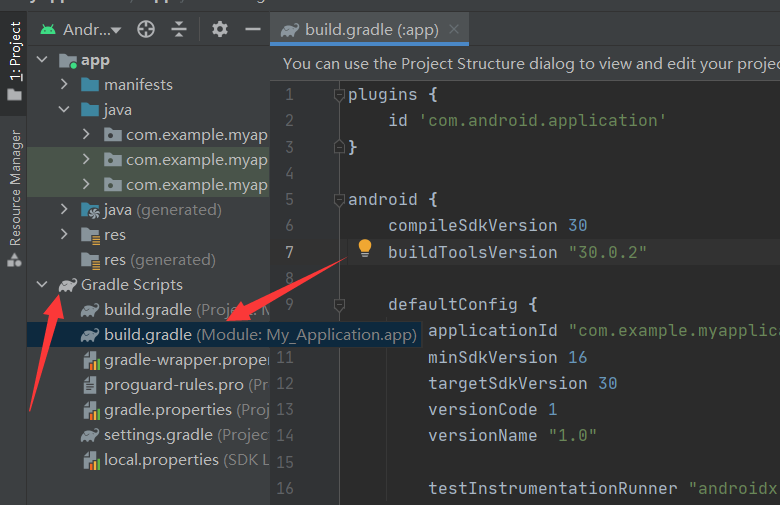
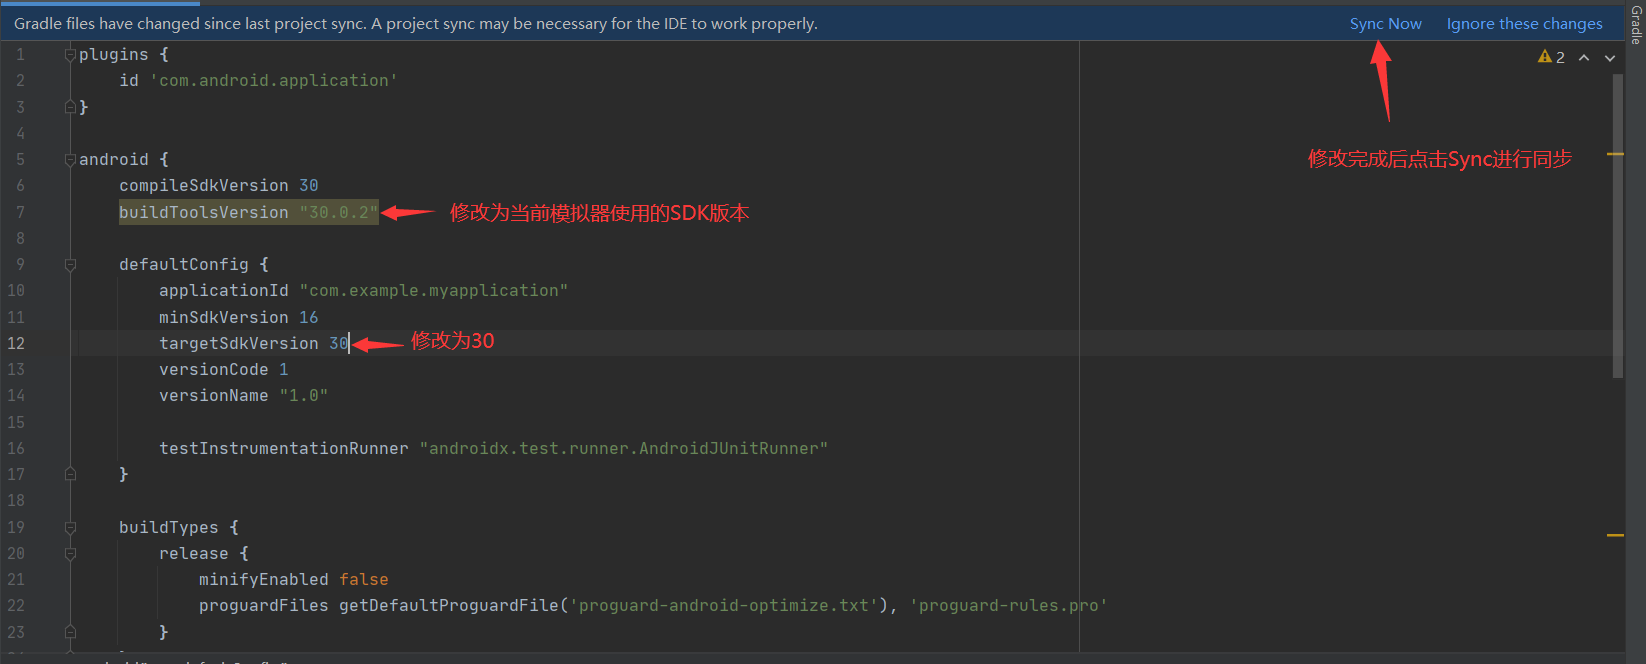
打开app -> build.gradle
在android下面添加
aaptOptions {
    additionalParameters '--auto-add-overlay'
    ignoreAssetsPattern "!.svn:!.git:.*:!CVS:!thumbs.db:!picasa.ini:!*.scc:*~"
}
在dependencies下面添加
implementation fileTree(dir: 'libs', include: ['*.aar', '*.jar'], exclude: [])
implementation 'com.github.bumptech.glide:glide:4.11.0'
implementation 'com.alibaba:fastjson:1.1.46.android'
implementation 'com.google.code.gson:gson:2.8.6'
implementation 'com.facebook.fresco:fresco:1.13.0'
implementation "com.facebook.fresco:animated-gif:1.13.0"
implementation 'androidx.recyclerview:recyclerview:1.1.0'
打开app -> src -> main -> AndroidManifest.xml将默认生成在application标签内的全部注释
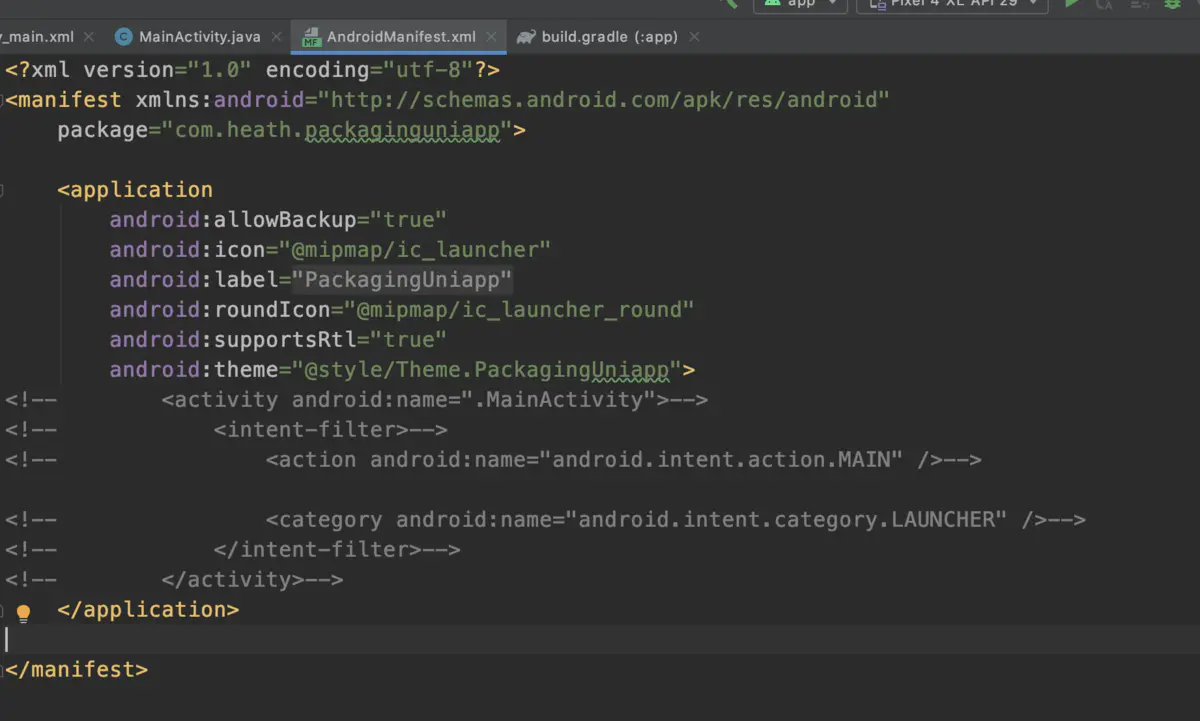
在application内添加
<activity
    android:name="io.dcloud.PandoraEntry"
    android:configChanges="orientation|keyboardHidden|keyboard|navigation"
    android:label="@string/app_name"
    android:launchMode="singleTask"
    android:hardwareAccelerated="true"
    android:theme="@style/TranslucentTheme"
    android:screenOrientation="user"
    android:windowSoftInputMode="adjustResize">
        <intent-filter>
            <action
                android:name="android.intent.action.MAIN"/>
            <category
                android:name="android.intent.category.LAUNCHER"/>
        </intent-filter>
</activity>
<activity
    android:name="io.dcloud.PandoraEntryActivity"
    android:launchMode="singleTask"           android:configChanges="orientation|keyboardHidden|screenSize|mcc|mnc|fontScale|keyboard"
    android:hardwareAccelerated="true"
    android:permission="com.miui.securitycenter.permission.AppPermissionsEditor"
    android:screenOrientation="user"
    android:theme="@style/DCloudTheme"
    android:windowSoftInputMode="adjustResize">
        <intent-filter>
            <category
                android:name="android.intent.category.DEFAULT"/>
            <category
                android:name="android.intent.category.BROWSABLE"/>
            <action
                android:name="android.intent.action.VIEW"/>
            <data
                android:scheme="h56131bcf"/>
        </intent-filter>
</activity>
<!--provider节点必须添加-->
<provider
    android:name="io.dcloud.common.util.DCloud_FileProvider"
    android:authorities="${apk.applicationId}.dc.fileprovider"
    android:exported="false"
    android:grantUriPermissions="true">
        <meta-data
            android:name="android.support.FILE_PROVIDER_PATHS"
            android:resource="@xml/dcloud_file_provider"/>
</provider>
注意:要将provider中的${apk.applicationId}修改为你的应用包名。可以在AndroidManifest.xml的跟标签下查看

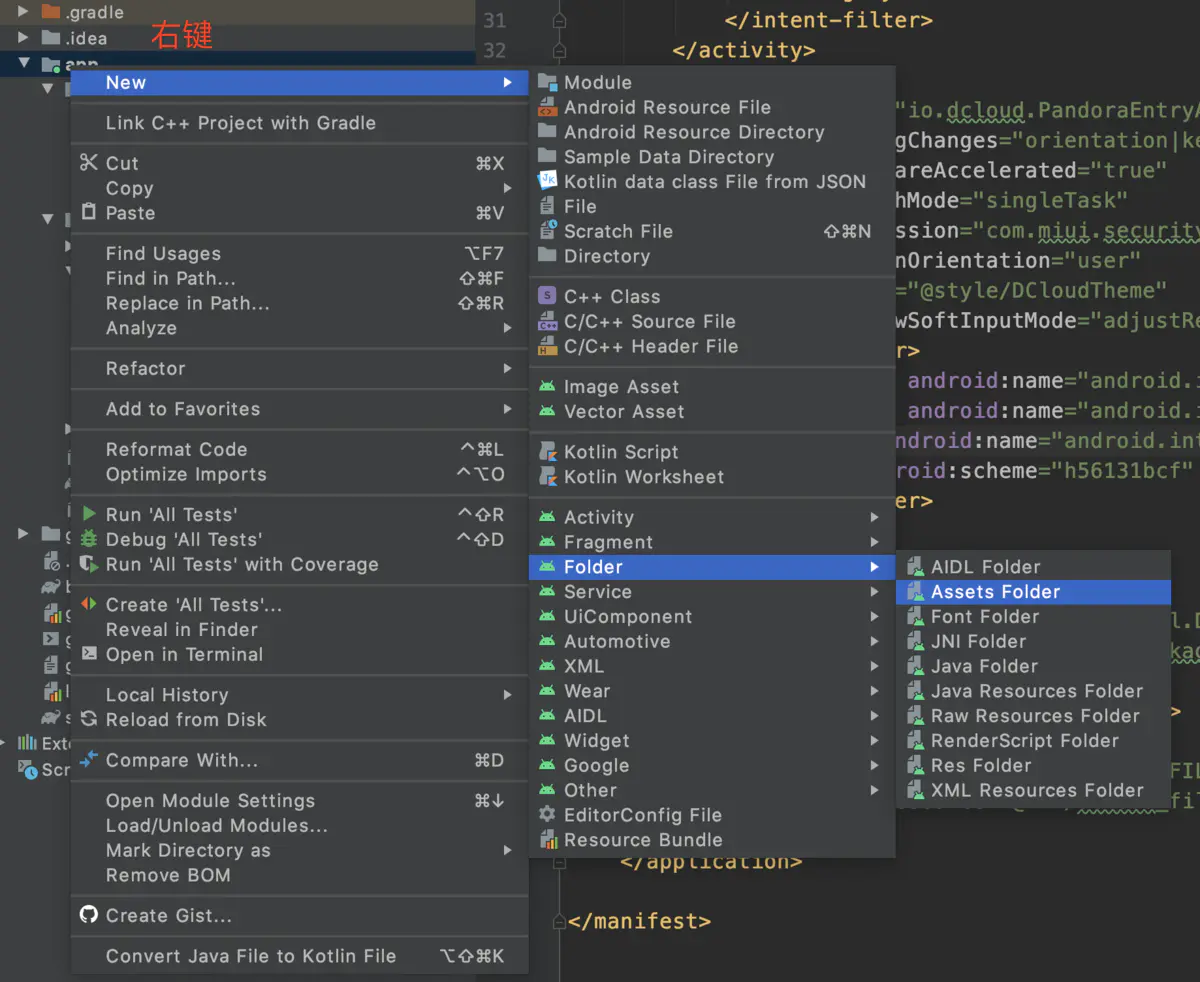
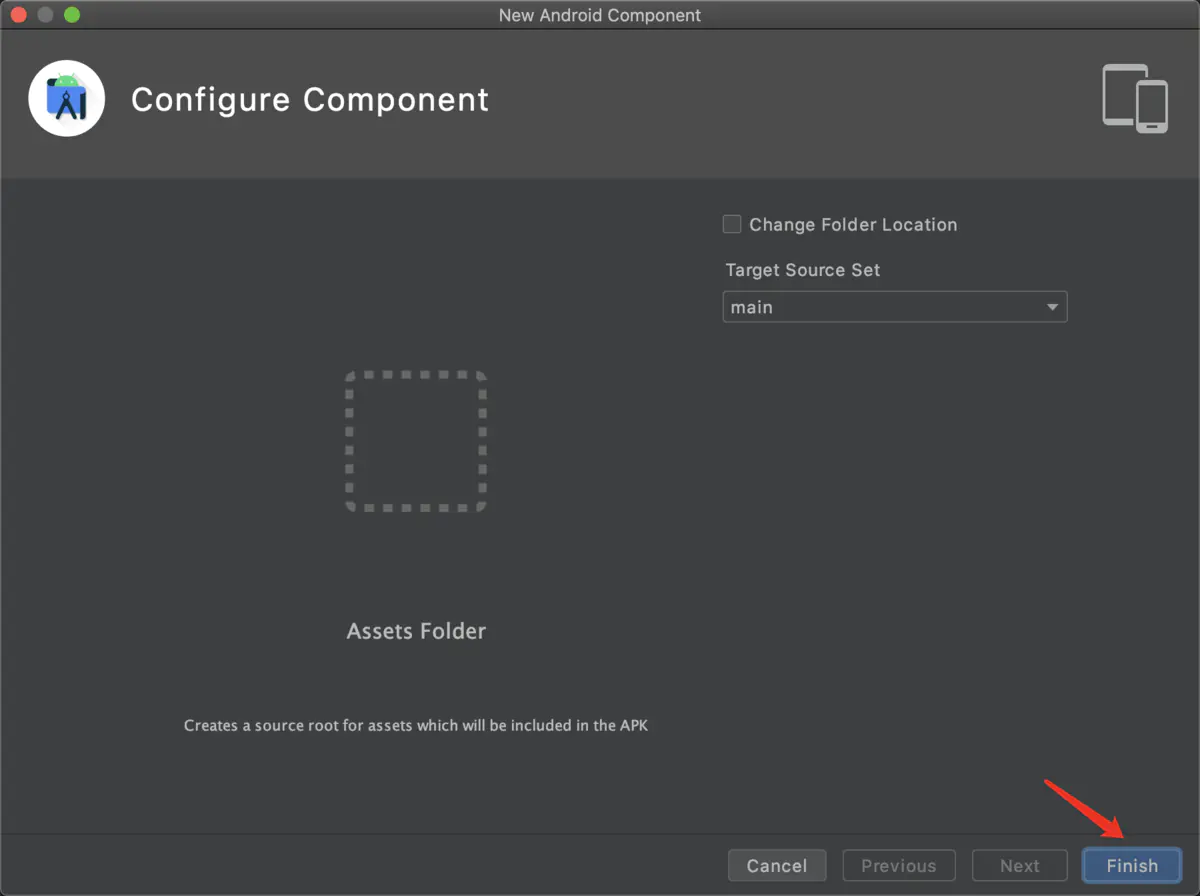
创建asstes文件夹
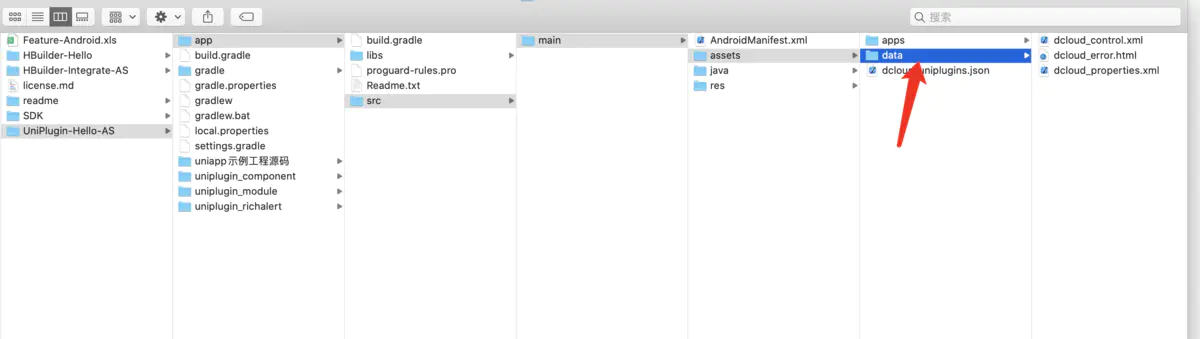
将Android离线打包SDK中assets下的data拷贝到项目中新建好的assets下
HBuilderX导出项目


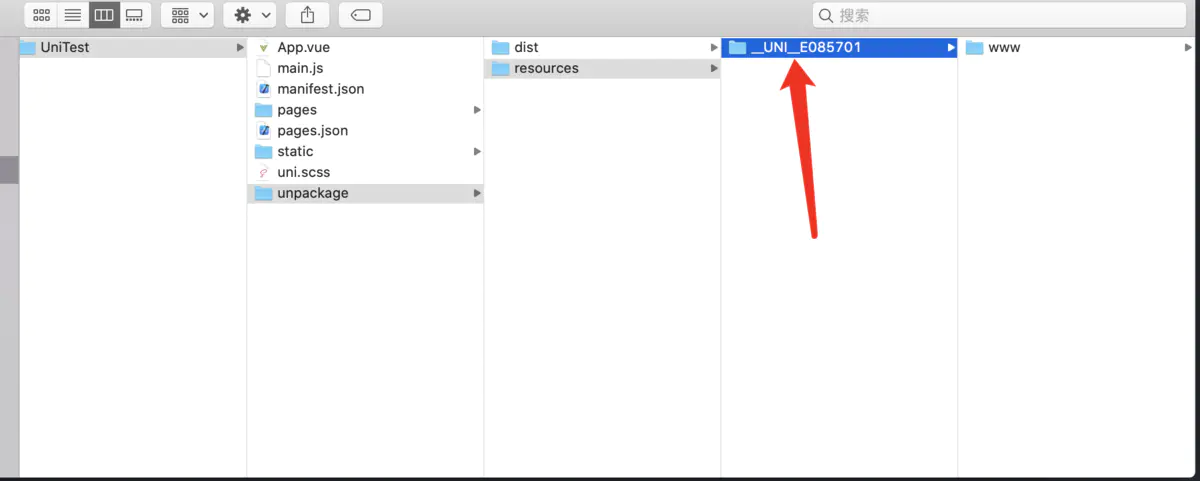
将导出的__UNI__E085701文件夹拷贝到项目中assets文件夹下(这个文件夹名是uni-app的appId,不是固定的! 不是固定的! 不是固定的!)

3. 运行

4. 遇到问题
1) Android Studio编译报错:Error: Invoke-customs are only supported starting with Android O (--min-api 26)
build.gradle文件中android节点下增加:

2) Android Studio编译出现Installed Build Tools revision 31.0.0 is corrupted解决方法
设置步骤:
- 顶部栏选Tools
- SDK Manager
- 去除Android API 31的勾选并apply
- 按需勾选SDK Platforms,如Android 11.0®,并apply

设置build.gradle文件
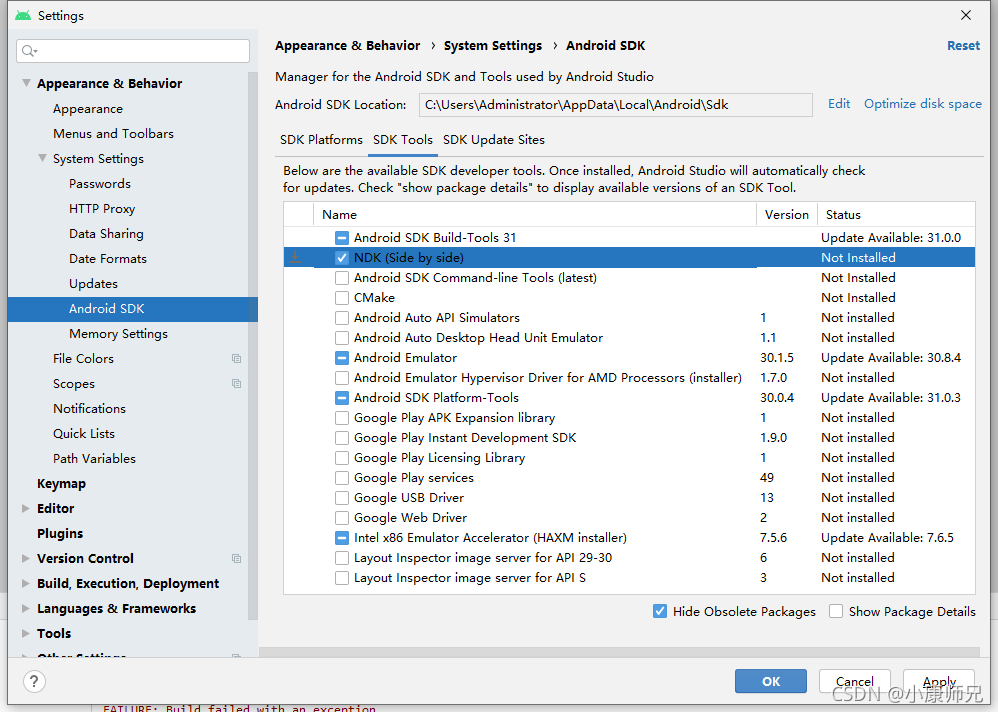
3) Compatible side by side NDK version was not found.
File->Settings->Appearance...->Android SDK->SDK Tools->NDK(Side by side)->Apply
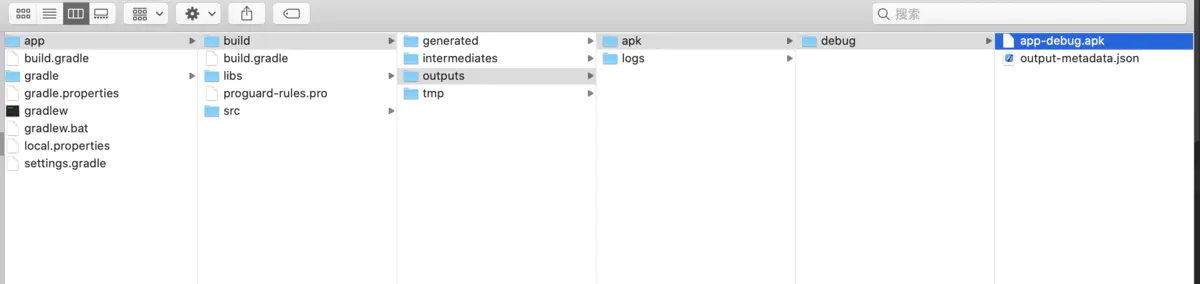
5. 打包
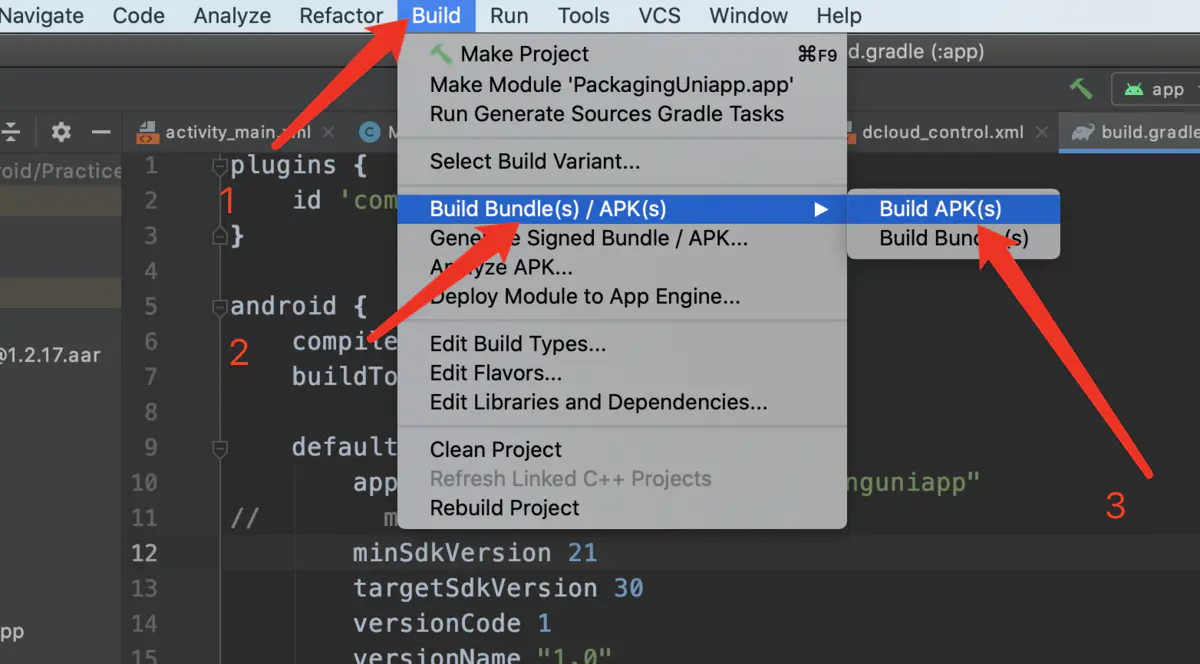

点击打开打包之后apk存放的文件夹。目录为app -> build -> outputs -> apk -> debug

 浙公网安备 33010602011771号