使用Github+Hexo搭建自己的博客
找了很多教程,发现都不太全,所以写个最新版本的Github+hexo搭建属于自己的博客,第一次写,勿喷!!!
搭建环境准备:
1.下载Node.js安装文件(现在电脑基本都是64位的,我就放64位的下载地址):https://nodejs.org/dist/v8.9.4/node-v8.9.4-x64.msi
或者自行到官网下载最新版本: https://nodejs.org
2.安装Git: Git下载包(64位) Git下载包(32位)
教程
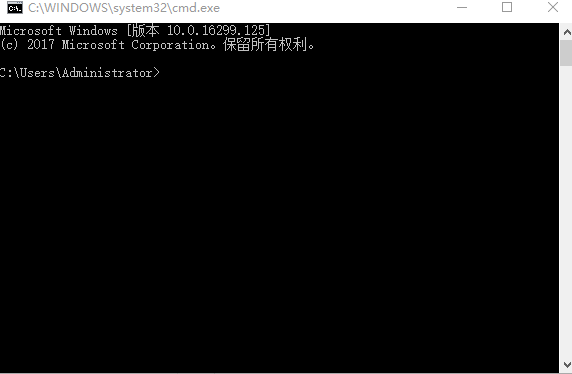
下载完成后(全部按NEXT就好),按下WIN+R,调出运行窗口,打cmd,会出现如下图:
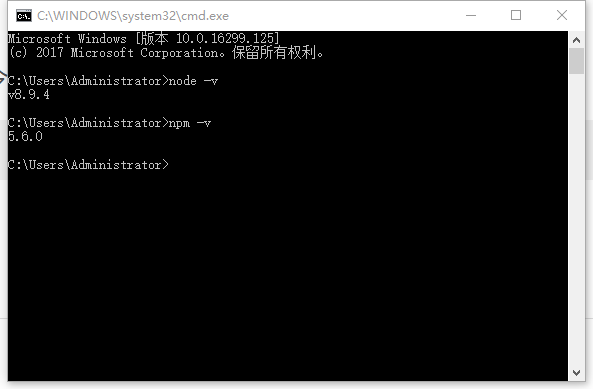
检查node是否安装正确,输入下面两条指令
node -v
npm -v
出现如下图就代表安装成功:
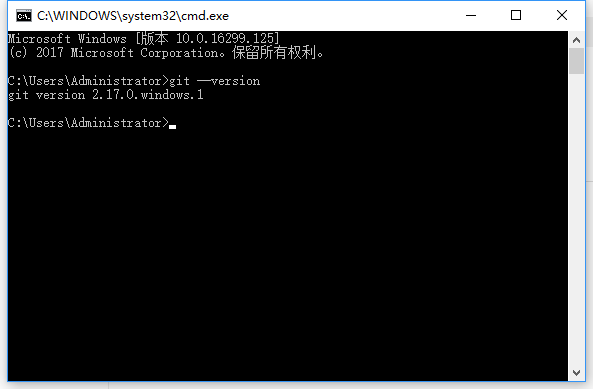
检查Git是否安装正确,输入
git --version
出现如下图就代表安装成功:
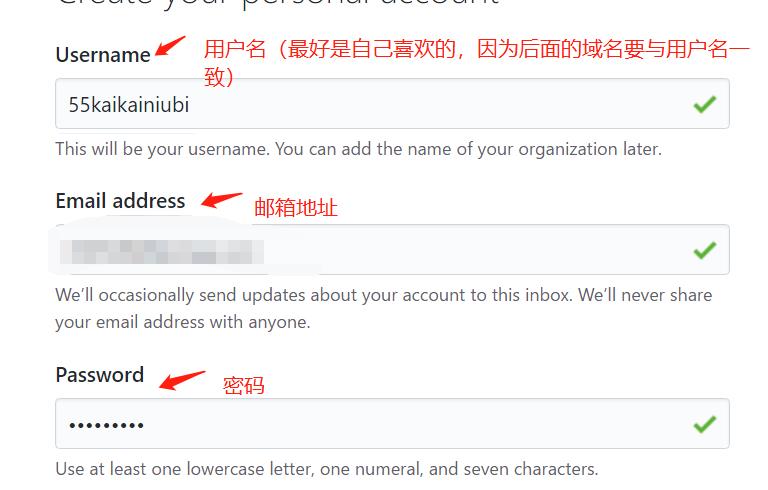
安装成功后,先在Github注册一个账号:https://github.com/,点右上角的Sign up
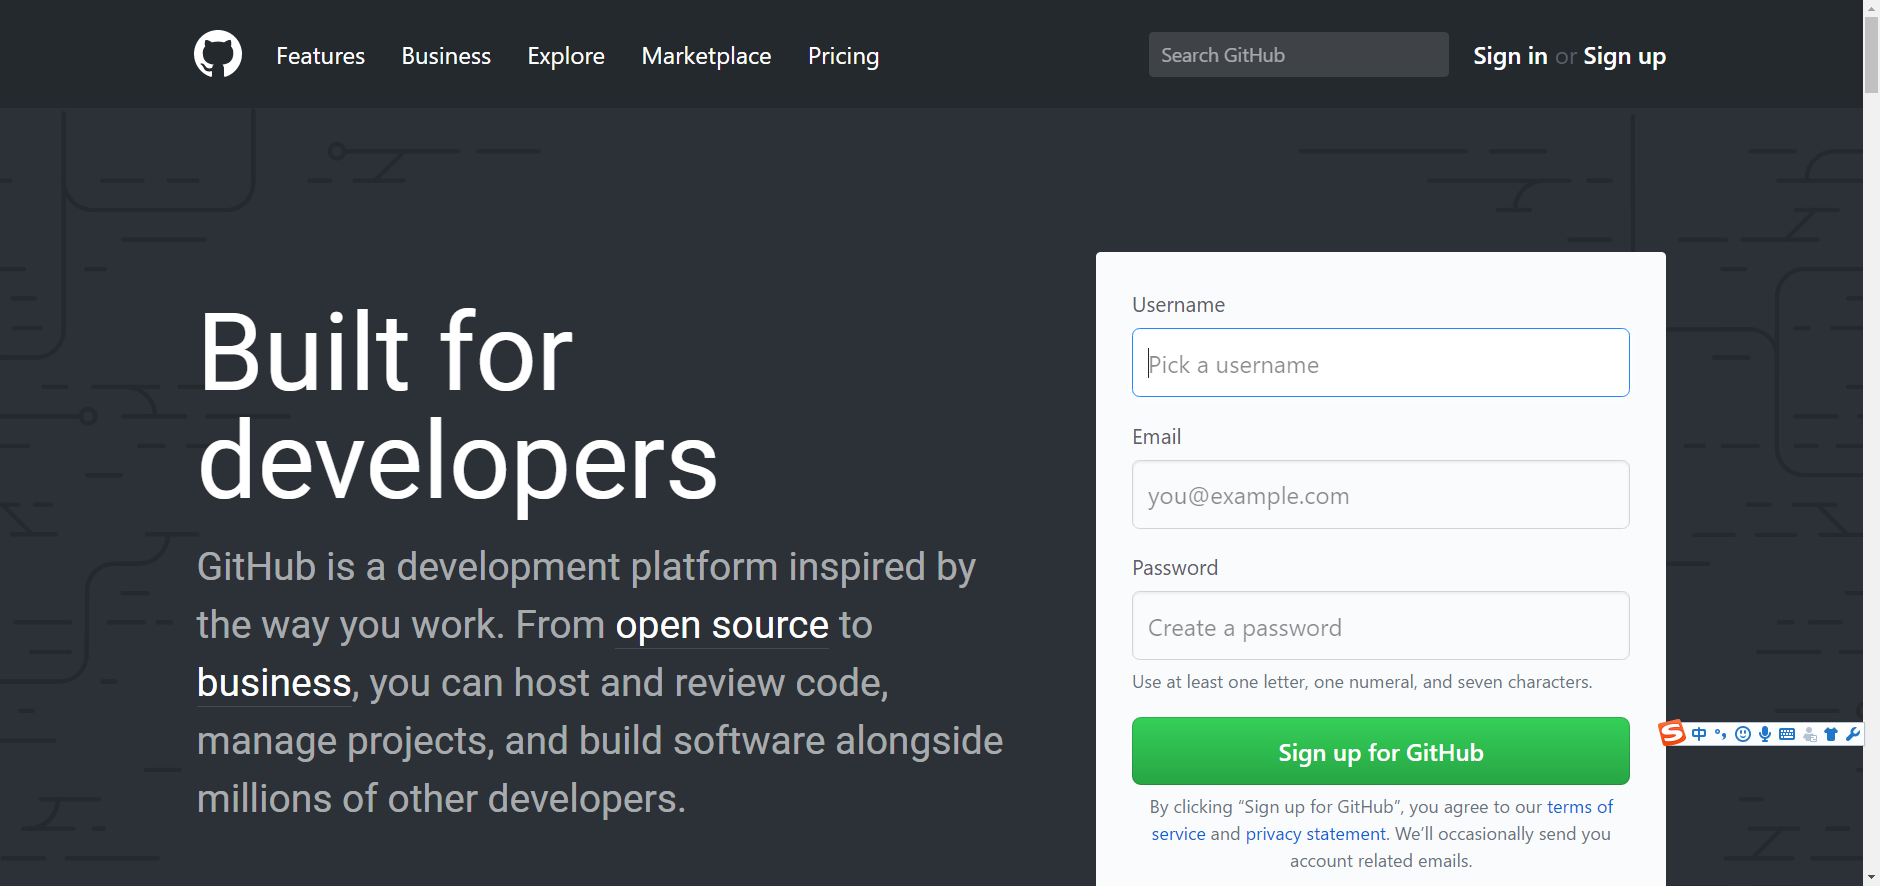
输入信息,确认无误后按create:
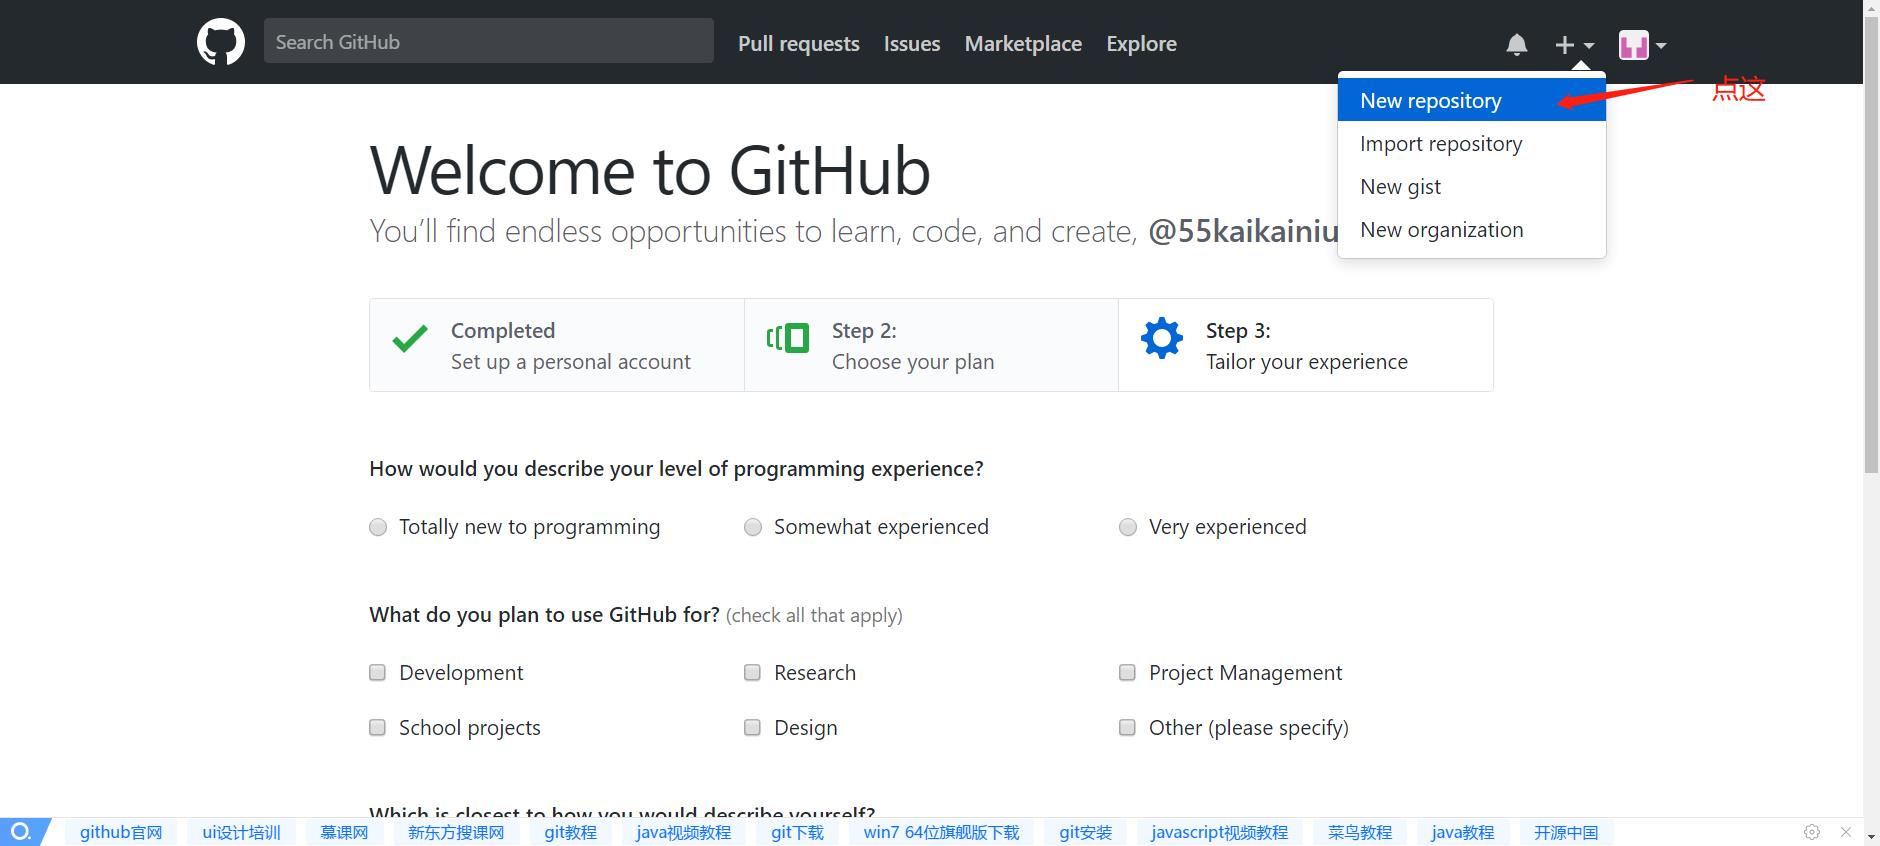
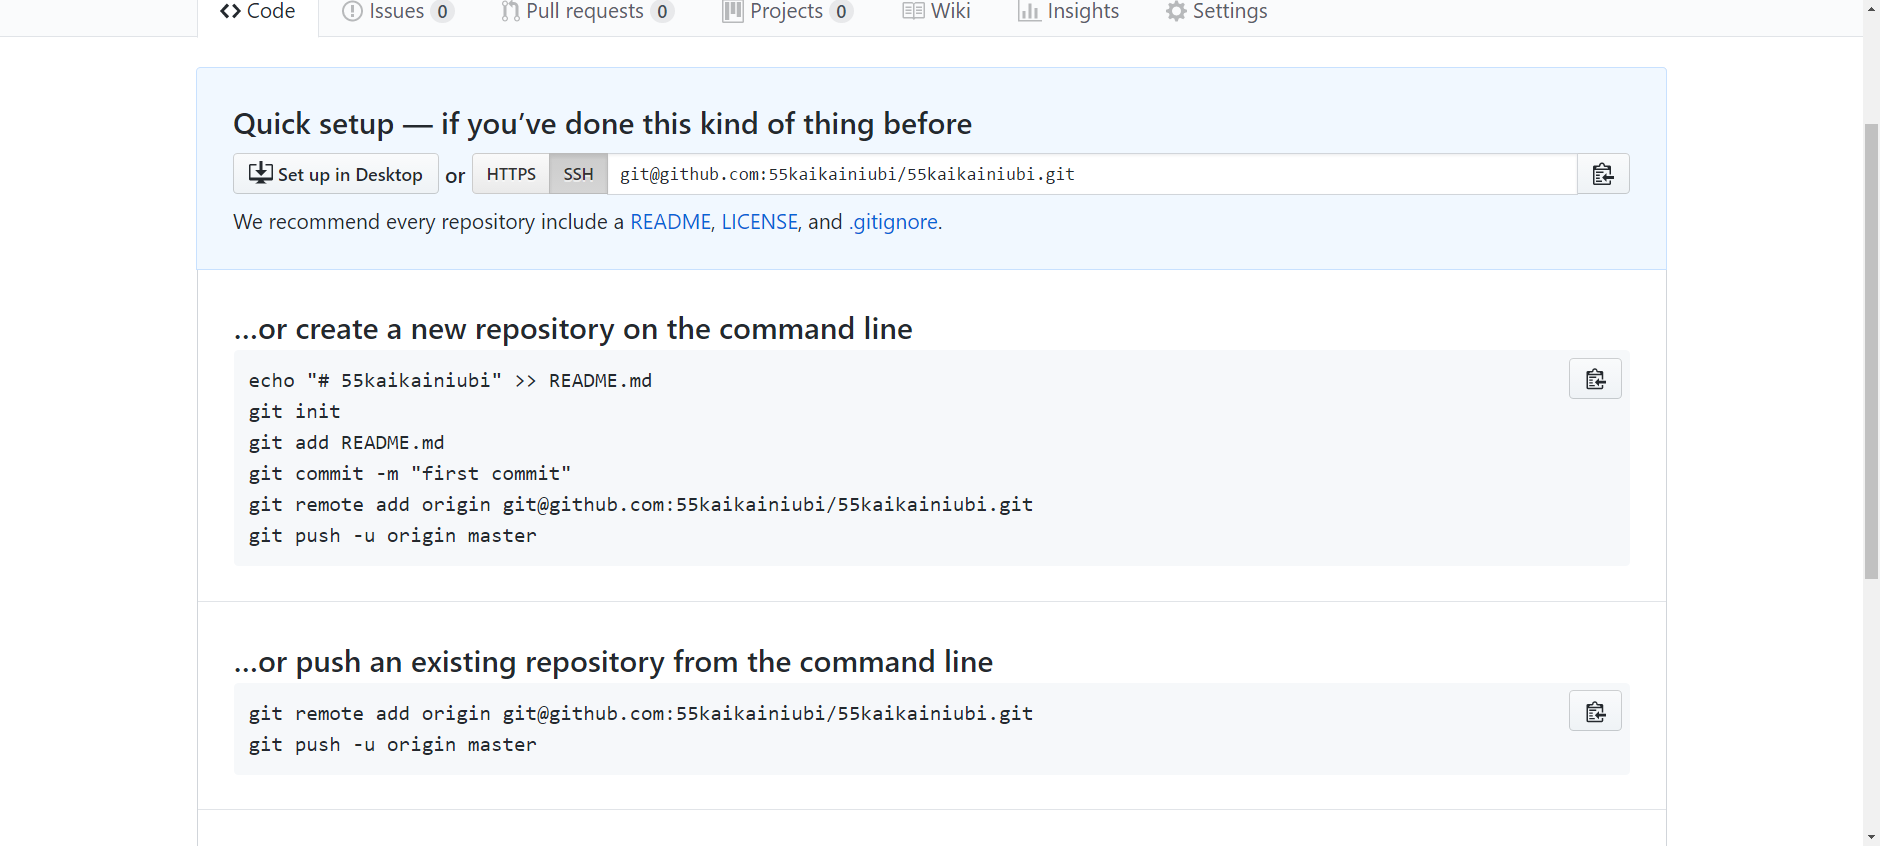
第二步直接按继续,然后按右上角的new repository.
如图:
然后去邮箱那里验证:
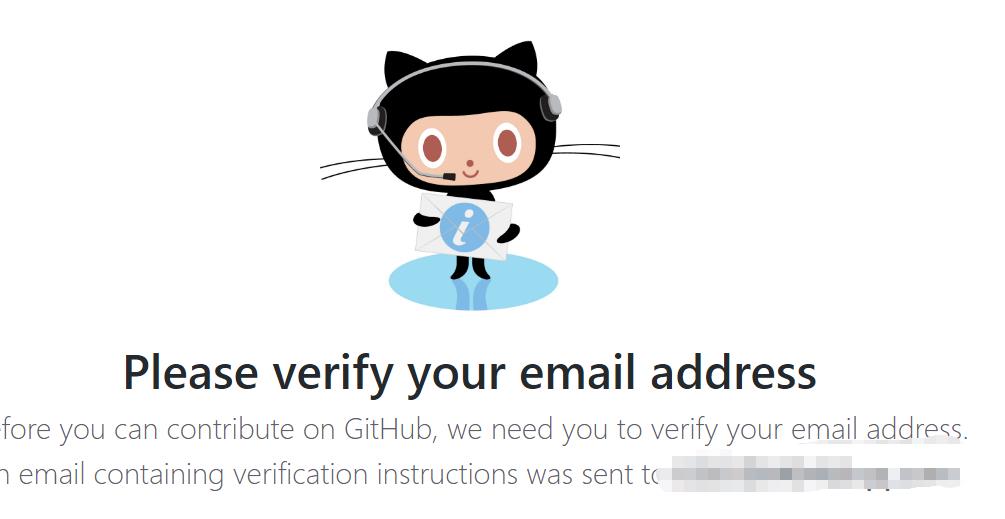
验证完之后就再按一次,会出现这个界面:
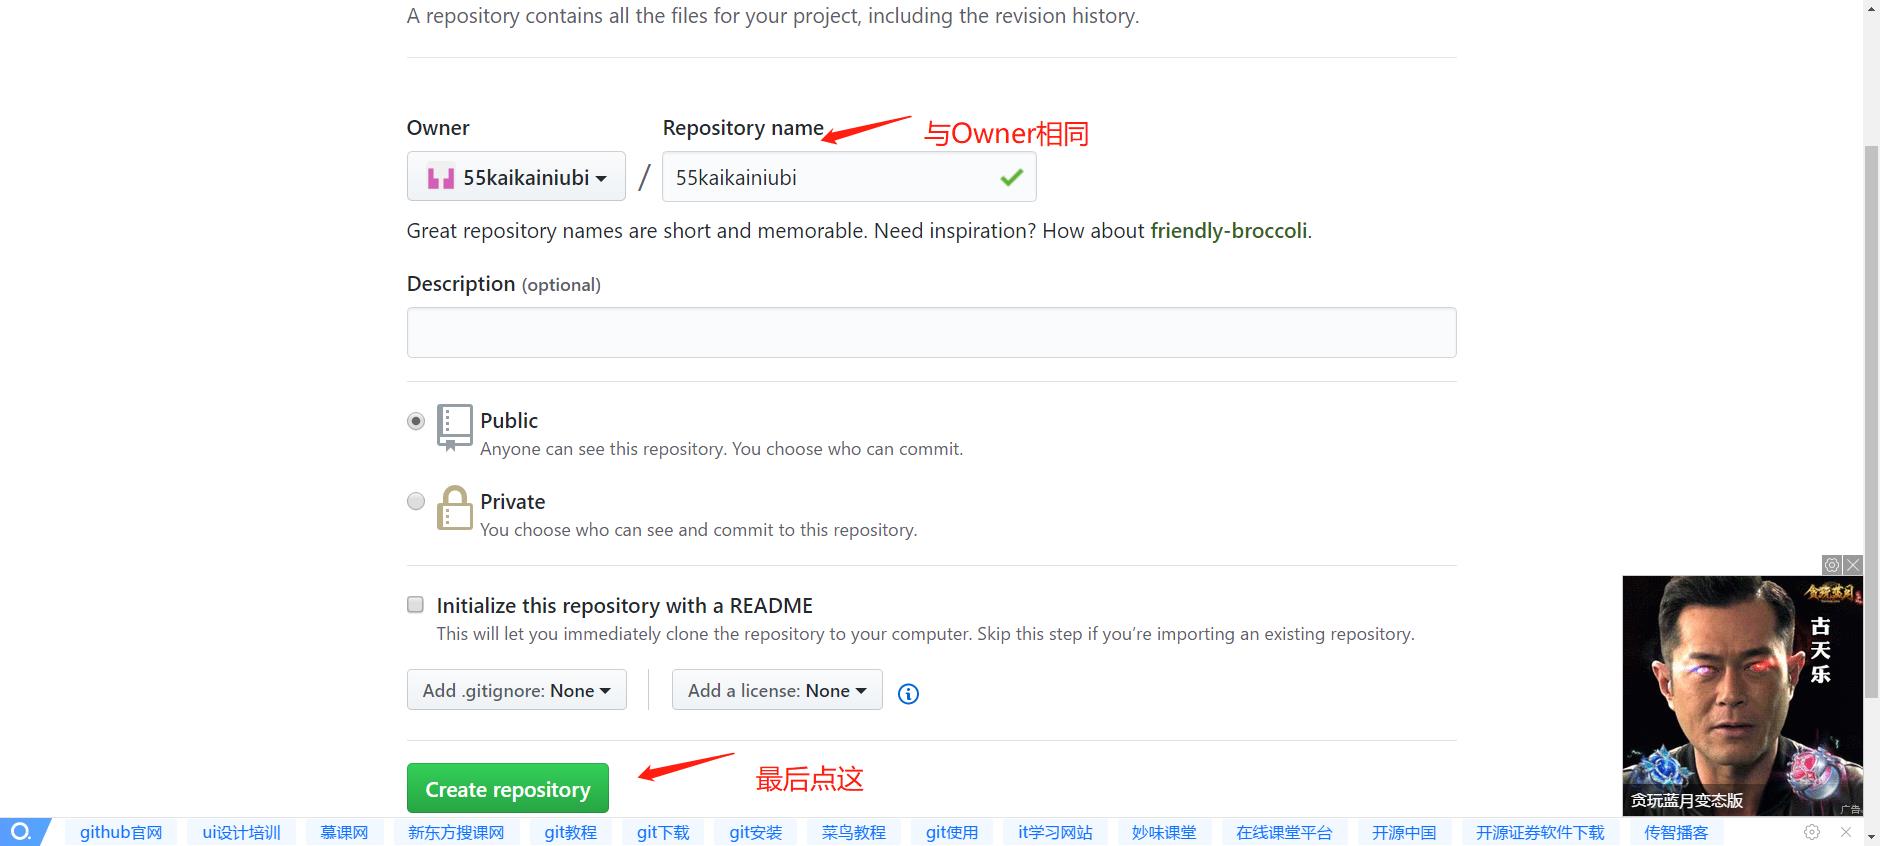
创建成功会出现下图:
先在某一个盘上创建一个文件夹,例如在E盘建立一个blog文件夹:
文件夹右键,点Git Bash ,进入这个界面:

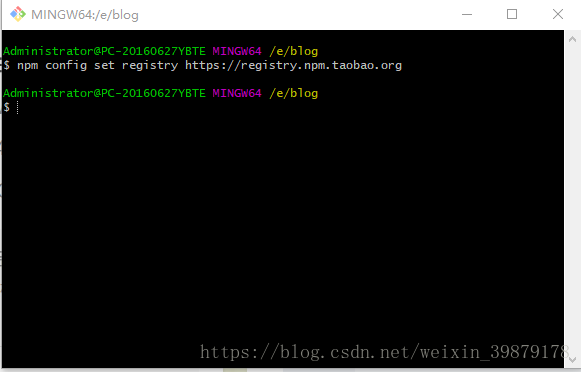
全局配置设置到淘宝源:
npm config set registry https://registry.npm.taobao.org
设置全局配置user.name 和user.email
git config –-global user.name “55kaikainiubi” //(“”的账号是刚才Github里面自己注册的账号)
git config –-global user.email “836508484@qq.com” //(""的邮箱是你自己注册的邮箱)
成功配置:

生成SSH密钥设置到Github(需先设置user.name和user.email)
cd ~/.ssh
ssh-keygen -t rsa -C “836508484@qq.com” //打自己的邮箱
出现下图:

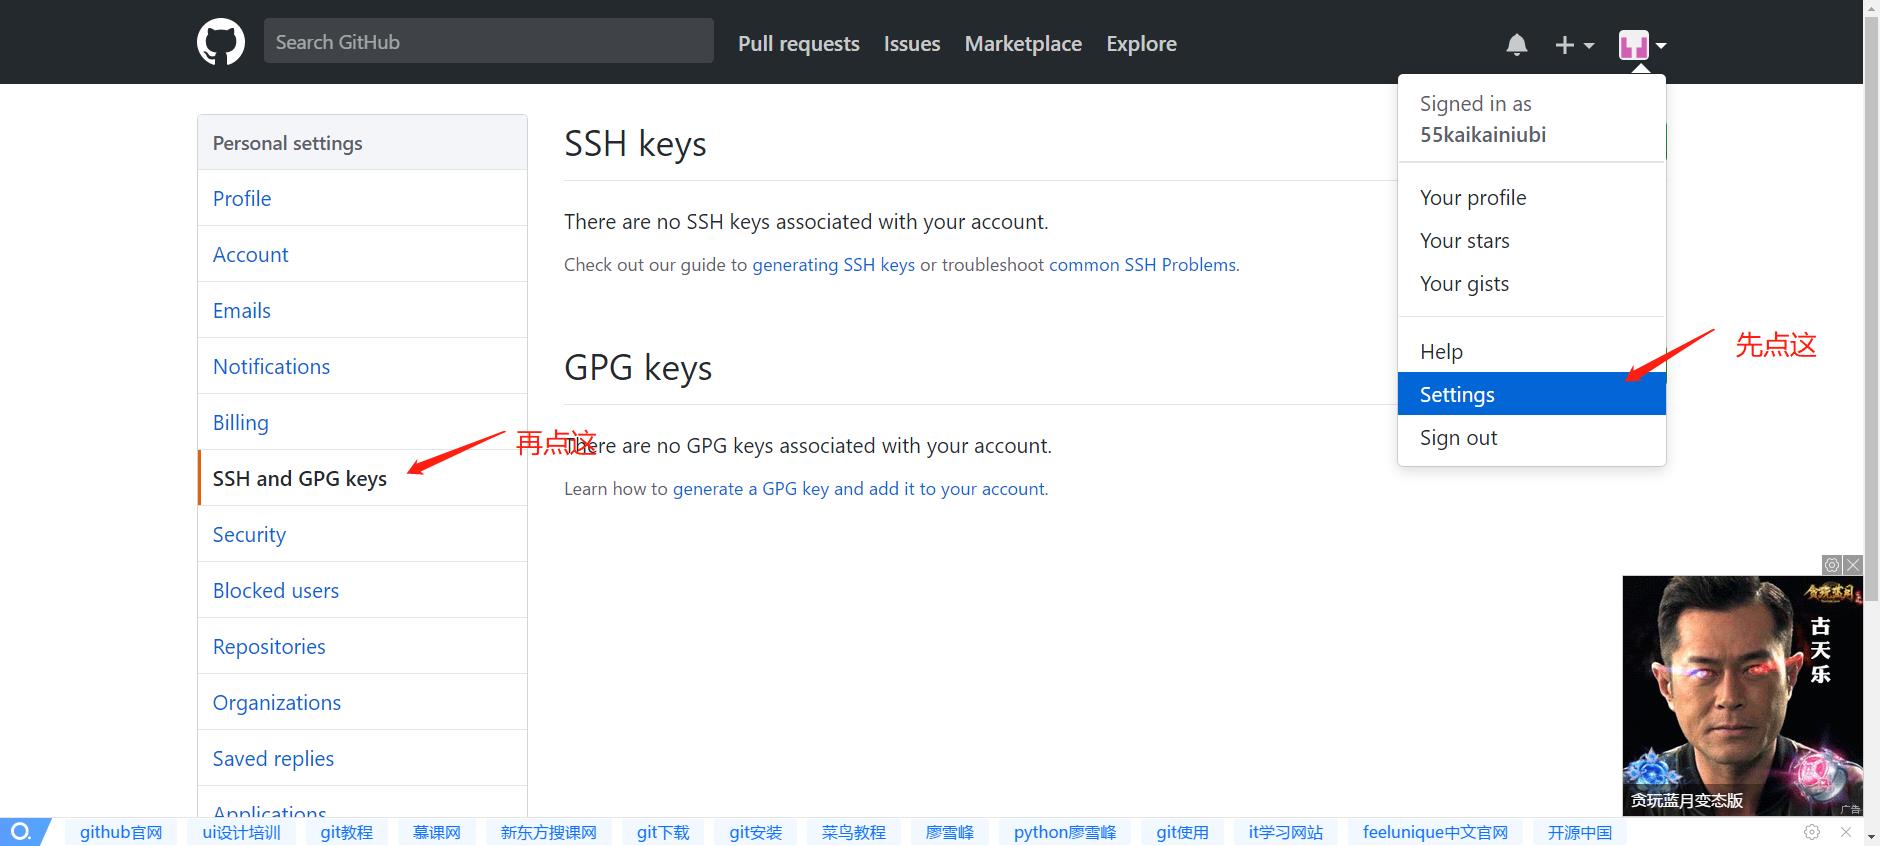
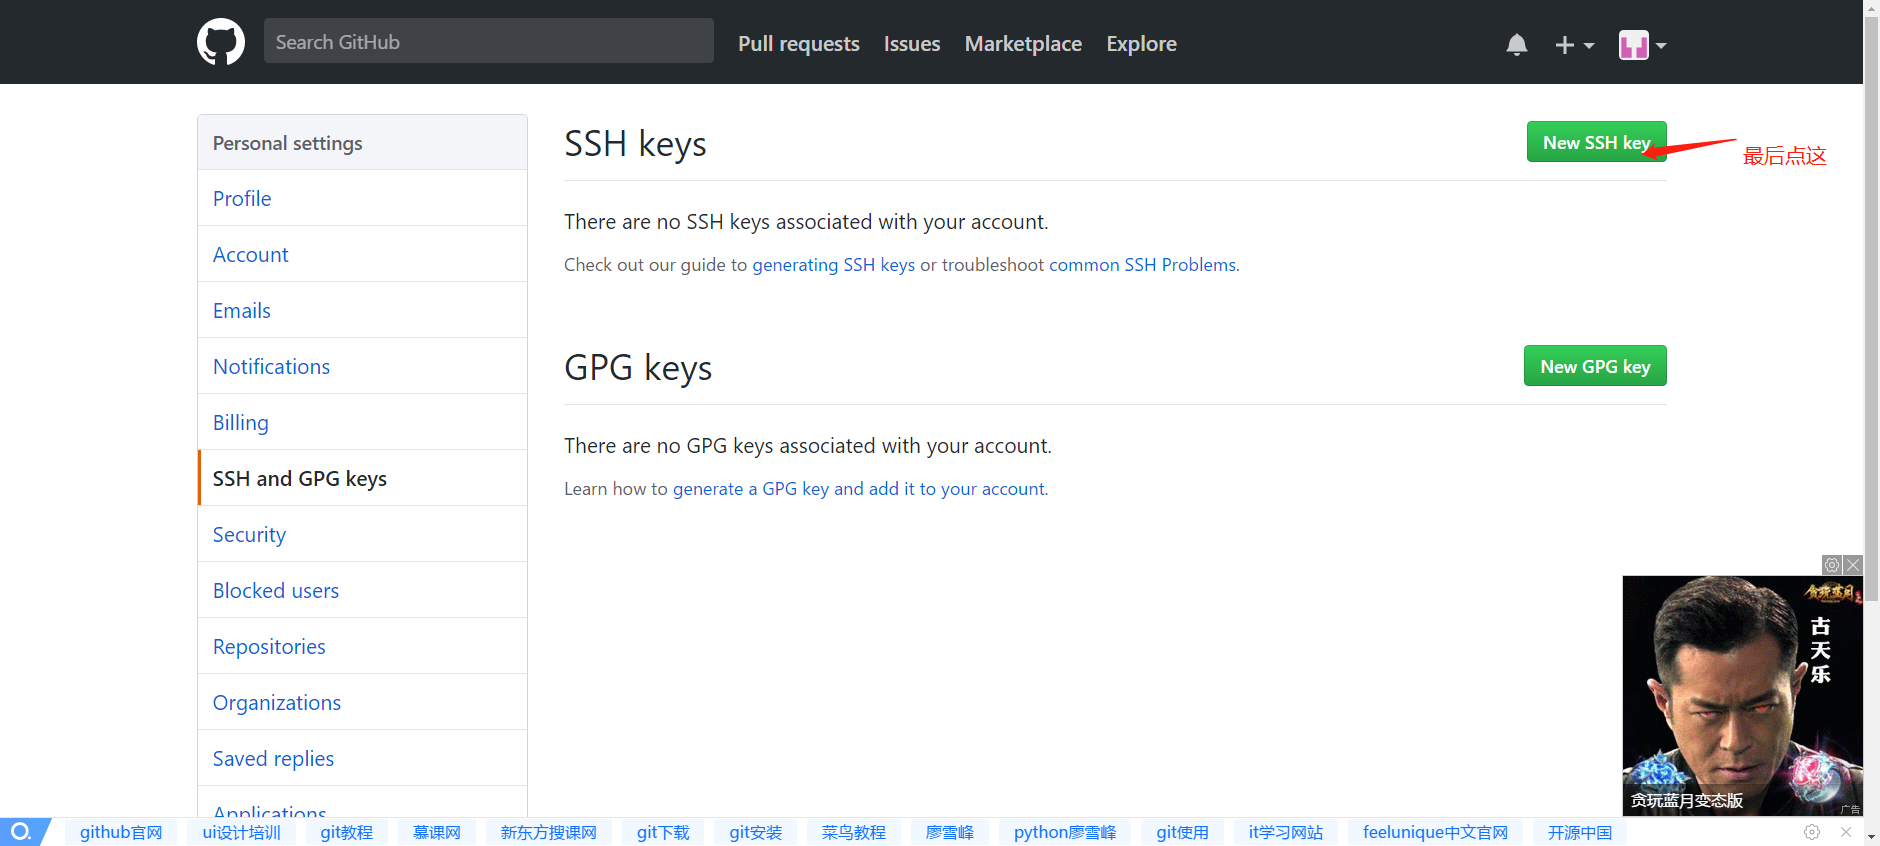
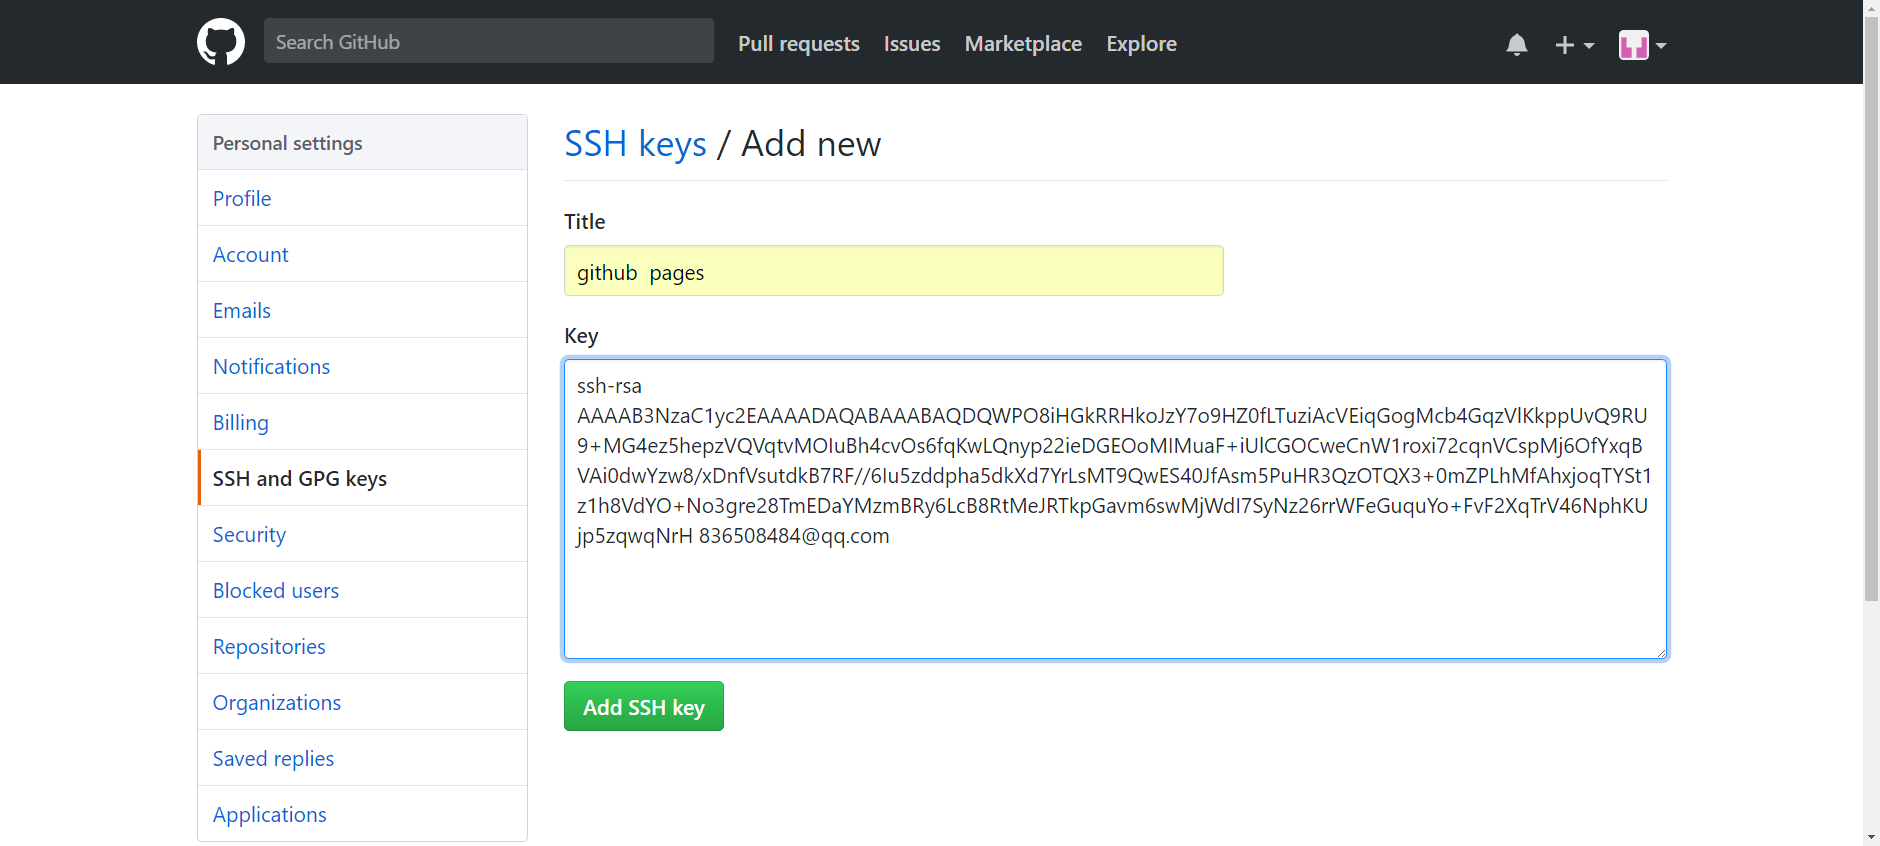
设置ssh key到GitHub
默认生成ssh key在C:\Users\username.ssh文件夹中,复制 id_rsa.pub文件到 github->settings->SSH and GPG key->new ssh key 如图
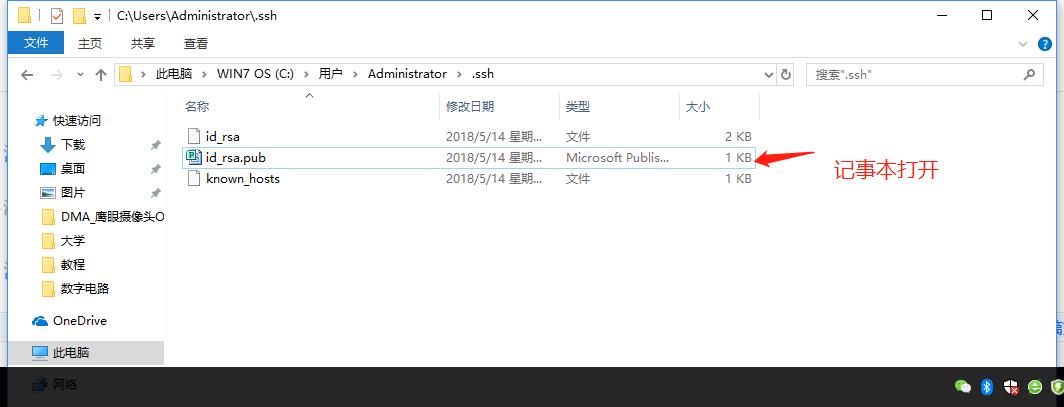
把里面的代码,复制到刚才网站注册的地方:
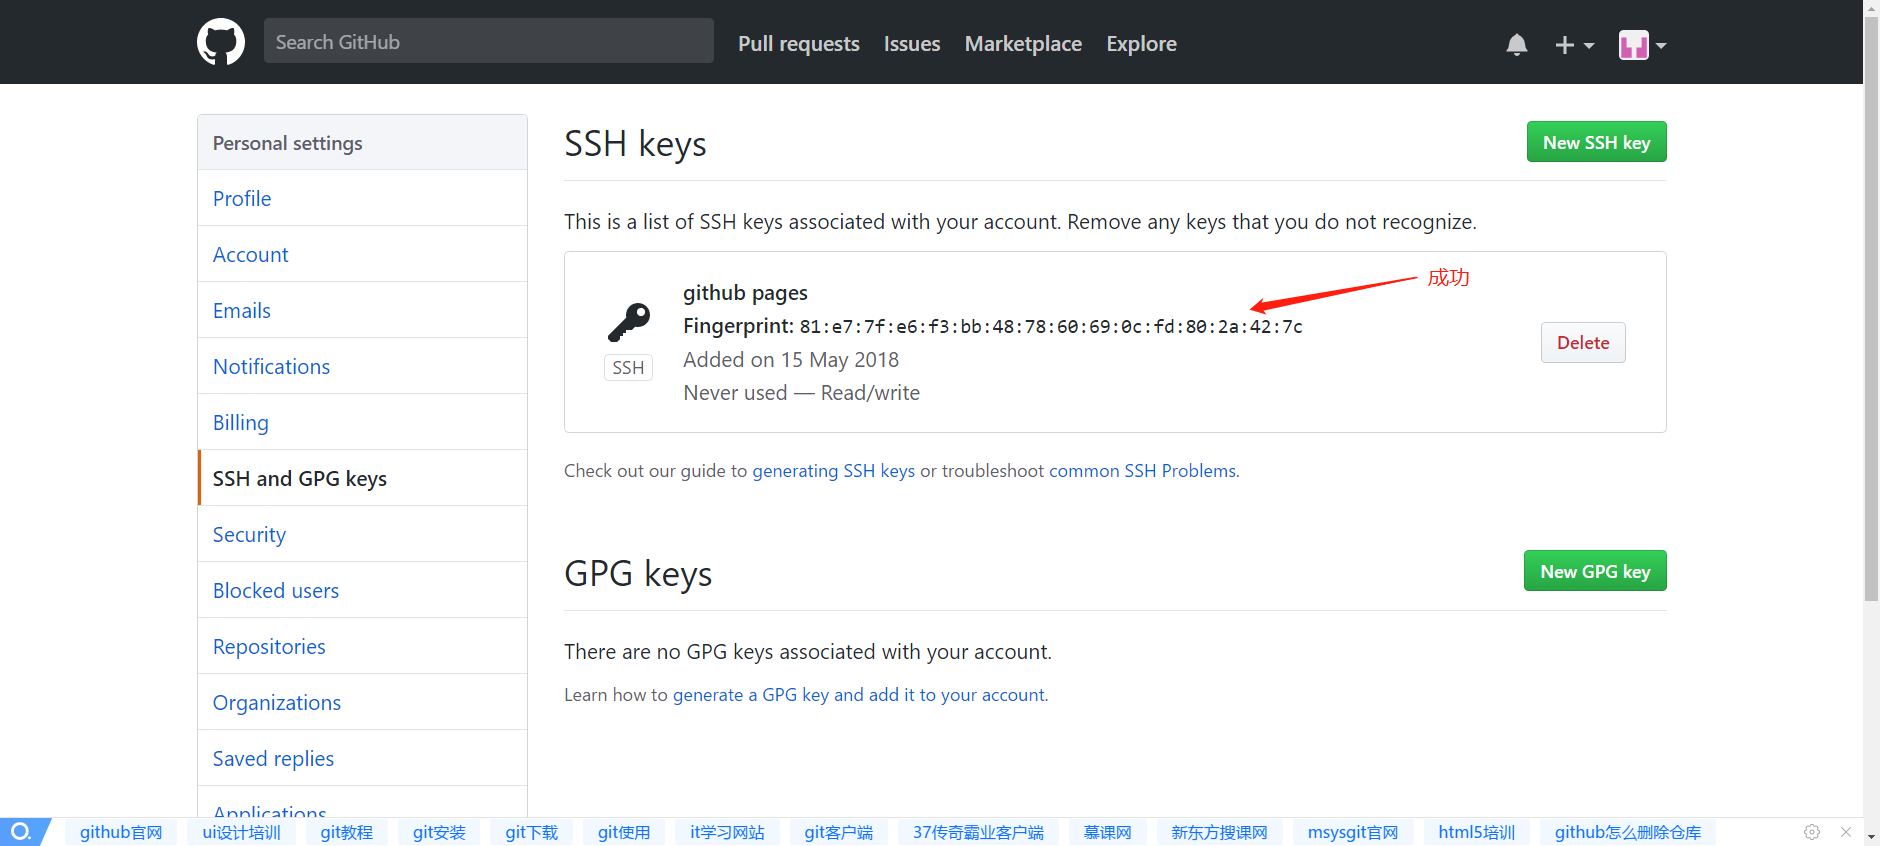
ssh设置是否成功测试
ssh -T git@github.com
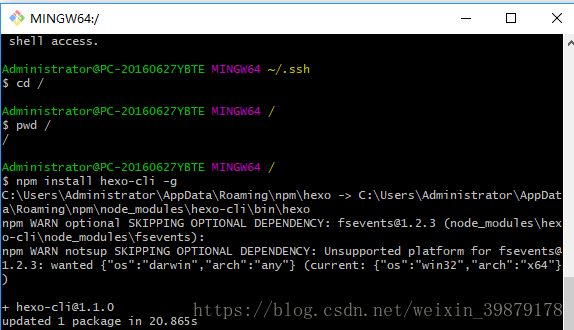
安装hexo插件

输入以下代码:
cd / #进入根目录,实际上是git安装的根目录
pwd /
npm install hexo-cli -g #安装hexo,阿里云源 大概10s安装
安装之后,输入以下代码:
cd /
hexo init Hexo
cd /Hexo
npm instal
hexo generate(可简写为hexo g)
hexo sever(可简写为hexo s)
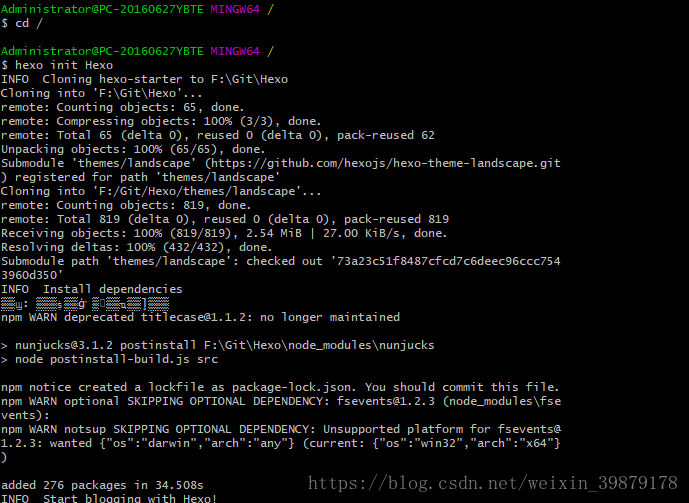
发现到最后已经有网址,复制+粘贴到浏览器访问


假如4000打不开,换一个端口,输入以下代码:
hexo s -p 5000
本地搭建hexo博客插件完成。
上传hexo博客的静态文档到GitHub
查看hexo插件的版本
hexo -V
大于hexo 3.0的上传到github的方法:

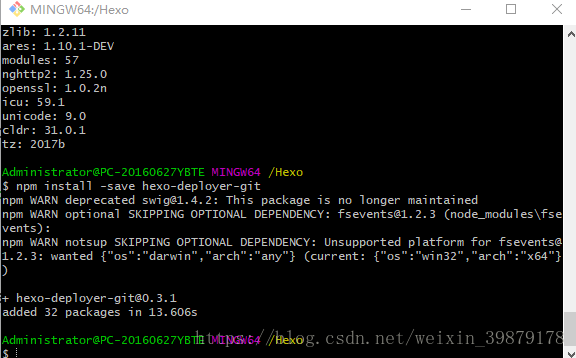
安装部署到github插件依赖
npm install –save hexo-deployer-git
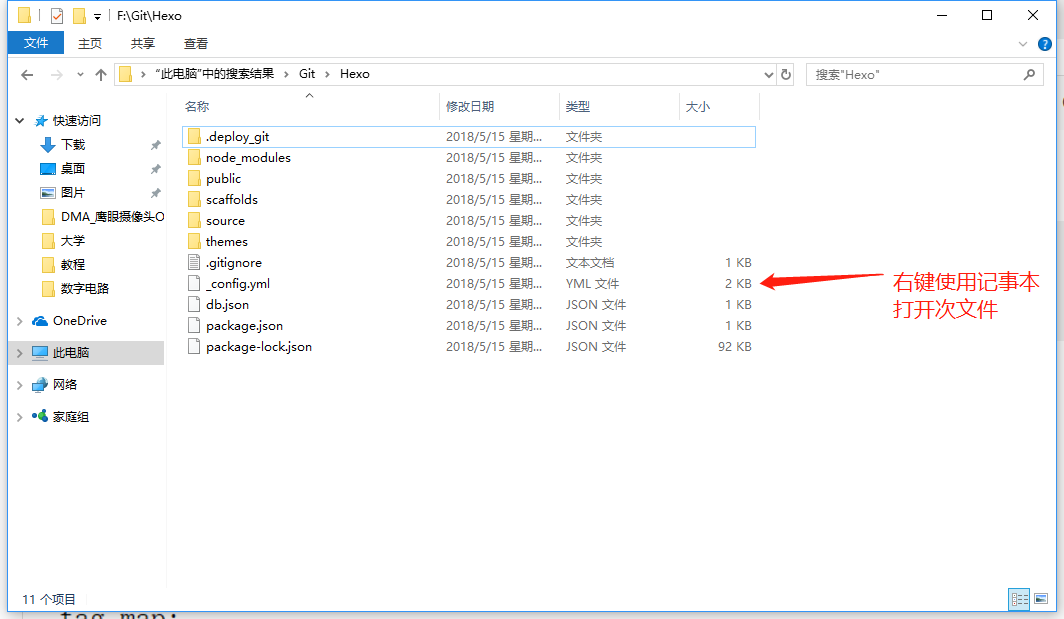
然后打开我的电脑搜索Hexo文件夹
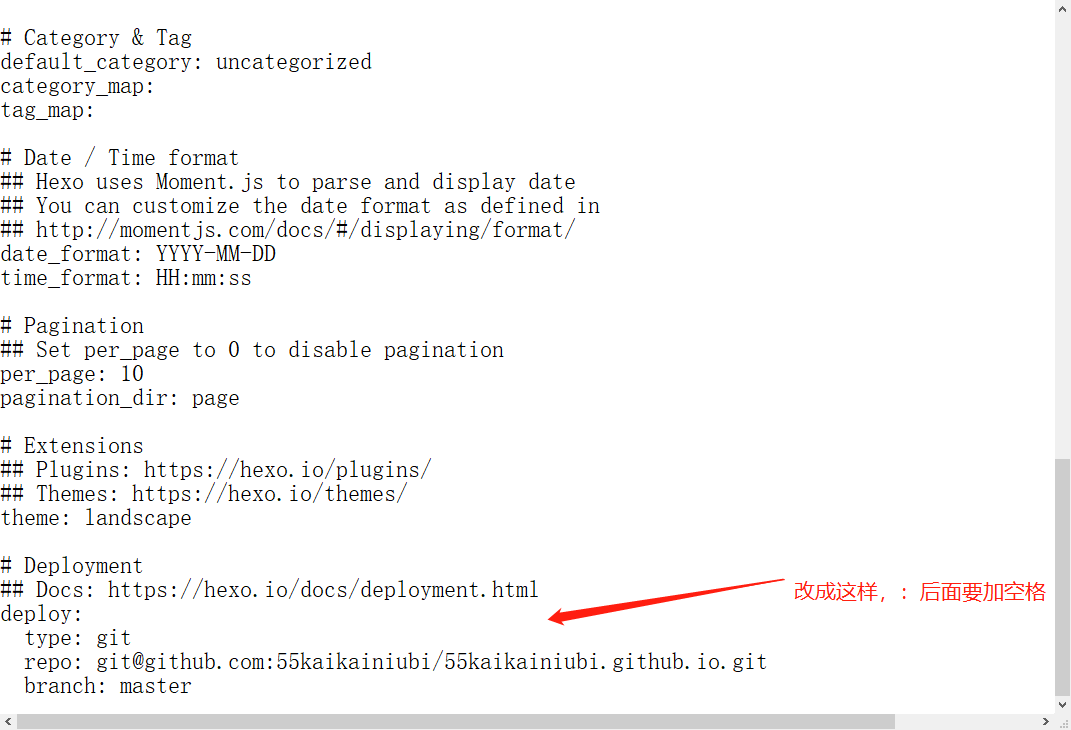
deploy:
type: git
repo: git@github.com:55kaikainiubi/55kaikainiubi.github.io.git //(改成自己的用户名和用户名加域名)
branch: master
再将gitbash部署hexo到github
hexo deploy
看到这样的进程,代表成功部署hexo到github

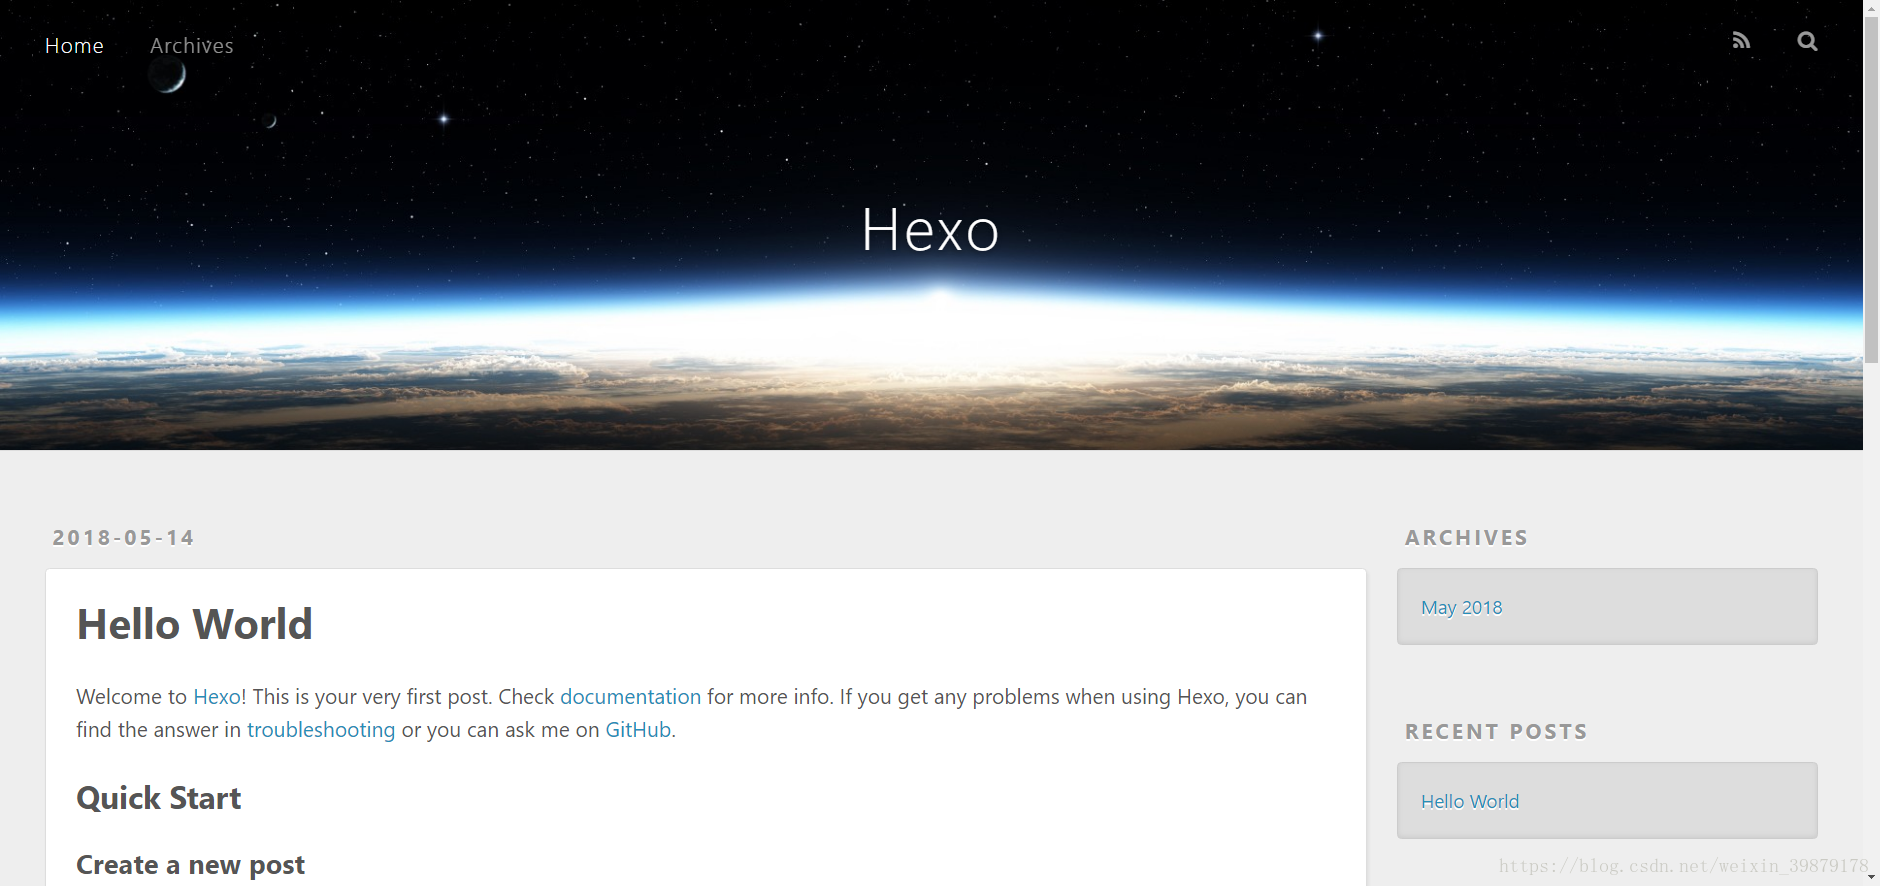
等待10分钟左右,打开用户名.github.io,会出现如下界面(代表成功搭建博客):

 浙公网安备 33010602011771号