

Windows 2008下部署Exchange Server 2007
对于很多政府及企业来说,微软的邮件服务器Exchange Server都是一个不错的通信和协作平台选择,尤其新版邮件服务器Exchange Server 2007 和OCS的组合,在微软UC平台上创下了完美的组合。现在Exchange Server 2007SP1已经可以安装和运行在Windows Server 2008上,下面就让我们来看一下如何在Windows Server 2008上安装这个邮件服务器。
一、安装前的准备
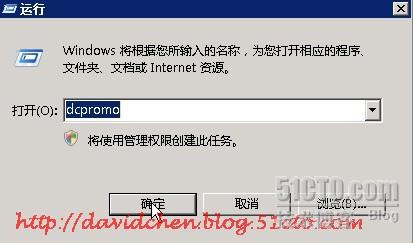
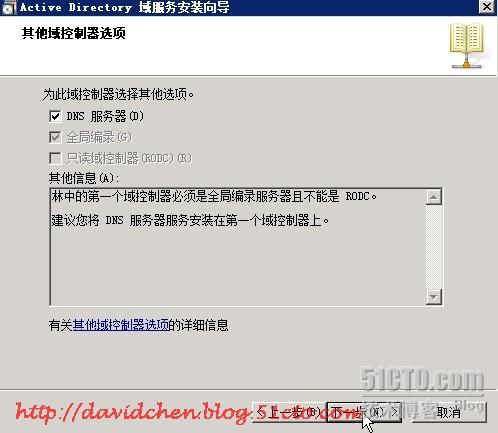
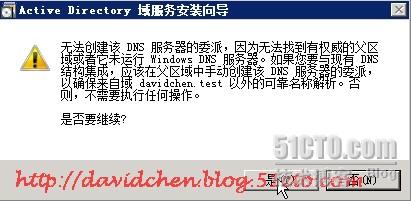
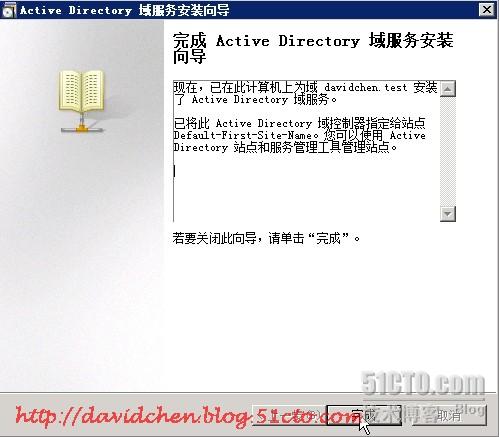
创建域、活动目录和DNS,我是在运行中输入dcpromo创建的,生产模式不要将域控和Exchange Server装在一起。
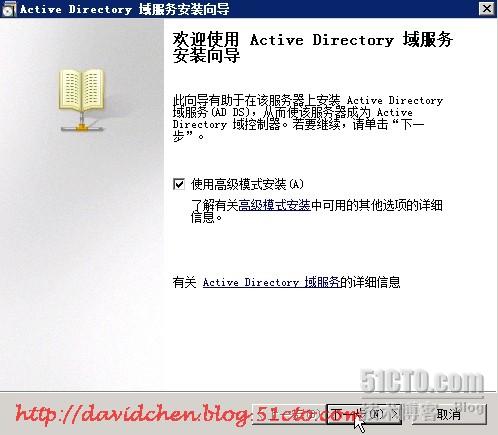
进入欢迎界面,勾选使用高级模式安装选项,点击下一步继续。
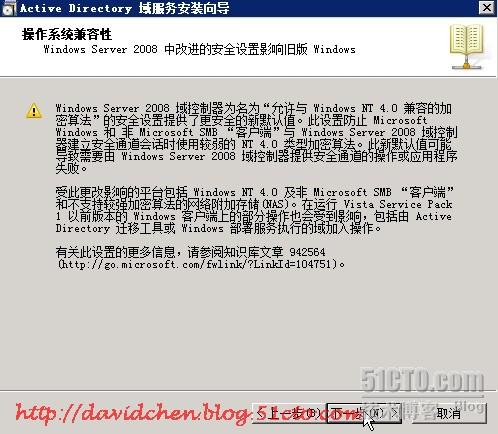
操作系统兼容性警告,下一步继续。
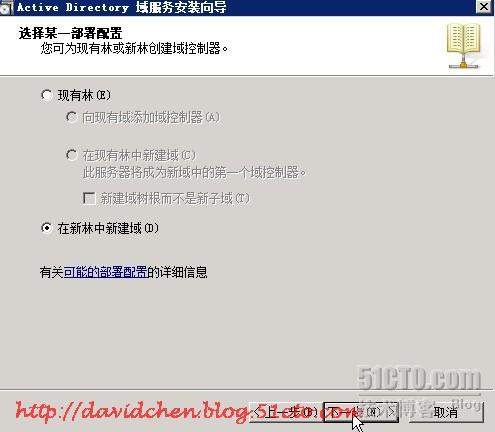
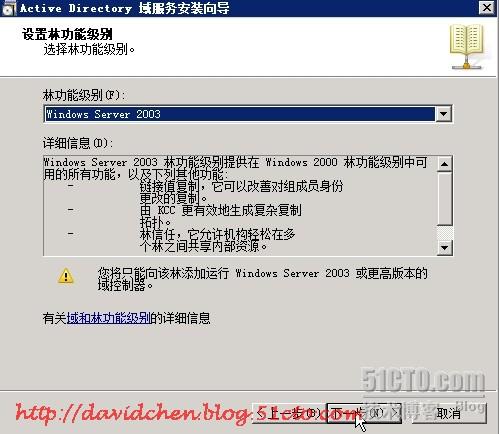
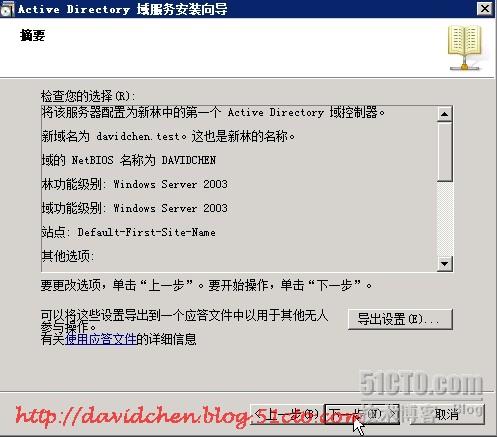
实验环境比较特殊,选择在新林中新建域,下一步继续。
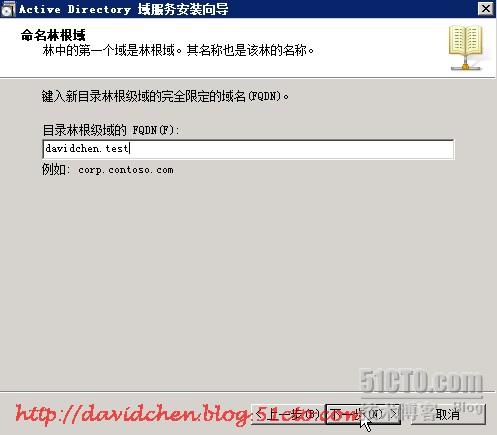
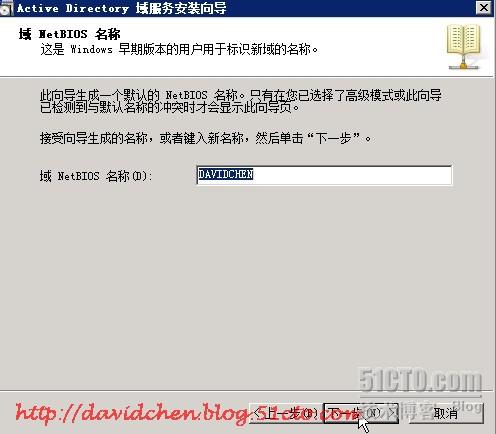
给新创建的域命名,
安装IIS服务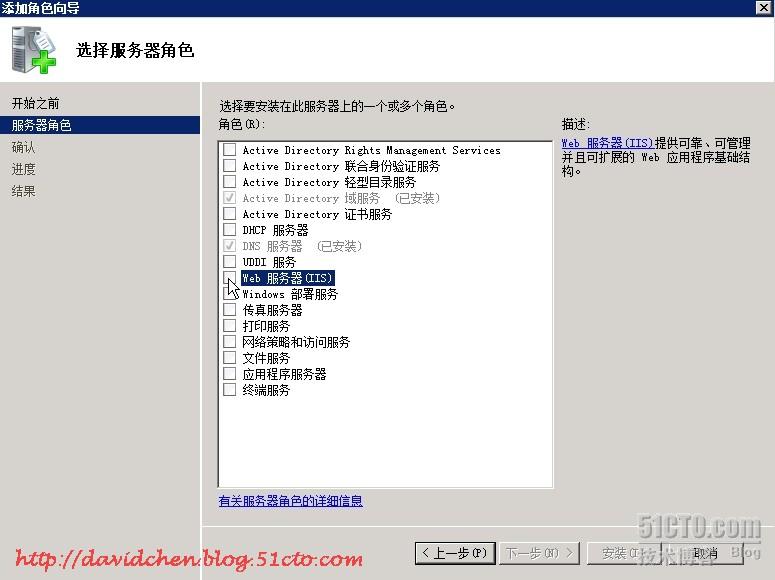

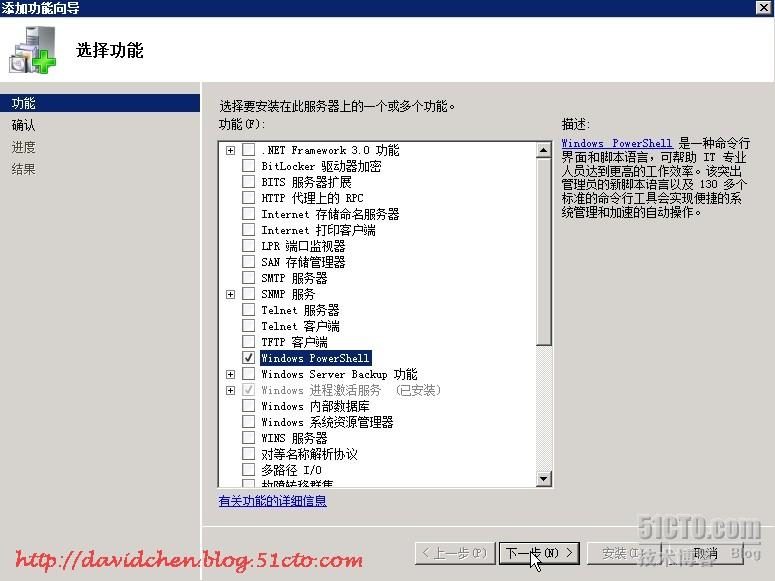
安装完成后勾选Windows PowerShell,点击下一步继续。
二、Exchange Server安装
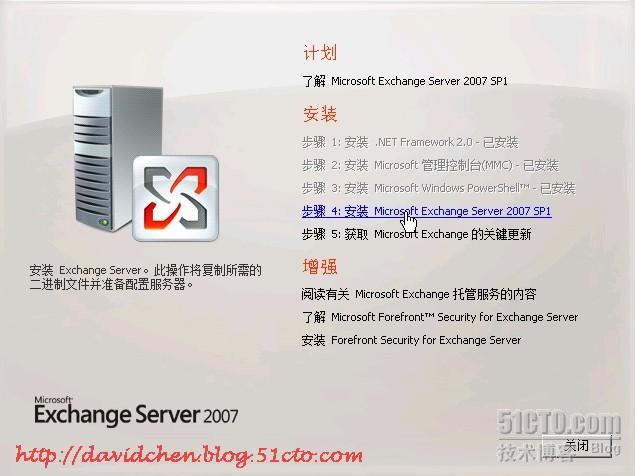
将Exchange Server光盘放入光驱,点击安装Microsoft Exchange Server 2007 SP1
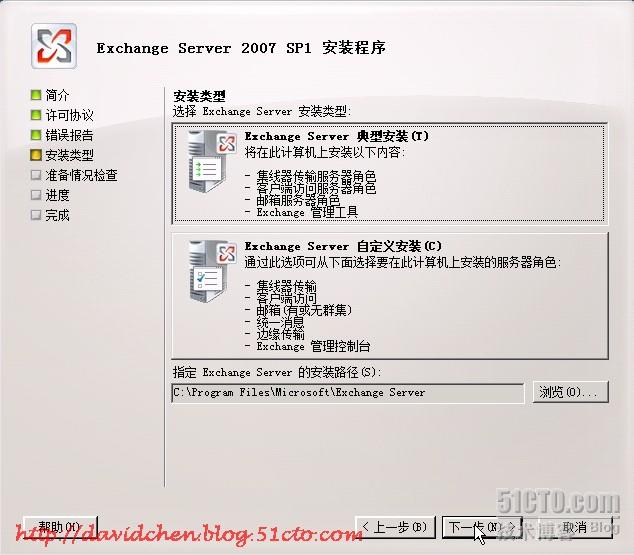
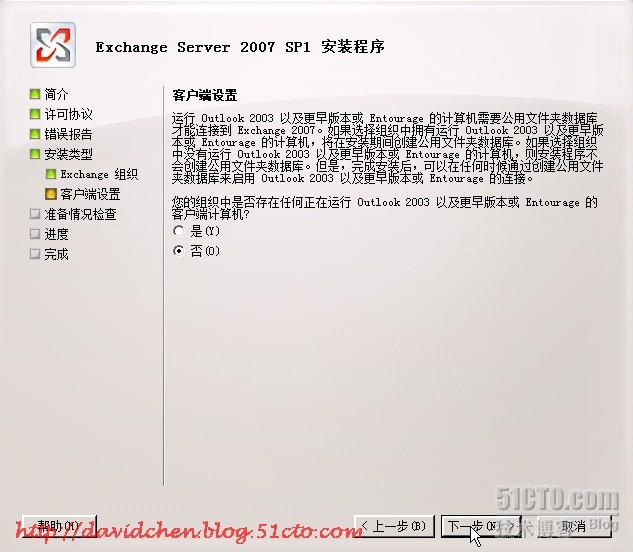
下一步,下一步,下一步,直至直接选择典型安装,下一步继续(如果对自定义安装感兴趣,请查看我发表的Windows2003下安装Exchange2007)
三、测试Exchange Server
首先欢迎我们的是激活提示。

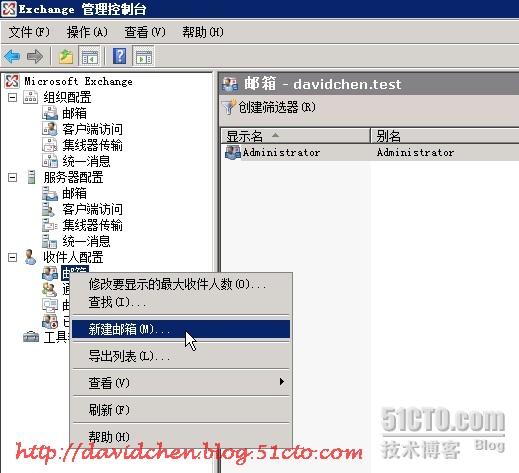
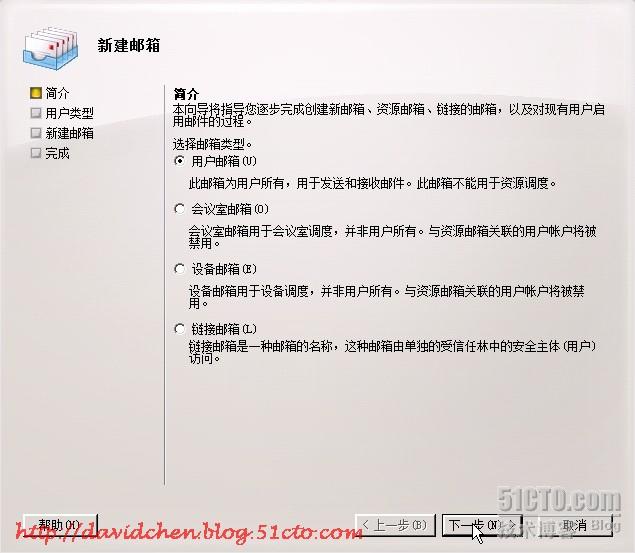
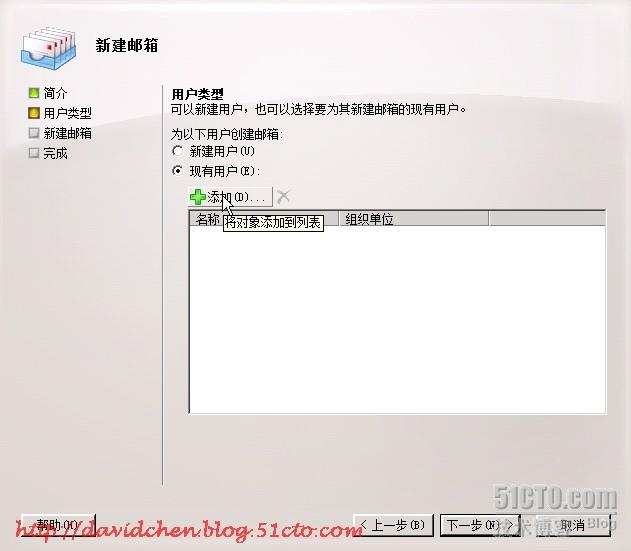
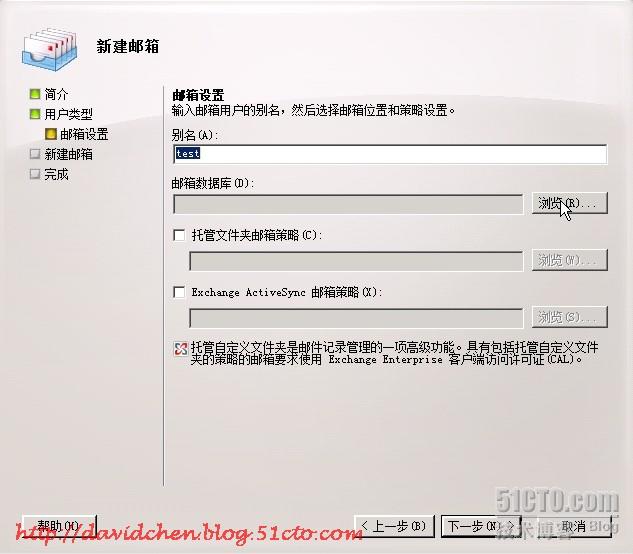
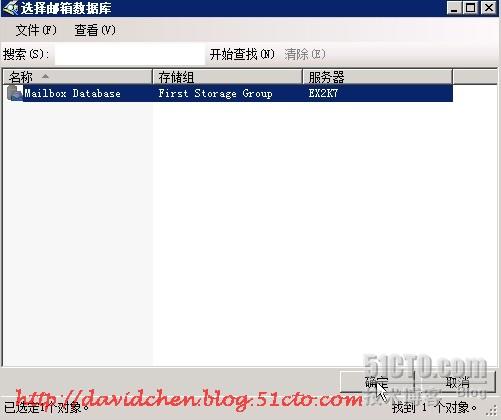
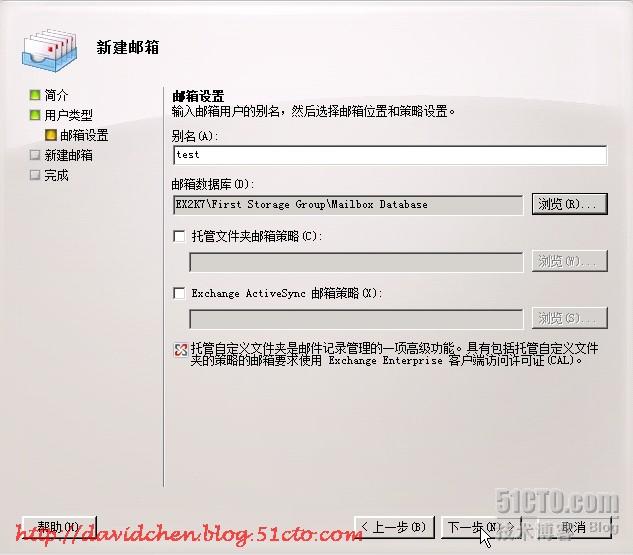
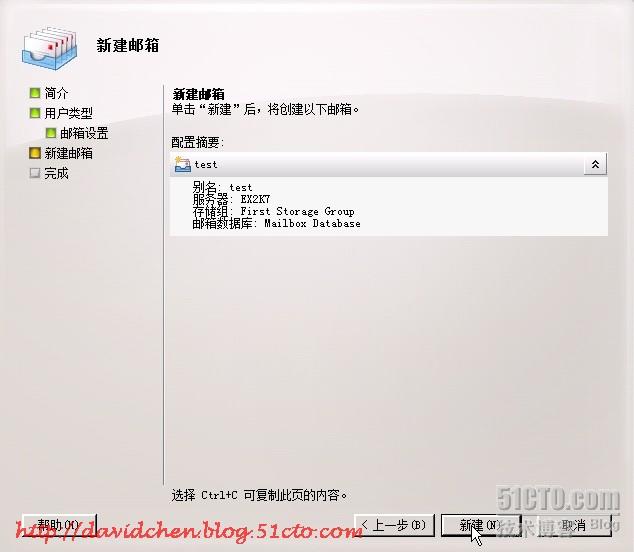
在收件人配置,邮箱选项选择新建邮箱。

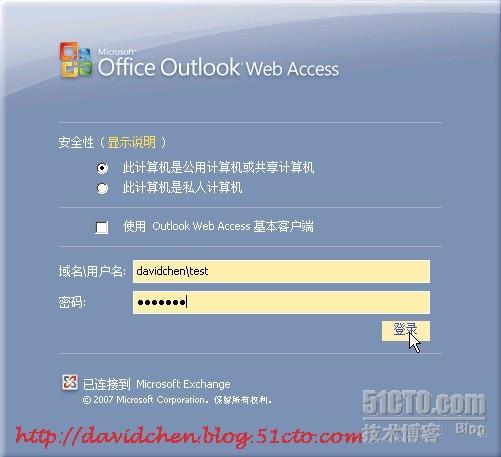
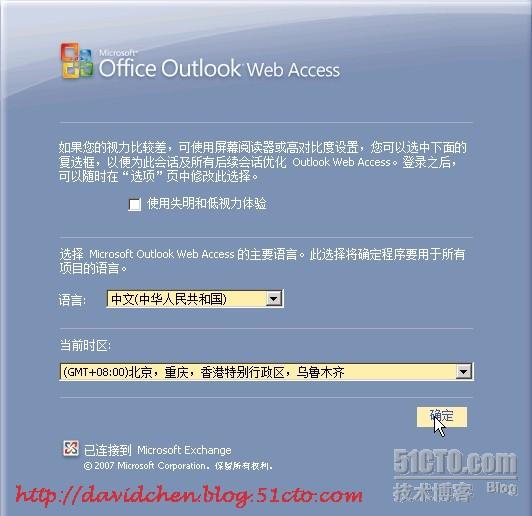
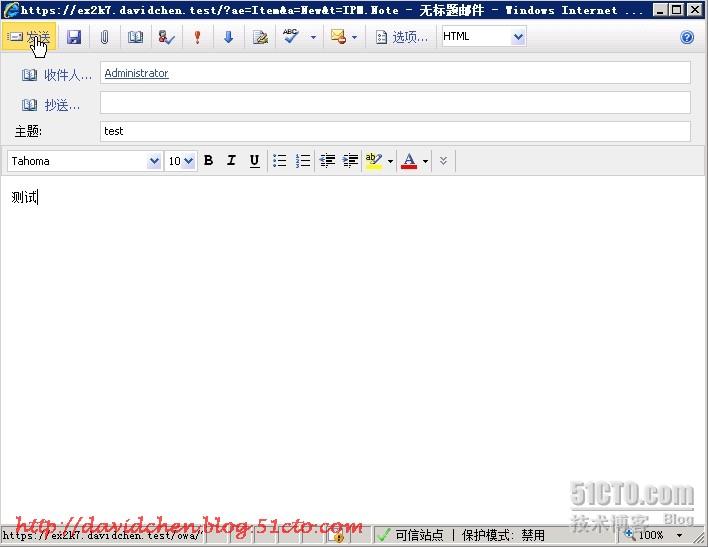
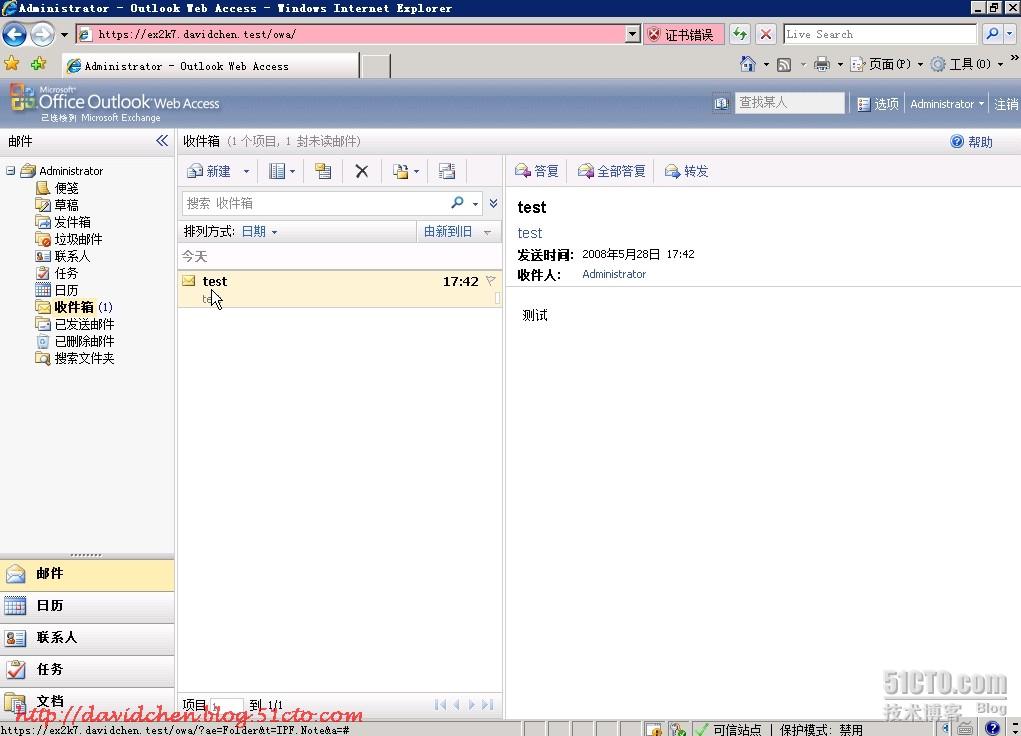
我们来用客户端OWA登陆测试一下吧。

 浙公网安备 33010602011771号