Nacos集成分布式事务Seata文档
今天参照seata官方文档总结下seata集成,网上有很多各式各样的博客,有的真是误导人,个人建议以后学习新组件,我们一定要先看组件官方文档,这里我们以seata1.4 AT模式为例
服务端搭建步骤:
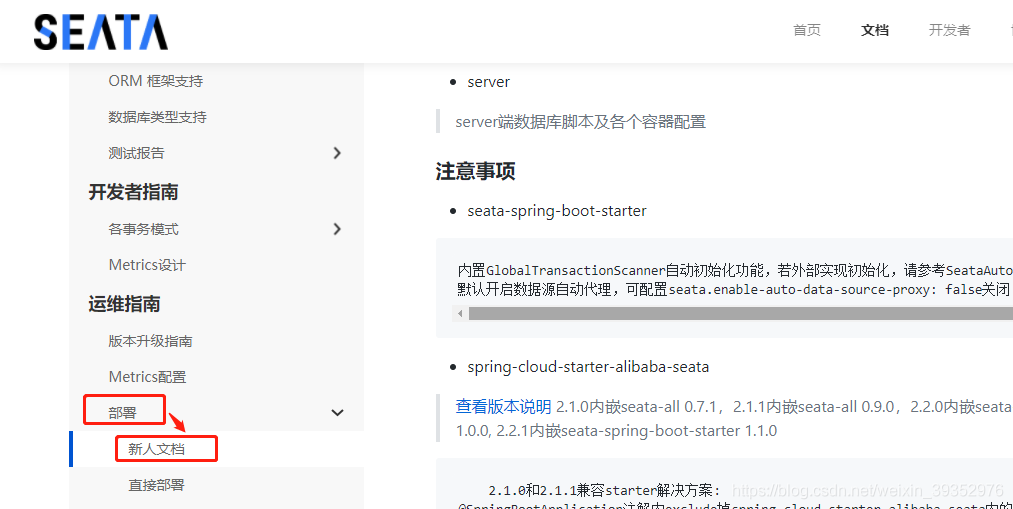
1.打开seata官方文档:http://seata.io/ 左下角找到 【部署】==> 新人文档

2.下载seata源码
https://github.com/seata/seata/tree/1.4.0
存放client端sql脚本,参数配置和server端数据库脚本及各个容器配置等都在源码里能找到,我这里就下载源码了
3.创建seata服务所需数据库
3.1.新建数据库seata
3.2.执行seata.sql数据库脚本【位置:https://github.com/seata/seata/tree/1.4.0/script/server/db/mysql.sql】
4.每个业务系统数据库中都需要新建表undo_log用于seata服务做全局事务提交和回滚
4.1.执行undo_log.sql建表sql【位置:https://github.com/seata/seata/tree/1.4.0/script/client/at/db/mysql.sql】
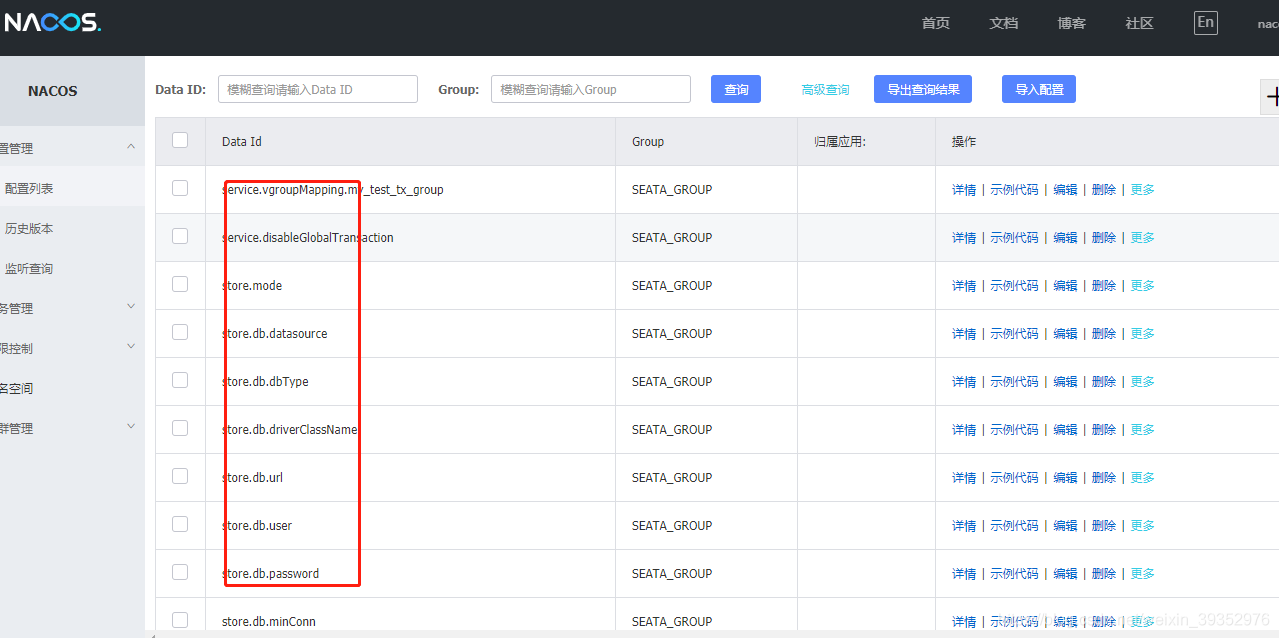
5.在服务器上执行nacos-config.sh脚本将配置信息导入到nacos配置中
5.1.和nacos-config.sh【位置:https://github.com/seata/seata/tree/1.4.0/script/config-center/nacos/nacos-config.sh】
同一级目录还有个config.txt【位置:https://github.com/seata/seata/tree/1.4.0/script/config-center/config.txt】
config.txt精简后,内容如下:
service.vgroupMapping.my_test_tx_group=default
service.disableGlobalTransaction=false
store.mode=db
store.db.datasource=druid
store.db.dbType=mysql
store.db.driverClassName=com.mysql.jdbc.Driver
store.db.url=jdbc:mysql://10.253.96.110:3306/seata?useUnicode=true
store.db.user=root
store.db.password=123456
store.db.minConn=5
store.db.maxConn=30
store.db.globalTable=global_table
store.db.branchTable=branch_table
store.db.queryLimit=100
store.db.lockTable=lock_table
store.db.maxWait=5000
5.2.执行脚本
sh nacos-config.sh -h ip -p 端口 -u nacos用户名 -w nacos密码

5.3.脚本执行原理
将config.txt的key-value值通过调用nacos添加配置接口导入到nacos配置管理里面
6.下载seata启动包【当然我们也可以直接修改源码配置信息,直接启动源码项目启动seata服务】
https://github.com/seata/seata/releases

7.修改seata配置文件registry.conf,修改后的内容如下
registry {
  type = "nacos"
  nacos {
    application = "seata-server"
    serverAddr = "nacosIP:8848"
    group = "SEATA_GROUP"
    namespace = ""
    cluster = "default"
    username = "nacos"
    password = "nacos"
  }
}
config {
  type = "nacos"
  nacos {
    serverAddr = "nacosIP:8848"
    namespace = ""
    group = "SEATA_GROUP"
    username = "nacos"
    password = "nacos"
  }
}
8.启动seata
进入bin目录下执行:sh seata-server.sh -p 8091
9.确认seata服务已经注册在nacos中

客户端搭建步骤:
1.在springboot项目中引入包
<dependencies>
    <!--配置中心-->
    <dependency>
        <groupId>com.cjkj</groupId>
        <artifactId>cjkj-config</artifactId>
    </dependency>
    <!--Seata 包-->
    <dependency>
    	<groupId>io.seata</groupId>
    	<artifactId>seata-spring-boot-starter</artifactId>
    <version>1.4.0</version>
    </dependency>
    <dependency>
        <groupId>com.alibaba.cloud</groupId>
        <artifactId>spring-cloud-starter-alibaba-seata</artifactId>
        <version>2.2.1.RELEASE</version>
            <exclusions>
               <exclusion>
             	 	<groupId>io.seata</groupId>
              		<artifactId>seata-spring-boot-starter</artifactId>
               </exclusion>
            </exclusions>
    </dependency>
</dependencies>
2.在项目配置文件中添加seata配置【注意:0.9版本以后,nacos新增了用户鉴权中心,连接nacos必须输入用户名和密码】
seata:
  enabled: true
  application-id: ${spring.application.name}
  tx-service-group: my_test_tx_group
  registry:
    type: nacos
    nacos:
      application: seata-server
      server-addr: nacosIP:8848
      group : "SEATA_GROUP"
      namespace:
      username: "nacos"
      password: "nacos"
  config:
    type: nacos
    nacos:
      namespace:
      serverAddr: nacosIP:8848
      group: SEATA_GROUP
      username: "nacos"
      password: "nacos"
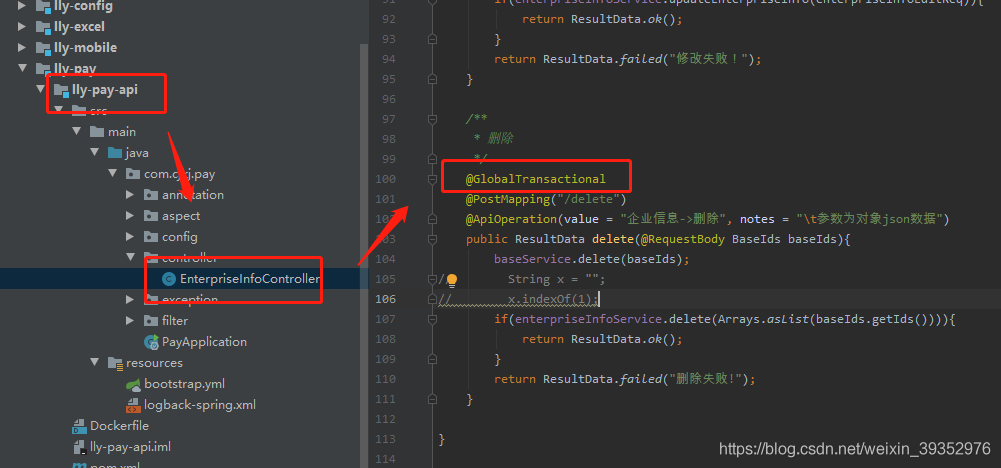
3.在需要分布式事务的接口上添加注解@GlobalTransactional就可以了

4.启动项目就可以啦
5.附上客户端源码:https://github.com/RenPengLiang/project_mode.git


 浙公网安备 33010602011771号