SpringCloud注册中心之Consul
Consul简介
Consul是HashiCorp公司使用Golang语言开发的一中多服务解决方案工具,相比于其他服务注册中心来说,Consul的功能更为强大,丰富,其中最基本的功能包含下面几点(翻译自官网):
- 服务发现:Consul的客户端可以注册服务,如api或mysql,其他客户端可以使用Consul来发现给定服务的提供者。使用DNS或HTTP,应用程序可以很容易地找到它们所依赖的服务。
- 运行状况检查:Consul客户端可以提供任意数量的运行状况检查,这些检查要么与给定的服务相关(“web服务器是否返回200 OK”),要么与本地节点相关(“内存利用率是否低于90%”)。操作员可以使用此信息监视群集运行状况,服务发现组件也可以使用此信息将通信路由到远离不正常主机的位置。
- Kvstore:应用程序可以将Consul的分层密钥/值存储用于任何目的,包括动态配置、特征标记、协调、领导选择等。简单的HTTP API使其易于使用。
- 安全服务通信:Consul可以为服务生成和分发TLS证书,以建立相互的TLS连接。意图可用于定义允许哪些服务进行通信。使用可以实时更改的意图,而不是使用复杂的网络拓扑和静态防火墙规则,可以轻松地管理服务分段。
- 多数据中心:Consul支持多个现成的数据中心。这意味着Consul的用户不必担心构建额外的抽象层来扩展到多个区域。
Consul服务的提供者都需要运行一个consul agent,agent负责服务和节点的健康检测。agent与一个或多个Consul Server进行交互,Consul Server用于存放和复制数据,Consul服务节点数一般为奇数个(建议3,5,7),类似于zookeeper的节点设置方案,consul节点之间也会通过自己的协议选举出leader,Consul可以单节点运行,但作为数据服务中心为保证服务的高可用,一般都是集群部署。
Consul Server和Client启动都可以通过agent的方式启动,启动客户端时agent并不是必须的,Consul启动可以通过浏览器访问可视化界面管理服务。
具体文档官方介绍:https://www.consul.io/intro/index.html,
Consul安装
- 下载地址:https://www.consul.io/downloads.html
- Linux安装:
下载后的文件是一个zip文件,使用unzip命令解压后得到一个可执行文件,使用./consul命令执行后,看到如下界面表示安装完成,展示Consul相关 的命令和使用案例Usage: consul [--version] [--help] <command> [<args>] Available commands are: acl Interact with Consul's ACLs agent Runs a Consul agent catalog Interact with the catalog config Interact with Consul's Centralized Configurations connect Interact with Consul Connect debug Records a debugging archive for operators event Fire a new event exec Executes a command on Consul nodes force-leave Forces a member of the cluster to enter the "left" state info Provides debugging information for operators. intention Interact with Connect service intentions join Tell Consul agent to join cluster keygen Generates a new encryption key keyring Manages gossip layer encryption keys kv Interact with the key-value store leave Gracefully leaves the Consul cluster and shuts down lock Execute a command holding a lock login Login to Consul using an auth method logout Destroy a Consul token created with login maint Controls node or service maintenance mode members Lists the members of a Consul cluster monitor Stream logs from a Consul agent operator Provides cluster-level tools for Consul operators reload Triggers the agent to reload configuration files rtt Estimates network round trip time between nodes services Interact with services snapshot Saves, restores and inspects snapshots of Consul server state tls Builtin helpers for creating CAs and certificates validate Validate config files/directories version Prints the Consul version watch Watch for changes in Consul - Windows安装:
下载Consul后解压是一个可执行文件,双击无法运行,需要把consul.exe配置到Windos的环境变量中,在cmd中使用consul的命令即可。
Consul Server
安装后,通过命令启动Consul Server
consul agent -server -bind=x.x.x.x -client=0.0.0.0 -bootstrap-expect=3 -data-dir=/consul/data -node=server1 -ui
- agent:表示使用agent启动
- -server:以服务端启动Consul
- -bind:绑定服务器节点的某个网卡,针对服务器多网卡环境
- -client:允许连接到server端的client IP地址,0.0.0.0表示任何地址都可以访问
- -bootstrap-expect:server节点数低于这个阈值,将无法正常工作
- -data-dir:consul server数据存放节点,此目录须存在
- -node:该节点在管理端的服务名称
- -ui:开启浏览器端web界面访问
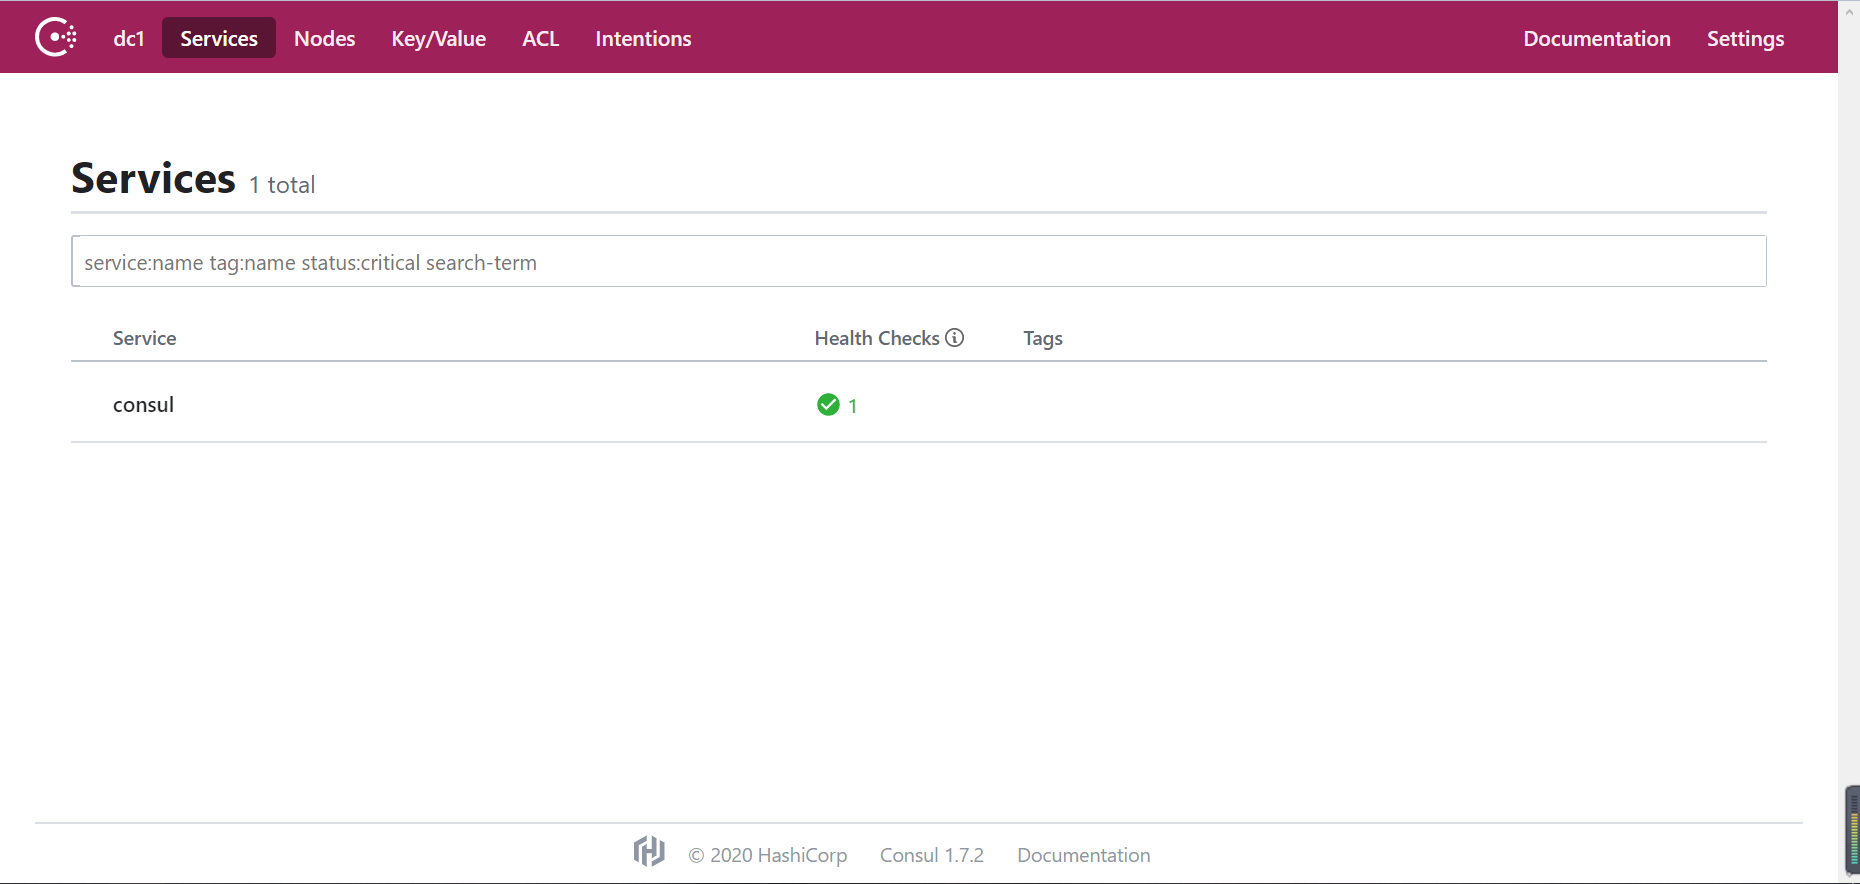
服务启动后可以通过默认端口8500,在浏览器端访问,http://localhost:8500

使用consul members查看节点信息,当前只有一个节点
Node             Address         Status  Type    Build  Protocol  DC   Segment
DESKTOP-4BMJIRJ  127.0.0.1:8301  alive   server  1.7.2  2         dc1  <all>
在多个服务节点上启动服务端,每个服务端之间可以通过命令来管理Consul Server,加入或者离开集群
consul join ip
consul leave ip
Consul可以使用config-dir来配置服务启动信息,该文件夹下的所有.json结尾的文件都会被加载。
    {
        "ports": {
        "http": 8500,
        "dns": 8600,
        "rpc": 8400,
        "serf_lan": 8301,
        "serf_wan": 8302,
        "server": 8300
        }
    }
Consul Discovery
Spring Cloud Eureka发布声明将不再维护Eureka 2.X版本,但是Eureka 1.x仍然是一个活跃的项目
Eureka 2.0 (Discontinued)
The existing open source work on eureka 2.0 is discontinued. The code base and artifacts that were released as part of the existing repository of work on the 2.x branch is considered use at your own risk.
Eureka 1.x is a core part of Netflix's service discovery system and is still an active project.
技术总是再不停的迭代发展,既然Eureka不再维护,Spring Cloud Consul可以作为其替代品,而且功能更为强大,和Spring Cloud整合也是非常简单。
-
创建Spring cloud项目
-
pom文件引入spring cloud consul
<!--web--> <dependency> <groupId>org.springframework.boot</groupId> <artifactId>spring-boot-starter-web</artifactId> </dependency> <!--actuator--> <dependency> <groupId>org.springframework.boot</groupId> <artifactId>spring-boot-starter-actuator</artifactId> </dependency> <!-- consul discovery--> <dependency> <groupId>org.springframework.cloud</groupId> <artifactId>spring-cloud-starter-consul-discovery</artifactId> </dependency> <!-- consul config--> <dependency> <groupId>org.springframework.cloud</groupId> <artifactId>spring-cloud-starter-consul-config</artifactId> </dependency> -
编写主启动类
@SpringBootApplication @EnableDiscoveryClient @RestController public class ConsulApplication { public static void main(String[] args) { SpringApplication.run(ConsulApplication.class,args); } @Value("${server.port}") private String serverPort; @RequestMapping("consul") public String getInfo() { return "Spring Cloud Consul :"+serverPort + UUID.randomUUID().toString(); } } -
配置application.yml
  spring:
    application:
      name: consul-client
    cloud:
      consul:
        enabled: true
        host: 127.0.0.1 #连接的服务端IP
        port: 8500  #服务端口
        discovery:
  	    enabled: true #是否启用服务发现
  	    register: true
  	    deregister: true #服务停止时取消注册
  	    health-check-path: /actuator/health #健康检查地址
  	    health-heck-interval: 15s #健康检查间隔
  	    health-check-critical-timeout: #清理不健康服务间隔时长
  	    instance-id: consul-client1 #服务注册ID
  	    service-name: consul-client #服务注册名称
  	    tags: version 1.0,Chsoul Test Consul
        config:
  	    enabled: true #启用consul config
  	    prefix: config
  	    format: yaml

      server:
        port: 8080
-
-
启动服务
访问http://localhost:8080/consul
Spring Cloud Consul :8080 ecc5da16-ad08-40a6-9d98-4f729dee70f3
每次刷新页面随之变化
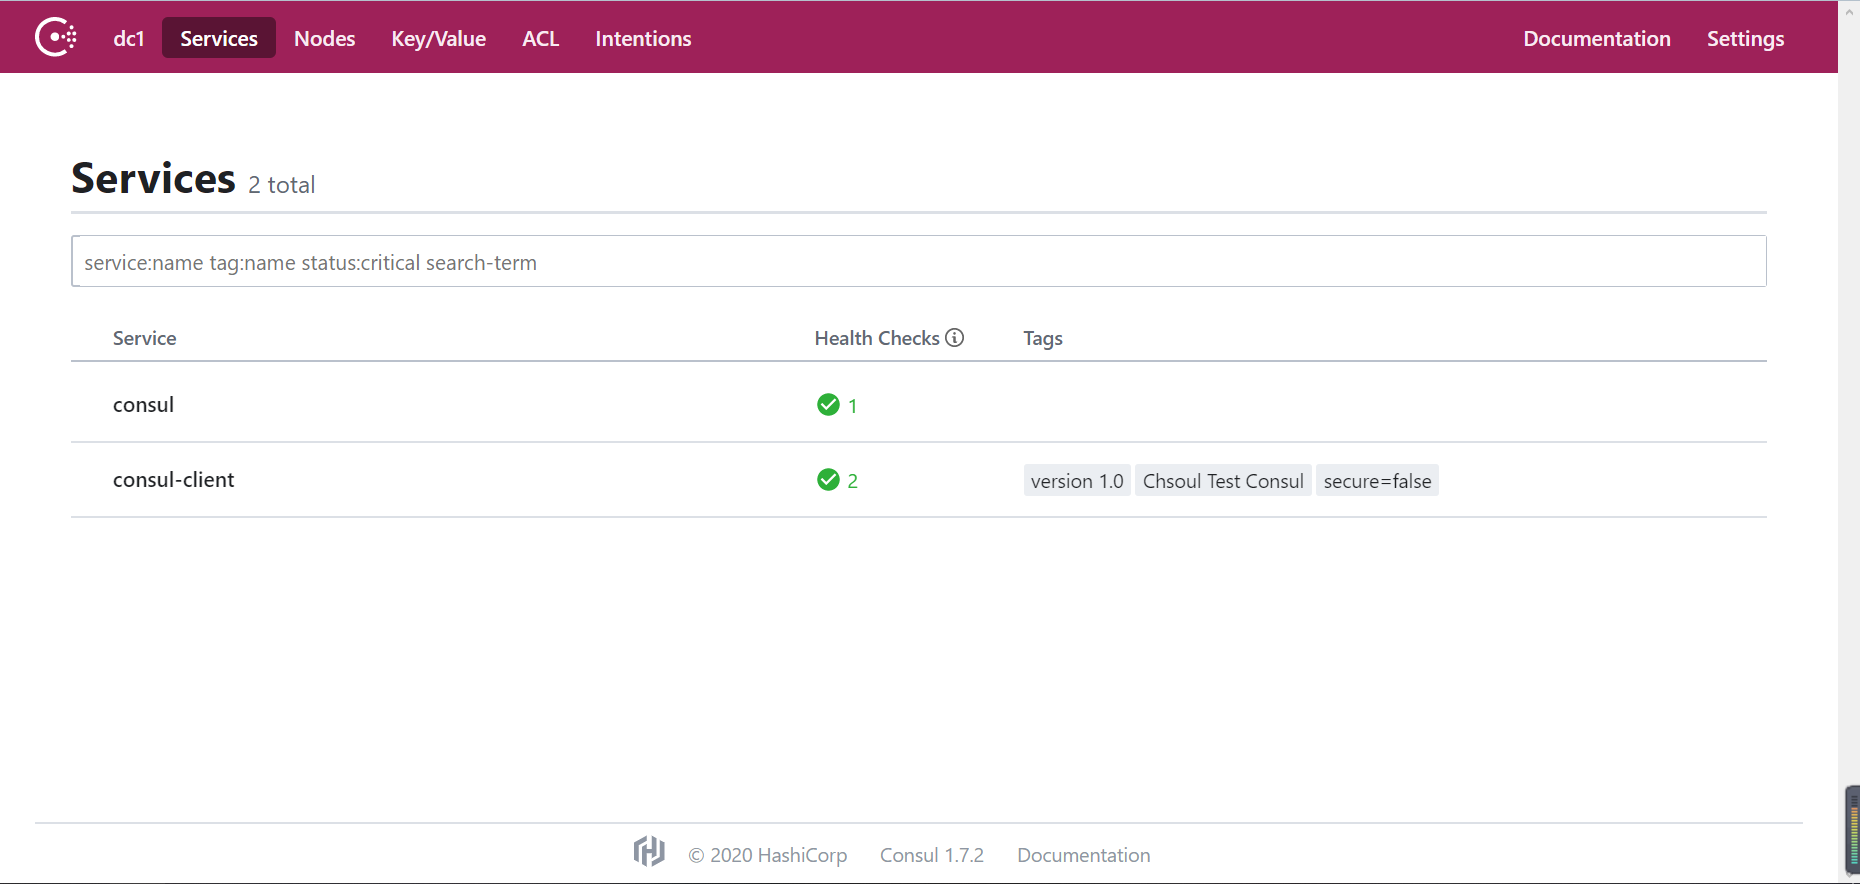
访问http://localhost:8500

可以看到已经注册进来的服务信息,健康状态等。
本文来自博客园,作者:星光Starsray,转载请注明原文链接:https://www.cnblogs.com/starsray/p/12554694.html

