第十五期 07训练自己的Lora模型(云服务器)
一:环境搭建
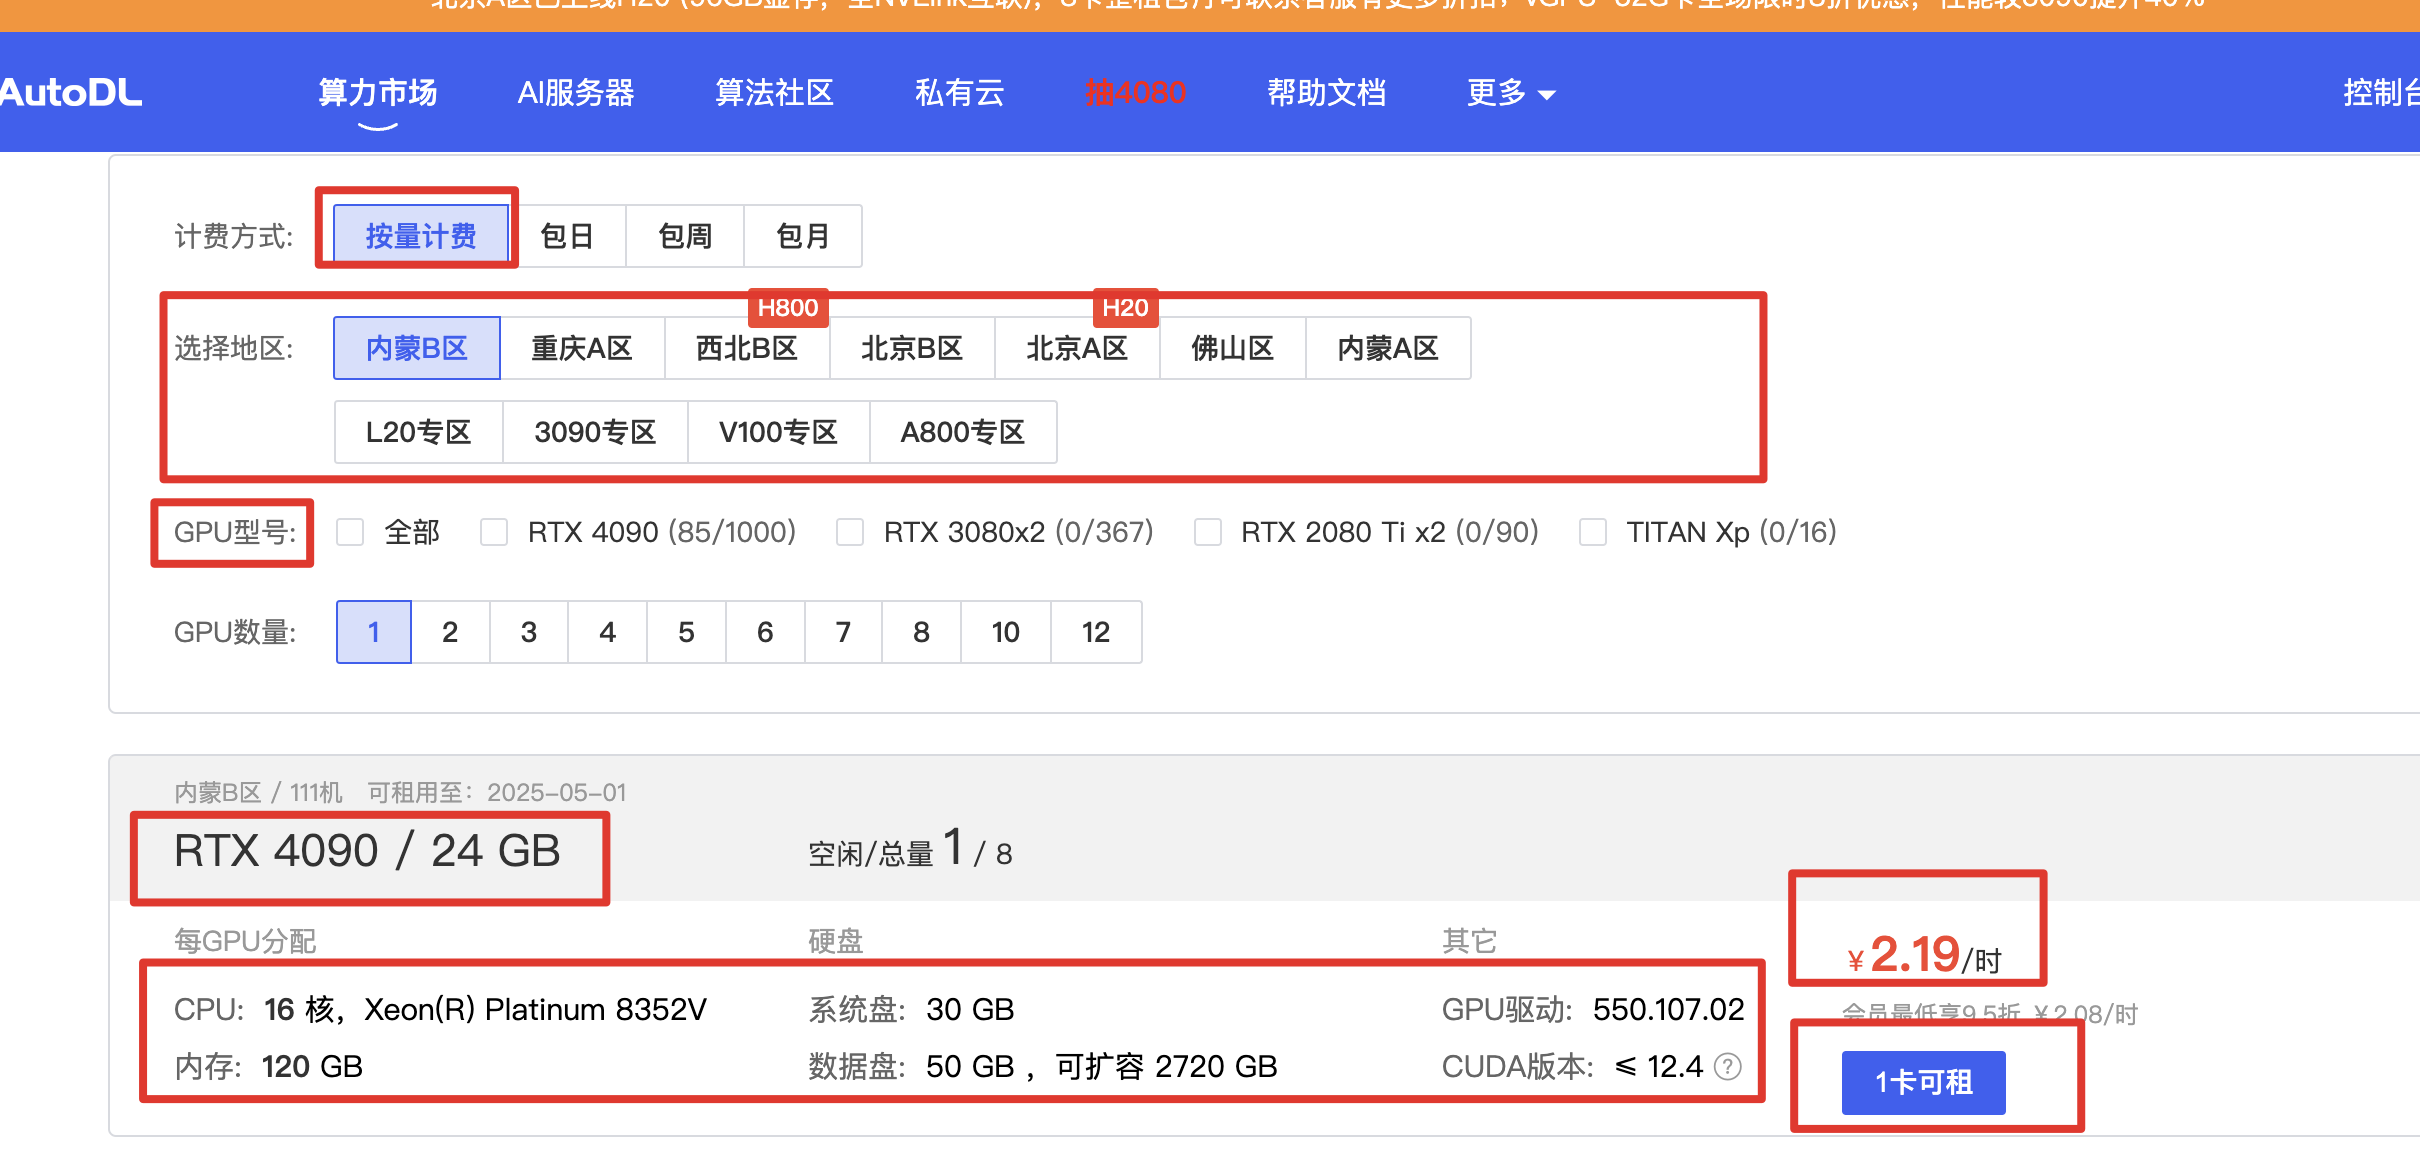
(一)云服务器:使用的AutoDL算力云
https://www.autodl.com/market/list
选择合适的计费方式(按量/小时),已经对应配置即可
(二)Stable Diffusion环境搭建
1.扩容
后续会安装大量的模型,系统免费的数据盘大小不够,最好进行扩容处理

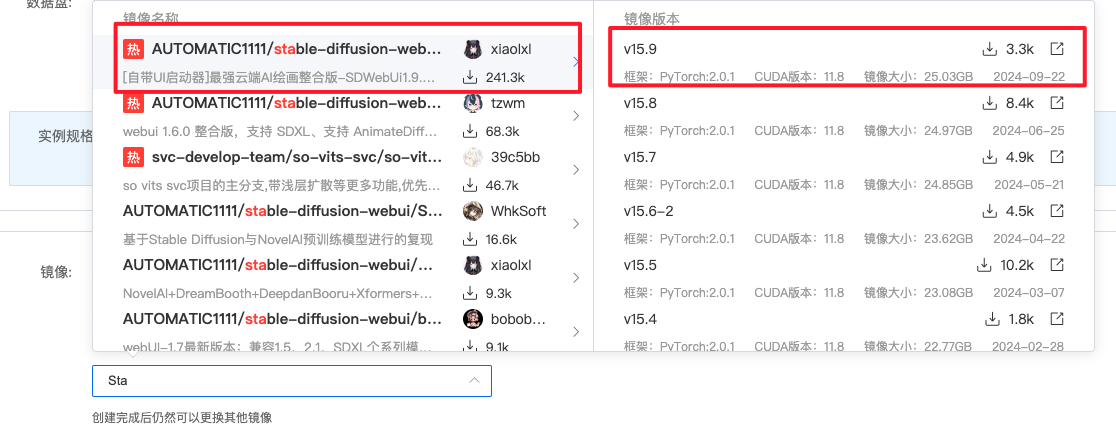
2.镜像选择
- 选择社区镜像

- 使用最火、最新的镜像配置即可
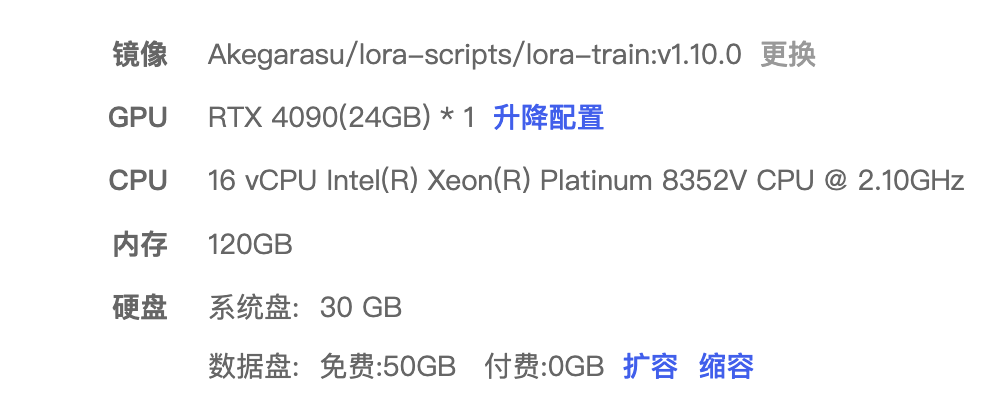
3.最后配置展示

4.SD基础使用方法
https://mp.weixin.qq.com/mp/appmsgalbum?__biz=MzkzNTUxMTExOA==&action=getalbum&album_id=3004011853484408837&scene=173&subscene=&sessionid=svr_5396c624519&enterid=1729520172&from_msgid=2247484720&from_itemidx=1&count=3&nolastread=1#wechat_redirect
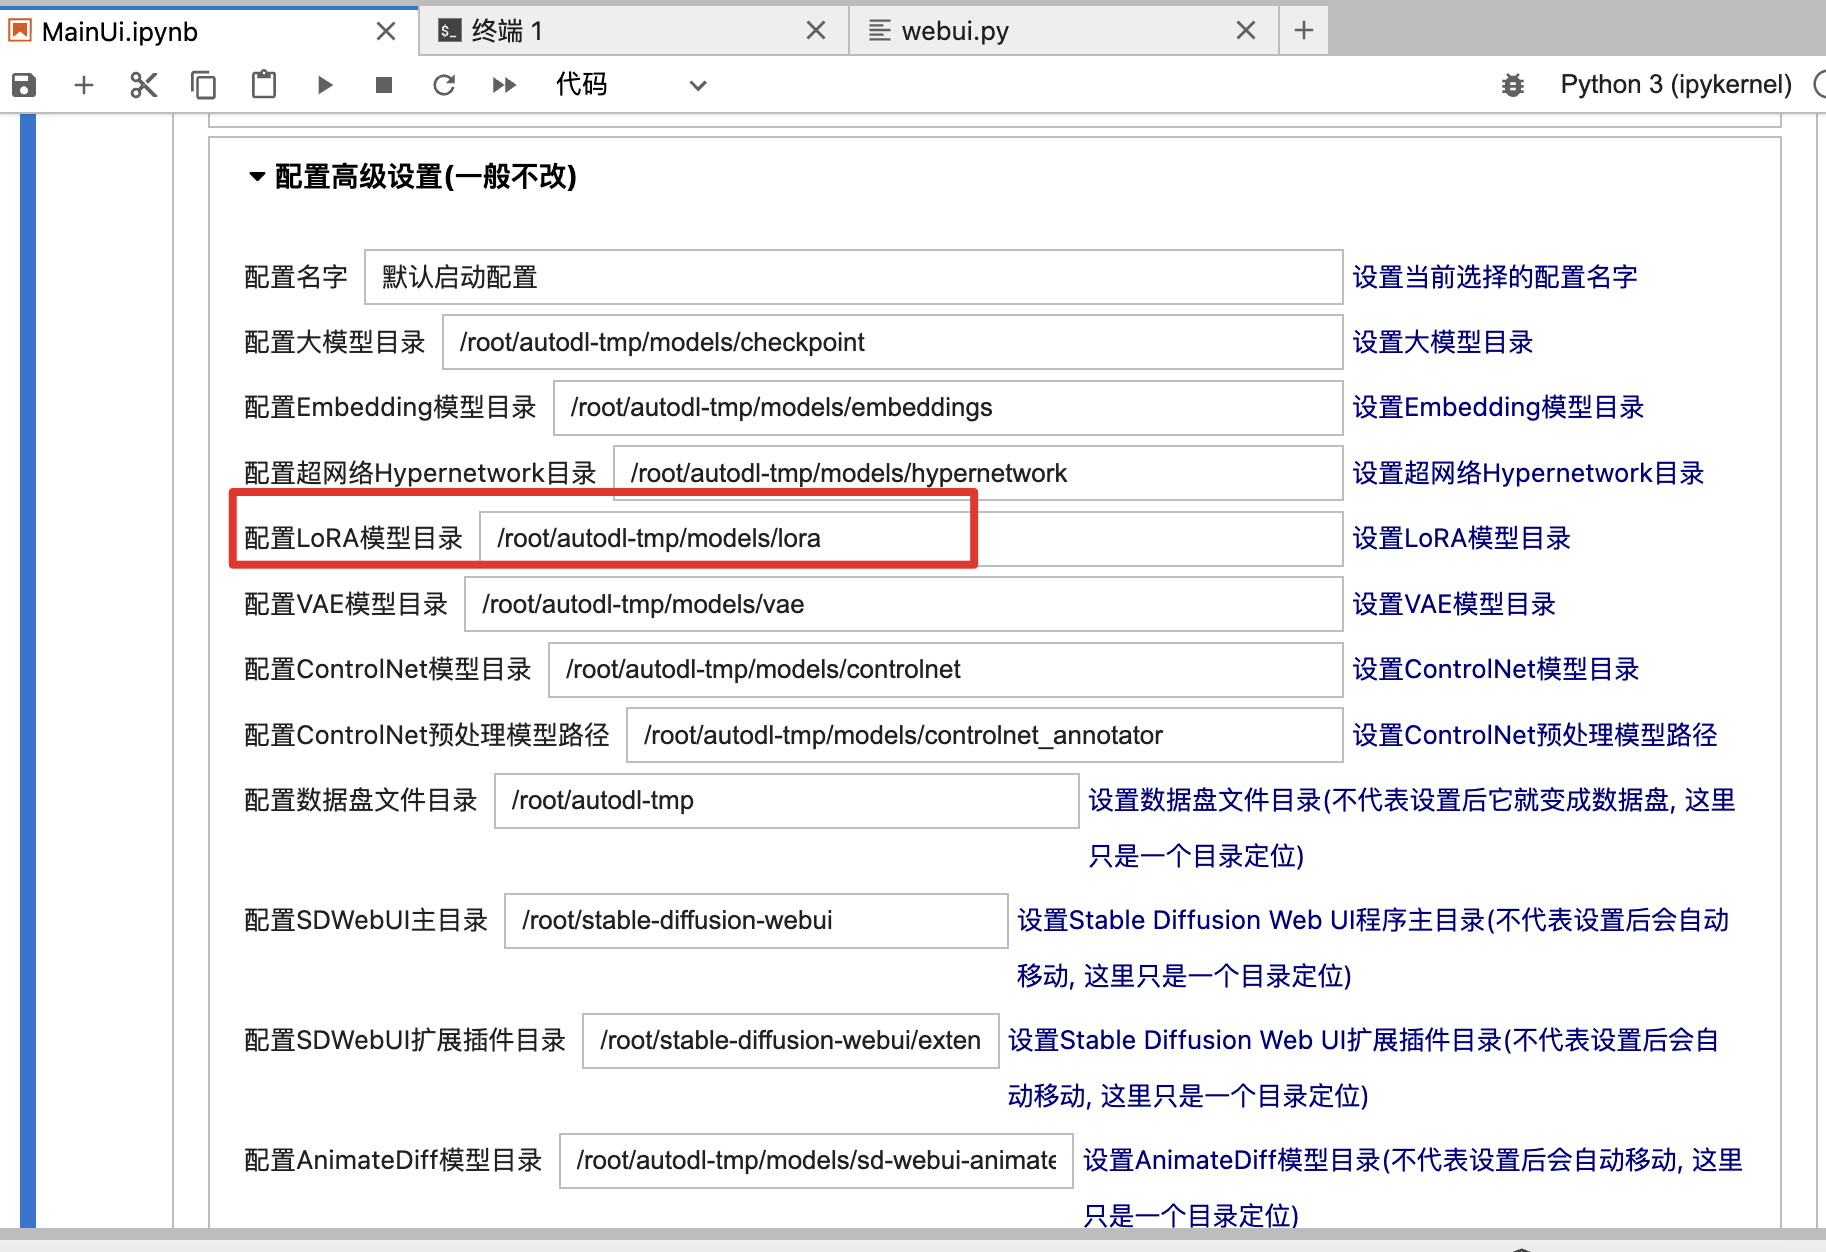
可以看到多个环境变量,包括Lora目录,后续训练的Lora也往这里放
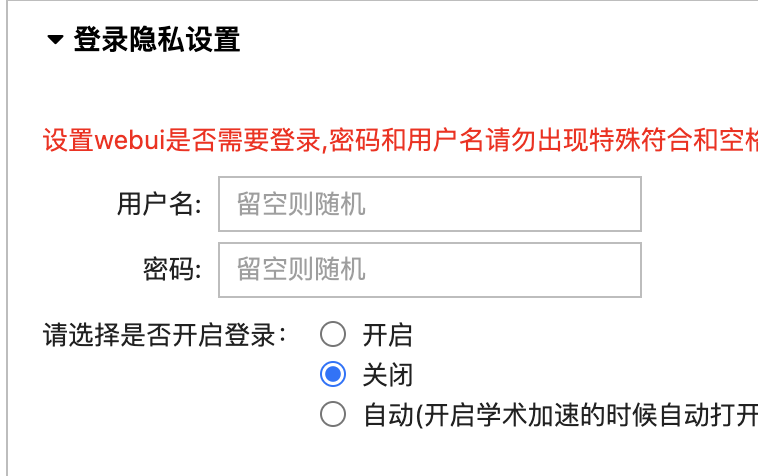
关闭隐私设置

sd启动:
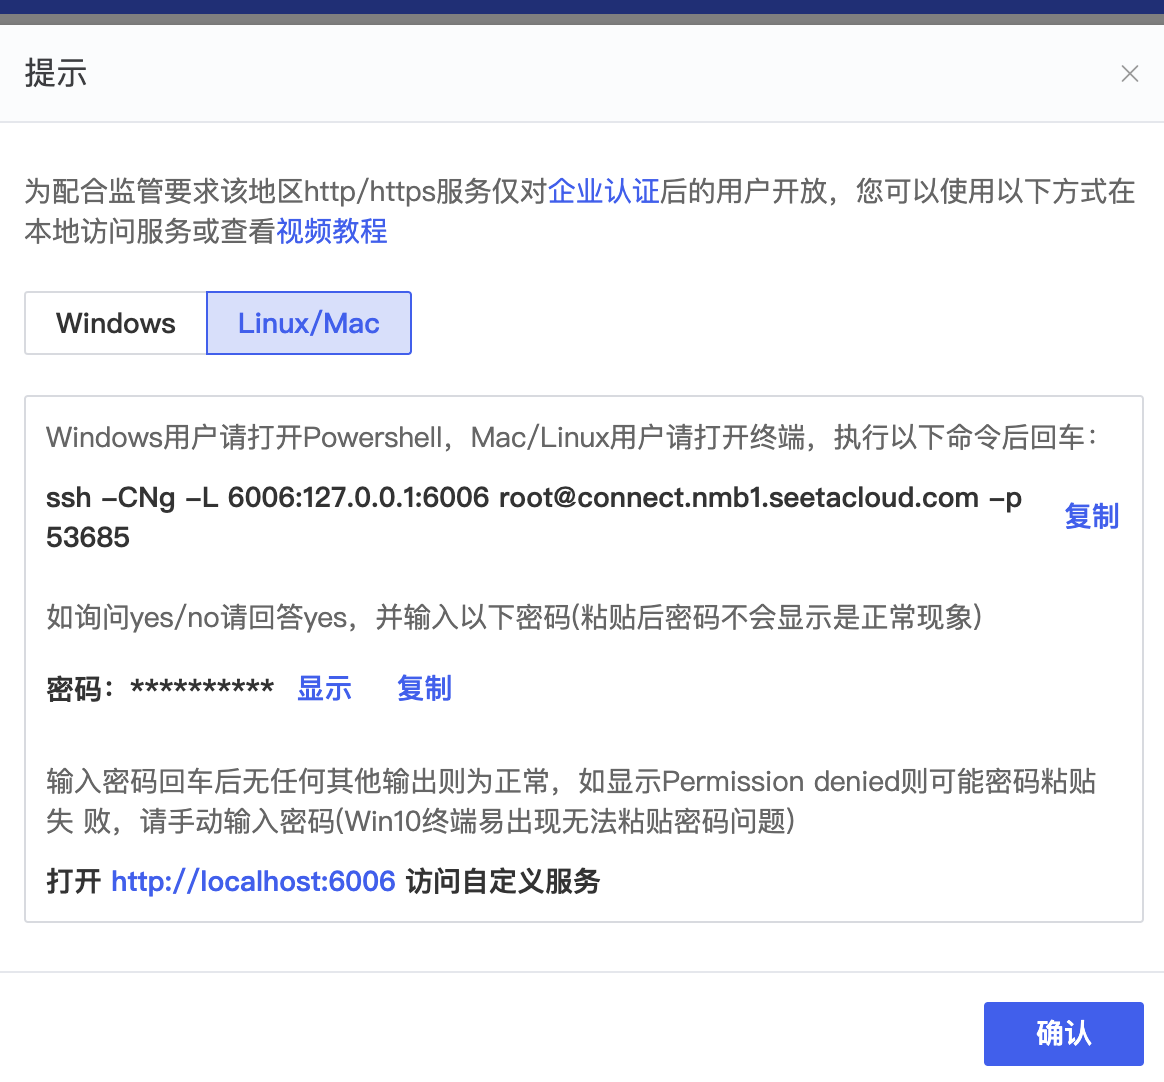
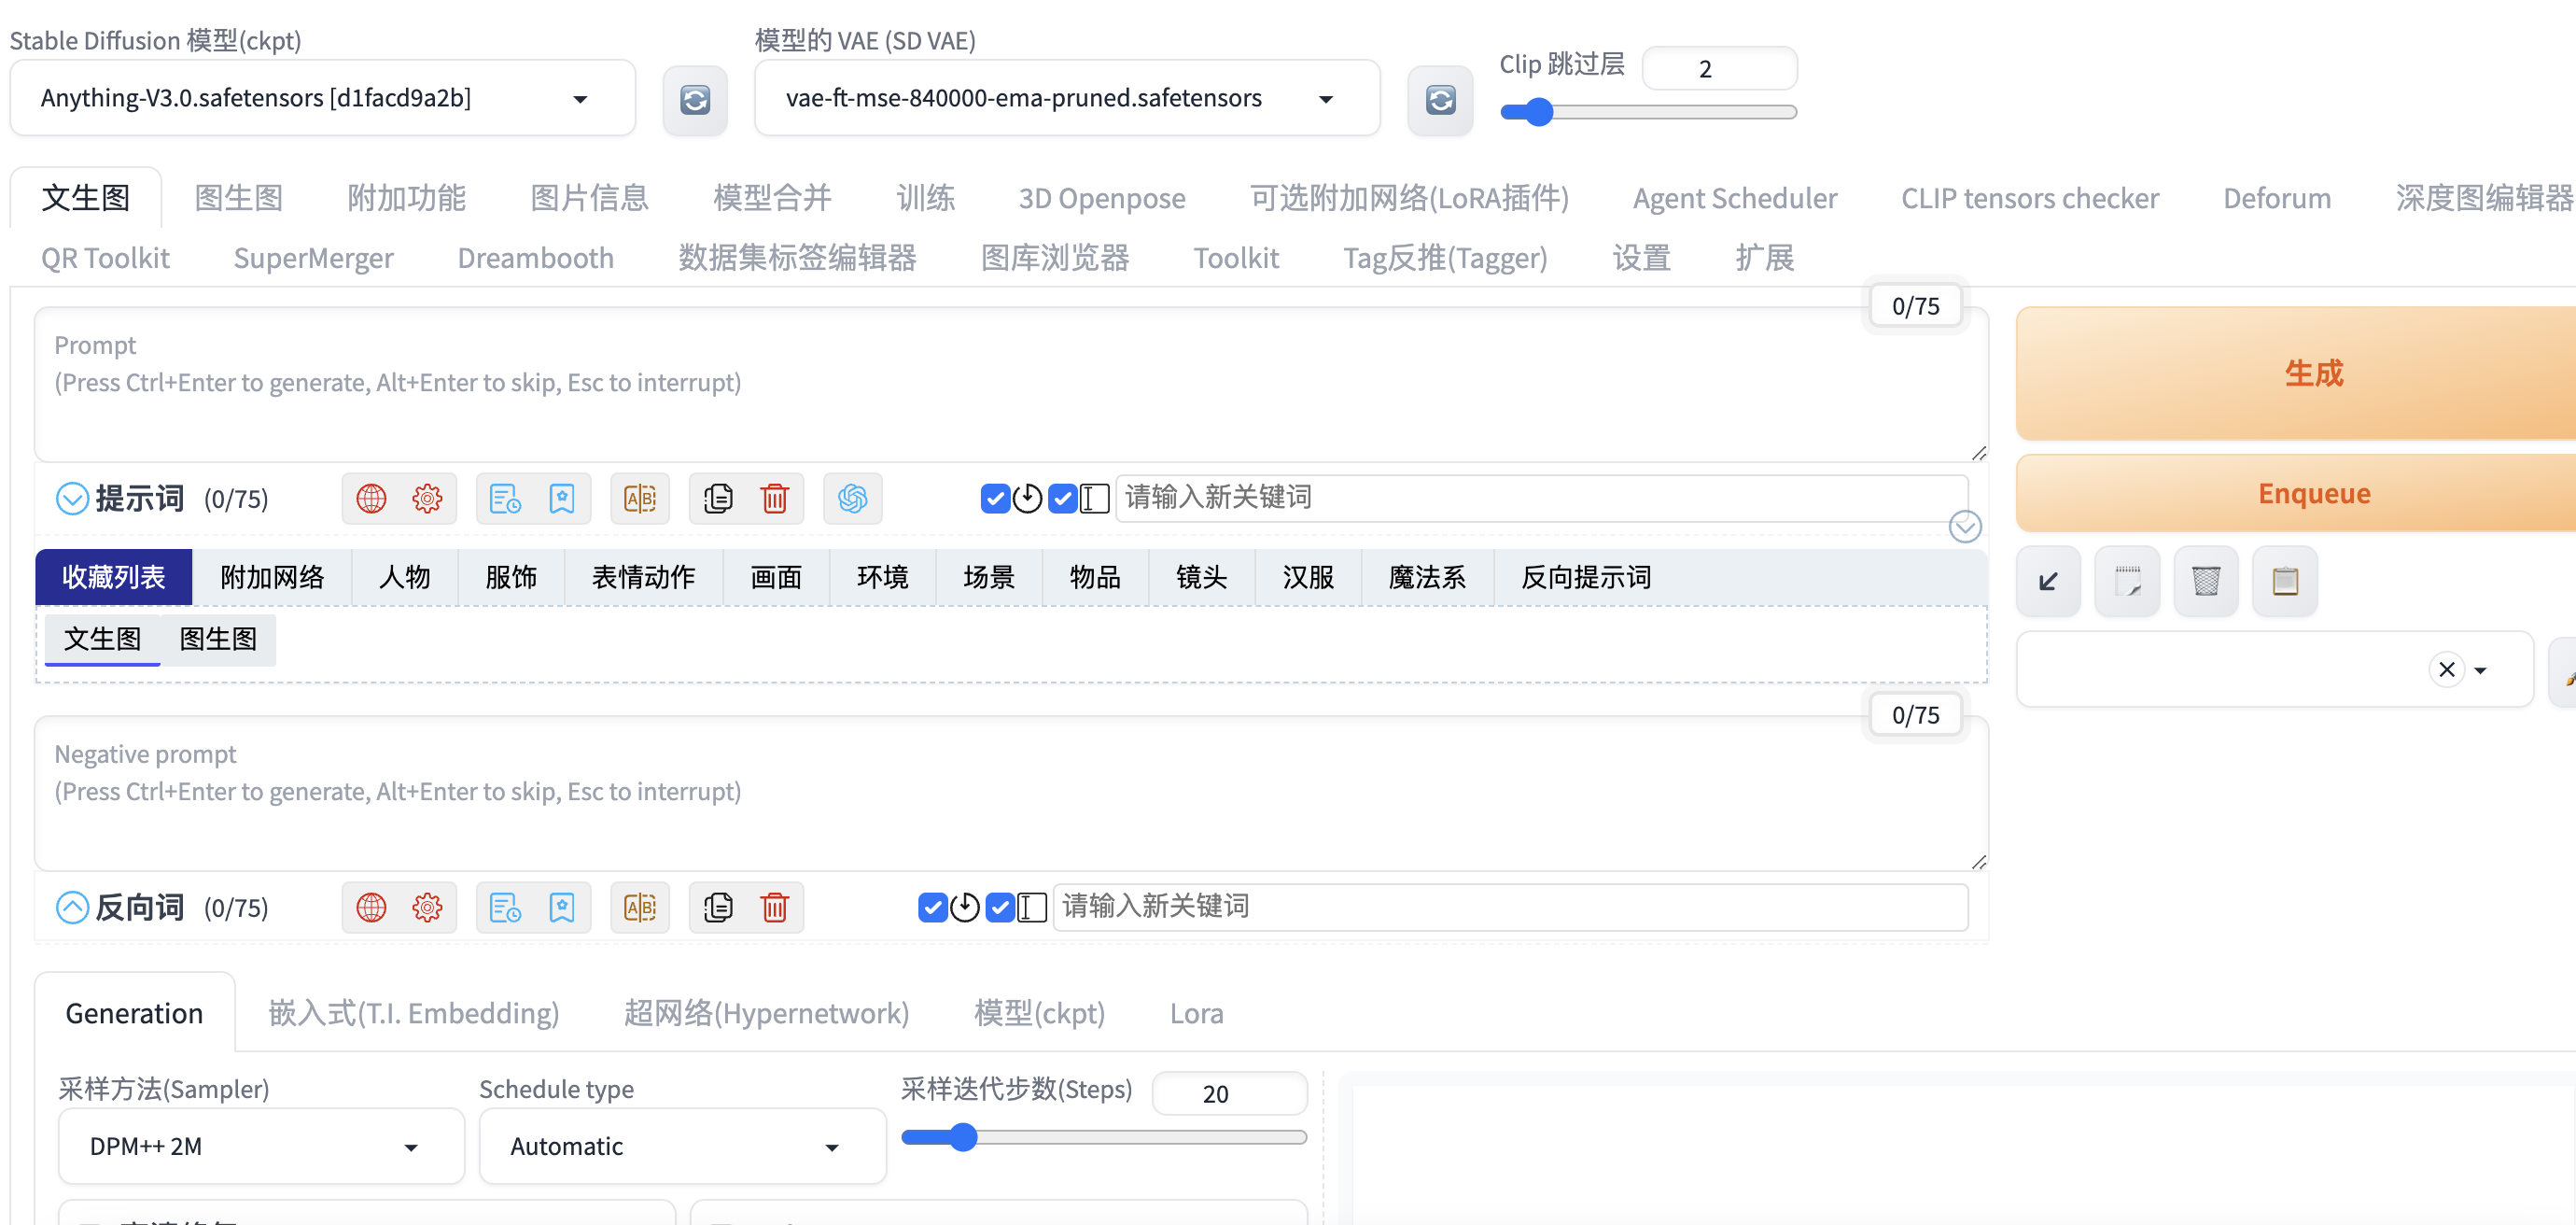
(三)Lora训练环境搭建
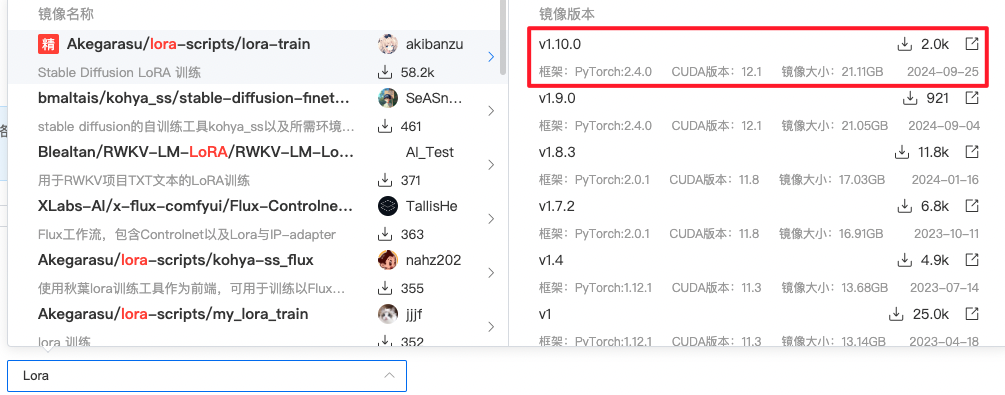
同上,镜像选择不同,不需要扩容
1.镜像选择
二:Lora训练

(一)确定目的
训练手抄报画风的lora模型
1.训练整体画风,整张图,还有文字填充区域---本次训练

2.训练单个元素,比如训练简笔画,然后加上收集的文字填充区域样本通过叠图方式变成整图

(二)收集素材
各个平台(微信公众号、百度图片、闲鱼)---本次图片通过闲鱼购买线稿,手动填色处理,获得一百多数据(足够了)

(三)处理素材
1.统一素材尺寸:至少保证一边为512px,但横竖必须都是64的倍数,横竖图可放一起训练
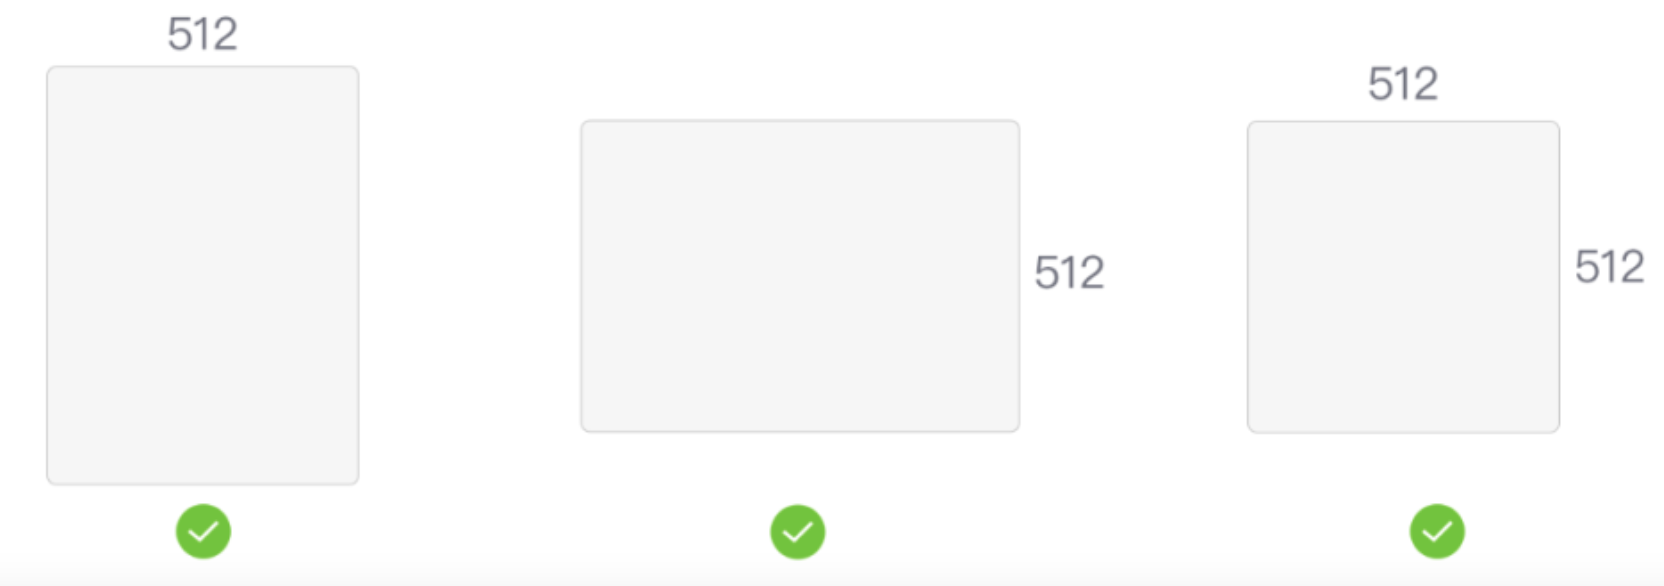
获取图像尺寸:都是宽<高,所以宽为512,求所有的高
def findMode(nums):
    freq = {}
    maxCnt,maxNum = 0,0
    for num in nums:
        if num in freq:
            freq[num] += 1
        else:
            freq[num] = 1
        if freq[num] > maxCnt:
            maxCnt = freq[num]
            maxNum = num
    return maxNum

def getImageSize(dirPath, newheight=512):
    widthList = []
    for filename in os.listdir(dirPath):
        if filename.endswith('.py'):
            continue
        file_path = os.path.join(dirPath, filename)
        with Image.open(file_path) as img:
            width, height = img.size
            newWidth = int(int(width * newheight / height)/64)*64   #取64整数倍
            widthList.append(newWidth)
    return findMode(widthList)

if __name__ == '__main__':
    # step1: 获取图片大小
    height = 512
    width = getImageSize("./src")
print("图片大小调整为:{}x{}".format(width, height))图片大小调整为:704x512
2.根据新的图像尺寸进行图像裁剪:https://www.birme.net/ (可以手动对图片调整)

3.素材重命名
def renameImage(dirPath, dstDir,format="png"):
    cnt = 1
    for filename in os.listdir(dirPath):
        file_path = os.path.join(dirPath, filename)
        new_file_path = os.path.join(dstDir, '{}.png'.format(cnt))
        with Image.open(file_path) as img:
            img.save(new_file_path, "PNG")
        cnt += 1
if __name__ == '__main__':
    # step3: 将图片重命名处理,统一转png格式
    renameImage("./resize","./dst")
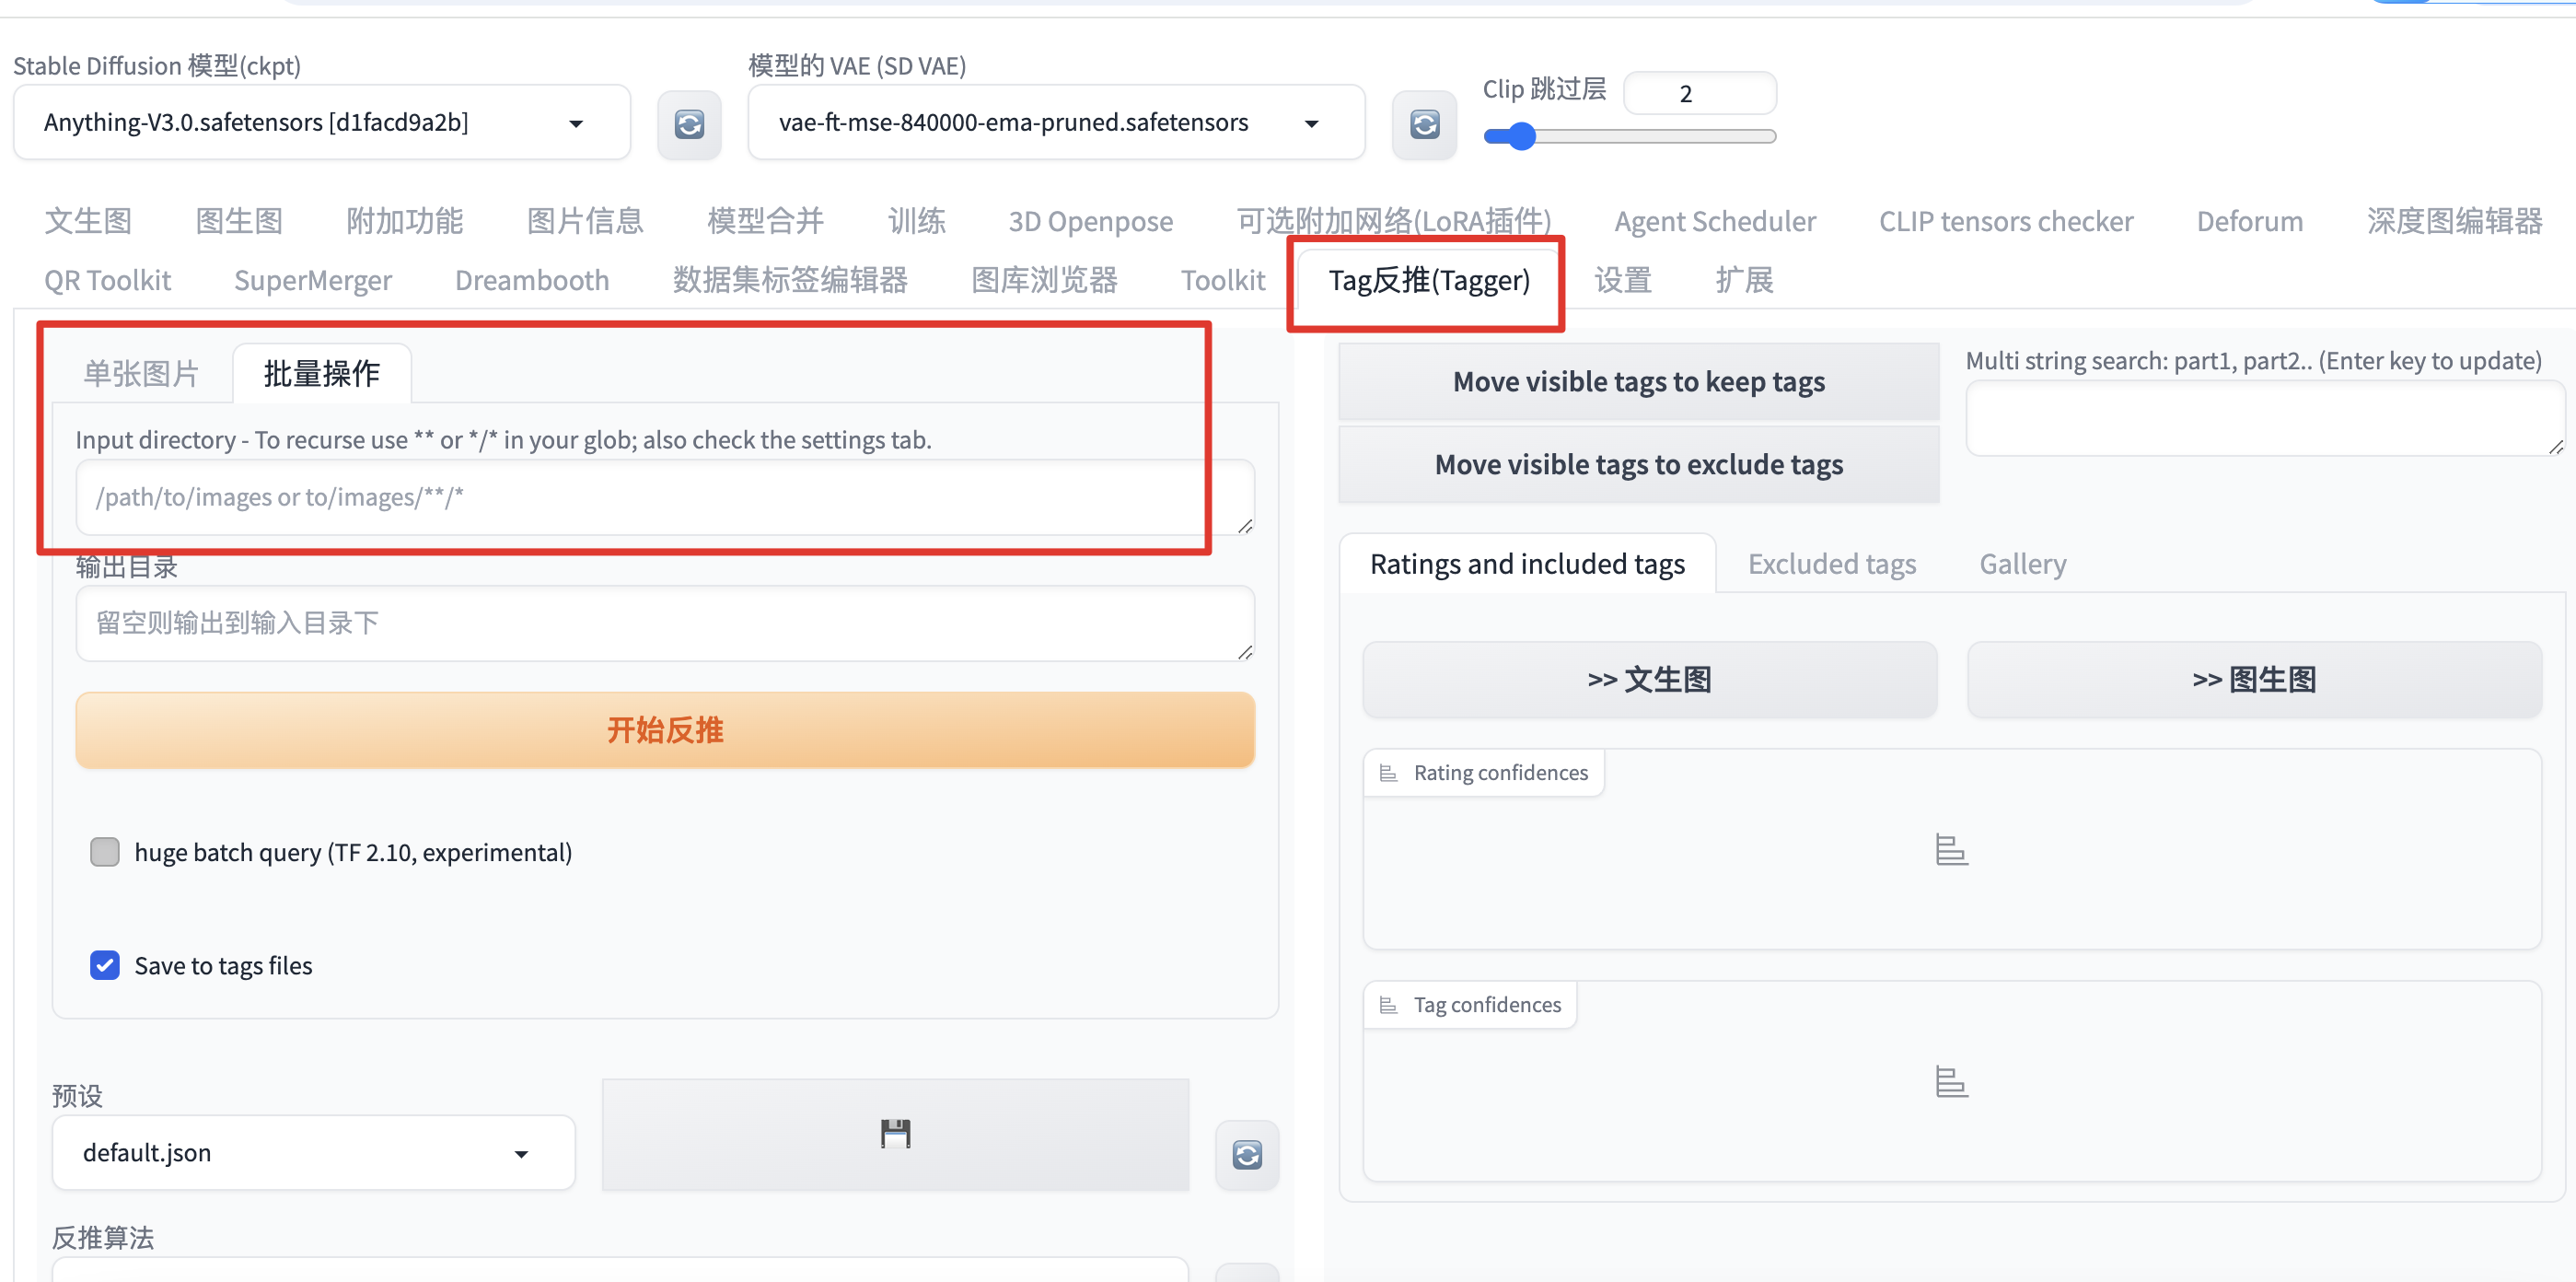
4.打标签
5.调整标签
- BooruDatasetTagManager,需要环境,本地没有gpu
- 用翻译软件,加上脚本
def dealTag(tagFlag, tagFilePath, filterFlag=["background"]):
    for filename in os.listdir(tagFilePath):
        if filename.endswith('.png'):
            continue
        file_path = os.path.join(tagFilePath, filename)
        with open(file_path, "r") as file:
            line = file.readline()

        # 修改标签文件中的内容
        tags = []
        if tagFlag != "":
            tags.append(tagFlag)

        split_chars = r'[,,]+'
        results = re.split(split_chars, line)
        for res in results:
            continueFlag = False
            for filter in filterFlag:
                if filter in res:
                    continueFlag = True

            if not continueFlag:
                tags.append(res.strip())

        new_tag_line = ", ".join(tags)
        with open(file_path, "w") as file:
            file.write(new_tag_line)
(四)调整参数,开始训练
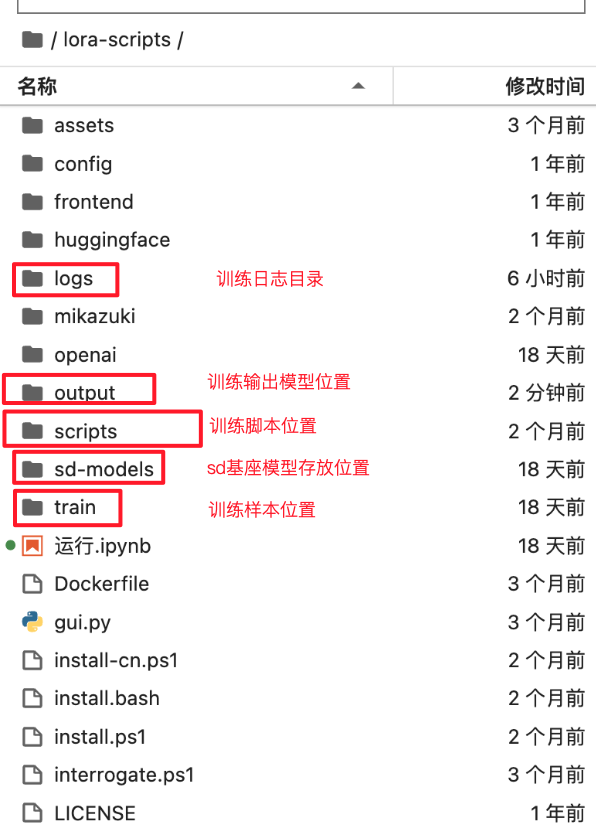
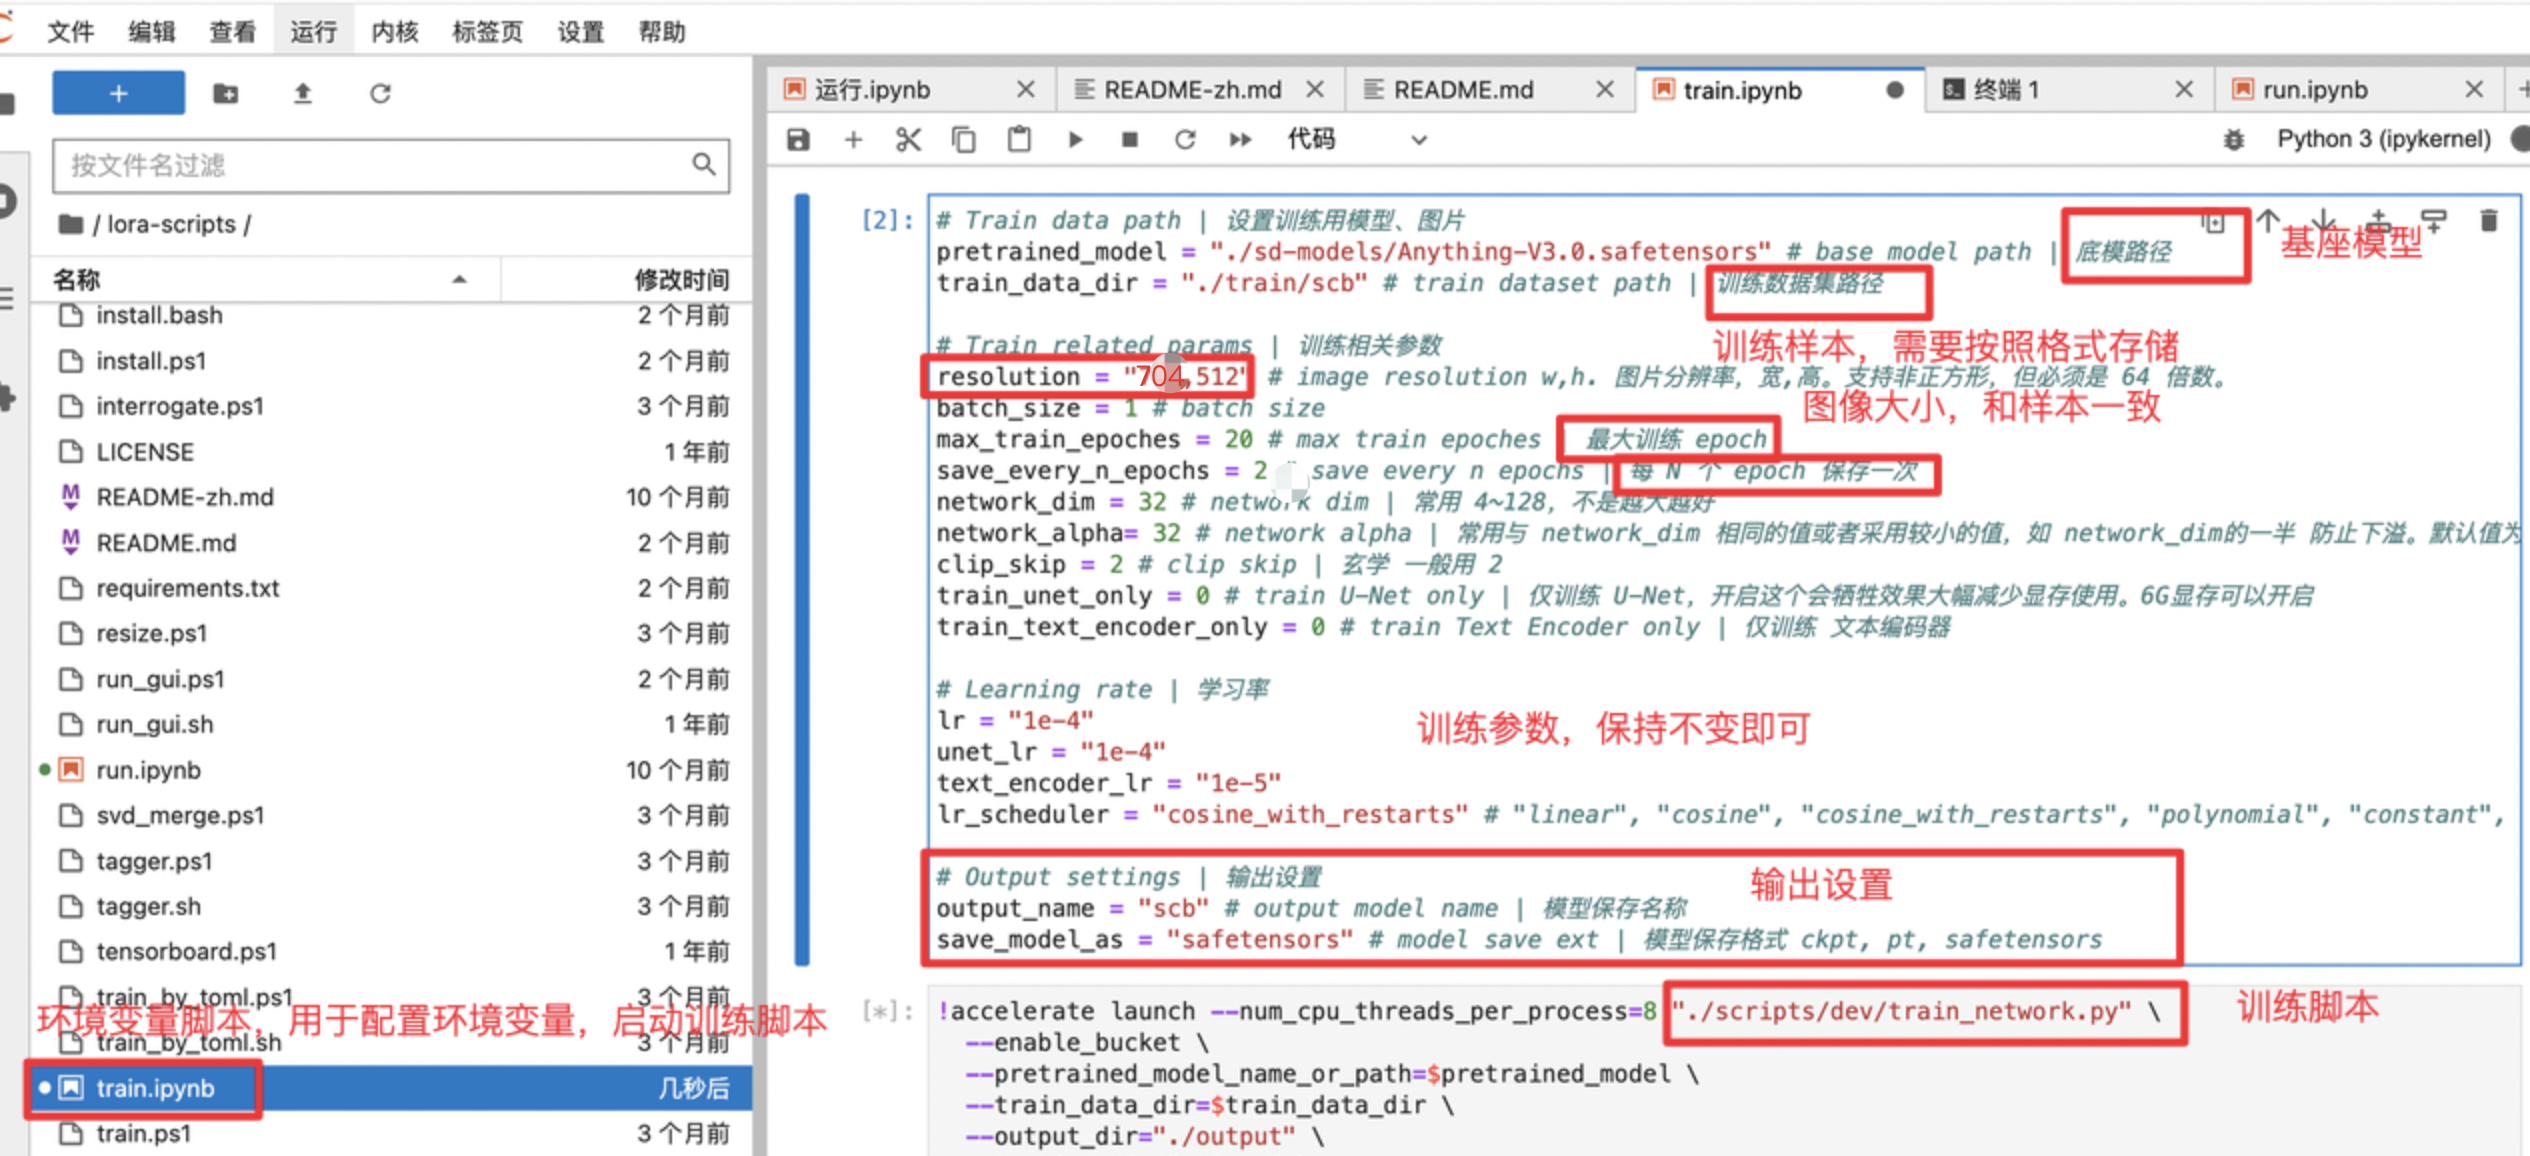
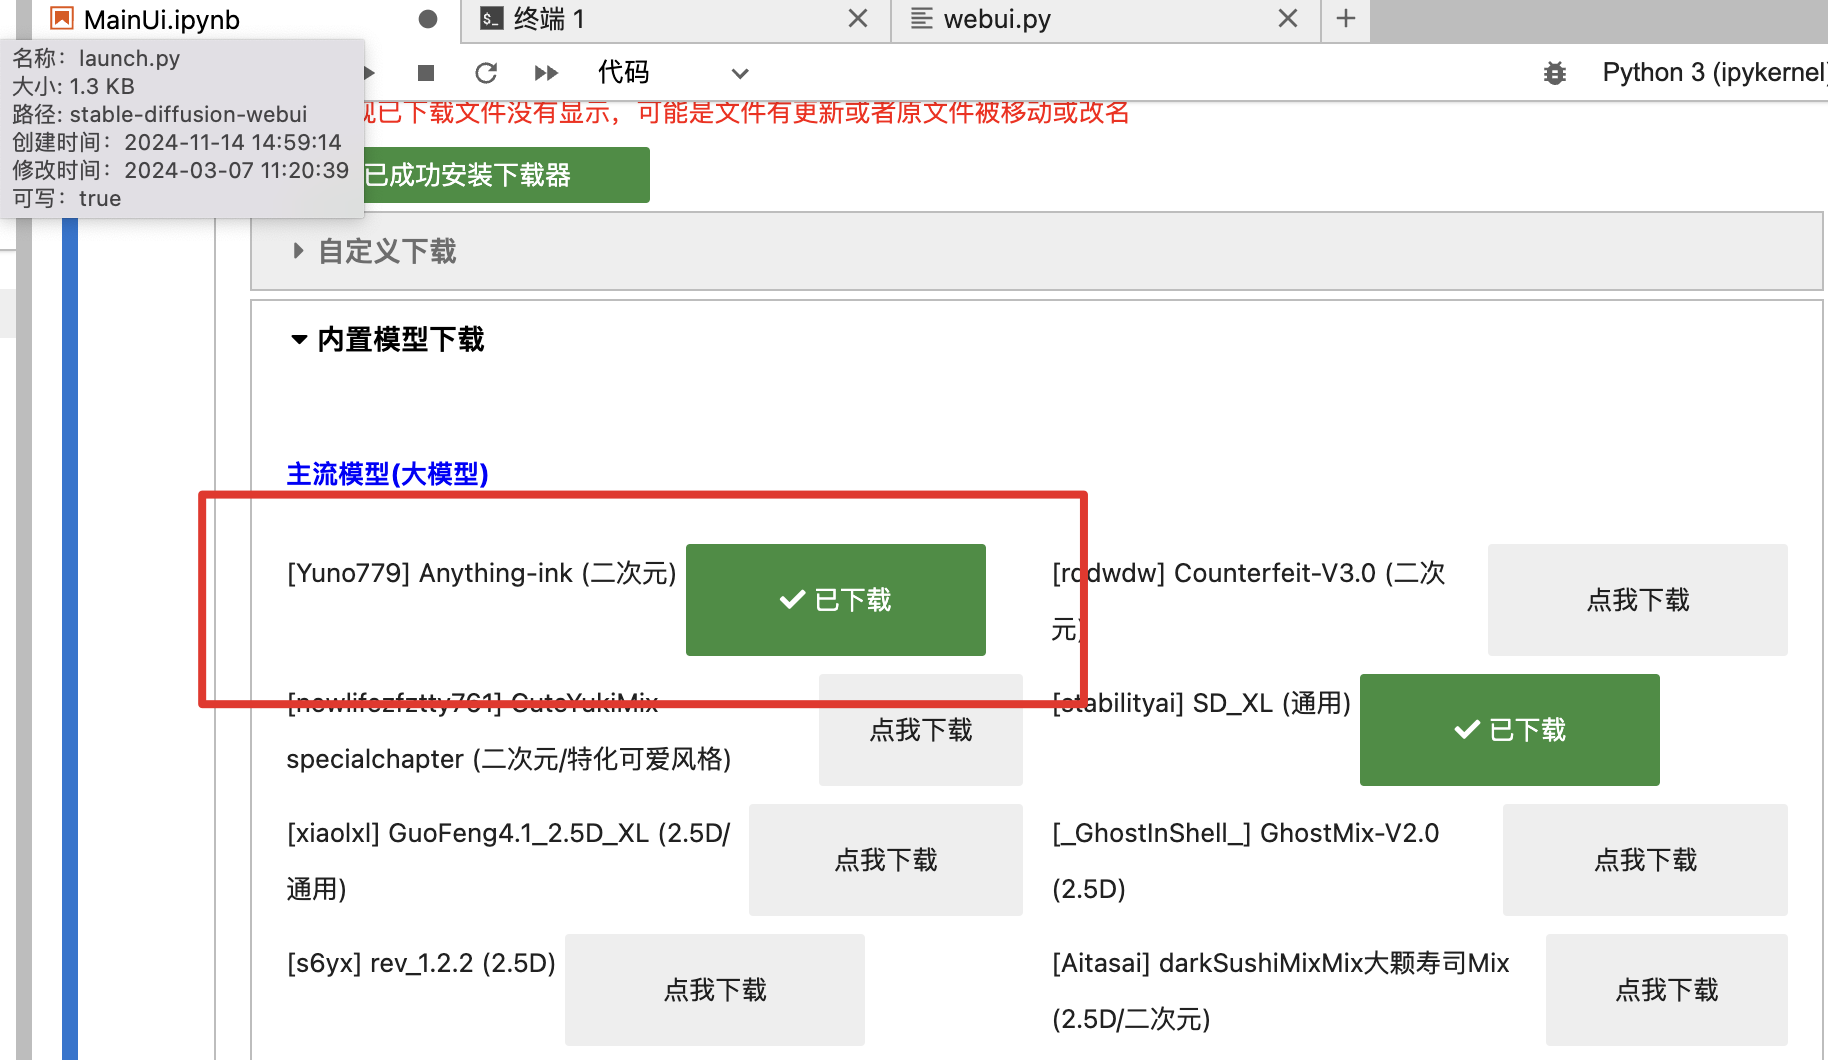
1.确定基座模型,这里使用AnythingV3,通用二次元大模型:最好保持和sd里面的模型版本一致
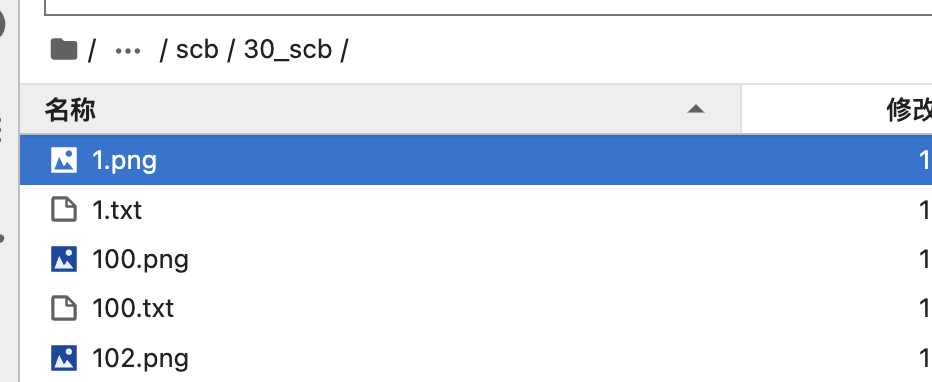
2.设置训练样本路径和大小,需要注意:在train_data_dir目录下,我们还需要创建一个目录,格式是数字_字母,前面的数字是每次训练过程中网络训练单张图片的次数,后面字母保持目录一致即可
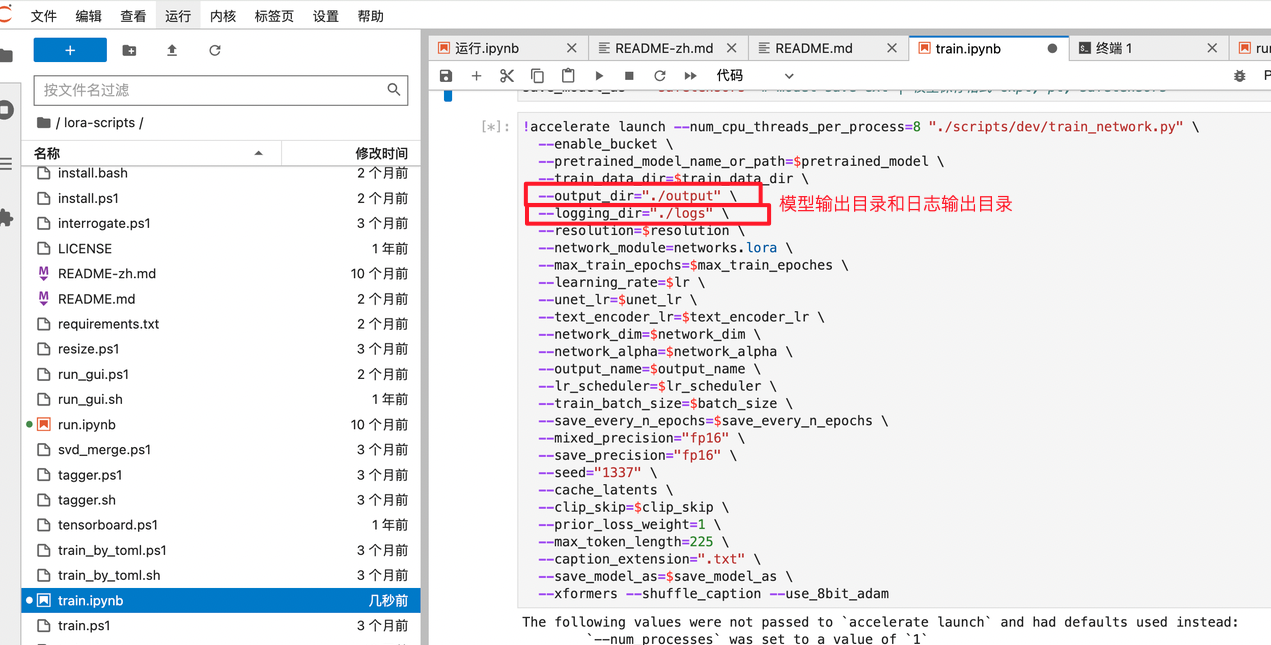
3.设置训练参数和启动脚本,开始训练
4.训练监控查看:https://a495921-815a-1c947e4a.nmb1.seetacloud.com:8443/monitor


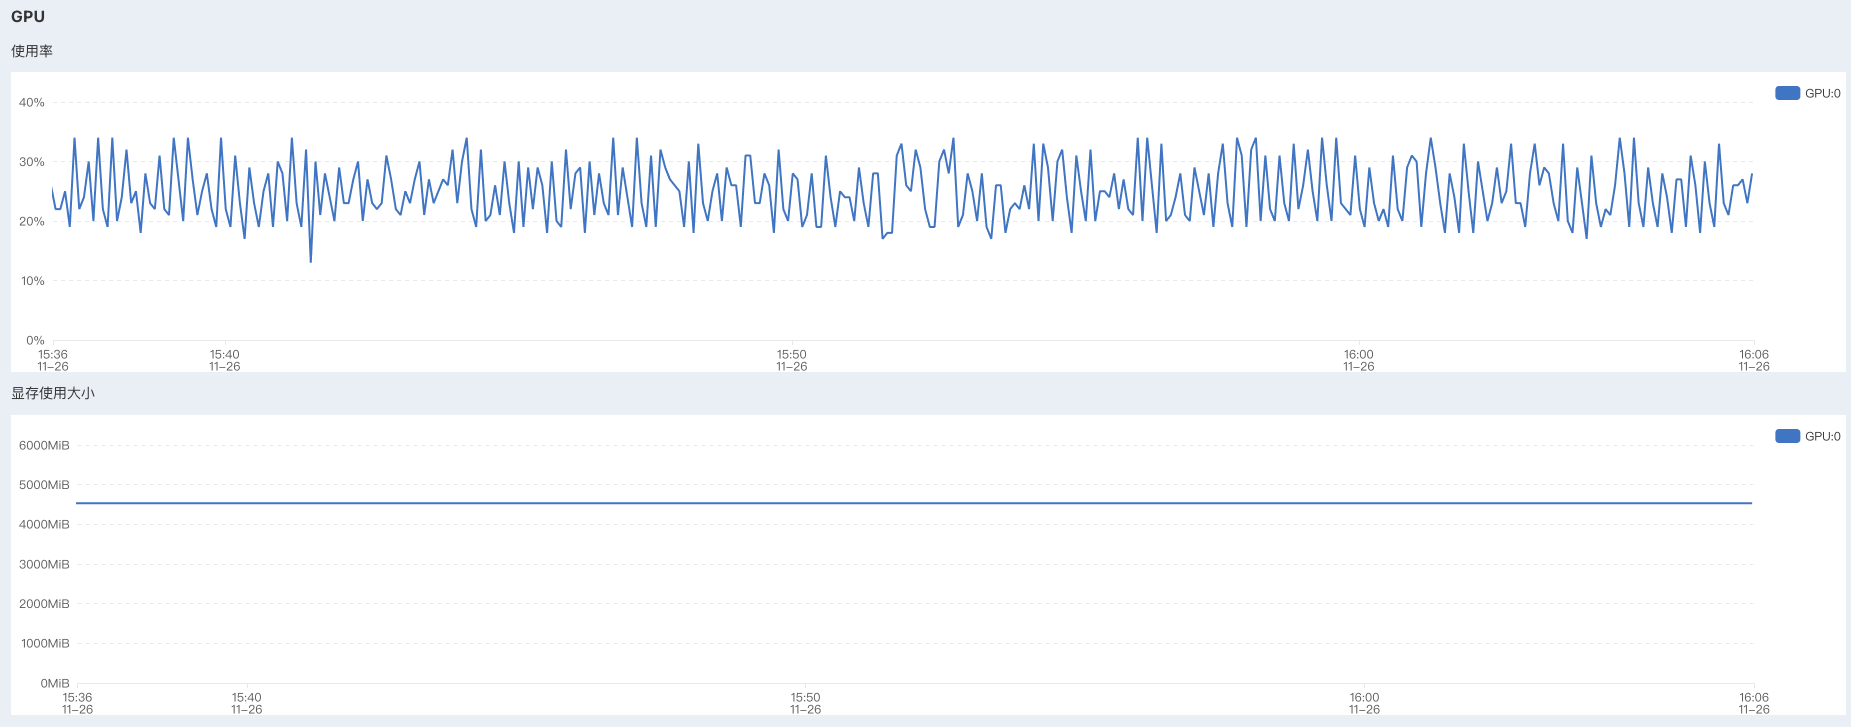
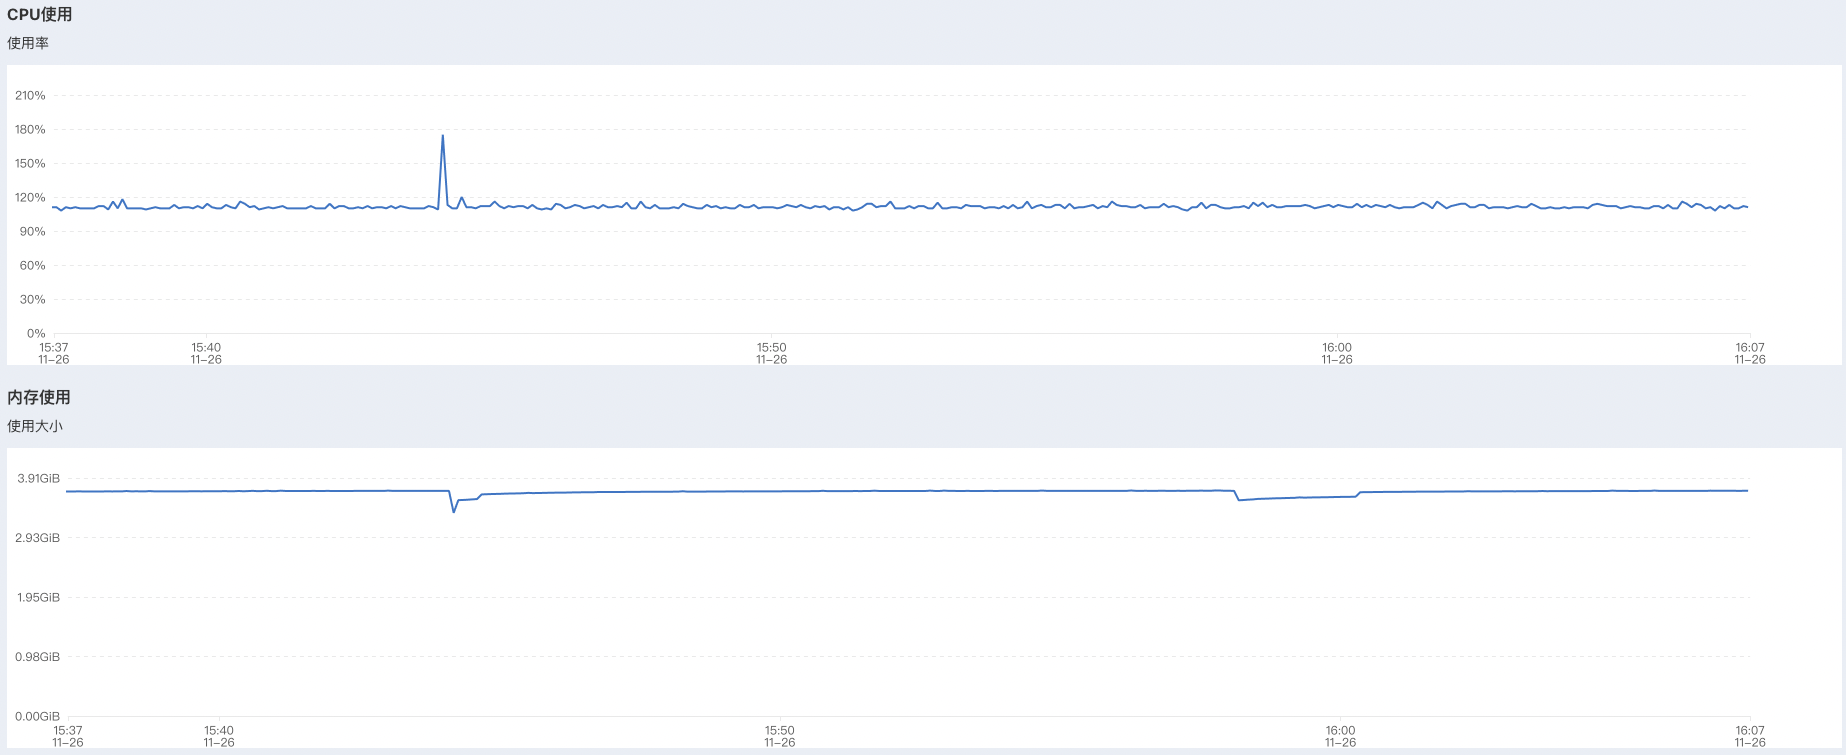
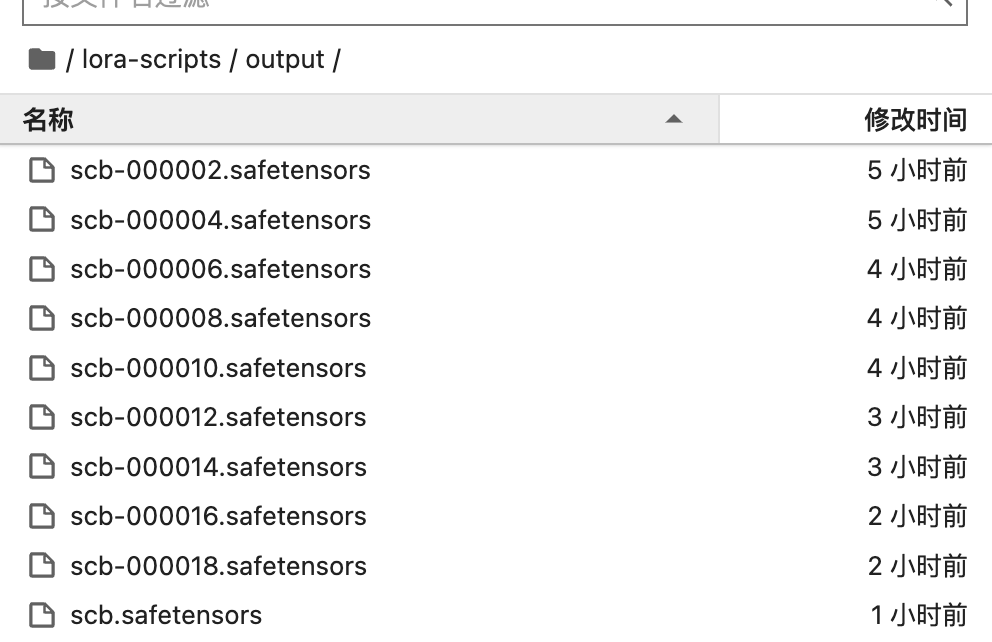
5.训练结果:可以看到后面的loss只有2.4%,还是不错的额。训练的lora模型按照设置的两轮存储一次,存放在指定目录

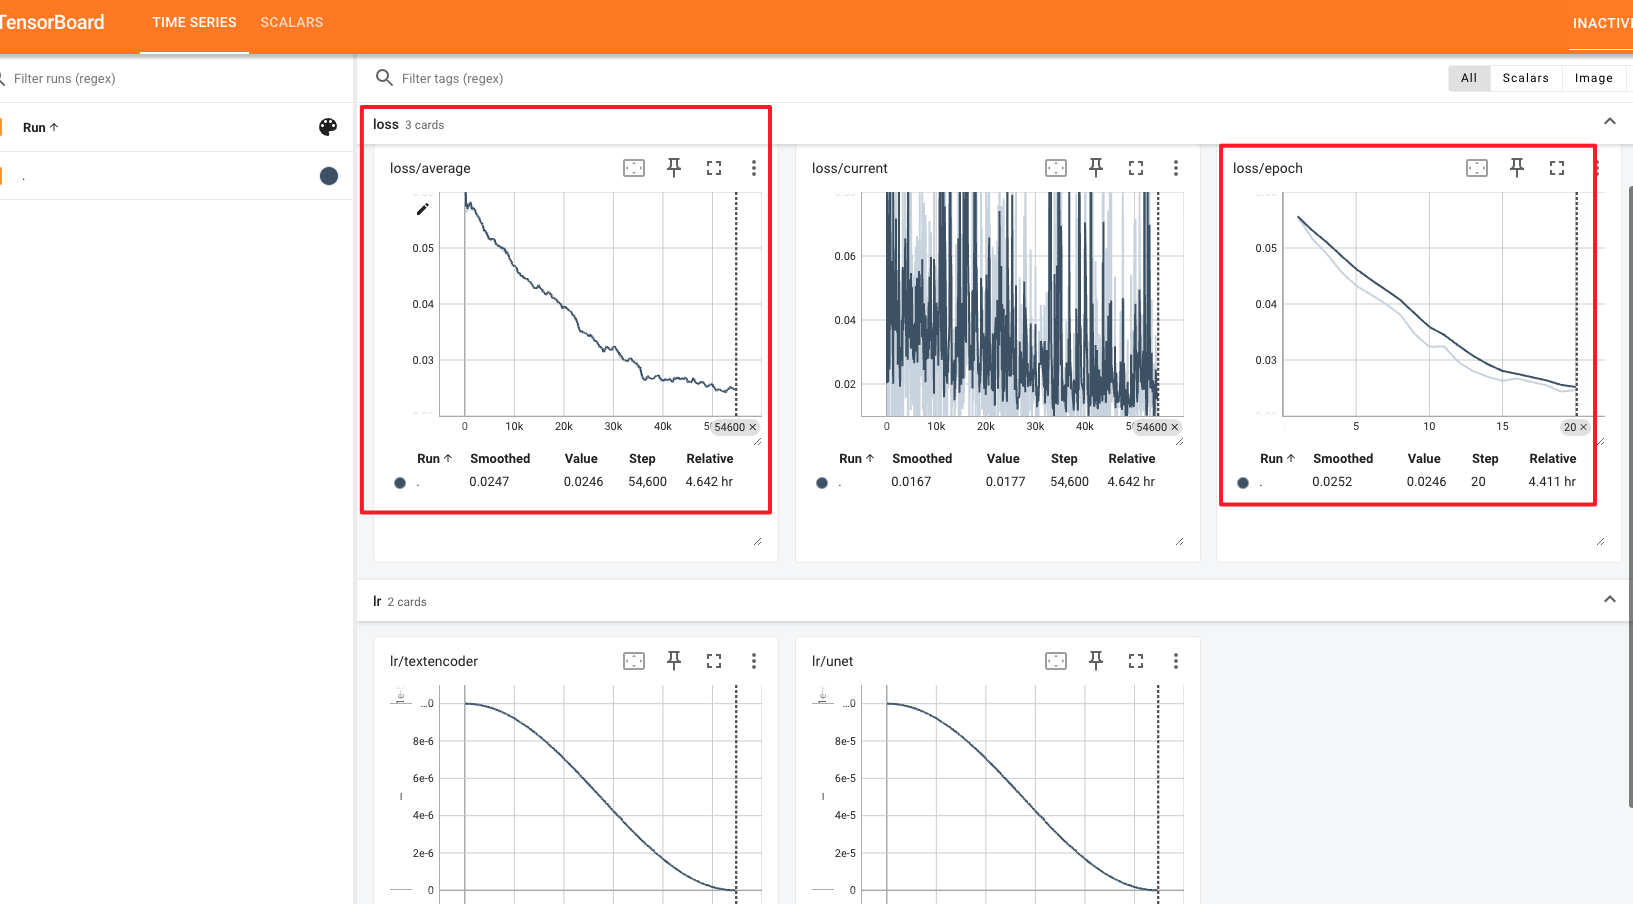
6.训练日志查看

我们将TensorBoard 日志文件下载下来本地查看!

要查看 TensorBoard 日志,首先确保已经安装 TensorBoard
pip install tensorboard然后在命令行中启动 TensorBoard:
tensorboard --logdir=/Users/liudie/Downloads/loralog
访问http://localhost:6006/,可以看到在每次训练/每轮训练中,loss都在不断降低,训练效果还是不错的
(五)测试反馈
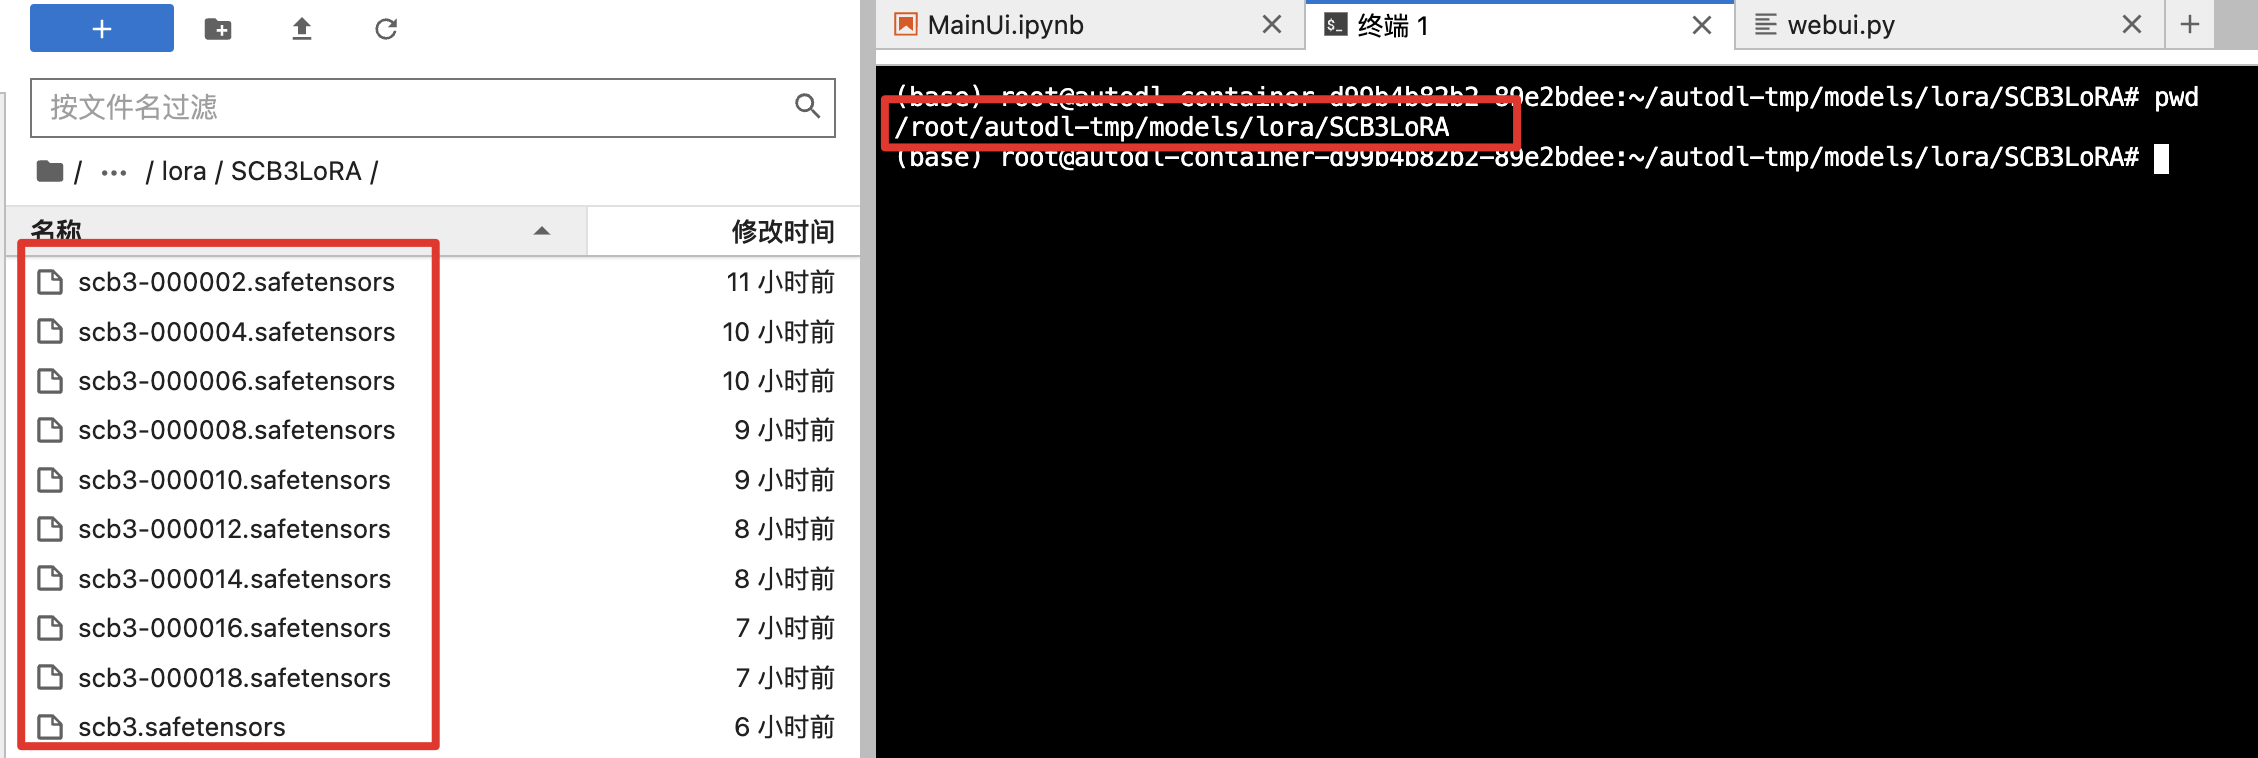
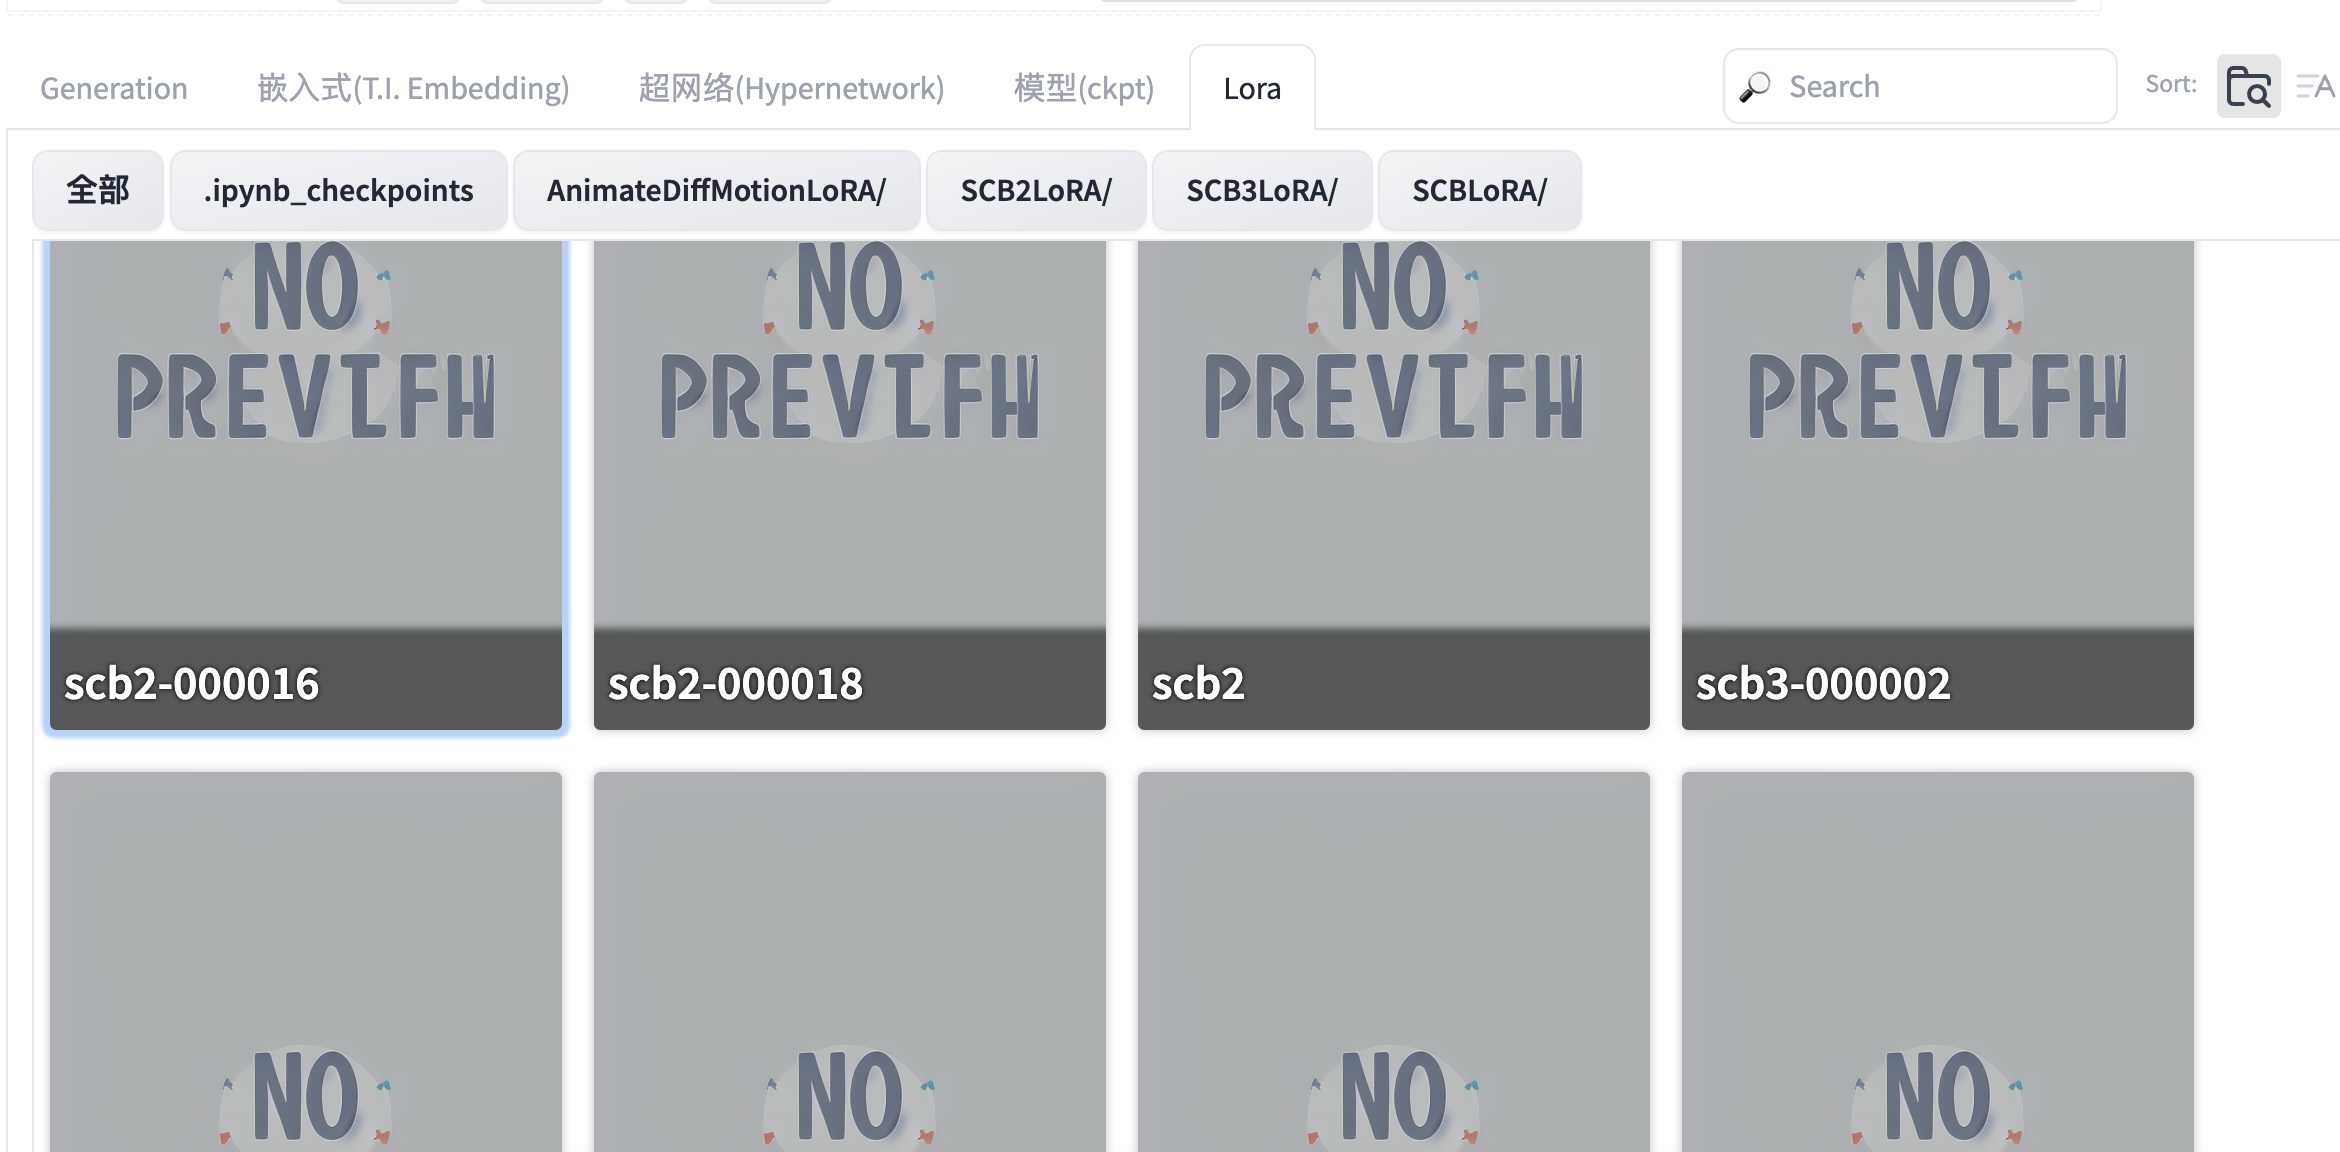
1.上传Lora模型到指定目录
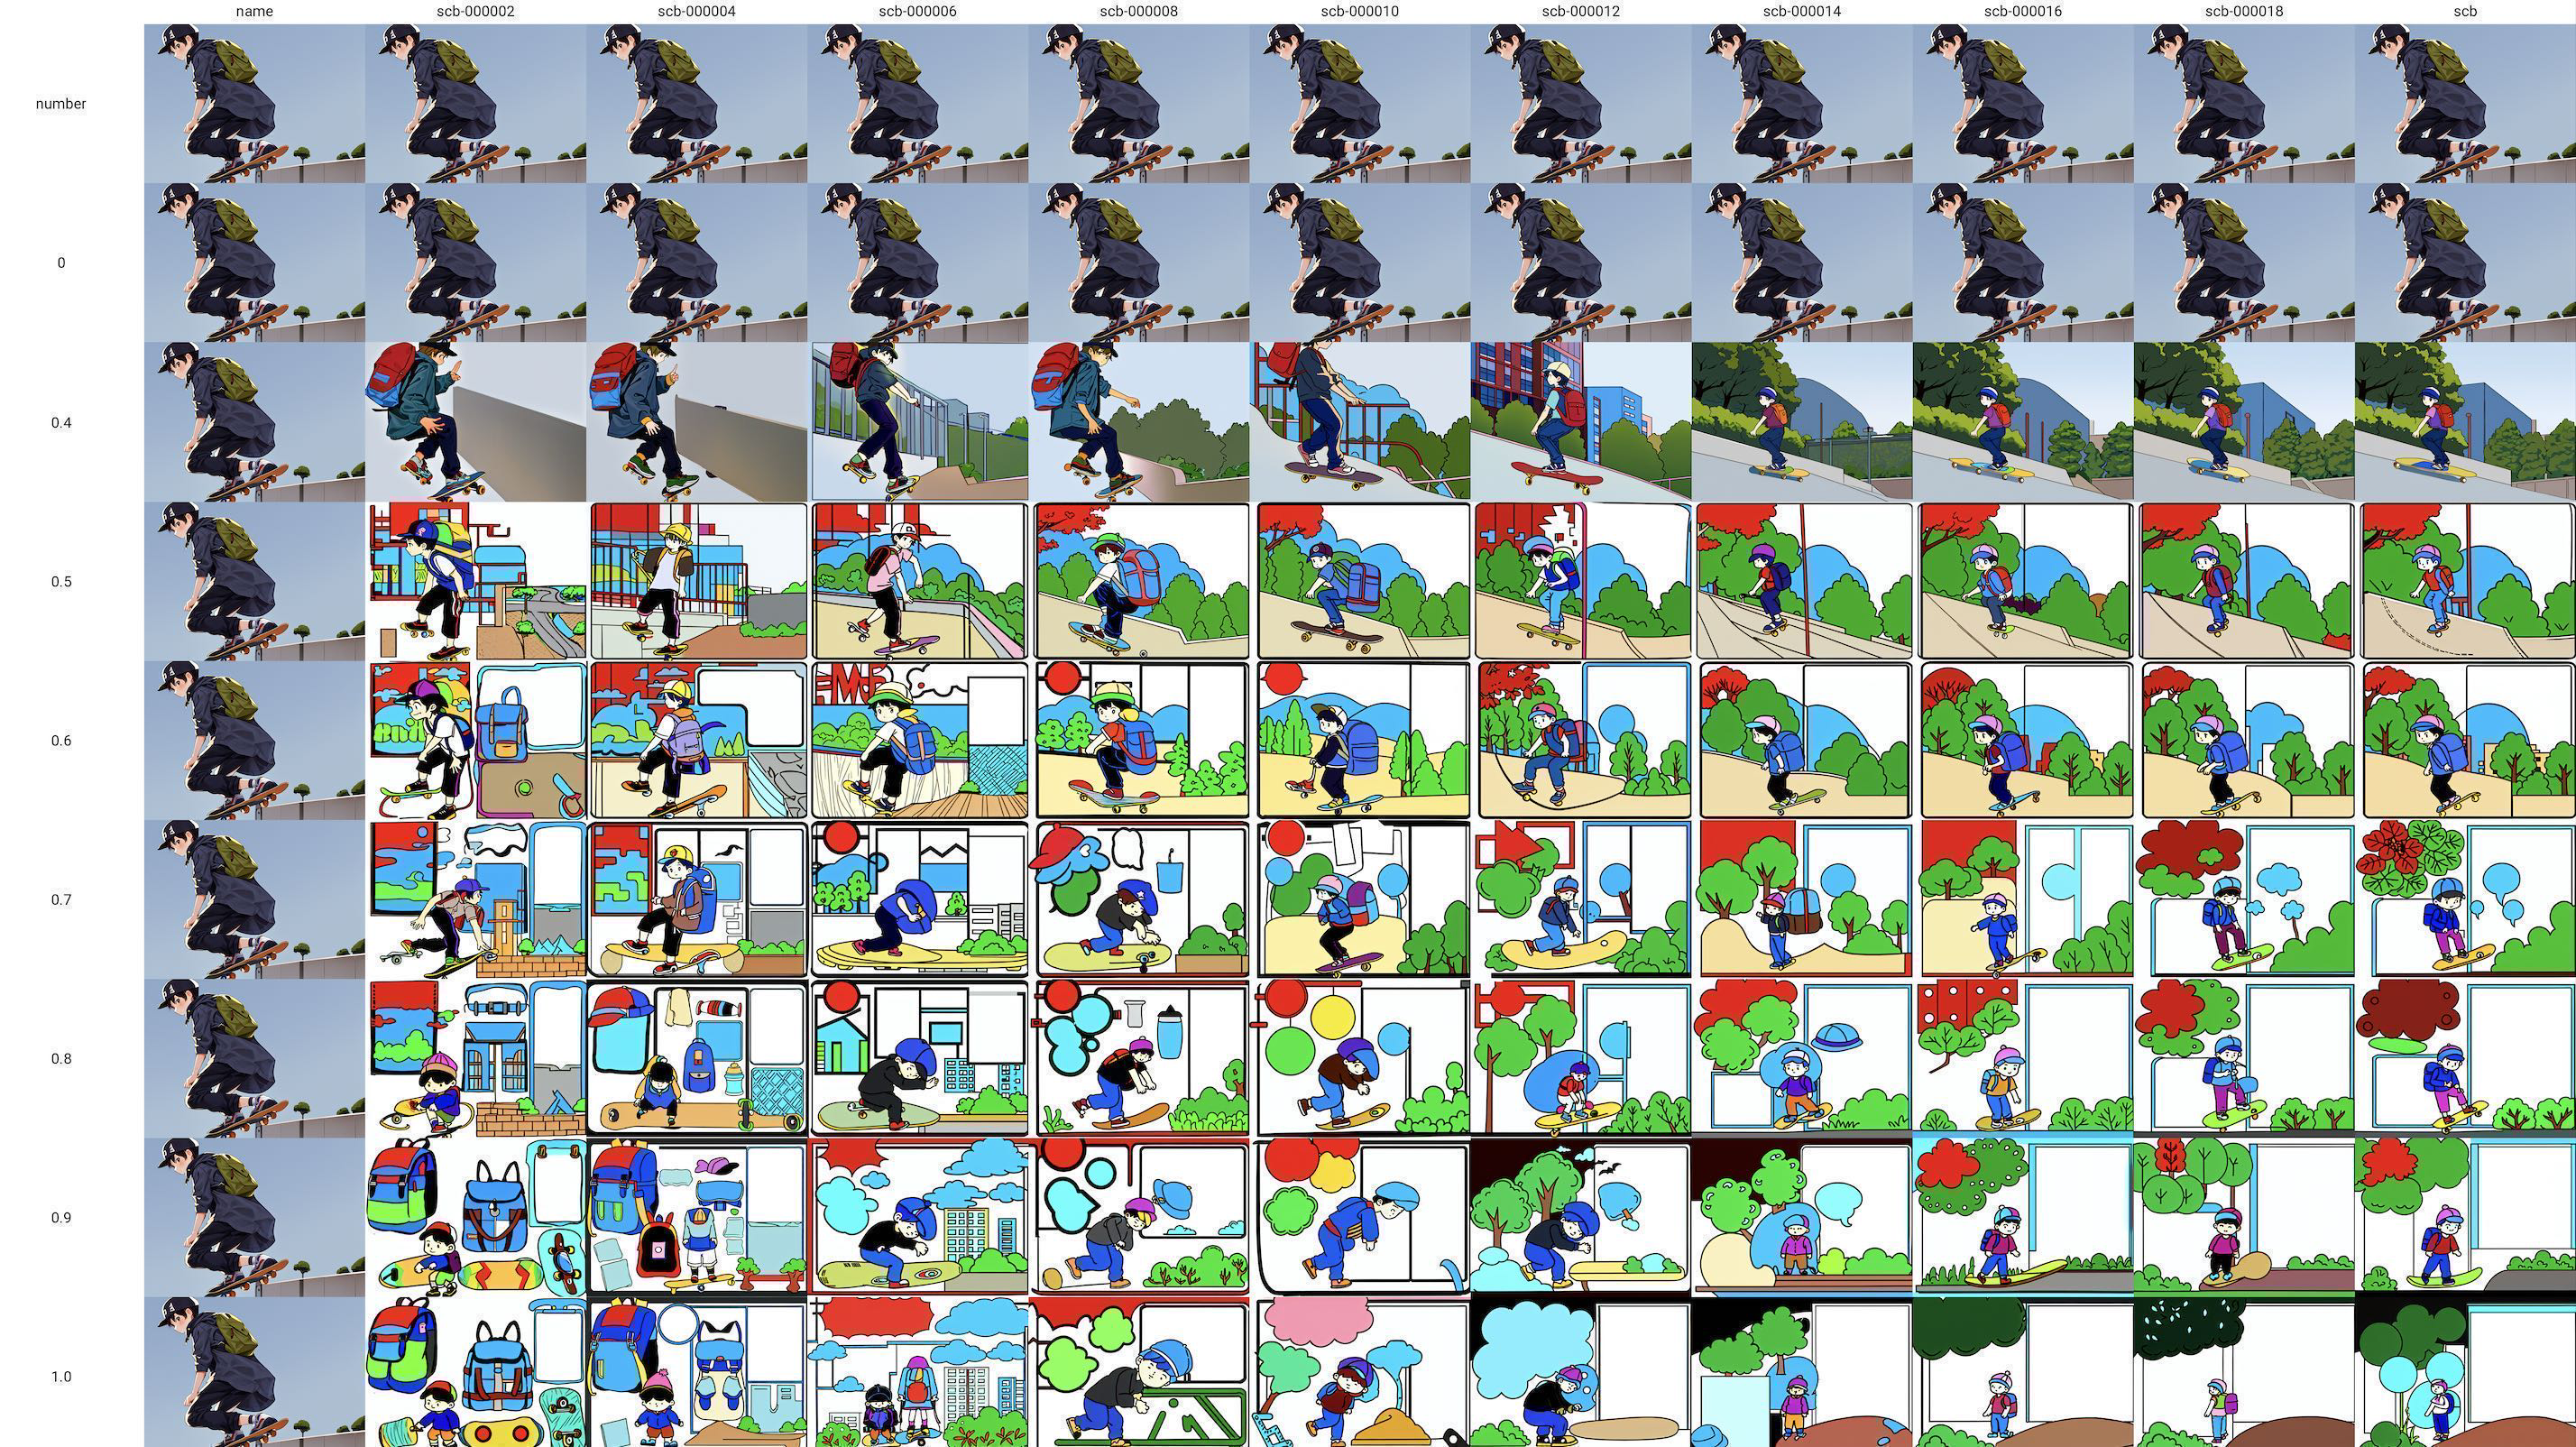
2.xyz测试效果
正向prompt:
<lora:name:number>,shouchaobao,Outgoing,boy,wearing outdoor clothes,wearing a hat,skateboarding,backpack,a peaceful place,white background,simple background,反向prompt:
bad quality,blurry,stretched,deformed,bad lighting,EasyNegative,signature,watermark,text,提示词搜索替换查看效果
3.测试718*512,非64倍数
name,scb2-000002,scb2-000004,scb2-000006,scb2-000008,scb2-000010,scb2-000012,scb2-000014,scb2-000016,scb2-000018,scb2
number,0,0.4,0.5,0.6,0.7,0.8,0.9,1.0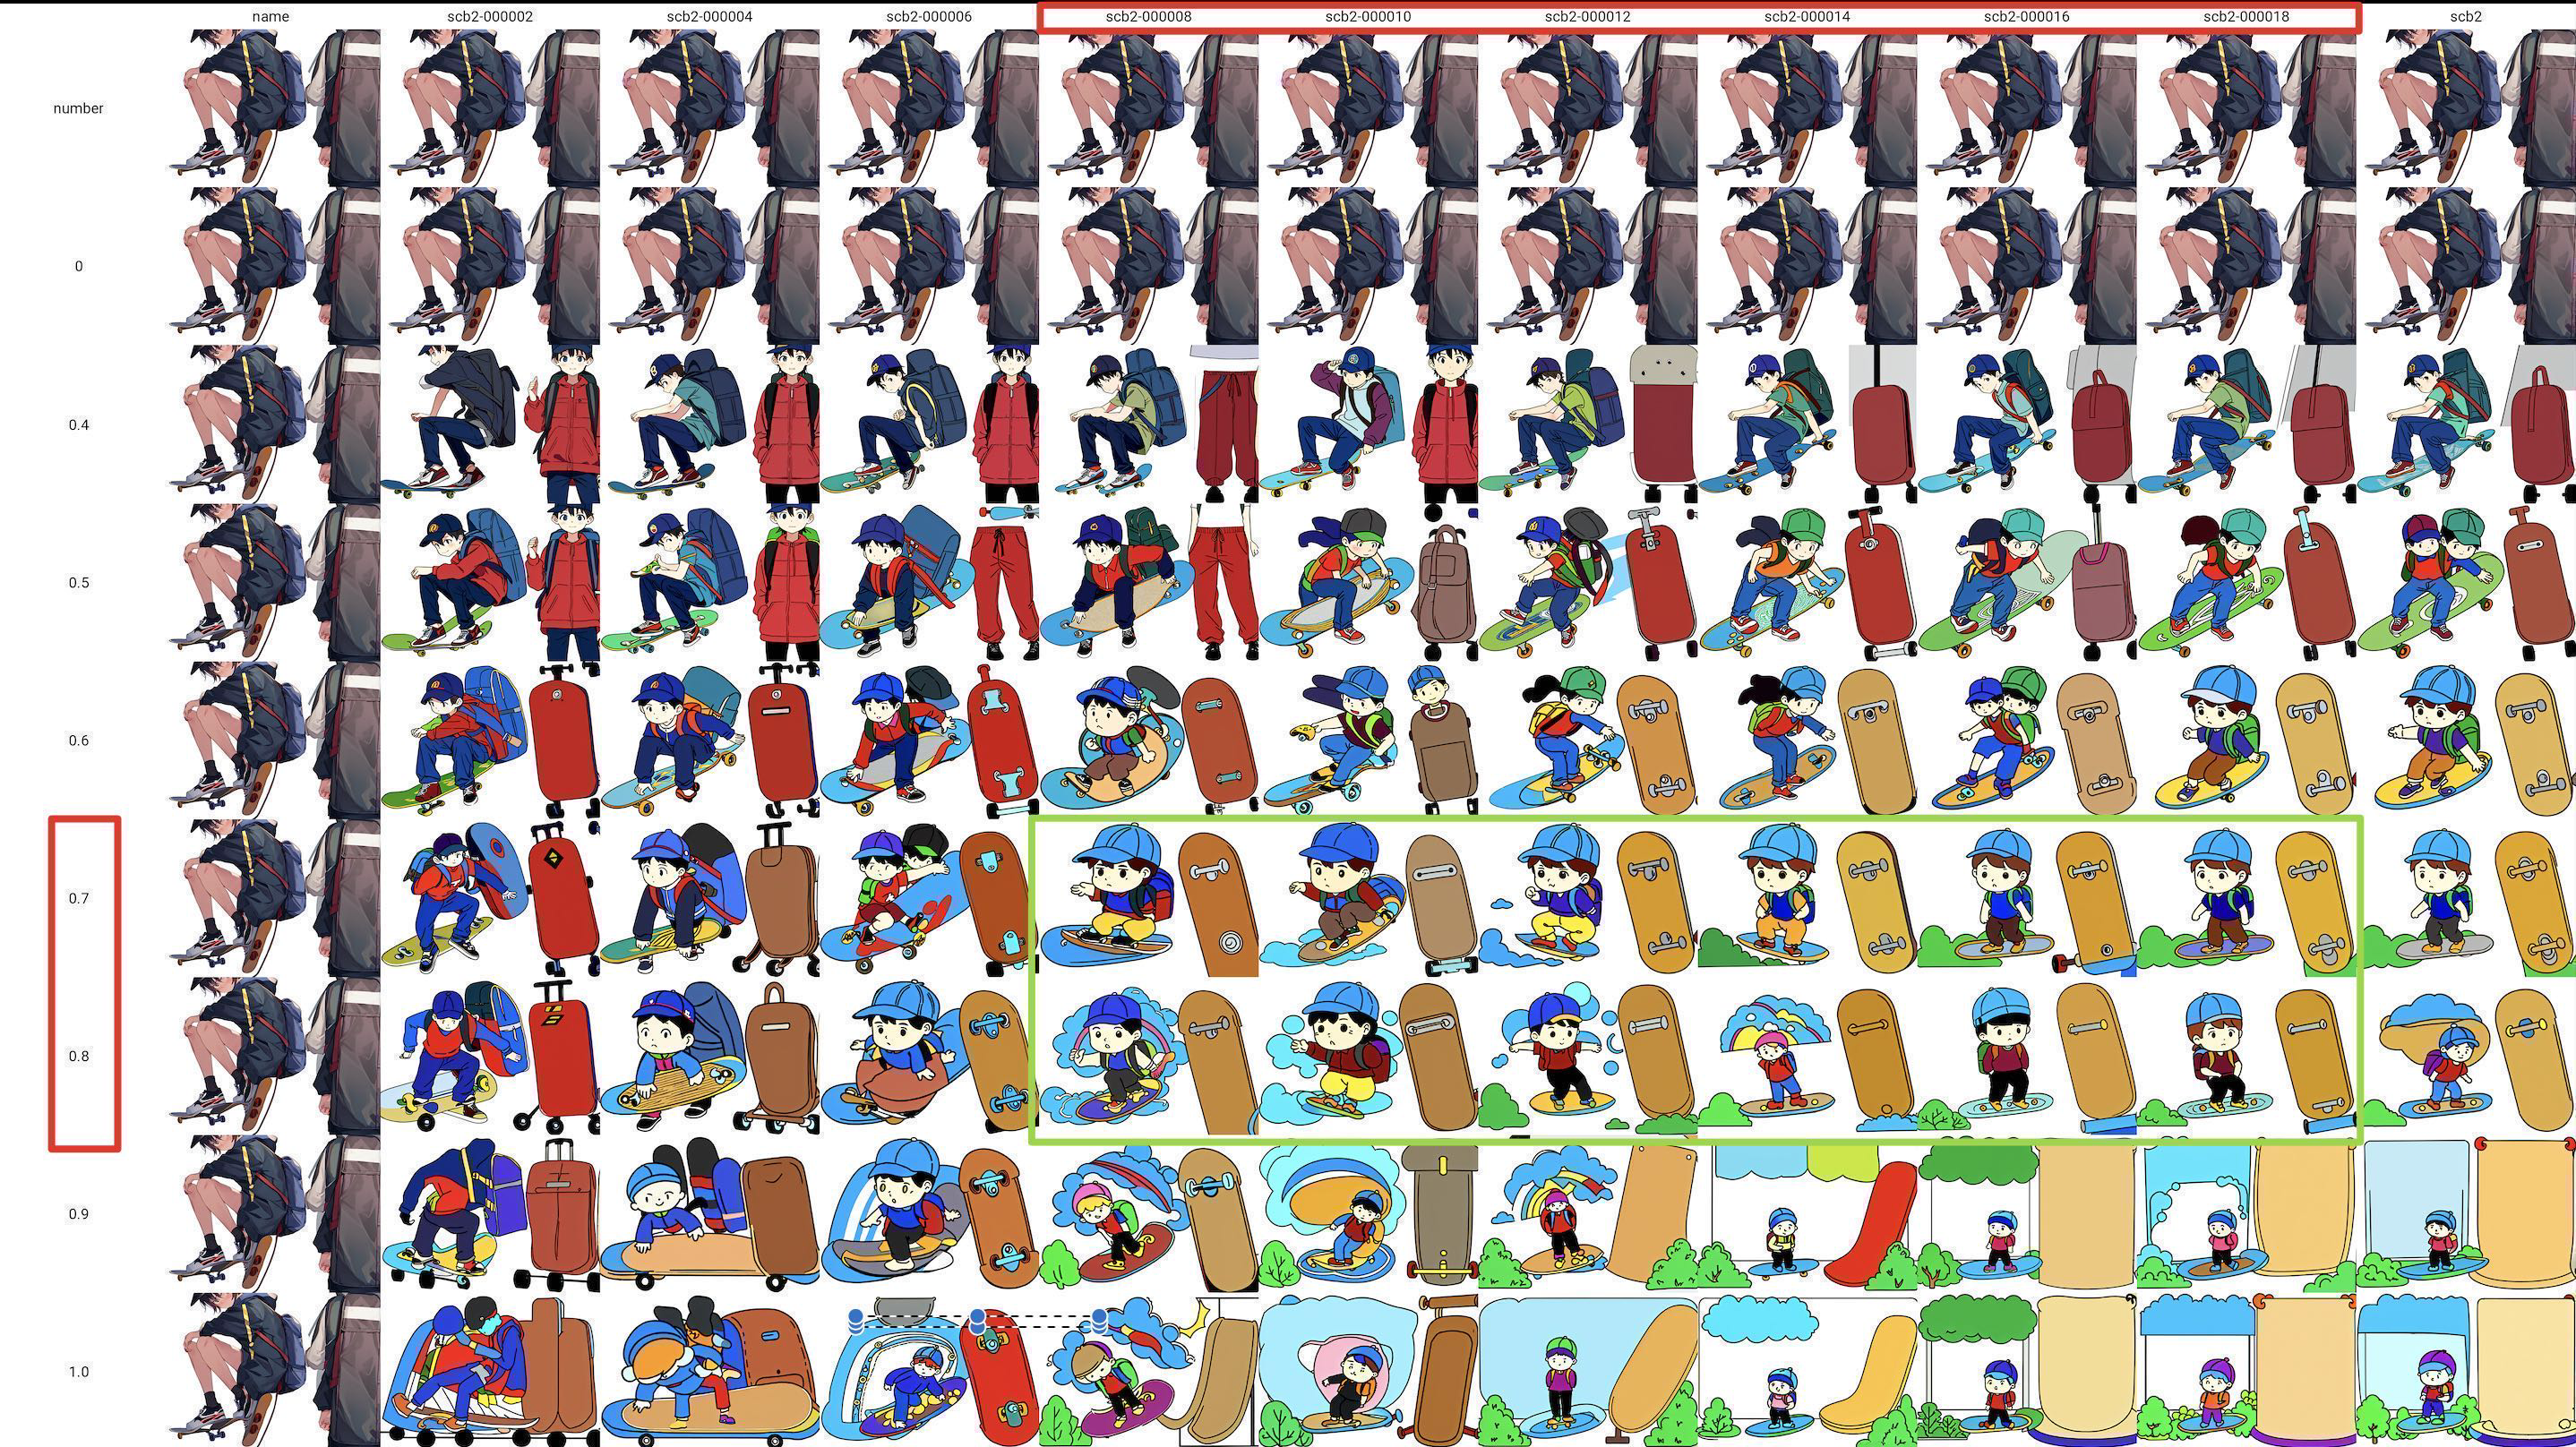
4.测试704*512,都是64倍数
name,scb3-000002,scb3-000004,scb3-000006,scb3-000008,scb3-000010,scb3-000012,scb3-000014,scb3-000016,scb3-000018,scb3
number,0,0.4,0.5,0.6,0.7,0.8,0.9,1.0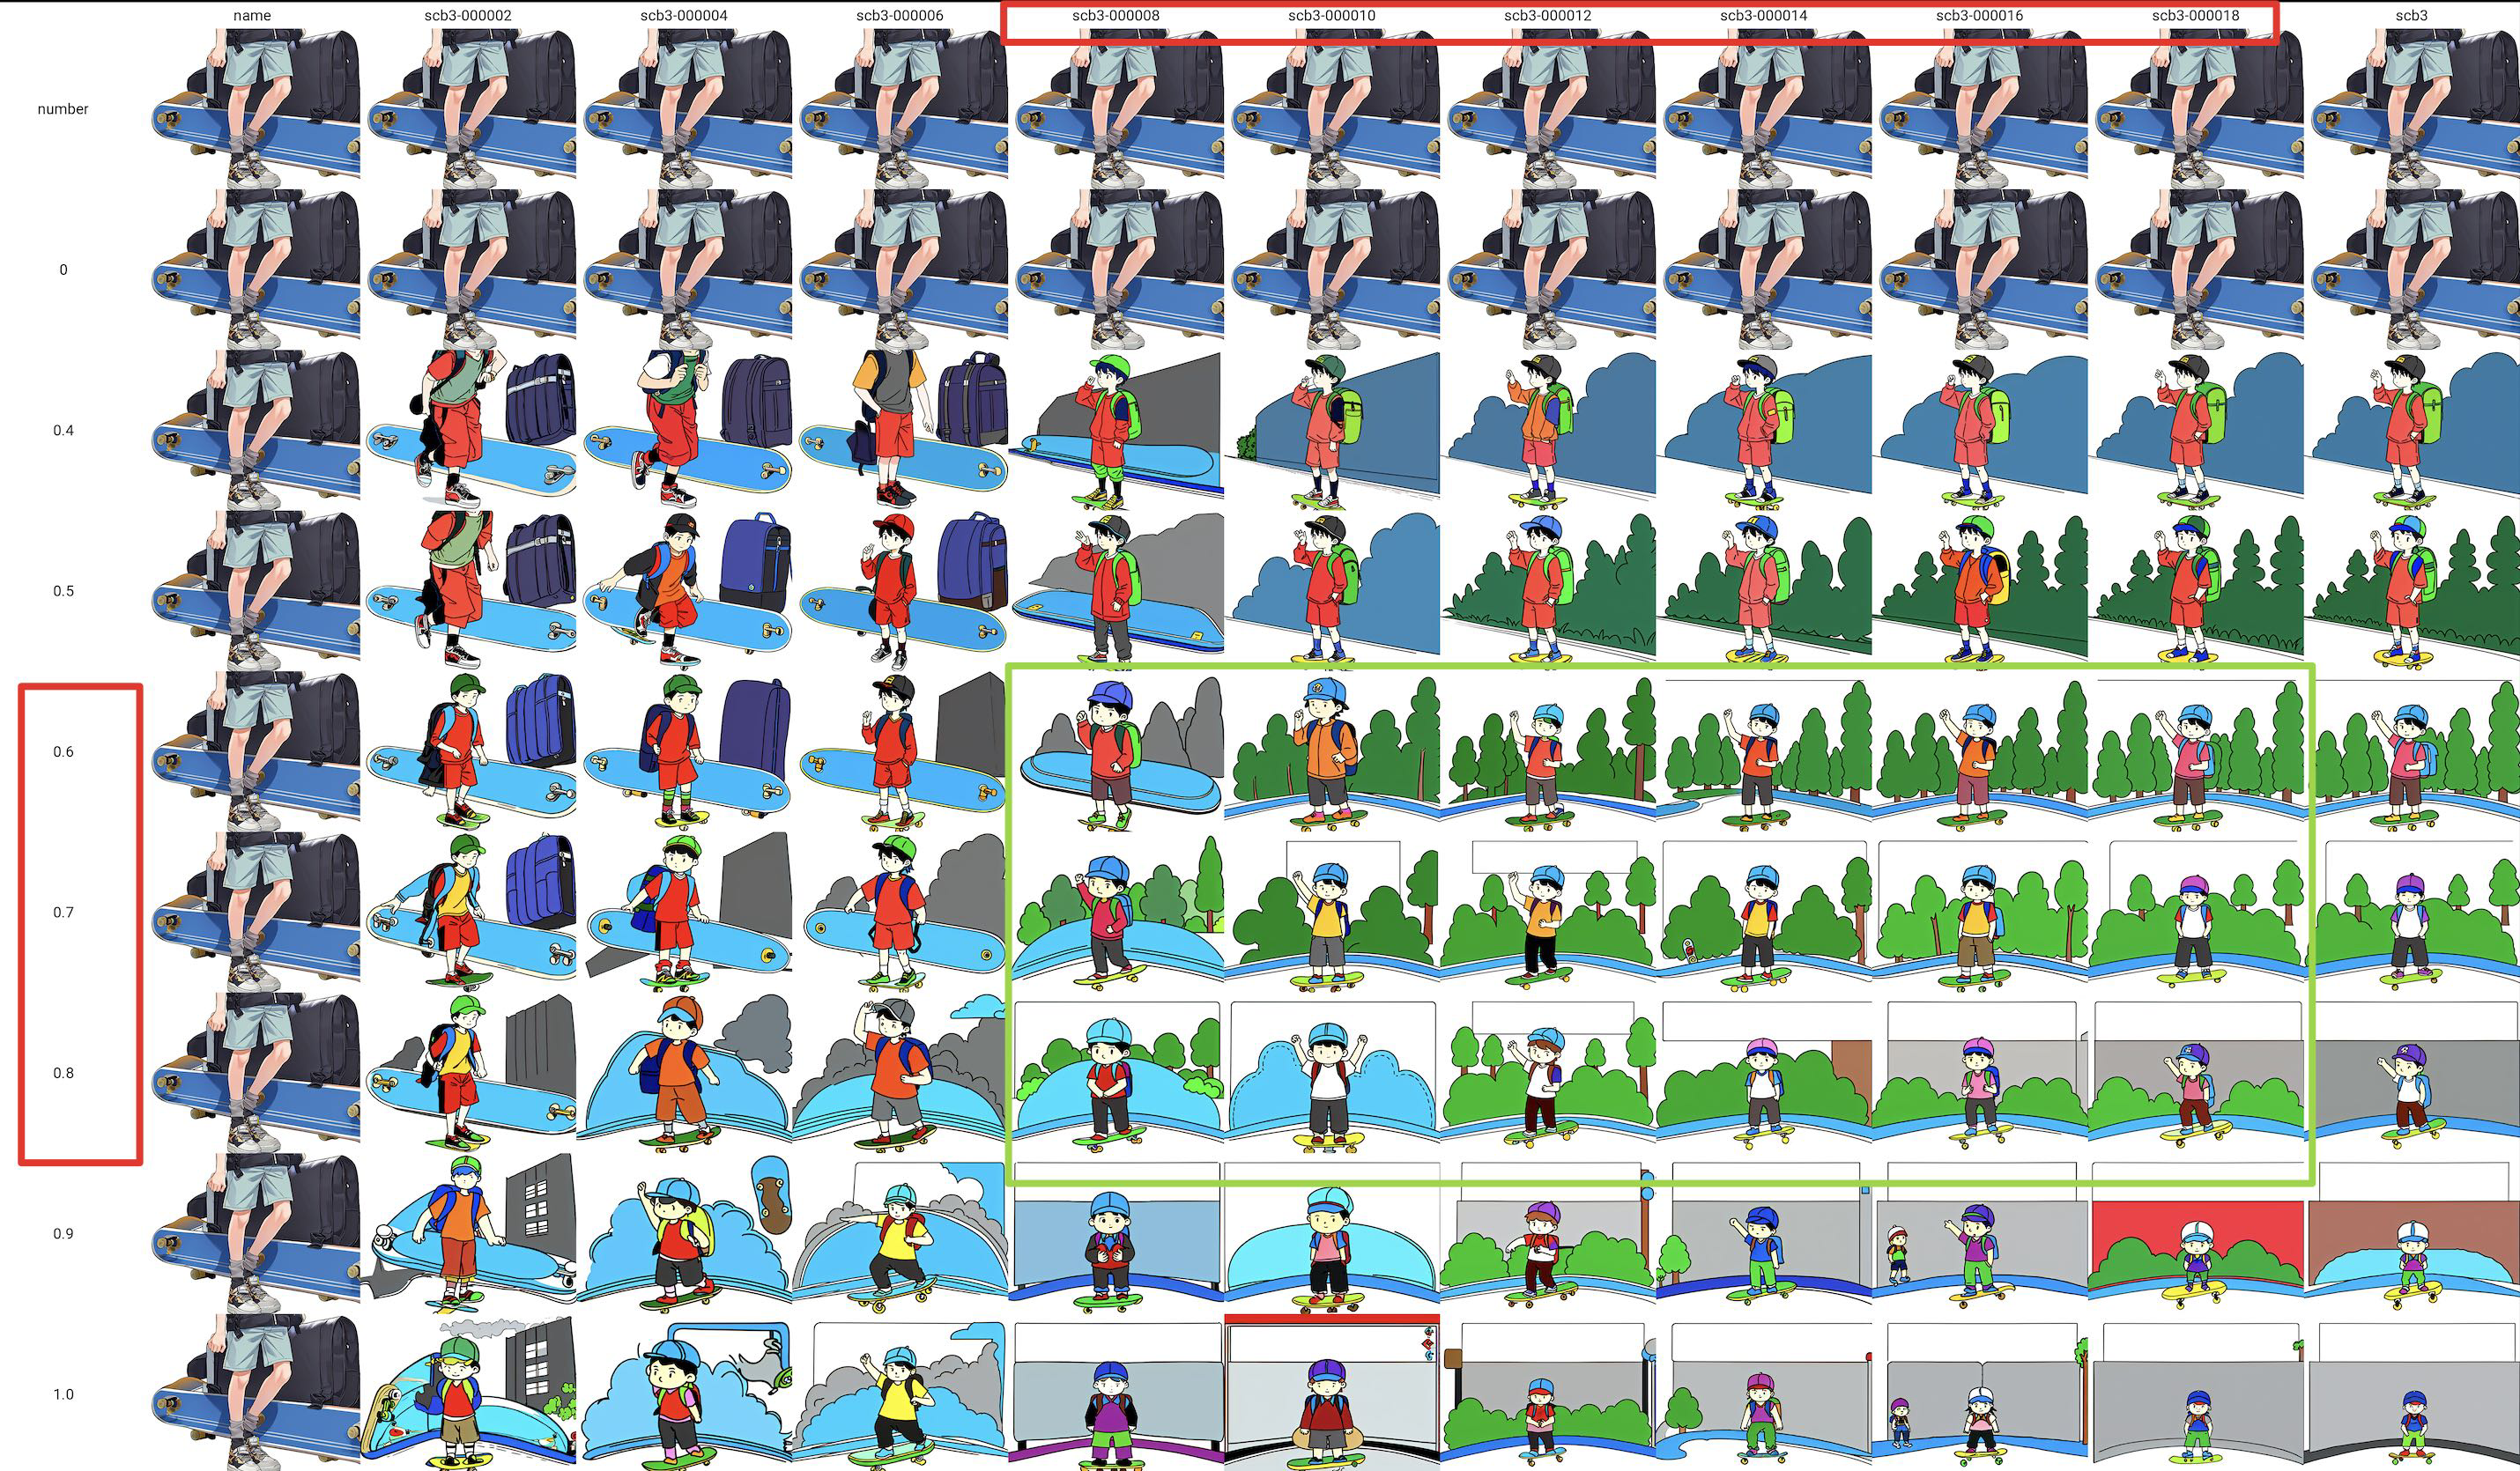
可以看到在训练8-18轮,权重0.6-0.8之间,效果还是不错的!
4.对比第一次训练的效果(没有剔除一些风格不一致的样本)
