python 发送邮件短信封装
发送邮件
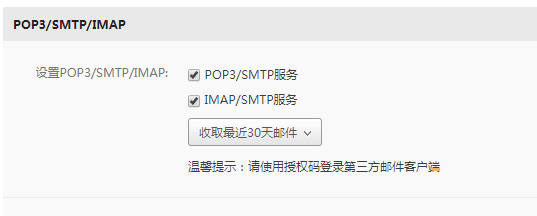
需要开启163的smtp服务


 1 import smtplib
 2 from email.mime.text import MIMEText
 3
 4 class MailSender():
 5
 6     def __init__(self,sender,recever,content,password,subject="",server="smtp.163.com",port=994):
 7         """
 8
 9         :param sender: 发送方邮箱
10         :param recever: 接收方邮箱 ,字符串存储 ','分割
11         :param content: 发送正文
12         :param password: 发送方授权码
13         :param subject: 主题可以为空
14         :param server: 邮件服务器地址
15         :param port: 邮件服务器端口
16         """
17         self.subject = subject
18         self.content = content
19         self.sender = sender
20         self.password = password
21         self.server = server
22         self.port = port
23
24         self.message = MIMEText(content, "plain", "utf-8")
25         self.message["Subject"] = subject
26         self.message["From"] = sender
27         self.message["To"] = recever
28
29
30     def send(self):
31         smtp = smtplib.SMTP_SSL("smtp.163.com", 465)
32         smtp.login(sender, password)
33         try:
34             smtp.sendmail(sender, recever.split(","), self.message.as_string())
35
36         except Exception as e:
37             print(e)
38         finally:
39             if smtp:
40                 smtp.close()
41
42
43
44
45 if __name__ == '__main__':
46     subject = "李青"
47
48     content = """双眼失明从来不影响我"""
49
50     sender = "1503760xxxx@163.com"
51
52     # 解决554 DT:SPM错误,把自己的邮箱加入里面
53     recever = "1503760xxxx@163.com,2533636371@qq.com,318750798@qq.com"
54     password = "xxxx"
55
56     mailsend = MailSender(sender=sender,recever=recever,password=password,content=content)
57     mailsend.send()
发送手机验证码
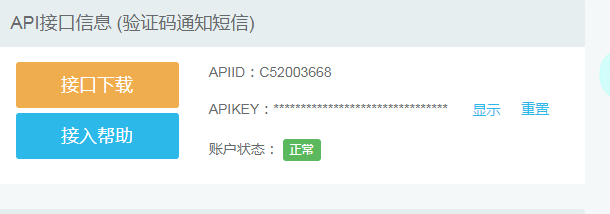
需要在https://user.ihuyi.com/index.html注册,使用APIID和APIKEY发送


 1 import requests #pip install requests
 2
 3 url = "http://106.ihuyi.com/webservice/sms.php?method=Submit" #来自于文档
 4 #APIID
 5 account = ""
 6 #APIkey
 7 password = ""
 8 mobile = "1503760xxxxx" # 接收手机号
 9 content = "您的验证码是:135279。请不要把验证码泄露给其他人。"
10 headers = {
11     "Content-type": "application/x-www-form-urlencoded",
12     "Accept": "text/plain"
13 }
14 #构建发送参数
15 data = {
16     "account": account,
17     "password": password,
18     "mobile": mobile,
19     "content": content,
20 }
21 #开始发送
22 response = requests.post(url,headers = headers,data=data)
23     #url 请求接口路由
24     #headers 请求头部
25     #data 请求的内容
26 print(response.content.decode())
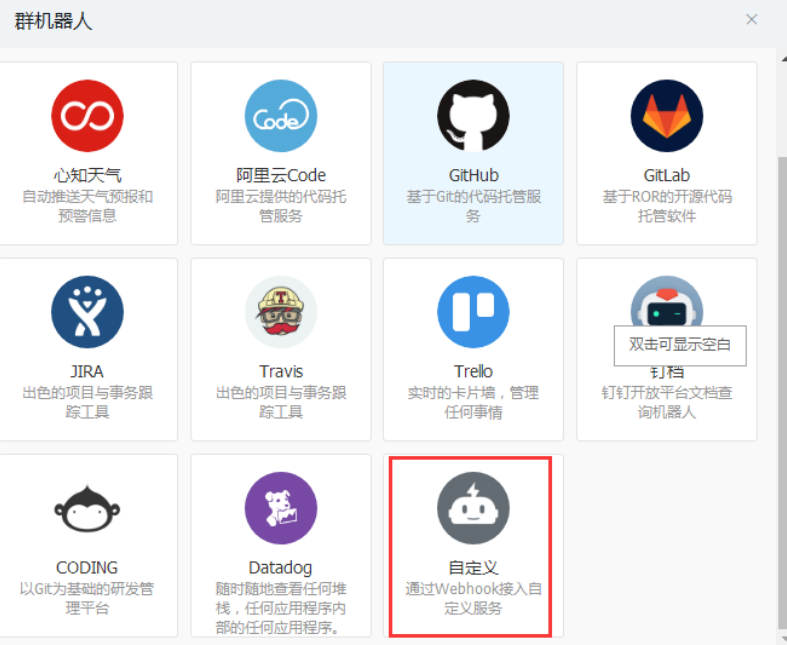
钉钉发送群机器人发送,DING_URL为webhook


 1 import random
 2 # 随机生成验证码
 3 def random_code(len=4):
 4
 5     string = "".join([str(i) for i in range(0,10)])+"".join([chr(i)+chr(i).lower() for i in range(65,90)])
 6     return "".join([random.choice(string) for i in range(len)])
 7
 8
 9 import json
10 import requests
11
12
13 # to 接收方
14 def sendDing(content,to=""):
15     DING_URL = """https://oapi.dingtalk.com/robot/send?access_token=90b5894a1615f70278806be3dd9ce6cd7e959bc1093df9a3b2845e22ede24279"""
16     headers = {
17         "Content-Type": "application/json",
18         "Charset": "utf-8"
19     }
20     requests_data = {
21         "msgtype": "text",
22         "text": {
23             "content": content
24         },
25         "at": {
26             "atMobiles": [
27             ],
28             "isAtAll": True
29         }
30     }
31     if to:
32         requests_data["at"]["atMobiles"].append(to)
33         requests_data["at"]["isAtAll"] = False
34     else:
35         requests_data["at"]["atMobiles"].clear()
36         requests_data["at"]["isAtAll"] = True
37     sendData = json.dumps(requests_data)
38     response = requests.post(url=DING_URL, headers=headers, data=sendData)
39     content = response.json()
40     return content
41
42
43
44
45
46
47 if __name__ == '__main__':
48     print(random_code())


