9、Dockerfile实战-Nginx
上一节我们详解Dockerfile之后,现在来进行实战。我们通过docker build来进行镜像制作。
build有如下选项:
[root@localhost ~a]# docker build --help

Usage:  docker build [OPTIONS] PATH | URL | -

Build an image from a Dockerfile

Options:
      --add-host list           Add a custom host-to-IP mapping (host:ip)
      --build-arg list          Set build-time variables
      --cache-from strings      Images to consider as cache sources
      --cgroup-parent string    Optional parent cgroup for the container
      --compress                Compress the build context using gzip
      --cpu-period int          Limit the CPU CFS (Completely Fair Scheduler) period
      --cpu-quota int           Limit the CPU CFS (Completely Fair Scheduler) quota
  -c, --cpu-shares int          CPU shares (relative weight)
      --cpuset-cpus string      CPUs in which to allow execution (0-3, 0,1)
      --cpuset-mems string      MEMs in which to allow execution (0-3, 0,1)
      --disable-content-trust   Skip image verification (default true)
  -f, --file string             Name of the Dockerfile (Default is 'PATH/Dockerfile')
      --force-rm                Always remove intermediate containers
      --iidfile string          Write the image ID to the file
      --isolation string        Container isolation technology
      --label list              Set metadata for an image
  -m, --memory bytes            Memory limit
      --memory-swap bytes       Swap limit equal to memory plus swap: '-1' to enable unlimited swap
      --network string          Set the networking mode for the RUN instructions during build (default "default")
      --no-cache                Do not use cache when building the image
      --pull                    Always attempt to pull a newer version of the image
  -q, --quiet                   Suppress the build output and print image ID on success
      --rm                      Remove intermediate containers after a successful build (default true)
      --security-opt strings    Security options
      --shm-size bytes          Size of /dev/shm
  -t, --tag list                Name and optionally a tag in the 'name:tag' format
      --target string           Set the target build stage to build.
      --ulimit ulimit           Ulimit options (default [])
[root@localhost ~]#
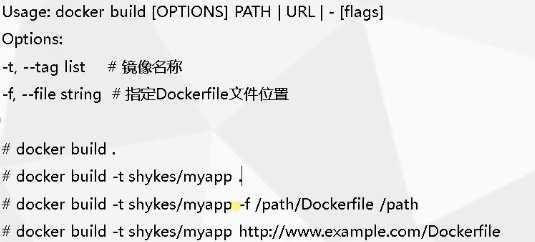
主要参数有:
-t, --tag list  #给镜像打tag,比如nginx:v1
-f, --file string  # -f  Dockerfile文件名字,默认为当前路径下的Dockerfile
一、构建Nginx镜像
1、 Nginx安装步骤
- 安装依赖包
- 编译安装nginx三步骤:编译、make、make install
- 配置配置文件和环境变量
2、Dockerfile文件编写
FROM centos:7
MAINTAINER QUNXUE
RUN yum install -y gcc gcc-c++ make \
    openssl-devel pcre-devel gd-devel \
    iproute net-tools telnet wget curl && \
    yum clean all && \
    rm -rf /var/cache/yum/*
RUN wget http://nginx.org/download/nginx-1.15.5.tar.gz && \
    tar zxf nginx-1.15.5.tar.gz && \
    cd nginx-1.15.5 &&\
    ./configure --prefix=/usr/local/nginx \
    --with-http_ssl_module \
    --with-http_stub_status_module && \
    make -j 4 && make install && \
    rm -rf /usr/local/nginx/html/* && \
    echo "ok" >> /usr/local/nginx/html/status.html && \
    cd / && rm -rf nginx-1.15.5* && \
    ln -sf /usr/share/zoneinfo/Asia/Shanghai /etc/localtime

ENV PATH $PATH:/usr/local/nginx/sbin
COPY nginx.conf /usr/local/nginx/conf/nginx.conf
WORKDIR /usr/local/nginx
EXPOSE 80
CMD ["nginx", "-g", "daemon off;"]
3、注意事项及dockerfile编写最佳实践
a、尽量让镜像文件更小
清理残留文件,比如build完成后,要删掉源码包、yum缓存等。
b、尽量减少Dockerfile指令
因为我们知道,一个Dockerfile指令,就是一层镜像,我们使用shell里面的&&符号进行拼接成一行,让RUN指令尽可能少。
c、在测试中编写Dockerfile
我们随便启动一个容器:docker run -it centos,进入容器后,就可以对我们写的Dockerfile指令进行逐行执行
d、Dockerfile常用指令
基本上按照表格中的顺序进行编写

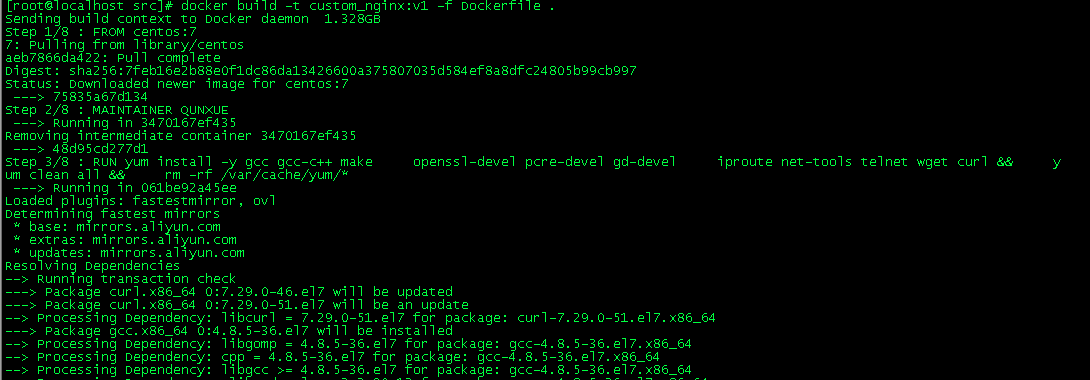
4、构建基础镜像(nginx)
docker build -t custom_nginx:v1 -f dockerfile-nginx .
注意:命令最后面一个点,用于指定docker build的上下文,.为当前目录,就是在build镜像时,如果有涉及到需要拷贝文件之类的,都是从当前目录拷贝。
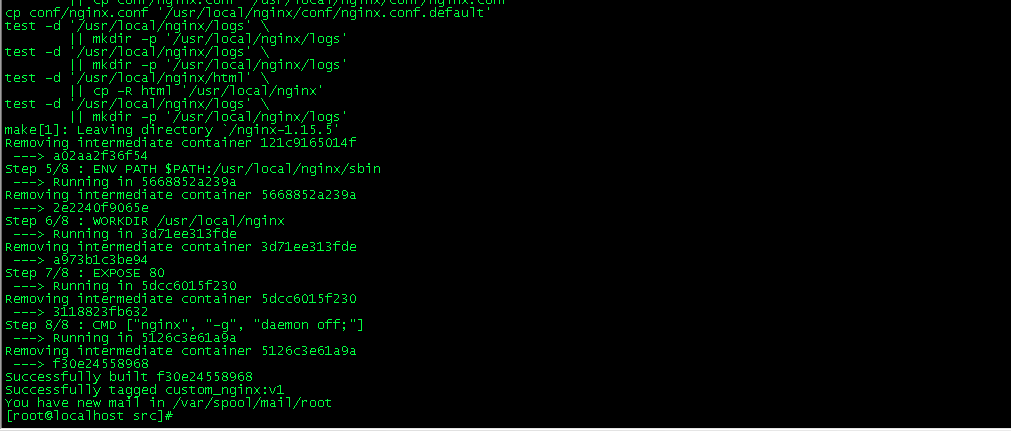
可以看到,最后我们构建成功了。

我们可以基于此镜像作为基础镜像进行容器构建:
[root@localhost src]# docker run -itd -h web001 -p 8889:80 custom_nginx:v1
2ad7070295ed0d4cc97319696176e3bfaf75dde9ccc54e3990e251907ce16ebd
尝试访问我们自己写的主页,status.html:

说明我们的启动的docker容器是预想中的效果,very good!
5、基于基础镜像测试
我们制作了基础镜像,此时,我们可以基于此基础镜像进行测试环境发布了。
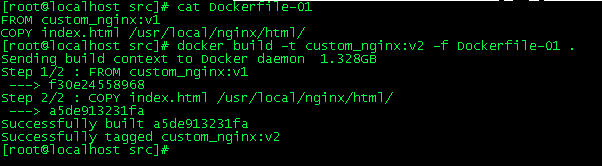
编写Dockerfile
FROM custom_nginx:v1
COPY index.html  /usr/local/nginx/html
这里我们把index.html文件作为整个测试环境的内容,当然,测试环境肯定不止一个文件,我们这里用于测试。
echo "This is My First Project,Welcome! Guy." >index.html
基于基础镜像进行新镜像构建:
基于新镜像构建容器:
[root@localhost src]# docker run -itd -h custom_nginxv2 -p 1234:80 custom_nginx:v2
155225793ee06151601047152a1fe25f02691001de0b85d3d017c5d4f657ad7f
[root@localhost src]#
测试:访问宿主机的1234端口
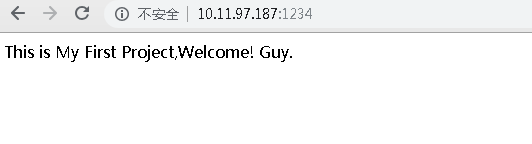
一切都是期望的样子!

 浙公网安备 33010602011771号