

OpenEuler20.03安装mysql8.0.19
一、准备工作
1、dnf update 更新源 rpm安装包时用
2、tar 安装 tar --help 查看是否存在
如果没有 yum install tar
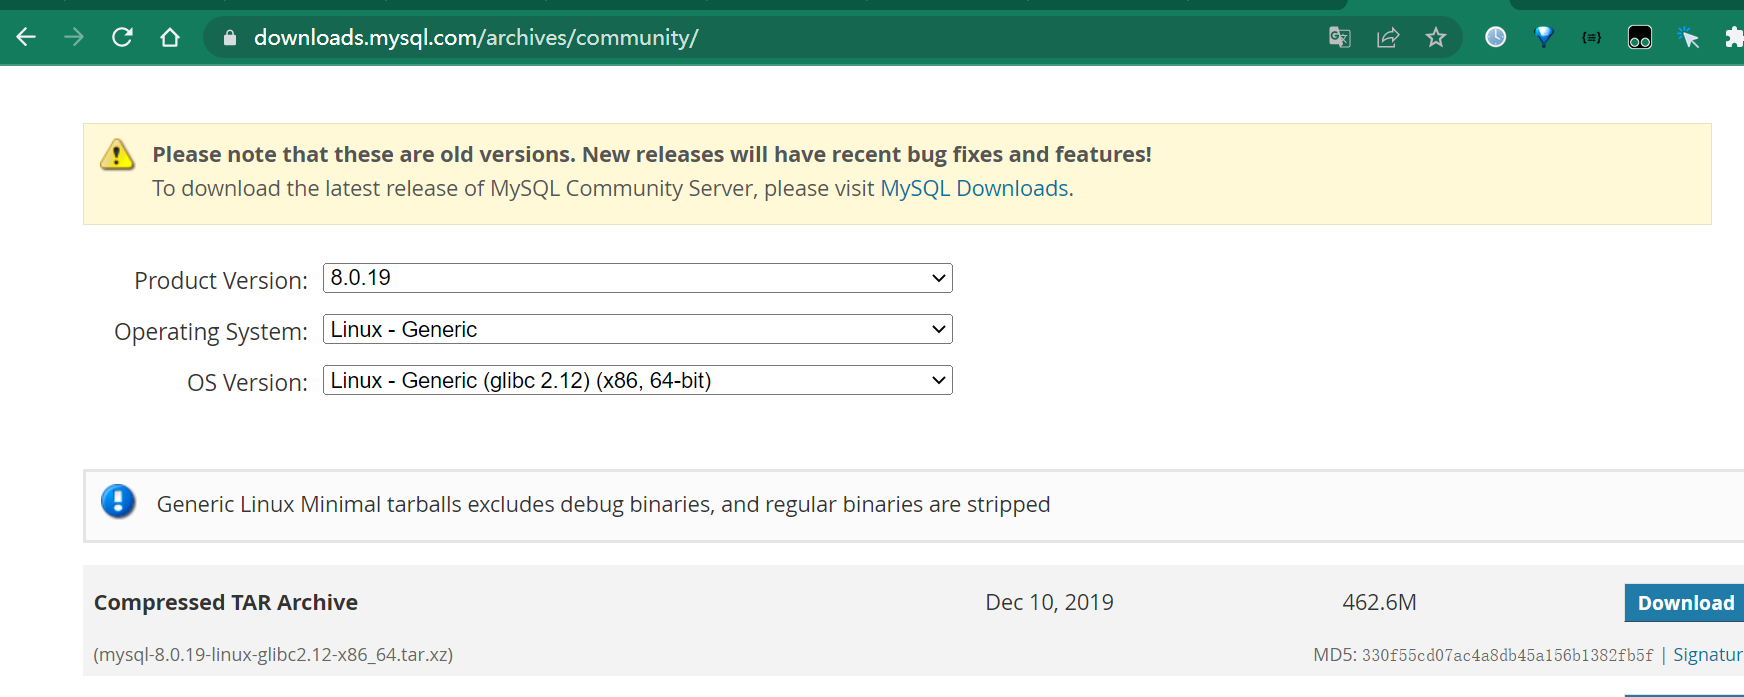
3、版本下载 mysql-8.0.19-linux-glibc2.12-x86_64.tar.xz https://downloads.mysql.com/archives/community/
二、安装
1、上传到 /usr/local下
tar -Jxvf mysql-8.0.19-linux-glibc2.12-x86_64.tar.xz
如果是gz格式 tar -zxvf mysql-8.0.19-linux-glibc2.12-x86_64.tar.gz
2、重命名 mv mysql-8.0.19-linux-glibc2.12-x86_64 mysql8
3、建立数据存放文件目录 cd mysql8 => mkdir data 建立完毕 如果是别的地方 请建立后把地址记录好
4、建立组和用户 groupadd mysql && useradd -r -g mysql mysql
注意 mysql8 文件夹里建立
5、授权文件夹 chown -R mysql.mysql /usr/local/mysql8
6、初始化 cd bin /usr/local/mysql8/bin 目录下执行
./mysqld --user=mysql --basedir=/usr/local/mysql8 --datadir=/usr/local/mysql8/data/ --initialize
会生成一个密码 一定要复制到文本中记录好 修改密码时用到
7、编辑或创建 vi /etc/my.cnf

# For advice on how to change settings please see
# http://dev.mysql.com/doc/refman/8.0/en/server-configuration-defaults.html
[client]
port=3306
default-character-set=UTF8MB4
[mysqld]
#
# Remove leading # and set to the amount of RAM for the most important data
# cache in MySQL. Start at 70% of total RAM for dedicated server, else 10%.
# innodb_buffer_pool_size = 128M
#
# Remove the leading "# " to disable binary logging
# Binary logging captures changes between backups and is enabled by
# default. It's default setting is log_bin=binlog
# disable_log_bin
#
# Remove leading # to set options mainly useful for reporting servers.
# The server defaults are faster for transactions and fast SELECTs.
# Adjust sizes as needed, experiment to find the optimal values.
# join_buffer_size = 128M
# sort_buffer_size = 2M
# read_rnd_buffer_size = 2M
#
# Remove leading # to revert to previous value for default_authentication_plugin,
# this will increase compatibility with older clients. For background, see:
# https://dev.mysql.com/doc/refman/8.0/en/server-system-variables.html#sysvar_default_authentication_plugin
# default-authentication-plugin=mysql_native_password
basedir=/usr/local/mysql8/
datadir=/usr/local/mysql8/data
socket=/tmp/mysql.sock
character-set-server=UTF8MB4
#skip-grant-tables

[mysqld_safe]
log-error=/var/log/mysqld.log
8、添加服务到系统
cp -a ./support-files/mysql.server /etc/init.d/mysql
9、授权和添加服务
chmod +x /etc/init.d/mysql
chkconfig --add mysql
10、启动mysql
service mysql start
查看状态 service mysql status
11、把mysql添加到服务
ln -s /usr/local/mysql8/bin/mysql /usr/bin
12、登录和修改密码
mysql mysql -uroot -p 输入6步生成的临时密码
修改密码
ALTER USER 'root'@'localhost' IDENTIFIED WITH mysql_native_password BY '1qaz2wsx';
执行 flush privileges; 使密码生效
use mysql;
update user set host='%' where user='root'; 使root能远程登录
执行 flush privileges; 使远程登录生效
quit 登出
firewall-cmd --permanent --add-port=3306/tcp
firewall-cmd --reload
可以远程访问一下 或systemctl reboot一下 看mysql服务是否注册正常


【推荐】国内首个AI IDE,深度理解中文开发场景,立即下载体验Trae
【推荐】编程新体验,更懂你的AI,立即体验豆包MarsCode编程助手
【推荐】抖音旗下AI助手豆包,你的智能百科全书,全免费不限次数
【推荐】轻量又高性能的 SSH 工具 IShell:AI 加持,快人一步
· 无需6万激活码!GitHub神秘组织3小时极速复刻Manus,手把手教你使用OpenManus搭建本
· Manus爆火,是硬核还是营销?
· 终于写完轮子一部分:tcp代理 了,记录一下
· 别再用vector<bool>了!Google高级工程师:这可能是STL最大的设计失误
· 单元测试从入门到精通
2019-10-08 centos7.2静默安装oracle11g