部署高可用kafka暴露外网访问并使用go代码测试

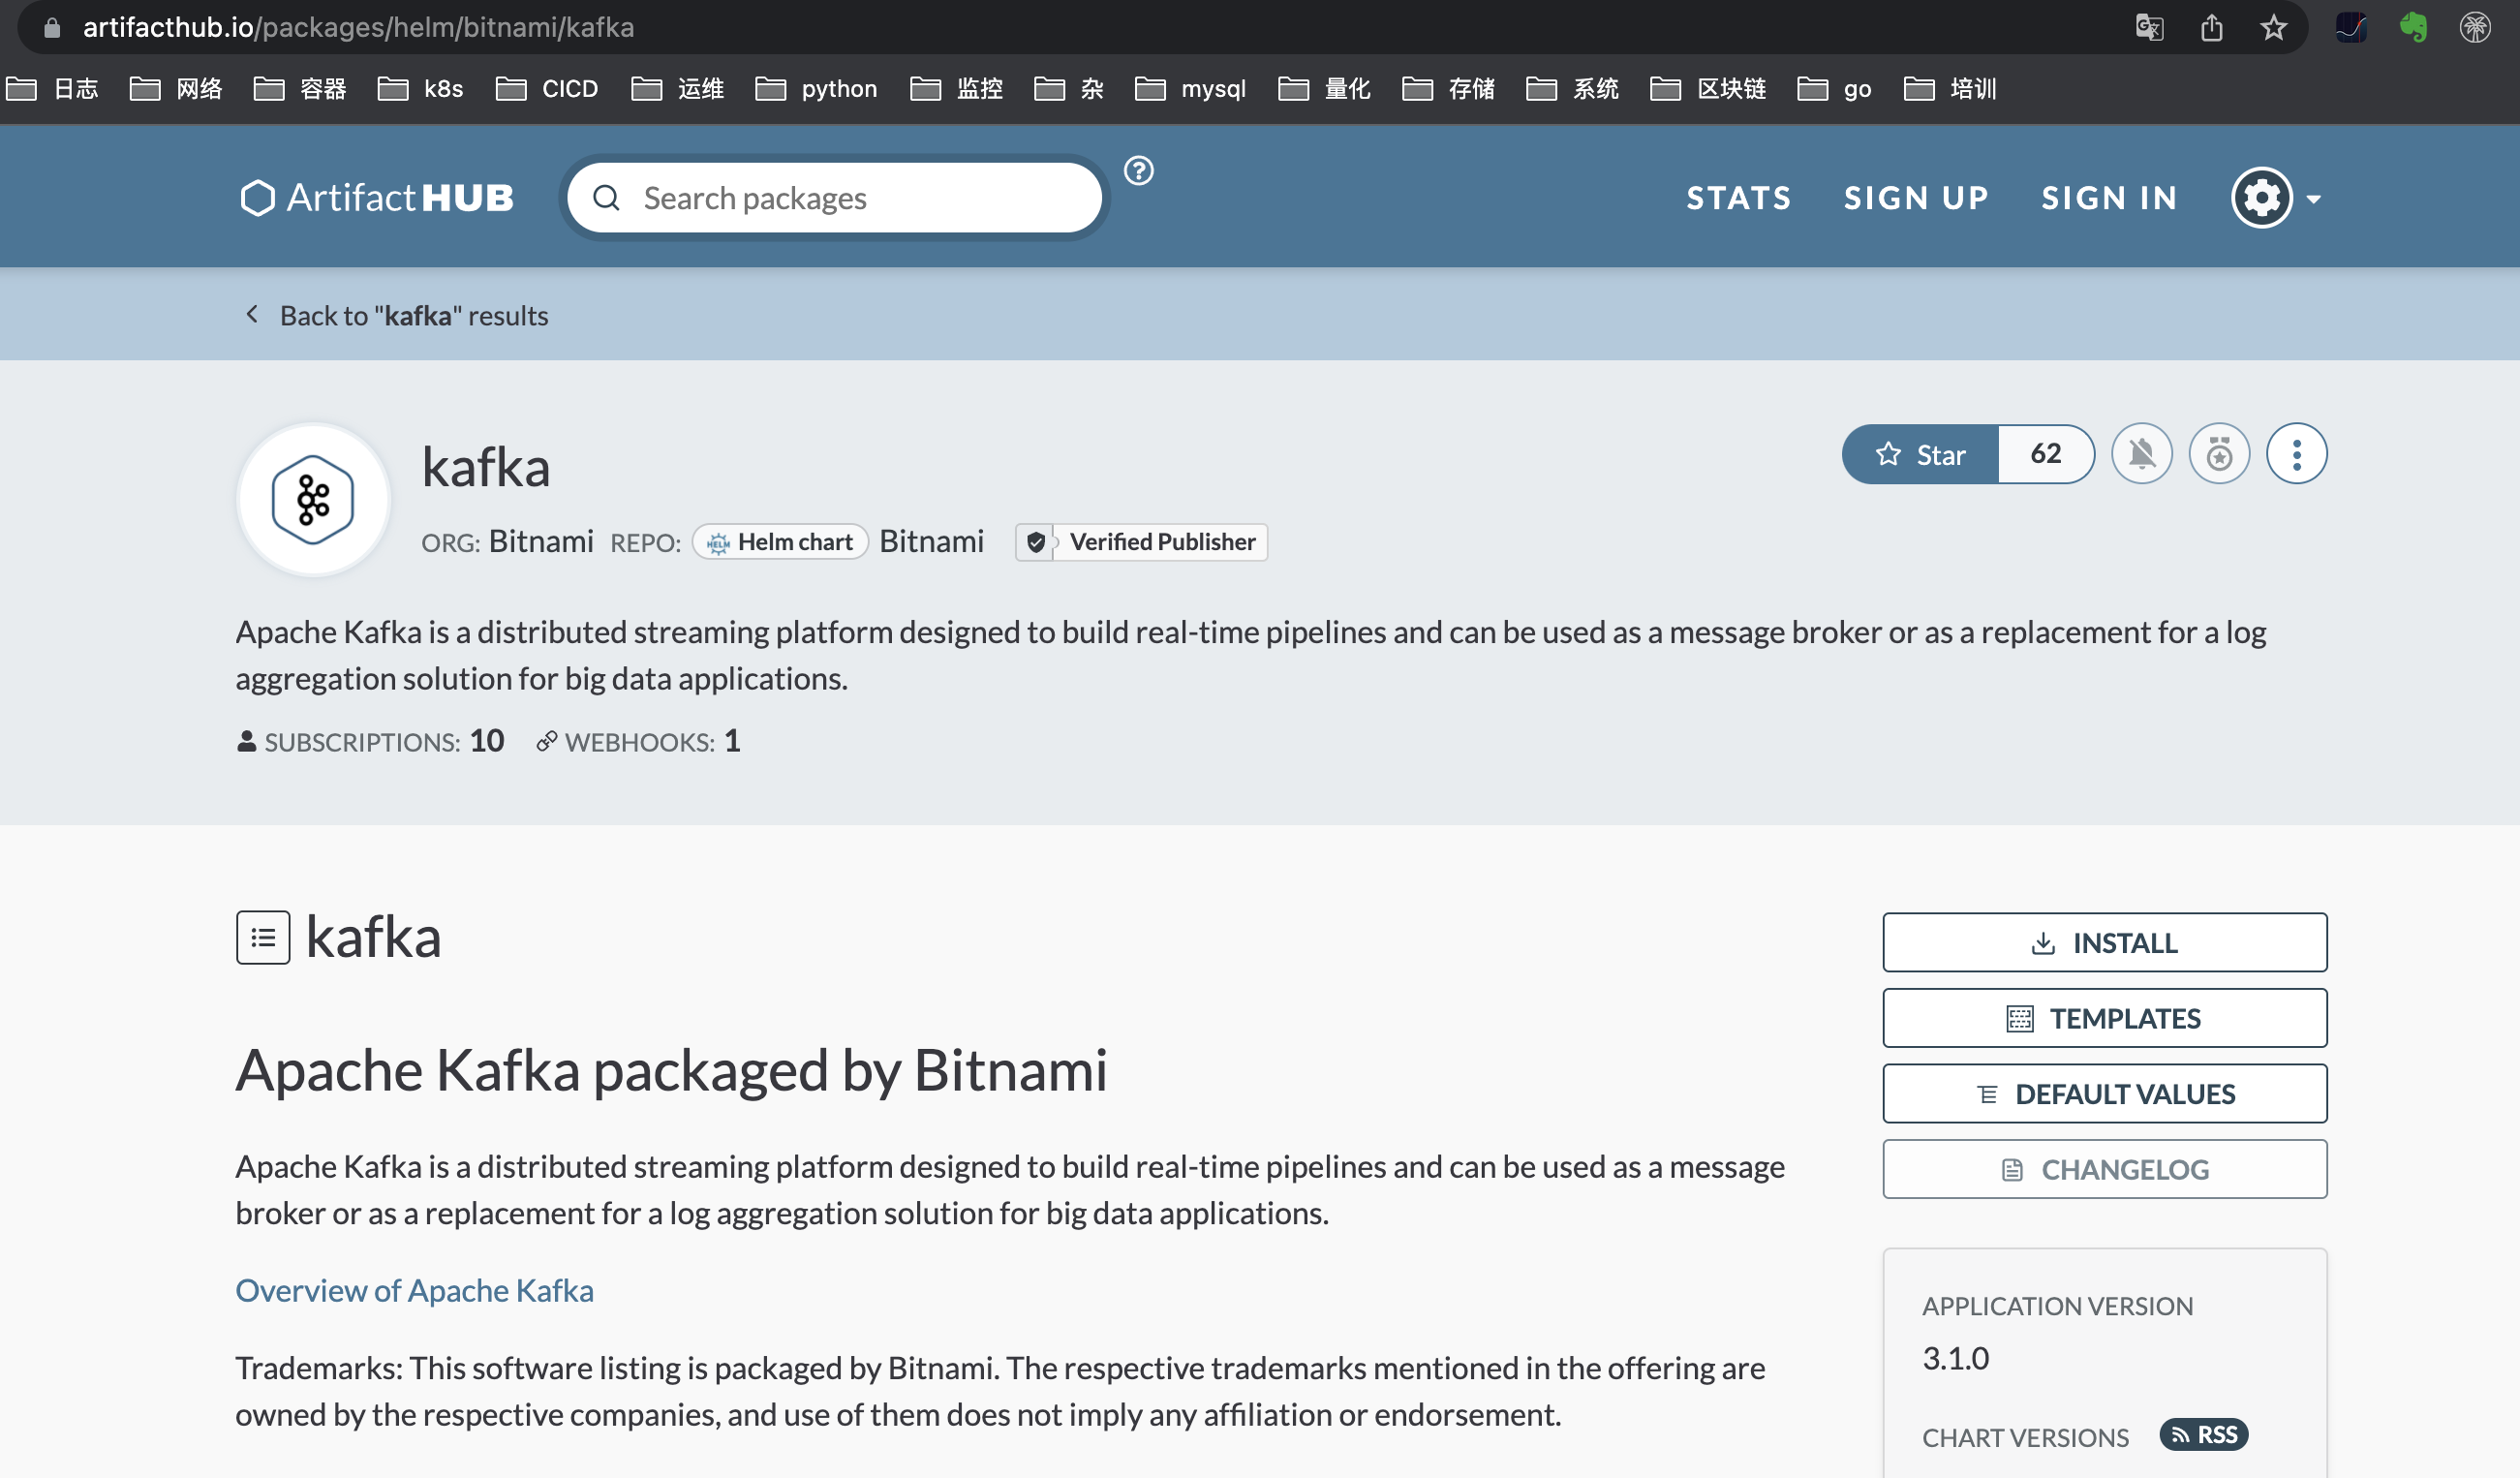
https://artifacthub.io/packages/helm/bitnami/kafka (bitnami的kafka仓库)
开始pull下来仓库代码分析
helm repo add bitnami https://charts.bitnami.com/bitnami
helm repo update
helm pull bitnami/kafka
分析后结合仓库地址创建一个kafka-values.yaml (其中开启了持久化和外部访问)
persistence:
  enabled: true
  storageClass: "local"
replicaCount: 3
externalAccess:
  enabled: true
  autoDiscovery:
    enabled: true
  service:
    type: NodePort
rbac:
  create: true
安装kafka
helm install -n his my-kafka bitnami/kafka
输出了一段信息:
Kafka can be accessed by consumers via port 9092 on the following DNS name from within your cluster:

    my-kafka.his.svc.cluster.local

Each Kafka broker can be accessed by producers via port 9092 on the following DNS name(s) from within your cluster:

    my-kafka-0.my-kafka-headless.his.svc.cluster.local:9092
    my-kafka-1.my-kafka-headless.his.svc.cluster.local:9092
    my-kafka-2.my-kafka-headless.his.svc.cluster.local:9092

To create a pod that you can use as a Kafka client run the following commands:

    kubectl run my-kafka-client --restart='Never' --image docker.io/bitnami/kafka:3.1.0-debian-10-r31 --namespace his --command -- sleep infinity
    kubectl exec --tty -i my-kafka-client --namespace his -- bash

    PRODUCER:
        kafka-console-producer.sh \

            --broker-list my-kafka-0.my-kafka-headless.his.svc.cluster.local:9092,my-kafka-1.my-kafka-headless.his.svc.cluster.local:9092,my-kafka-2.my-kafka-headless.his.svc.cluster.local:9092 \
            --topic test

    CONSUMER:
        kafka-console-consumer.sh \

            --bootstrap-server my-kafka.his.svc.cluster.local:9092 \
            --topic test \
            --from-beginning

To connect to your Kafka server from outside the cluster, follow the instructions below:

    Kafka brokers domain: You can get the external node IP from the Kafka configuration file with the following commands (Check the EXTERNAL listener)

        1. Obtain the pod name:

        kubectl get pods --namespace his -l "app.kubernetes.io/name=kafka,app.kubernetes.io/instance=my-kafka,app.kubernetes.io/component=kafka"

        2. Obtain pod configuration:

        kubectl exec -it KAFKA_POD -- cat /opt/bitnami/kafka/config/server.properties | grep advertised.listeners

    Kafka brokers port: You will have a different node port for each Kafka broker. You can get the list of configured node ports using the command below:

        echo "$(kubectl get svc --namespace his -l "app.kubernetes.io/name=kafka,app.kubernetes.io/instance=my-kafka,app.kubernetes.io/component=kafka,pod" -o jsonpath='{.items[*].spec.ports[0].nodePort}' | tr ' ' '\n')"
通过kubectl -n his get svc发现nodeport端口为31446
写一段go代码生产一段测试信息到kafka, go mod init && go mod tidy && go build 后执行
package main

import (
	"github.com/Shopify/sarama"
	"fmt"
)


func main() {
	config := sarama.NewConfig()
	config.Producer.RequiredAcks = sarama.WaitForAll          // 发送完数据需要leader和follow都确认
	config.Producer.Partitioner = sarama.NewRandomPartitioner // 新选出一个partition
	config.Producer.Return.Successes = true                   // 成功交付的消息将在success channel返回

	// 构造一个消息
	msg := &sarama.ProducerMessage{}
	msg.Topic = "web_log"
	msg.Value = sarama.StringEncoder("this is a test log,haha")
	// 连接kafka
	client, err := sarama.NewSyncProducer([]string{"192.168.1.90:31446"}, config)
	if err != nil {
		fmt.Println("producer closed, err:", err)
		return
	}
	defer client.Close()
	// 发送消息
	pid, offset, err := client.SendMessage(msg)
	if err != nil {
		fmt.Println("send msg failed, err:", err)
		return
	}
	fmt.Printf("pid:%v offset:%v\n", pid, offset)
}
根据上一段输出的提示创建kafka-client的pod查看生产的信息:
kubectl run my-kafka-client --image docker.io/bitnami/kafka:3.1.0-debian-10-r31 --namespace his --command -- sleep infinity

## 进入该pod
kubectl -n his exec -it my-kafka-client -- bash

## 创建消费者查看go代码生产的信息
kafka-console-consumer.sh --bootstrap-server my-kafka-headless.his.svc.cluster.local:9092 --topic web_log --from-beginning


