

PHP使用phpMailer发送邮件
在 PHP 应用开发中,往往需要验证用户邮箱、发送消息通知,而使用 PHP 内置的 mail() 函数,则需要邮件系统的支持。
如果熟悉 IMAP/SMTP 协议,结合 Socket 功能就可以编写邮件发送程序了,不过开发这样一个程序并不容易。
好在 PHPMailer 封装的足够强大,使用它可以更加便捷的发送邮件,免去了我们很多额外的麻烦。
PHPMailer
PHPMailer 是一个封装好的 PHP 邮件发送类,支持发送 HTML 内容的电子邮件,以及可以添加附件发送,并不像 PHP 本身 mail() 函数需要服务器环境支持,您只需要设置邮件服务器以相关信息就能实现邮件发送功能。
PHPMailer 项目地址:https://github.com/PHPMailer/PHPMailer
PHP扩展支持
PHPMailer 需要 PHP 的 sockets 扩展支持,而登录 QQ 邮箱 SMTP 服务器则必须通过 SSL 加密,故 PHP 还得包含 openssl 的支持。

注:使用 phpinfo() 函数查看 socket 和 openssl 扩展信息(wamp server 默认启用了该扩展)。
PHPMailer 核心文件
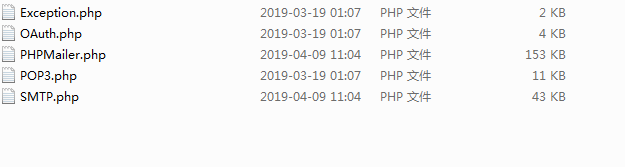
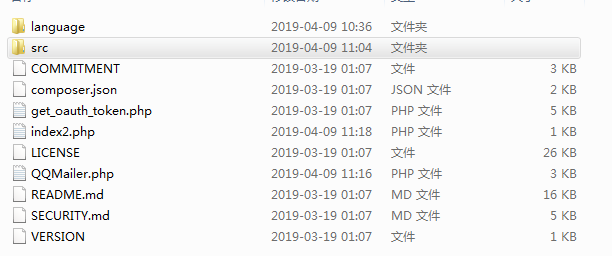
注:这里只需要用到PHPMailer.php和SMTP.php文件
QQ 邮箱设置
所有的主流邮箱都支持 SMTP 协议,但并非所有邮箱都默认开启,您可以在邮箱的设置里面手动开启。
第三方服务在提供了账号和密码之后就可以登录 SMTP 服务器,通过它来控制邮件的中转方式。
开启 SMTP 服务
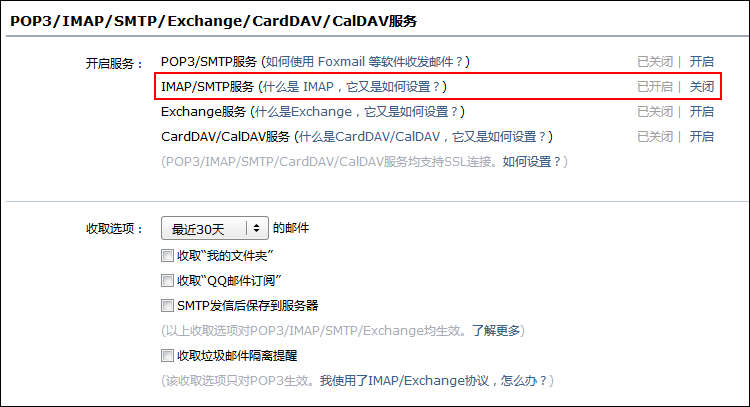
注:选择 IMAP/SMTP 服务,点击开启服务。
验证密保
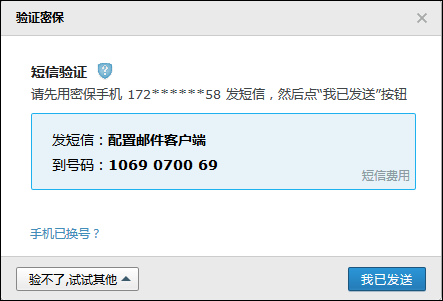
发送短信“配置邮件客户端”至1069-0700-69。
获取授权码
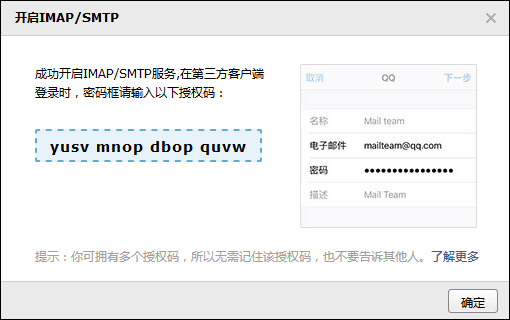
SMTP 服务器认证密码,需要妥善保管(PS:密码直接没有空格)。
PHP发送邮件
封装方法
如果要直接使用 PHPMailer 发送邮件,则需要进行繁琐的配置,这样做多少会降低效率。
为了简化调用过程,我在其基础上进行了二次封装,只需要配置账号、密码和昵称,就可以定制你自己的 QQMailer 类了。
<?php
require_once './src/PHPMailer.php';
require_once './src/SMTP.php';
class QQMailer
{
public static $HOST = 'smtp.qq.com'; // QQ 邮箱的服务器地址
public static $PORT = 465; // smtp 服务器的远程服务器端口号
public static $SMTP = 'ssl'; // 使用 ssl 加密方式登录
public static $CHARSET = 'UTF-8'; // 设置发送的邮件的编码
private static $USERNAME = '987654321@qq.com'; // 授权登录的账号
// private static $PASSWORD = 'hddddpbqtaccbddd'; // 授权登录的密码
private static $PASSWORD = 'oiwhwlirlcxvbede'; // 授权登录的密码
private static $NICKNAME = 'woider'; // 发件人的昵称
/**
* QQMailer constructor.
* @param bool $debug [调试模式]
*/
public function __construct($debug = false)
{
$this->mailer = new PHPMailer();
// $this->mailer->SMTPDebug = $debug ? 1 : 0;
$this->mailer->SMTPDebug = 0;
$this->mailer->isSMTP(); // 使用 SMTP 方式发送邮件
}
/**
* @return PHPMailer
*/
public function getMailer()
{
return $this->mailer;
}
private function loadConfig()
{
/* Server Settings */
$this->mailer->SMTPAuth = true; // 开启 SMTP 认证
$this->mailer->Host = self::$HOST; // SMTP 服务器地址
$this->mailer->Port = self::$PORT; // 远程服务器端口号
$this->mailer->SMTPSecure = self::$SMTP; // 登录认证方式
/* Account Settings */
$this->mailer->Username = self::$USERNAME; // SMTP 登录账号
$this->mailer->Password = self::$PASSWORD; // SMTP 登录密码
$this->mailer->From = self::$USERNAME; // 发件人邮箱地址
$this->mailer->FromName = self::$NICKNAME; // 发件人昵称(任意内容)
/* Content Setting */
$this->mailer->isHTML(true); // 邮件正文是否为 HTML
$this->mailer->CharSet = self::$CHARSET; // 发送的邮件的编码
}
/**
* Add attachment
* @param $path [附件路径]
*/
public function addFile($path)
{
$this->mailer->addAttachment($path);
}
/**
* Send Email
* @param $email [收件人]
* @param $title [主题]
* @param $content [正文]
* @return bool [发送状态]
*/
public function send($email, $title, $content)
{
$this->loadConfig();
$this->mailer->addAddress($email); // 收件人邮箱
$this->mailer->Subject = $title; // 邮件主题
$this->mailer->Body = $content; // 邮件信息
return (bool)$this->mailer->send(); // 发送邮件
}
}
调用方法
<?php
require_once 'QQMailer.php';
// 实例化 QQMailer
$mailer = new QQMailer(true);
// 添加附件
// $mailer->addFile('20130VL.jpg');
// 邮件标题
$title = '这是标题。';
// 邮件内容
$content = <<< EOF
<p align="center">
这是内容。<br>
EOF;
// 发送QQ邮件
$res = $mailer->send('123456@qq.com', $title, $content);
if($res){
echo "发送成功!";
}
//想要屏蔽运行详情,就将// $this->mailer->SMTPDebug = $debug ? 1 : 0;值改为0即可
