


Build your first app
In this tutorial, you'll learn how to create and run your first .NET Multi-platform App UI (.NET MAUI) app.
Important
.NET Multi-platform App UI (.NET MAUI) is currently in preview. This content relates to a pre-release product that may be substantially modified before it's released. Microsoft makes no warranties, express or implied, with respect to the information provided here.
Visual Studio for Mac support will arrive in a future release.
Prerequisites
- The latest preview of Visual Studio 2022 17.1 with the required workloads. For more information, see Installation.
Get started with Visual Studio 2022 17.1 (Preview)
In this tutorial, you'll create your first .NET MAUI app in Visual Studio 2022 17.1 Preview, and run it on an Android emulator:
-
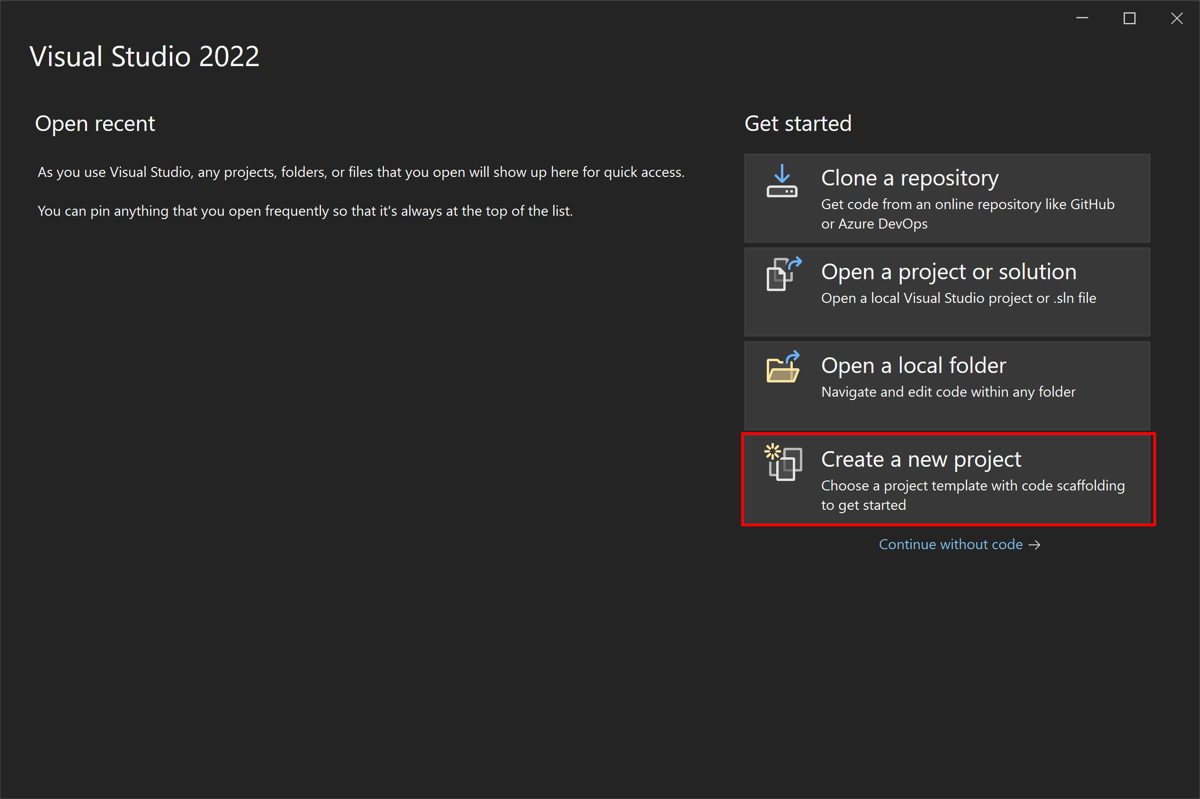
Launch Visual Studio 2022 17.1 Preview, and in the start window click Create a new project to create a new project:
-
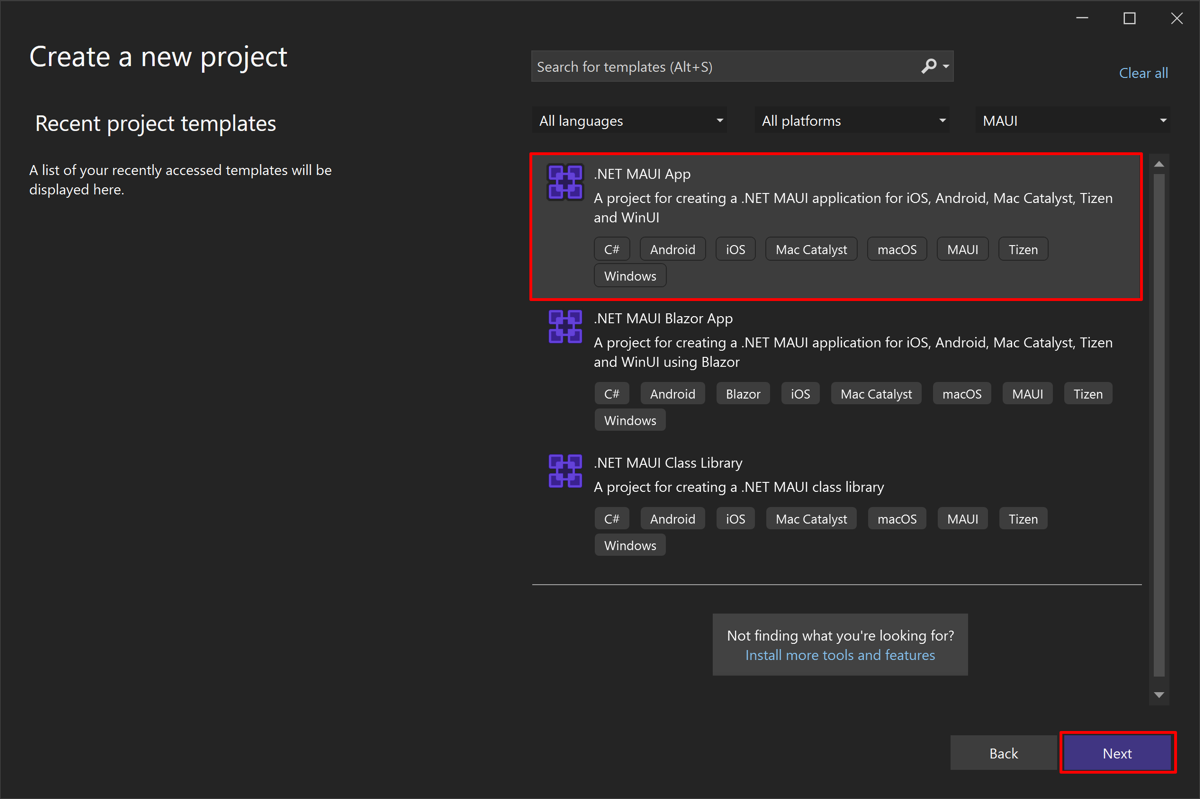
In the Create a new project window, select MAUI in the Project type drop-down, select the .NET MAUI App (Preview) template, and click the Next button:
Note
If the .NET MAUI App (Preview) project template does not appear in the Create a new project window, open the Developer Command Prompt for VS 2022 Preview and run the following command:
devenv.exe /updateConfiguration. Then, restart Visual Studio. -
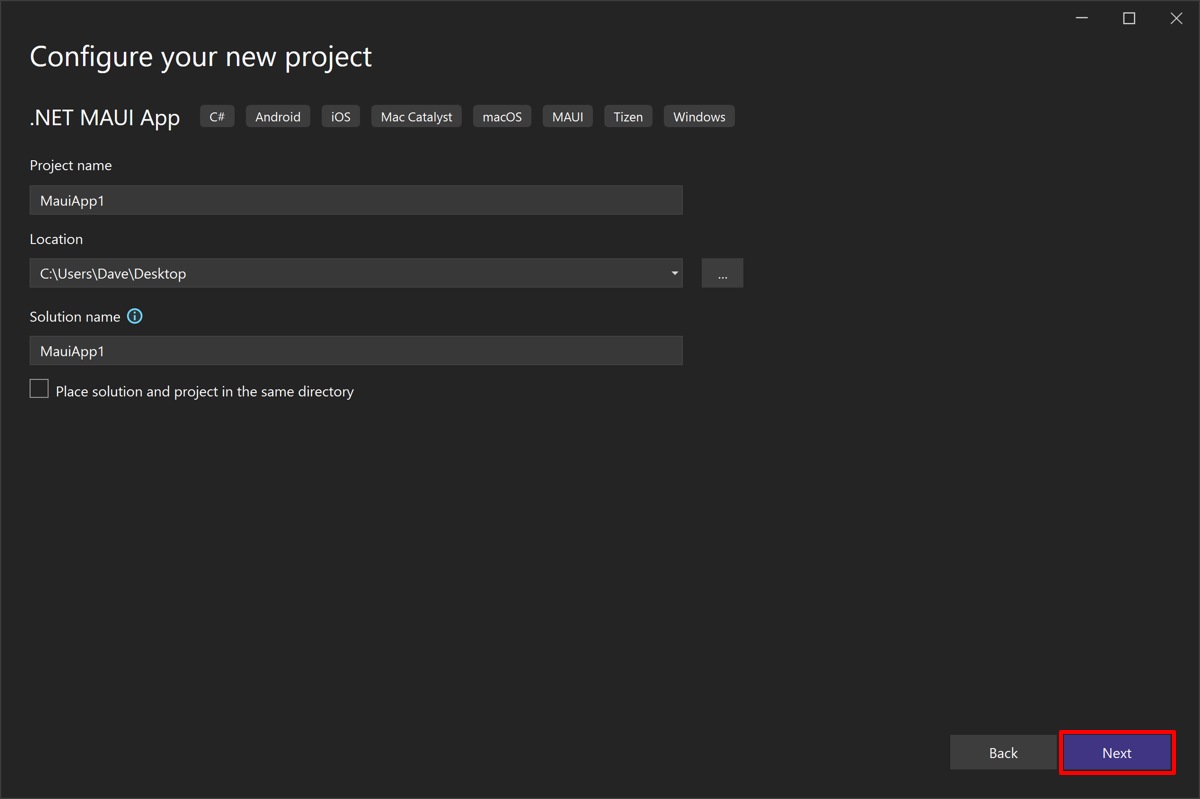
In the Configure your new project window, name your project, choose a suitable location for it, and click the Create button:
-
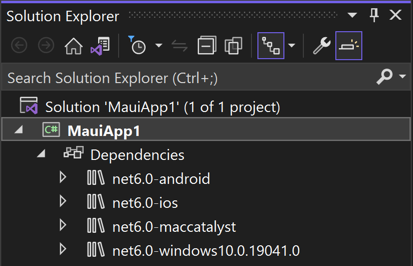
Wait for the project to be created, and its dependencies to be restored:
-
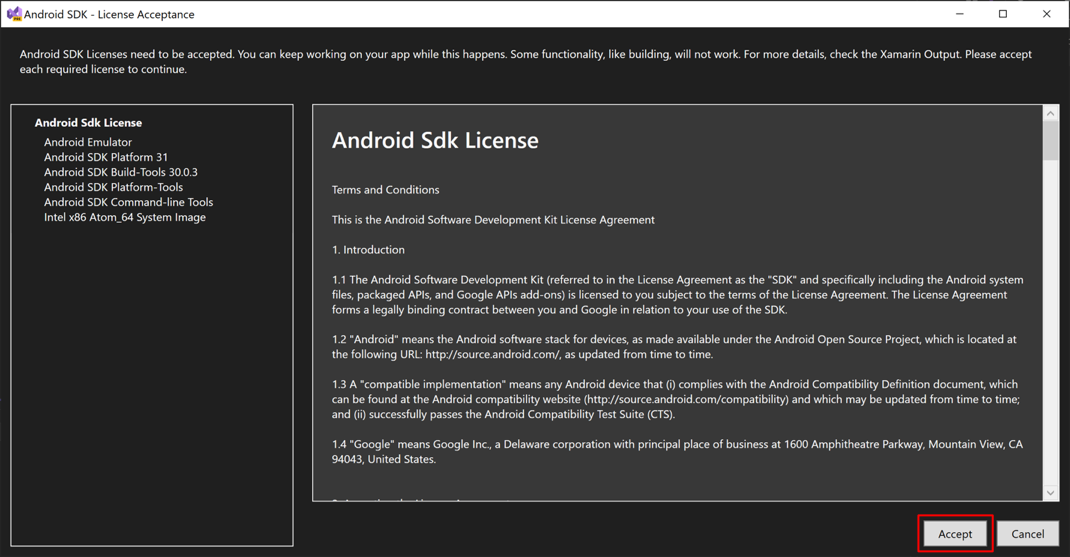
In the Android SDK License Acceptance window, press the Accept button:
-
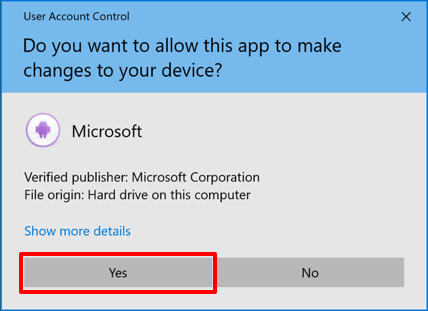
In the User Account Control dialog, press the Yes button:
Wait for Visual Studio to download the Android SDK and Android Emulator.
-
In the Visual Studio toolbar, press the Android Emulator button to build the app:

-
In the User Account Control dialog, press the Yes button:
-
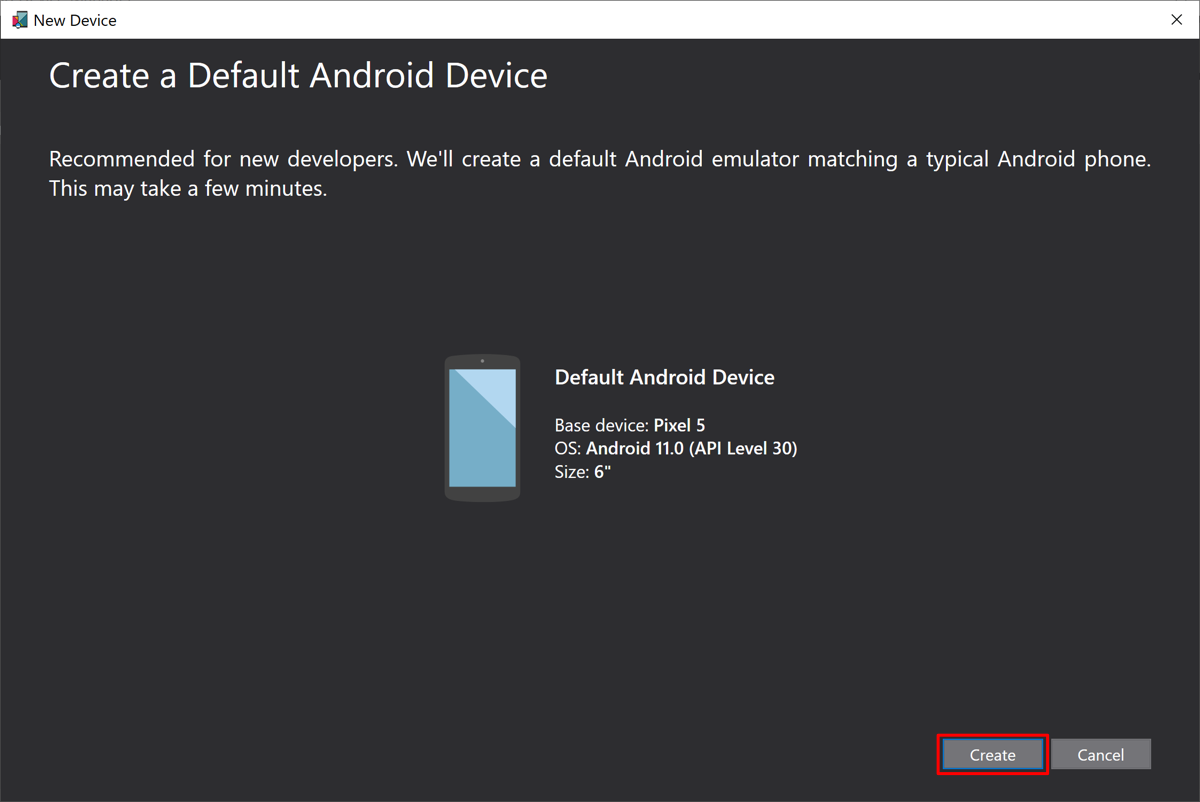
In the New Device window, press the Create button:
-
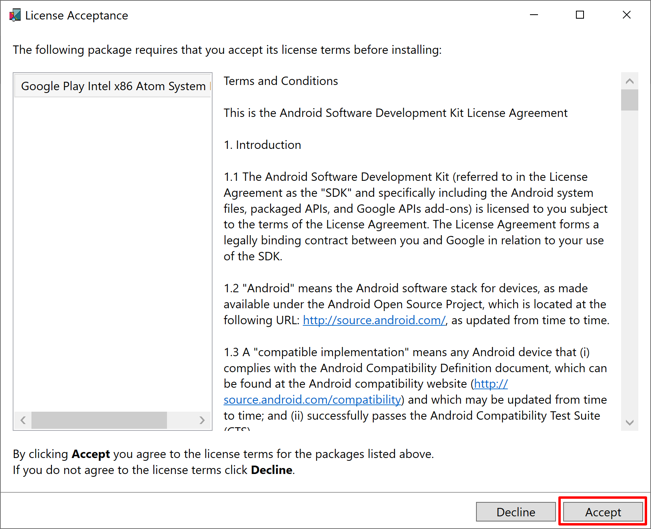
In the License Acceptance window, press the Accept button:
Wait for Visual Studio to download, unzip, and create an Android emulator.
-
Close the Android Device Manager window:
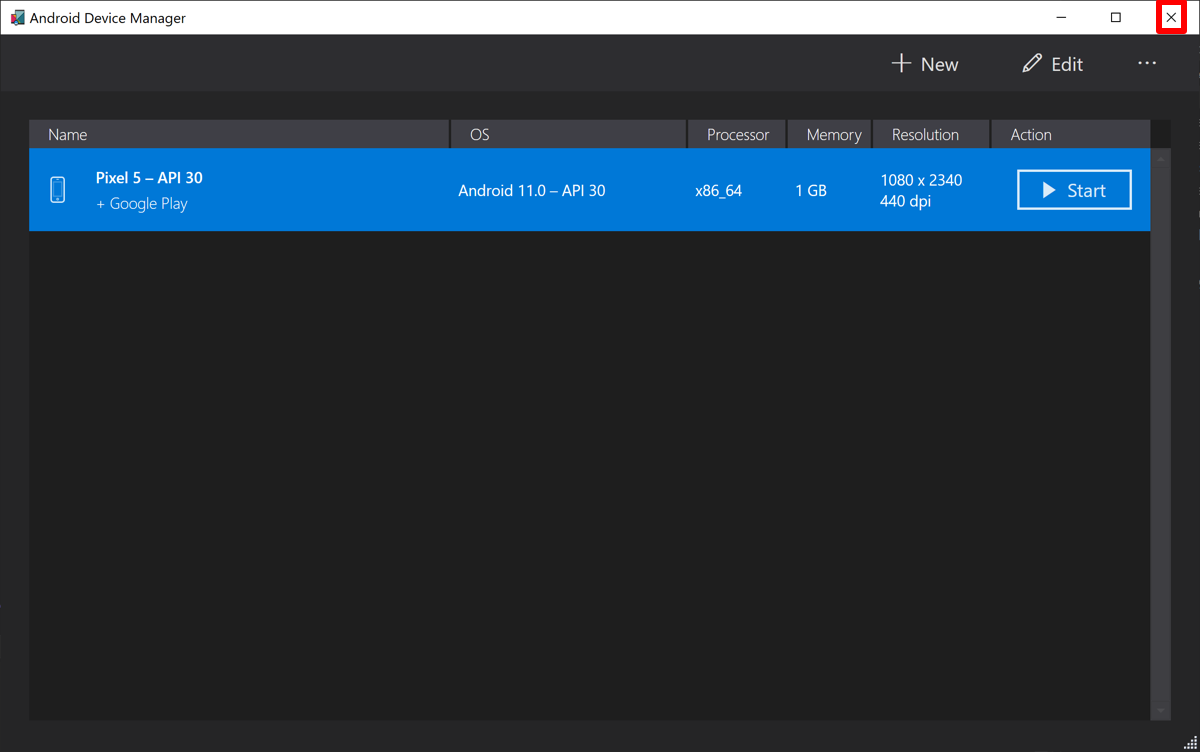
-
In the Visual Studio toolbar, press the Pixel 5 - API 30 (Android 11.0 - API 30) button to build and run the app:

Visual Studio will start the Android emulator, build the app, and deploy the app to the emulator.
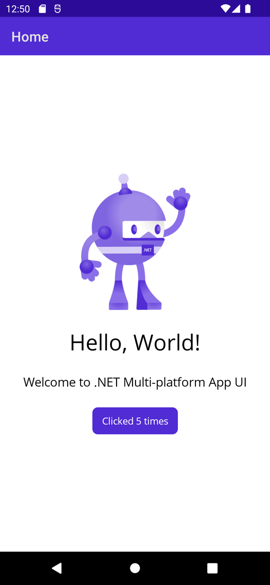
-
In the running app in the Android emulator, press the CLICK ME button several times and observe that the count of the number of button clicks is incremented.


【推荐】国内首个AI IDE,深度理解中文开发场景,立即下载体验Trae
【推荐】编程新体验,更懂你的AI,立即体验豆包MarsCode编程助手
【推荐】抖音旗下AI助手豆包,你的智能百科全书,全免费不限次数
【推荐】轻量又高性能的 SSH 工具 IShell:AI 加持,快人一步
· 阿里最新开源QwQ-32B,效果媲美deepseek-r1满血版,部署成本又又又降低了!
· 单线程的Redis速度为什么快?
· SQL Server 2025 AI相关能力初探
· AI编程工具终极对决:字节Trae VS Cursor,谁才是开发者新宠?
· 展开说说关于C#中ORM框架的用法!
2018-01-25 C# 解析JSON格式数据