


from: http://kurrytran.blogspot.com/2011/10/ios-5-storyboard-uitableview-tutorial.html
Since I'm learning as well and have been reading other people's tutorials that I thought were not very good (because they either had too much clutter or did not stress the important points) I thought I would make another tutorial on the key ideas of UITableViews that I missed out on before.
Download Project: here.
1. Create a new Tabbed Application called StoryboardUITableView.
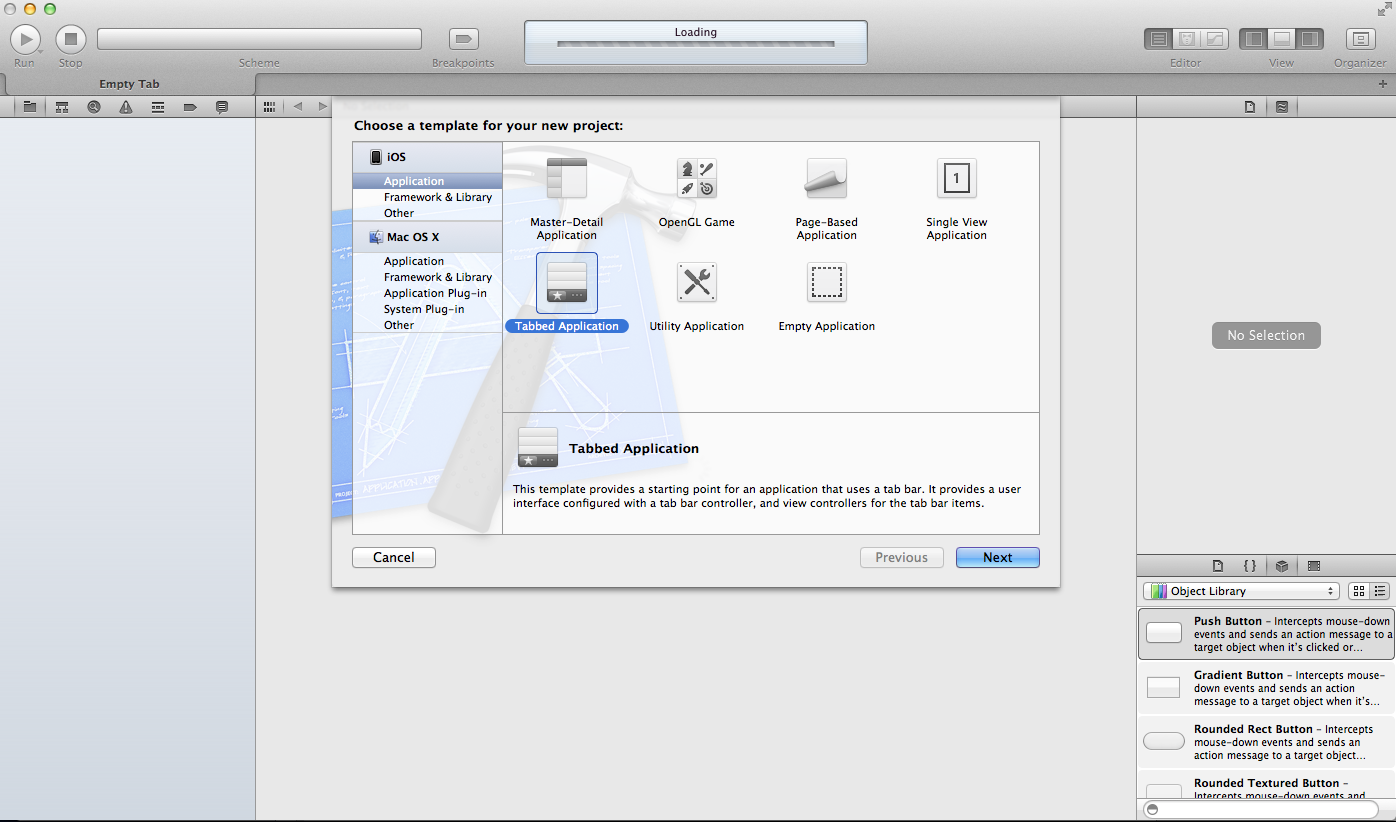

2. In the MainStoryboard file look at the attribute inspector and you will see the checkbox for Is Initial View Controller.
Common Error: Not having set an initial view controller. The simulator will popup and then just be in a deadlock and in the output log, it will say something about how your application doesn't not have a root view controller.
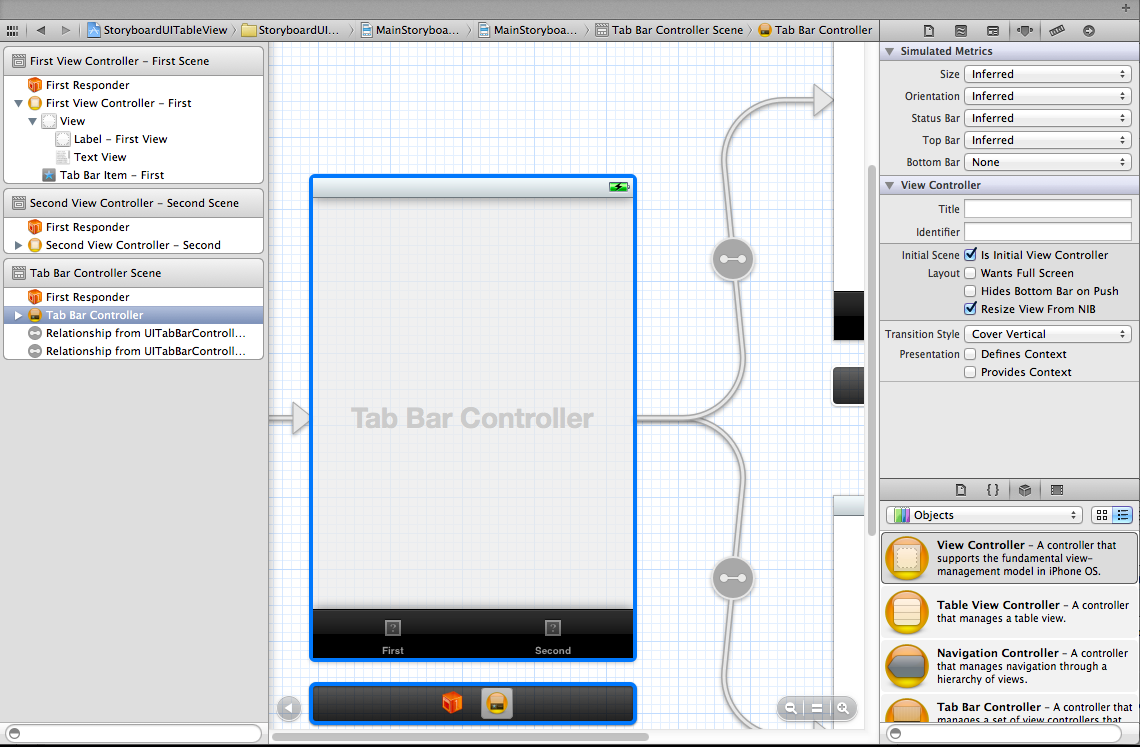
3. Embed a navigation controller in the first view by going to Editor > Embed In > Navigation Controller.
Note: If you delete the connection, and then control+drag from the Tab Bar Controller you will see the following in the image below. You can set the initial scene to be the first view controller by control + dragging as described before and then selecting Relationship - viewControllers. This creates a connection between the Tab Bar Controller and and Navigation Controller.

4. Suppose I create a tableview by drag and dropping it a UITableViewController, I can customize the cells in the right panel.
Key Points:
Style: Change Style of UITableViewCell
Identifier: Cell Identifier to Distinguish Prototype Cells
Accessory: The Creates The Right Facing Arrow
Size: Resize the cell by dragging it up or down.
Note: Ignore the left half of the screenshot since I made an error the first time.

5. Create a new UITableViewController called AlbumViewController and select the table view controller and change its class to AlbumViewController .


6. Suppose I created a datasource in the AppDelegate.m file and I follow the usual steps to populate the tableview. The one interesting change is here: tableview cells are now automatically allocated so the code is much simpler than before. In theAlbumViewController.m file implement the usual methods.
(Note: Copy and paste them from the source file in the download.)

7. Change this method and you can then slide to delete a tableview cell.

8. Run and project and it will turn out like this.

Download Project: here.

