
1,turicreate入门 - jupyter & turicreate安装
turicreate入门系列文章目录
1,turicreate入门 - jupyter & turicreate安装
3,turicreate入门 - 优化回归模型,使得预测更准确
1,Windows10 WSL 安装ubuntu18.04。Windows10如何安装,请自行百度。
2,更新apt源
sudo apt-get update
3,更改apt源为阿里源,提高下载速度
sudo mv /etc/apt/source.list /ect/apt/source.list.bak //对原文件备份
sudo vim /etc/apt/source.list //编辑apt源
deb http://mirrors.aliyun.com/ubuntu/ bionic main restricted universe multiverse
deb-src http://mirrors.aliyun.com/ubuntu/ bionic main restricted universe multiverse

deb http://mirrors.aliyun.com/ubuntu/ bionic-security main restricted universe multiverse
deb-src http://mirrors.aliyun.com/ubuntu/ bionic-security main restricted universe multiverse

deb http://mirrors.aliyun.com/ubuntu/ bionic-updates main restricted universe multiverse
deb-src http://mirrors.aliyun.com/ubuntu/ bionic-updates main restricted universe multiverse

deb http://mirrors.aliyun.com/ubuntu/ bionic-proposed main restricted universe multiverse
deb-src http://mirrors.aliyun.com/ubuntu/ bionic-proposed main restricted universe multiverse

deb http://mirrors.aliyun.com/ubuntu/ bionic-backports main restricted universe multiverse
deb-src http://mirrors.aliyun.com/ubuntu/ bionic-backports main restricted universe multiverse
:wq保存退出后,更新设置
sudo apt-get update
4,安装pip3
sudo apt-get install python3-pip
5,更改pip源为阿里源,提高下载速度
cd ~
mkdir .pip
cd .pip
sudo vim pip.conf
输入以下内容:
[global]
timeout = 6000
index-url = https://mirrors.aliyun.com/pypi/simple
trusted-host = mirros.aliyun.com
:wq保存退出后,更新pip设置
sudo pip3 install update
6,安装jupyter notebook
pip3 install jupyter
如果使用WSL,输入
sudo jupyter notebook --allow-root
如果是ubuntu,直接输入
jupyter notebook
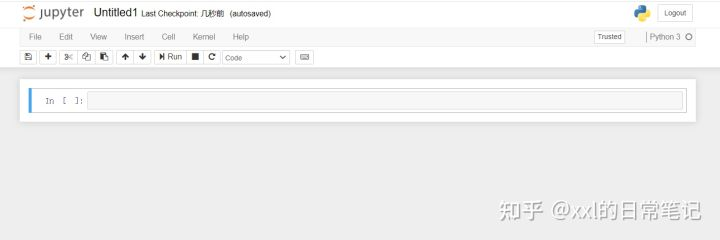
这时候,一切正常的话,就可以打开网页了
7,至此,安装完成了一半了!下面开始安装turicreate。先安装虚拟环境。
sudo pip3 install virtualenv

cd ~
virtualenv turienv
cd turienv
source ~/turienv/bin/activate  //激活虚拟环境
再安装turicreate。
//在虚拟环境下安装turicreate和ipykernel内核,并且配置jupyter notebook的显示
pip3 install update
pip3 install ipykernel
pip3 install turicreate
python -m ipykernel install --user --name turienv --display-name turienv
8,退出虚拟环境,启动jupyter
deactivate

//wsl输入
sudo jupyter notebook --allow-root
//ubuntu输入
jupyter notebook
可以看到turi内核
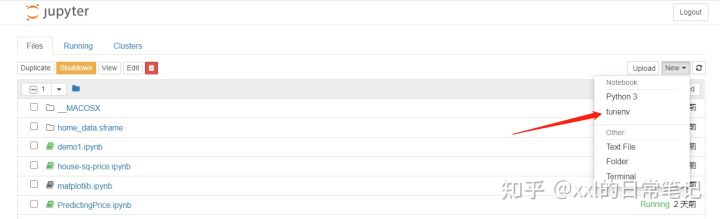
Done!

 浙公网安备 33010602011771号