c++基础入门自学笔记总结3---结构体
卷首闲言碎语:大风起兮云飞扬,又到周末兮打卡辽~不过这周并没有学到什么,就学习了结构体,不过学完结构体后c++的学习之旅就要暂时告一段落了,因为这几天也是在忙活于社团还有RM战队的一个报名申请活动,今天上午还去参加了一场考试,刚刚还去参加了社团的面试,还是比较忙的,不过也可能是我时间没有安排到位才导致学习效率的低下,不过c++学习的停止并不意味着学习的停止,接下来我将转向c语言的学习,毕竟社团和战队都是要求的c语言。---记于9.24号晚
结构体属于用户自定义的数据类型,允许用户存储不同的数据类型//与int ,string 这类一样属于数据类型,不同的在于这种数据类型是我们自己定义的,你想它叫什么它就叫什么,你想它是什么它就是什么(对,就是这么自由)
语法:struct 结构体名 { 结构体成员列表 };
例:
struct student
{
int age;
string name;
}通过结构体创建变量的方式有三种:
-
struct 结构体名 变量名
例:
struct student s1;-
struct 结构体名 变量名 = { 成员1值 , 成员2值...}
例:
struct student s1={ 18,“李华”};
struct student{string name;int age}s1;总结2:创建结构体变量时,关键字struct可以省略
总结3:结构体变量利用操作符 ''.'' 访问成员
作用:将自定义的结构体放入到数组中方便维护
语法:
例:
struct student sarr[3]={{”张三“,18},{"李四",19}{"王五",20}}结构体指针
作用:通过指针访问结构体中的成员
-
利用操作符
->可以通过结构体指针访问结构体属性
例:
#include<iostream>
#include<string>
using namespace std;
struct student {
string name;
int age;
int score;
};
int main() {
//创建学生结构体变量
struct student s = { "张三",18,100 };
//通过指针指向结构体变量
struct student* p = &s;
//通过指针访问结构体变量中的数据
//通过结构体指针访问结构体中的属性,需要利用“->”
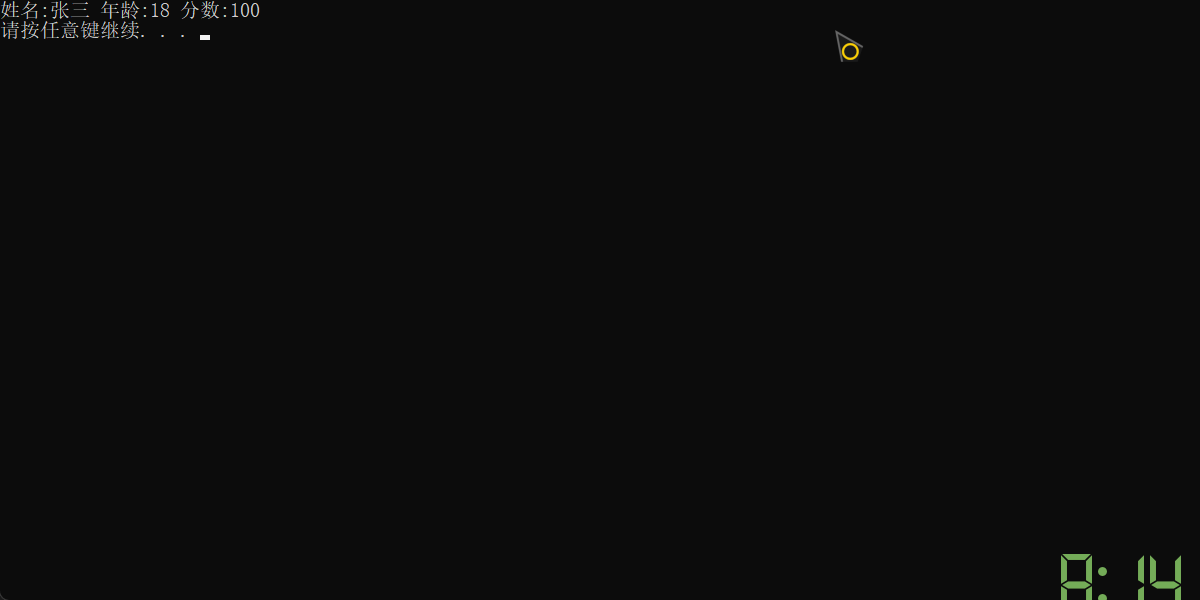
cout << "姓名:" << p->name << " 年龄:" << p->age << " 分数:" << p->score << endl;
system("pause");
return 0;
}
运行结果:
总结:结构体指针可以通过 -> 操作符 来访问结构体中的成员
结构体嵌套结构体
作用:结构体中的成员可以是另一个结构体
例如:每个老师辅导一个学员,一个老师的结构体中,记录一个学生的结构体
#include<iostream>
#include<string>
using namespace std;
//定义学生结构体
struct student {
string name;
int age;
int score;
};
//定义老师结构体
struct teacher {
string name;
int age;
struct student stu;
int id;
};
int main() {
struct teacher t;
t.name = "老李";
t.age = 60;
t.id = 20220609;
t.stu.name = "小吴";
t.stu.age = 18;
t.stu.score = 100;
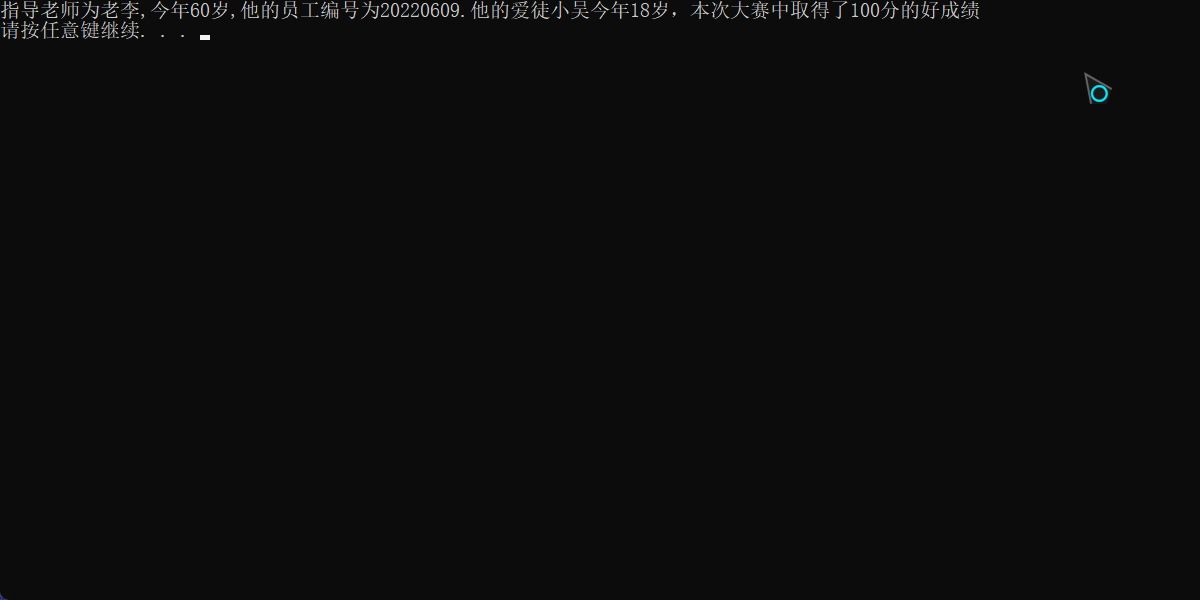
cout << "指导老师为" << t.name << ",今年" << t.age << "岁,他的员工编号为" << t.id
<< ".他的爱徒" << t.stu.name << "今年" << t.stu.age << "岁,本次大赛中取得了"
<< t.stu.score << "分的好成绩" << endl;
system("pause");
return 0;
}
运行结果:

作用:将结构体作为参数向函数中传递
传递方式有两种:
-
值传递
-
地址传递
例:
#include<iostream>
#include<string>
using namespace std;
//定义学生结构体
struct student {
int age;
int score;
string name;
};
//值传递
void printstudent1(struct student s) {
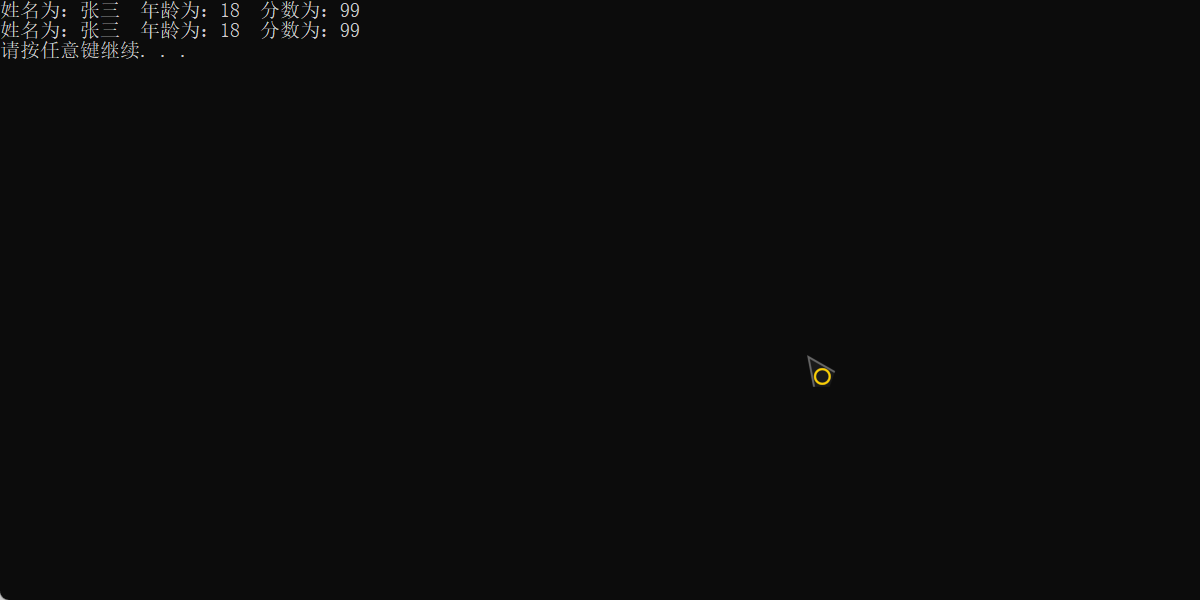
cout << "姓名为:" << s.name << " 年龄为:" << s.age << " 分数为:" << s.score << endl;
}
//地址传递
void printstudent2(struct student*p){
cout << "姓名为:" << p->name << " 年龄为:" << p->age << " 分数为:" << p->score << endl;
}
int main() {
//结构体做函数参数
//将学生传入到一个参数中,打印学生身上的所有信息
//创建结构体变量
struct student s;
s.age = 18;
s.name = "张三";
s.score = 99;
printstudent1(s);
printstudent2(&s);
system("pause");
return 0;
}
都能够正常输出,下面来看一下更改数据后的结果有什么不同
先在值传递函数中加入 s.name = "李四";改变形参,再在main函数中将实参做一个输出 cout << "main函数中" << s.name << endl;结果如下:

可以看到在值传递函数中形参输出结果发生了改变,不过实参的值并没有发生改变。
同样的方式测试地址传递中的数据改动结果

可以看到实参和形参的数据都发生了改变。
总结:如果不想修改主函数中的数据,用值传递,反之用地址传递
结构体中 const使用场景
作用:用const来防止误操作
例:
//const使用场景
void printStudent(const student *stu) //加const防止函数体中的误操作
{
//stu->age = 100; //操作失败,因为加了const修饰
cout << "姓名:" << stu->name << " 年龄:" << stu->age << " 分数:" << stu->score << endl;

}
案例1
案例描述:
学校正在做毕设项目,每名老师带领5个学生,总共有3名老师,需求如下
设计学生和老师的结构体,其中在老师的结构体中,有老师姓名和一个存放5名学生的数组作为成员
学生的成员有姓名、考试分数,创建数组存放3名老师,通过函数给每个老师及所带的学生赋值
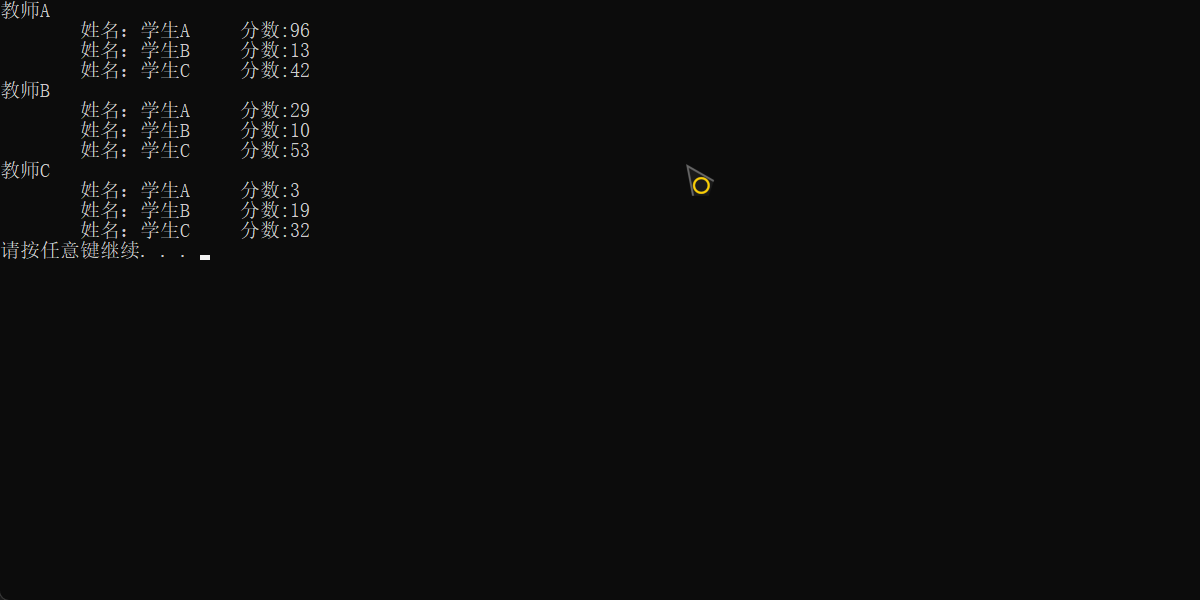
最终打印出老师数据以及老师所带的学生数据。
代码如下:
#include<iostream>
#include<string>
using namespace std;
//学生结构体定义
struct student {
int score;
string sname;
};
//老师结构体定义
struct teacher {
int age;
string tname;
student tstudent[5];
};
//给老师和学生赋值的函数
void input(struct teacher sarr[], int len) {
       string tname = "教师";
      string sname = "学生";
      string nameseed = "ABCDE";
      for (int i = 0; i < len; i++) {

      sarr[i].tname = tname + nameseed[i];
      for (int j = 0; j < 5; j++) {
      sarr[i].tstudent[j].sname = sname + nameseed[j];
      sarr[i].tstudent[j].score = rand() % 100;
     }
  }
}
void output(struct teacher tarr[], int len) {
      for (int i = 0; i < len; i++) {

      cout << tarr[i].tname << endl;
      for (int j = 0; j < len; j++) {

      cout << " \t姓名:" <<

      tarr[i].tstudent[j].sname <<
      "\t分数:"<<
        tarr[i].tstudent[j].score << endl;
      }
   }
}
int main() {
srand((unsigned int)time(NULL));
//创建3名老师的数组
struct teacher tarr[3];
int len = sizeof(tarr) / sizeof(tarr[0]);
//通过函数给3名老师的信息赋值,并给老师带的学生信息赋值
input(tarr, len);
//打印所有老师及所带的学生信息
output(tarr, len);
system("pause");
return 0;
}
结果如下:

案例2
案例描述:
设计一个英雄的结构体,包括成员姓名,年龄,性别;创建结构体数组,数组中存放5名英雄。
通过冒泡排序的算法,将数组中的英雄按照年龄进行升序排序,最终打印排序后的结果。
五名英雄信息如下:
        {"刘备",23,"男"},
        {"关羽",22,"男"},
        {"张飞",20,"男"},
        {"赵云",21,"男"},
{"貂蝉",19,"女"},#include<iostream>
#include<string>
using namespace std;
//设计英雄结构体
struct hero
{
//姓名
string name;
//年龄
int age;
//性别
string sex;
};
void bubblesort(struct hero heroarry[], int len) {
for (int i = 0; i < len - 1; i++) {
for (int j = 0; j < len - i - 1; j++) {
if (heroarry[j].age > heroarry[j + 1].age) {
struct hero temp = heroarry[j];
heroarry[j] = heroarry[j + 1];
heroarry[j + 1] = temp;
}
}
}
}
void printhero(struct hero heroarry[], int len) {
for (int i = 0; i < len; i++) {
cout << "姓名:" << heroarry[i].name
<< " 性别:" << heroarry[i].sex
<< " 年龄:" << heroarry[i].age << endl;
}
}
int main() {
//创建数组存放5名英雄
struct hero heroarry[5]{
{"刘备",23,"男"},
{"关羽",22,"男"},
{"张飞",20,"男"},
{"赵云",21,"男"},
{"貂蝉",19,"女"},
};
int len = sizeof(heroarry) / sizeof(heroarry[0]);
cout << "排序前:" << endl;
for (int i = 0; i < len; i++) {
cout << "姓名:" << heroarry[i].name
<< " 性别:" << heroarry[i].sex
<< " 年龄:" << heroarry[i].age << endl;
}
cout << "排序后" << endl;
//对数组进行排序,按照年龄进行升序排序
bubblesort(heroarry, len);
//将排序后结果打印输出
printhero(heroarry, len);
system("pause");
return 0;
}结果如下:

好了,结构体的大致内容就是这些,本来还在学习用c++做一个通讯录的项目练习,不过才学到一半,如果可以的话,我是希望学完这一练习后再开始c语言的学习,希望国庆前能学完吧。


 浙公网安备 33010602011771号