基于SpringBoot集成swagger的基本使用
1.引入依赖(使用的3.0版本,与2.x的版本有所区别)
        <dependency>
            <groupId>io.springfox</groupId>
            <artifactId>springfox-boot-starter</artifactId>
            <version>3.0.0</version>
        </dependency>
2.编写swagger配置类
@Configuration
@EnableSwagger2
public class SwaggerConfig {
    //创建一个Docket的对象,相当于是swagger的一个实例
    @Bean
    public Docket docket(){
        return new Docket(DocumentationType.OAS_30)
                .apiInfo(apiInfo());

    }

    //配置相关的api信息
    private ApiInfo apiInfo(){
        Contact contact=new Contact("yzy","https://www.cnblogs.com/shouyaya/","1255014278@qq.com");
       return new ApiInfo(
                "yzy的swaggerAPI文档",
                "第一个swagger程序",
                "1.0",
                "urn:tos",
                contact,
                "Apache 2.0",
                "http://www.apache.org/licenses/LICENSE-2.0",
                new ArrayList<>());
    }
}
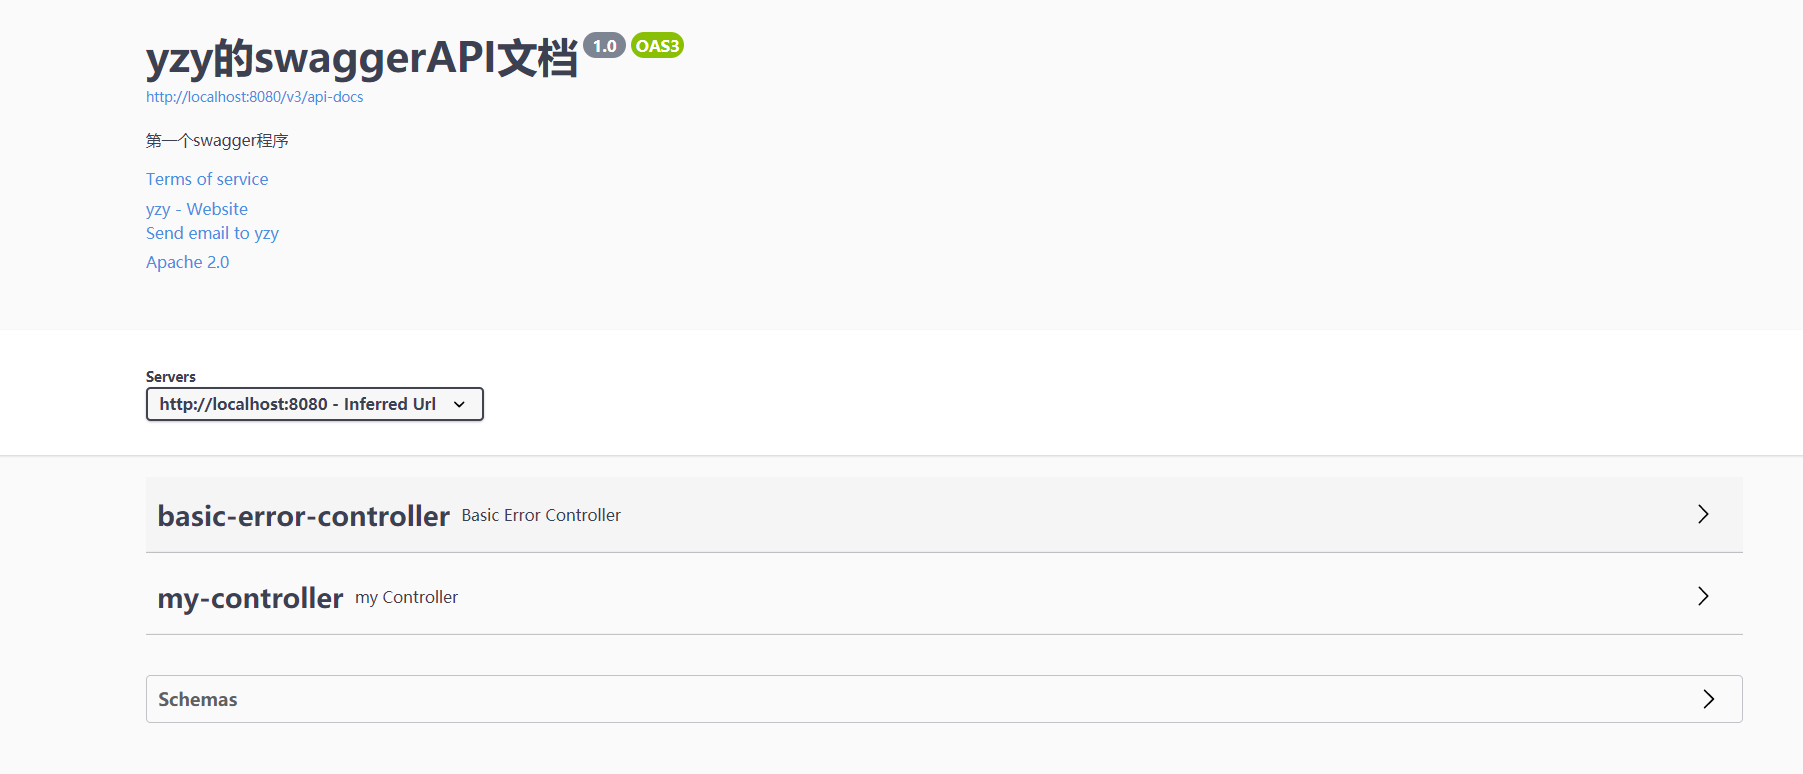
3.启动应用!访问swagger页面
注意:
- 这次更新,移除了原来默认的swagger页面路径:
http://host/context-path/swagger-ui.html,新增了两个可访问路径:http://host/context-path/swagger-ui/index.html和http://host/context-path/swagger-ui/ - 通过调整日志级别,还可以看到新版本的swagger文档接口也有新增,除了以前老版本的文档接口
/v2/api-docs之外,还多了一个新版本的/v3/api-docs接口。
4.配置扫描接口及开关
public Docket docket(){
        return new Docket(DocumentationType.OAS_30)
                .select()
                //RequestHandlerSelectors,配置要扫描接口的方式
                //basePackage:指定扫描的包路径
                //any:扫描全部
                //none:全部不扫描
                //withClassAnnotation:扫描类上的注解,如RestController
                //withMethodAnnotation:扫描方法上的注解,如GetMapping
                .apis(RequestHandlerSelectors.basePackage("com.yzy.swaggertest.controller"))
                //设置对应的路径才获取
                .paths(PathSelectors.ant("/hello"))
                .build()
                .apiInfo(apiInfo());

    }
5.配置生成环境下开启swagger,发布时关闭
    @Bean
    public Docket docket(Environment environment){
        //判定springboot的配置文件是否使用dev(开发环境)
        Profiles profiles=Profiles.of("dev");
        boolean flag=environment.acceptsProfiles(profiles);
        return new Docket(DocumentationType.OAS_30)
                //只有当springboot配置文件为dev开发环境时,才开启swaggerAPI文档功能
                .enable(flag)
                .select()
                .apis(RequestHandlerSelectors.basePackage("com.yzy.swaggertest.controller"))
                .paths(PathSelectors.ant("/hello"))
                .build()
                .apiInfo(apiInfo());

    }
