随时随地敲代码,基于Theia快速部署自己的云开发环境
如果手头上有多个设备,需要经常轮换着使用,又或者经常出门不想带太沉的笔记本电脑,想随时随地写代码,Web IDE 可以帮到你。
Web IDE,顾名思义就是云端开发环境,把 IDE 部署在云上。打开浏览器,连上云 IDE,就可以方便敲代码跑程序。想象一下,带上一台iPad或者华为、小米平板,配上蓝牙键盘,坐在阴凉的动物园树下,边看动物边敲代码,多惬意。
其实 Web IDE 很早就有,但都只能说是玩具,直到现在才有一些不错的产品推出,比如微软和 Github 的Visual Studio Codespaces、coding.net 的 Cloud Studio、华为云 CloudIDE 等。不过,这些产品要么还在测试,要么免费用会有限制或者价格不低,目前还不是非常方便。
如果想要低成本愉快使用,自己来搭建一个是不错的方案。对配置要求不高的话,一年几十块一百多块就能买到廉价的 VPS 或者云主机。Web IDE 的部署方案推荐两个,code-server 和 Theia。
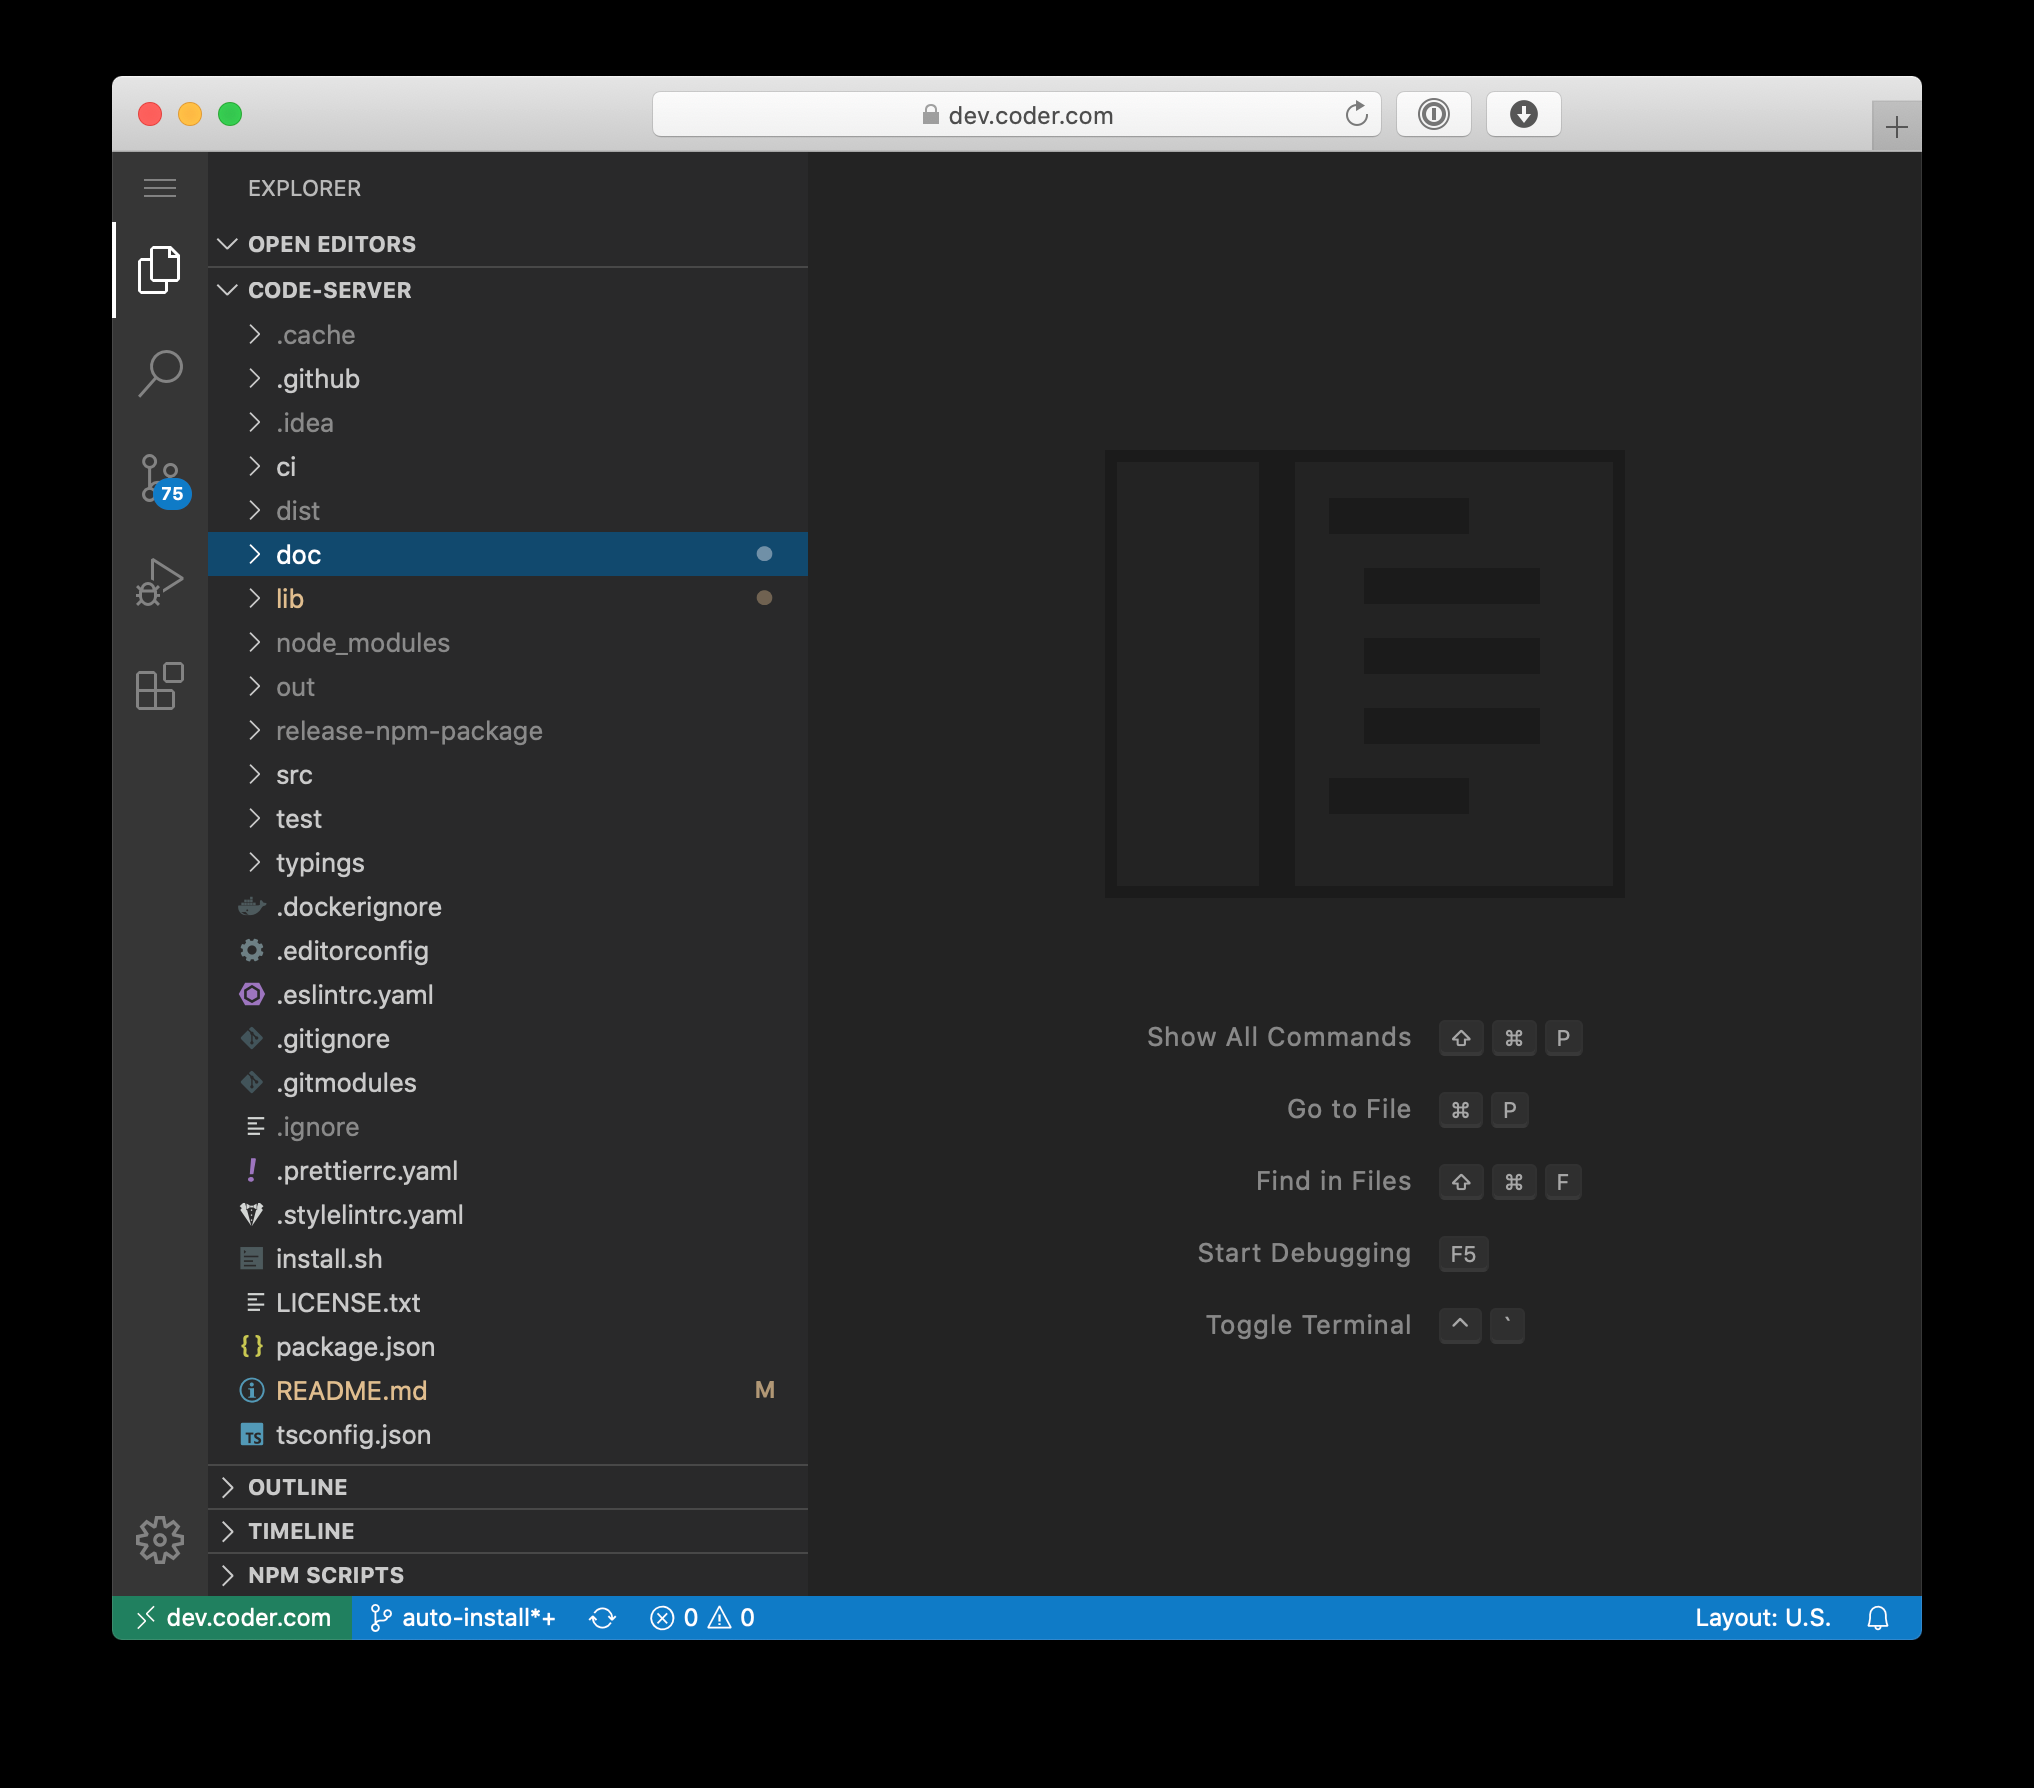
Code-server(https://github.com/cdr/code-server)是由 Coder 开发的,把 VS Code 搬到了浏览器上。

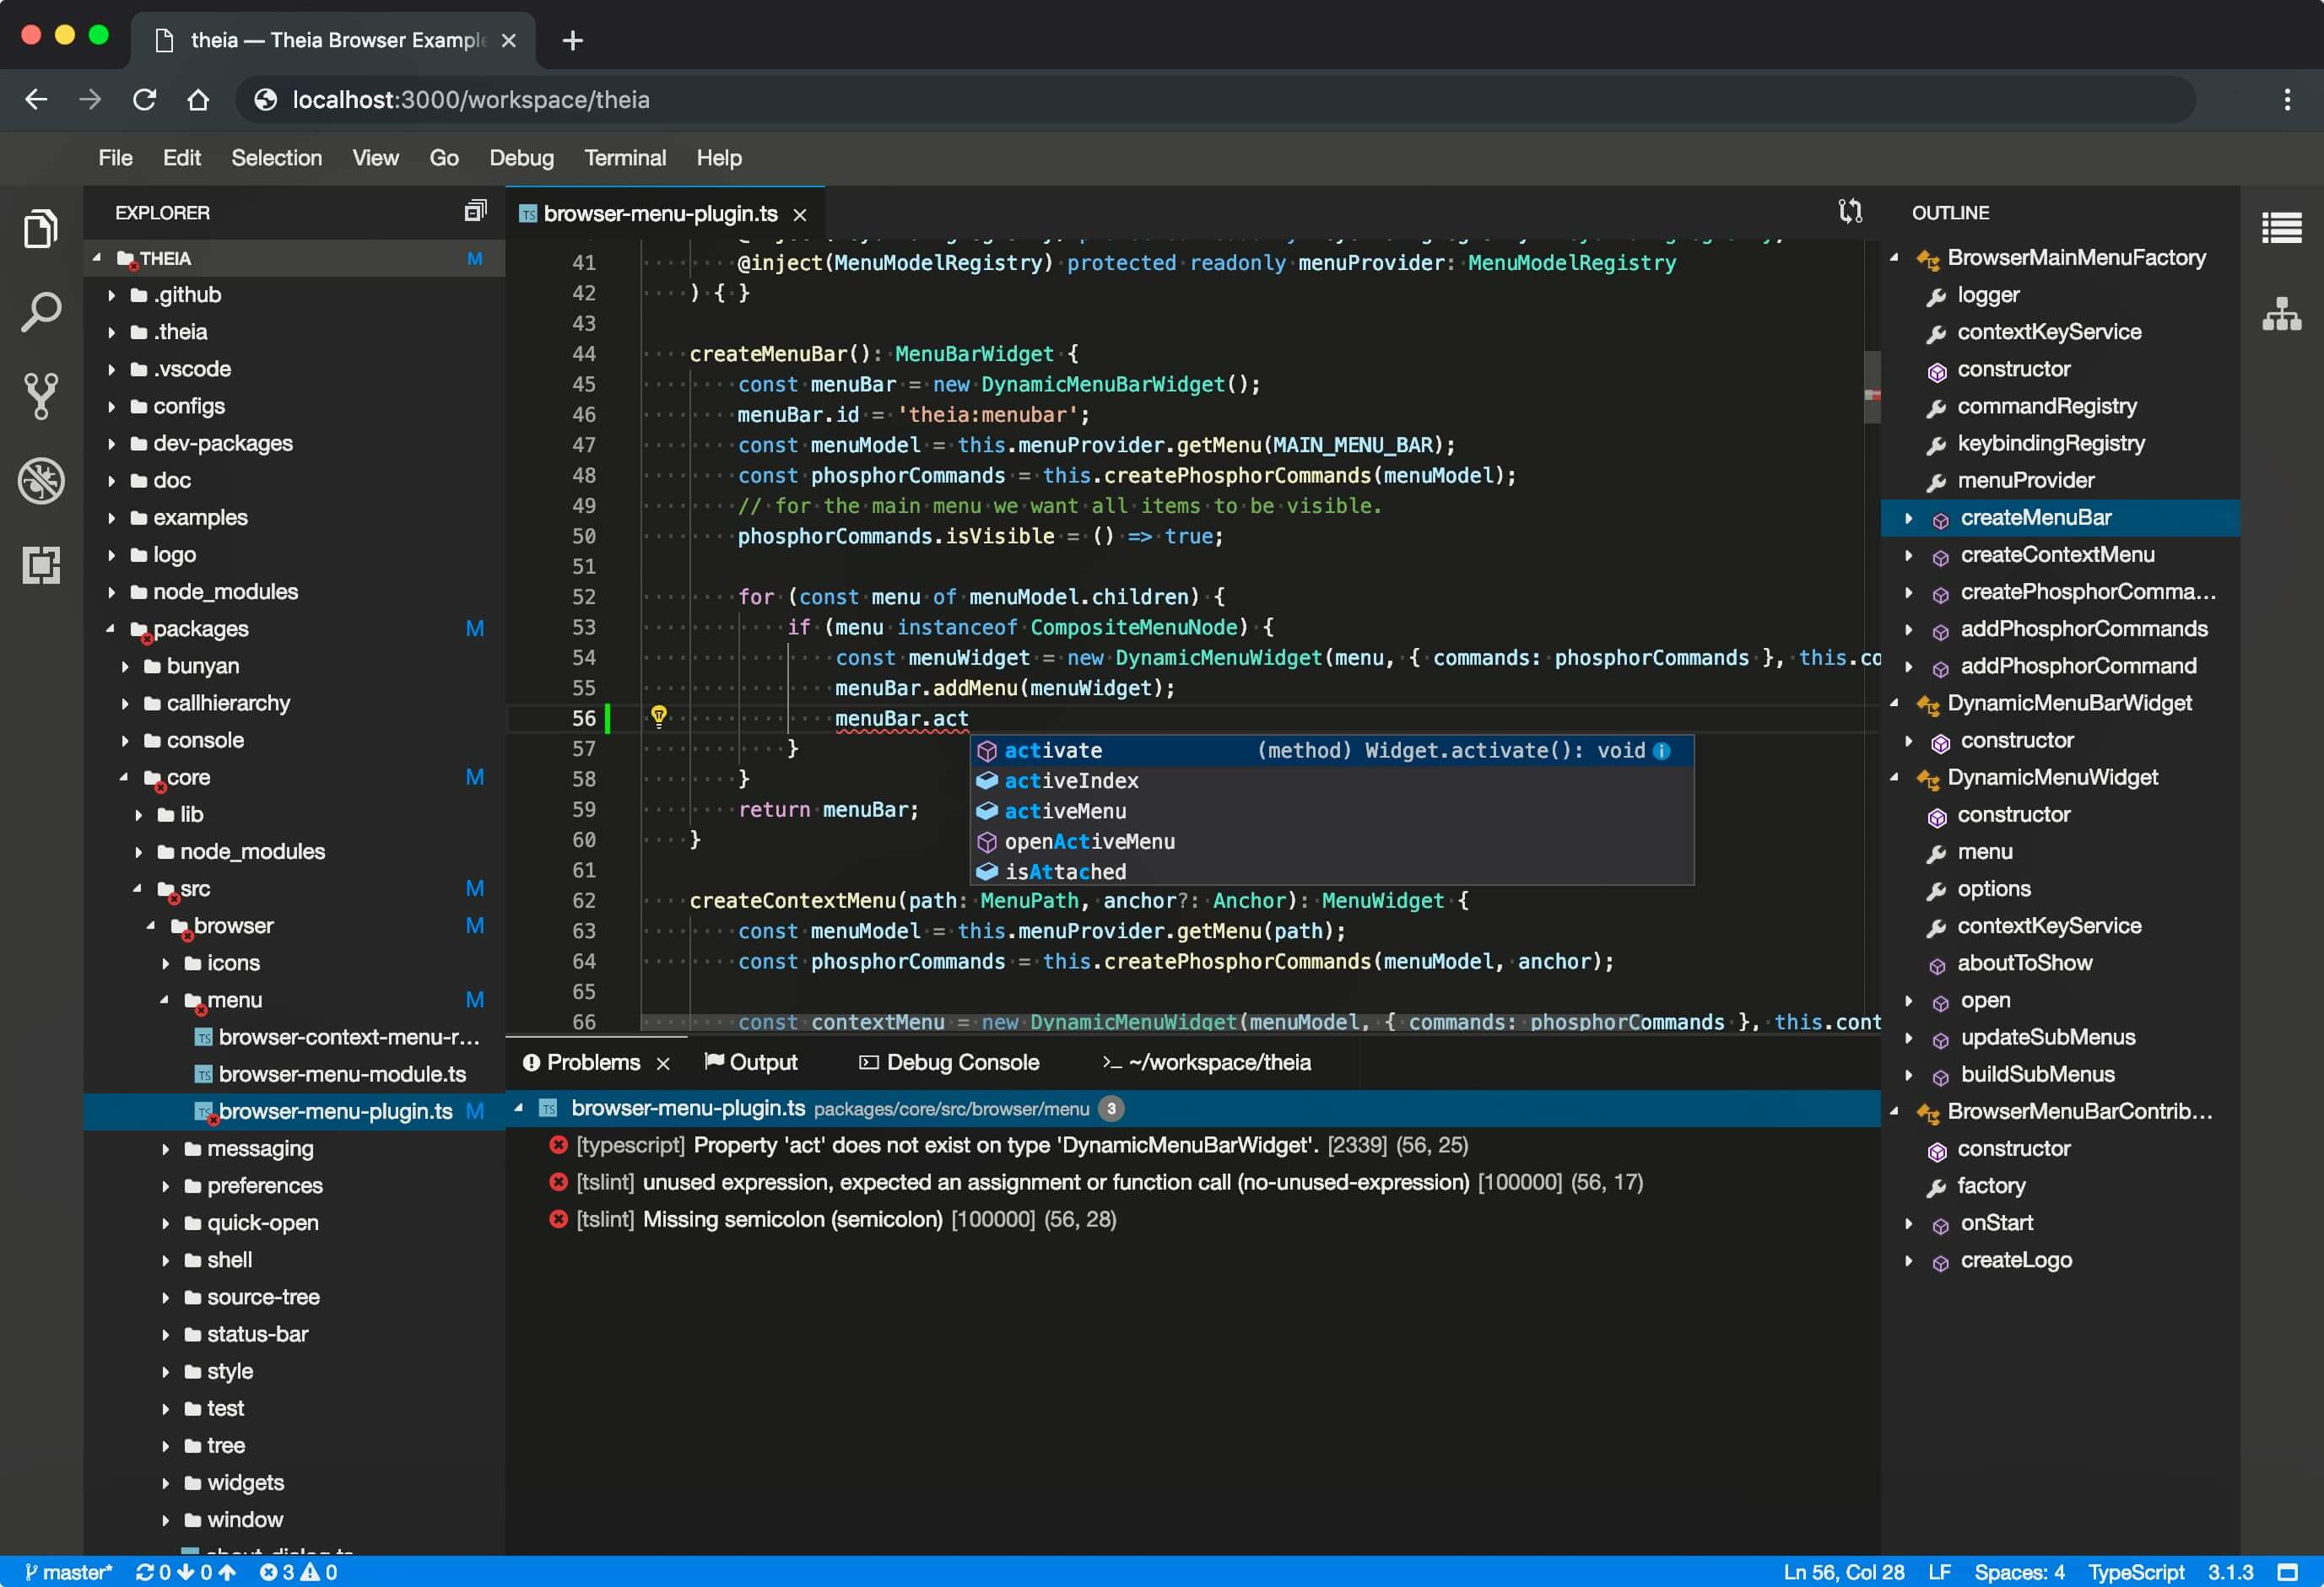
Theia(https://theia-ide.org)是 Eclipse 推出的云端和桌面 IDE 平台,完全开源。Theia 是基于 VS Code 开发的,它的模块化特性非常适合二次开发,比如华为云 CloudIDE、阿里云 Function Compute IDE 便是基于 Theia 开发。

下面就以Theia为例,使用 Docker 部署在一台 4核 8GB 内存 60 GB SSD 的 VPS上。这台 VPS 一年 24 刀,配置能满足基本的使用。这篇文章很长,但部署过程很简单,如果不想看太多字,可直接拉到最后。
安装Docker
如果没有安装 Docker,先安装一下。我使用的是 CentOS 7:
sudo yum install -y yum-utils device-mapper-persistent-data lvm2
sudo yum-config-manager --add-repo https://download.docker.com/linux/centos/docker-ce.repo
sudo yum install docker-ce docker-ce-cli containerd.io
sudo service docker start
sudo systemctl enable docker
也可以用脚本自动安装,这种方法比较方便,而且适合在不同系统中安装,但官方不建议在生产环境使用:
curl -fsSL get.docker.com -o get-docker.sh
sudo sh get-docker.sh
# 如果连接速度慢,可加上--mirror参数指定镜像,如 sudo sh get-docker.sh --mirror Aliyun
为什么不直接部署标准版镜像
Theia 提供了不同版本的镜像,可以在 https://github.com/theia-ide/theia-apps 选择自己需要的语言版本,可以支持 C++ / Go / Python / Java / PHP / Ruby 等多种语言。最简单的方法,就是直接获取镜像启动容器。
比如拉取完整版镜像并在当前目录运行:
docker pull theiaide/theia-full
docker run -it --init -p 3000:3000 -v "$(pwd):/home/project:cached" theiaide/theia-full:latest
其中,$(pwd) 代表的是将当前目录挂载到 Docker 容器中,也可以指定文件目录。
打开 http://localhost:3000 就可以使用。
然而,需要特别注意的是,Theia 本身没有认证机制,任何知道公网 IP 和端口号的人都可使用。因此,不推荐这种方法。
构建更安全的版本
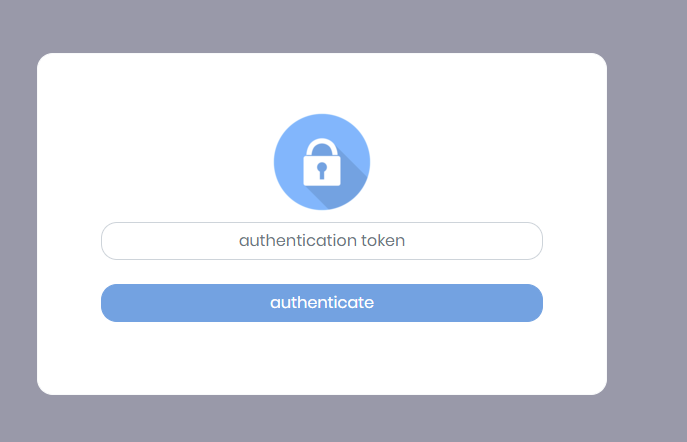
Theia-https-docker 增加了 token 认证和 https,可以在标准镜像中加入 security layer,强烈建议使用它构造自己的镜像。构建也非常简单,按以下三个步骤操作即可,其中第三步的 --build-arg app= 填入需要使用的语言版本,这里使用的也是 full 版本。
git clone https://github.com/theia-ide/theia-apps.git
cd theia-apps/theia-https-docker
docker build . --build-arg app=theia-full -t theiaide/theia-full-sec

耐心等到构建完成,输入docke images就可看到自己构建的 theiaide/theia-full-sec 镜像。

之后就可运行,token 后接的是访问口令:
docker run --init -it -p 10443:10443 -e token=mysecrettoken -v "$(pwd):/home/project:cached" theiaide/theia-full-sec
但一般我们都需要后台运行,可以这样让容器后台运行:
docker run --init -itd -p 10443:10443 -e token=mysecrettoken -v "$(pwd):/home/project:cached" theiaide/theia-full-sec
如果要指定使用 /home/coding目录,后台运行,则是:
docker run --init -itd -p 10443:10443 -e token=mysecrettoken -v "$(pwd):/home/project:cached" theiaide/theia-full-sec
打开 https://ip地址:10443,输入 token 便可打开 Web IDE。也可直接使用 https://ip地址:10443/?token=mysecrettoken 直接打开。

解决权限问题
然而,如果这时使用,会发现 Theia 无法写入文件。这是 Theia 默认使用了 1000 的 userid,跟宿主机不一样,从而造成的权限问题。
解决方法有这么几个:
- 将挂载的文件权限改为 777,这种方法不太安全:
chmod -R 777 /home/coding - 指定用户运行,但如果使用的是 root,仍会有些不安全:
docker run --user=root --init -it -p 10443:10443 -e token=mysecrettoken -v "$(pwd):/home/project:cached" theiaide/theia-full-sec - 将挂载的文件夹属主改为1000,推荐这种方法:
chown -R 1000 /home/coding
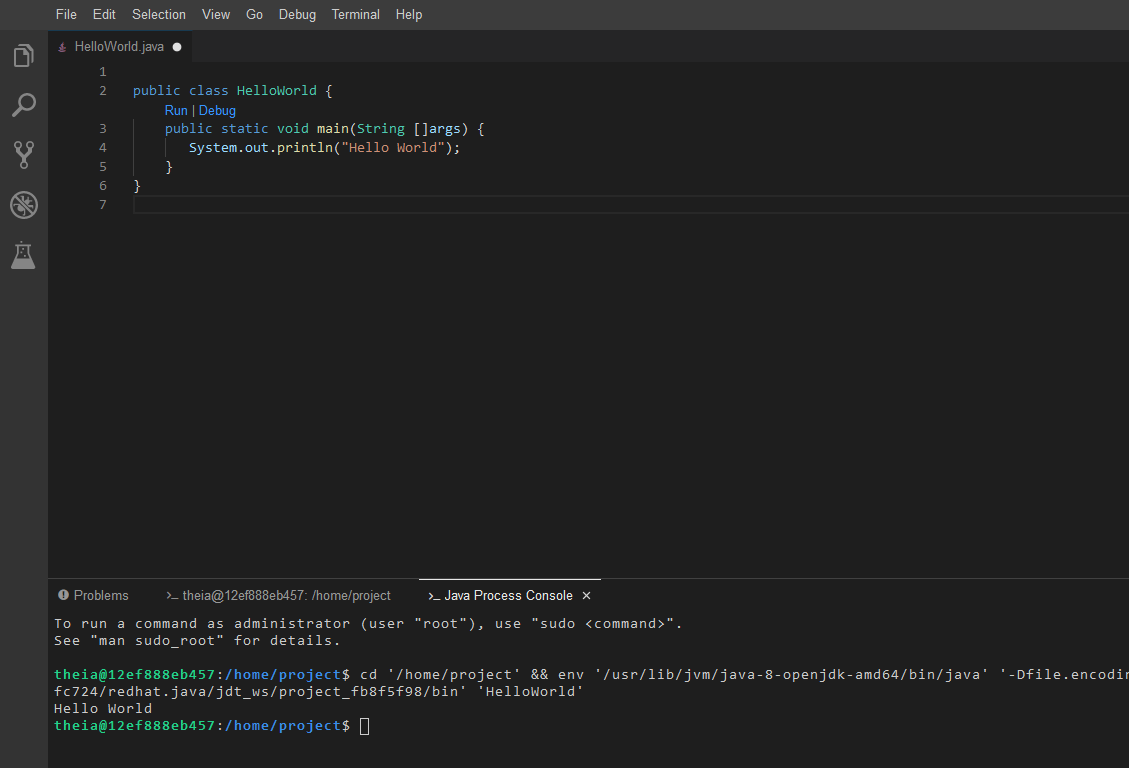
这样,就可以愉快使用了:

部署标准版并反代
如果觉得 theia-https-docker 不太好用,或者有更多的需求,也可以部署标准版的镜像,然后用 Nginx 反代并且绑定域名。具体操作可以参考 https://www.digitalocean.com/community/tutorials/how-to-set-up-the-eclipse-theia-cloud-ide-platform-on-ubuntu-18-04 这篇教程。
总结
curl -fsSL get.docker.com -o get-docker.sh

sudo sh get-docker.sh

git clone https://github.com/theia-ide/theia-apps.git

cd theia-apps/theia-https-docker

docker build . --build-arg app=theia-full -t theiaide/theia-full-sec

docker run --init -itd -p 10443:10443 -e token=mysecrettoken -v "$(pwd):/home/project:cached" theiaide/theia-full-sec

chown -R 1000 /home/coding`
参考
[1] https://github.com/theia-ide/theia-apps
[2] https://www.cnblogs.com/sparkdev/p/9614164.html
[3] https://gist.github.com/heyfluke/b8372df866ec2584f9a51ca7d7fe9ebb


