

kivy入门之布局(三)
创建锚点布局

 1 from kivy.app import App
 2 from kivy.core.text import LabelBase
 3 from kivy.uix.anchorlayout import AnchorLayout
 4
 5 LabelBase.register("Roboto", "msyhl.ttc")
 6
 7
 8 class Test8layout(AnchorLayout):
 9     """锚点布局"""
10     ...
11
12
13 class Test8App(App):
14     def build(self):
15         return Test8layout()
16
17
18 if __name__ == '__main__':
19     Test8App().run()
kv语言:
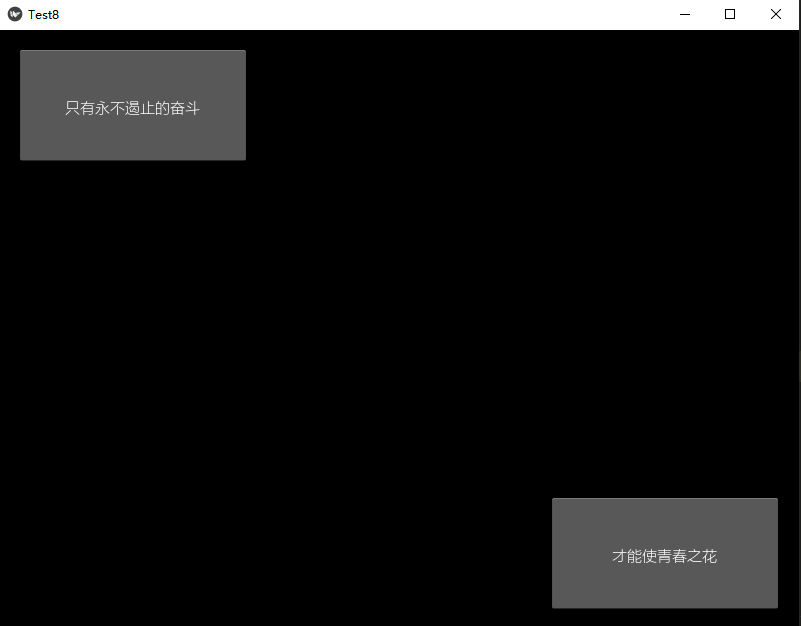
 1 <Test8layout>:
 2     padding:20
 3     AnchorLayout:
 4         anchor_x:'left'
 5         anchor_y:'top'
 6         Button:
 7             text:'只有永不遏止的奋斗'
 8             size_hint: .3, .2
 9     AnchorLayout:
10         anchor_x:'right'
11         anchor_y:'bottom'
12         Button:
13             text:'才能使青春之花'
14             size_hint:.3,.2
运行界面显示:


【推荐】国内首个AI IDE,深度理解中文开发场景,立即下载体验Trae
【推荐】编程新体验,更懂你的AI,立即体验豆包MarsCode编程助手
【推荐】抖音旗下AI助手豆包,你的智能百科全书,全免费不限次数
【推荐】轻量又高性能的 SSH 工具 IShell:AI 加持,快人一步
· 被坑几百块钱后,我竟然真的恢复了删除的微信聊天记录!
· 没有Manus邀请码?试试免邀请码的MGX或者开源的OpenManus吧
· 【自荐】一款简洁、开源的在线白板工具 Drawnix
· 园子的第一款AI主题卫衣上架——"HELLO! HOW CAN I ASSIST YOU TODAY
· Docker 太简单,K8s 太复杂?w7panel 让容器管理更轻松!