

GitLab安装使用
 GitLab安装
GitLab的安装
1. 环境配置
关闭防火墙和selinux
[root@gitlab ~]# systemctl stop firewalld [root@gitlab ~]# systemctl disable firewalld Removed "/etc/systemd/system/multi-user.target.wants/firewalld.service". Removed "/etc/systemd/system/dbus-org.fedoraproject.FirewallD1.service". [root@gitlab ~]# systemctl status firewalld ○ firewalld.service - firewalld - dynamic firewall daemon Loaded: loaded (/usr/lib/systemd/system/firewalld.service; disabled; prese> Active: inactive (dead) Docs: man:firewalld(1) Dec 12 23:01:50 study systemd[1]: Starting firewalld - dynamic firewall daemon.> Dec 12 23:01:51 study systemd[1]: Started firewalld - dynamic firewall daemon. Dec 12 23:40:35 gitlab systemd[1]: Stopping firewalld - dynamic firewall daemon> Dec 12 23:40:35 gitlab systemd[1]: firewalld.service: Deactivated successfully. Dec 12 23:40:35 gitlab systemd[1]: Stopped firewalld - dynamic firewall daemon. [root@gitlab ~]# getenforce Enforcing [root@gitlab ~]# vim /etc/selinux/config [root@gitlab ~]# cat /etc/selinux/config # This file controls the state of SELinux on the system. # SELINUX= can take one of these three values: # enforcing - SELinux security policy is enforced. # permissive - SELinux prints warnings instead of enforcing. # disabled - No SELinux policy is loaded. # See also: # https://access.redhat.com/documentation/en-us/red_hat_enterprise_linux/9/html/using_selinux/changing-selinux-states-and-modes_using-selinux#changing-selinux-modes-at-boot-time_changing-selinux-states-and-modes # # NOTE: Up to RHEL 8 release included, SELINUX=disabled would also # fully disable SELinux during boot. If you need a system with SELinux # fully disabled instead of SELinux running with no policy loaded, you # need to pass selinux=0 to the kernel command line. You can use grubby # to persistently set the bootloader to boot with selinux=0: # # grubby --update-kernel ALL --args selinux=0 # # To revert back to SELinux enabled: # # grubby --update-kernel ALL --remove-args selinux # SELINUX=disabled # SELINUXTYPE= can take one of these three values: # targeted - Targeted processes are protected, # minimum - Modification of targeted policy. Only selected processes are protected. # mls - Multi Level Security protection. SELINUXTYPE=targeted [root@gitlab ~]# setenfore 0
2. 部署Gitlab
2.1 安装gitlab依赖包
[root@gitlab ~]# yum install -y curl openssh-server openssh-clients postfix cronie python3-policycoreutils
2.2 添加yum源
[gitlab-ce] name=Gitlab CE Repository baseurl=https://mirrors.tuna.tsinghua.edu.cn/gitlab-ce/yum/el$releasever/ gpgcheck=0 enabled=1
2.3 安装gitlab
yum makecache yum install gitlab-ce
3. 配置Gitlab
3.1设置登录链接
##! URL on which GitLab will be reachable. ##! For more details on configuring external_url see: ##! https://docs.gitlab.com/omnibus/settings/configuration.html#configuring-the-external-url-for-gitlab ##! ##! Note: During installation/upgrades, the value of the environment variable ##! EXTERNAL_URL will be used to populate/replace this value. ##! On AWS EC2 instances, we also attempt to fetch the public hostname/IP ##! address from AWS. For more details, see: ##! https://docs.aws.amazon.com/AWSEC2/latest/UserGuide/instancedata-data-retrieval.html external_url 'http://192.168.100.31'
3.2 初始化gitlab
[root@gitlab ~]# gitlab-ctl reconfigure Notes: Default admin account has been configured with following details: Username: root Password: You didn't opt-in to print initial root password to STDOUT. Password stored to /etc/gitlab/initial_root_password. This file will be cleaned up in first reconfigure run after 24 hours. NOTE: Because these credentials might be present in your log files in plain text, it is highly recommended to reset the password following https://docs.gitlab.com/ee/security/reset_user_password.html#reset-your-root-password. gitlab Reconfigured!
3.3 gitlab使用
3.3.1 修改管理员用户密码
[root@gitlab ~]# gitlab-rails console -e production -------------------------------------------------------------------------------- Ruby: ruby 3.2.5 (2024-07-26 revision 31d0f1a2e7) [x86_64-linux] GitLab: 17.6.2 (58dfc9c873e) FOSS GitLab Shell: 14.39.0 PostgreSQL: 14.11 ------------------------------------------------------------[ booted in 35.55s ] Loading production environment (Rails 7.0.8.4) irb(main):001:0> user = User.where(id: 1).first => #<User id:1 @root> irb(main):002:0> user.password = 'Risikyou' => "Risikyou" irb(main):003:0> user.save! => true irb(main):004:0> exit [root@gitlab ~]#
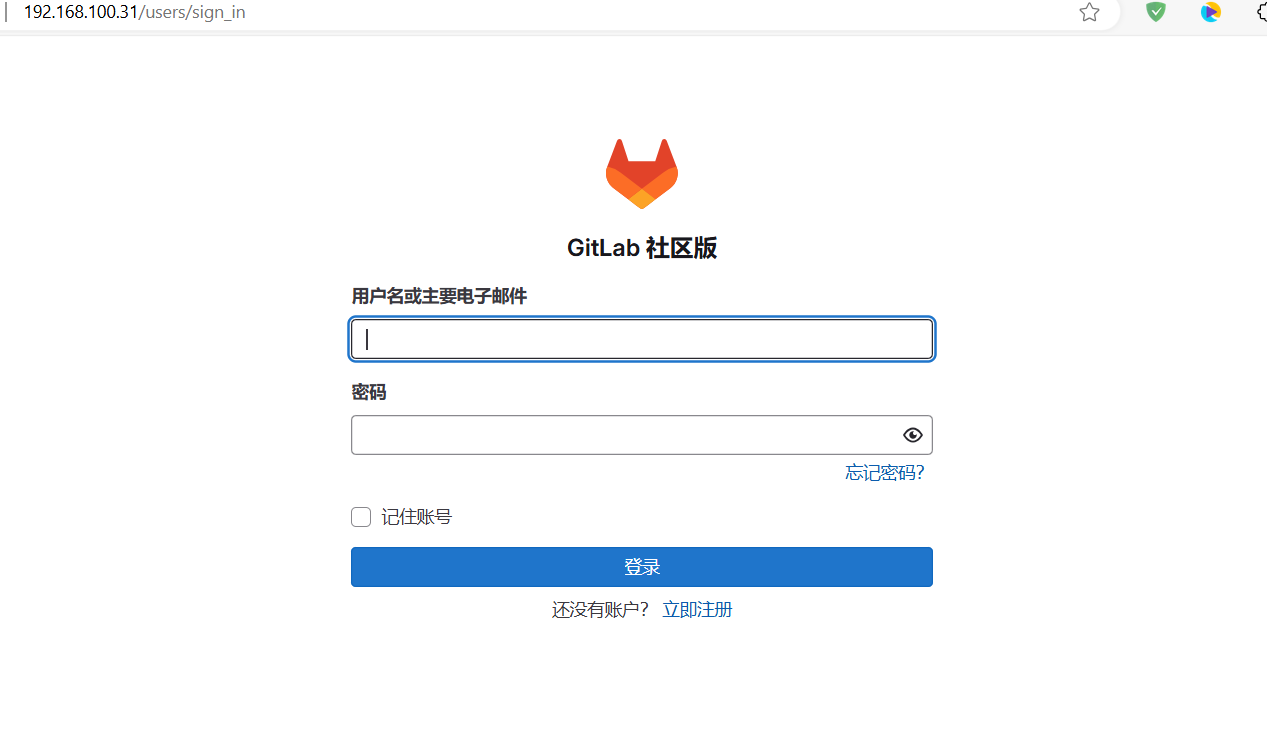
输入IP回车,创建用户或者登录
本文来自博客园,作者:何以卿卿,转载请注明原文链接:https://www.cnblogs.com/shiqiang-lee/p/18605645


【推荐】国内首个AI IDE,深度理解中文开发场景,立即下载体验Trae
【推荐】编程新体验,更懂你的AI,立即体验豆包MarsCode编程助手
【推荐】抖音旗下AI助手豆包,你的智能百科全书,全免费不限次数
【推荐】轻量又高性能的 SSH 工具 IShell:AI 加持,快人一步
· winform 绘制太阳,地球,月球 运作规律
· 超详细:普通电脑也行Windows部署deepseek R1训练数据并当服务器共享给他人
· TypeScript + Deepseek 打造卜卦网站:技术与玄学的结合
· AI 智能体引爆开源社区「GitHub 热点速览」
· 写一个简单的SQL生成工具