2.搭建Flume
1.下载解压(
-
在/opt目录下新建目录flume
-
将下载好的apache-flume-1.9.0-bin.tar.gz,利用Xftp6上传到/opt/flume目录下
-
利用命令:tar -xvf apache-flume-1.9.0-bin.tar.gz
2.配置flume
-
进⼊flume的conf⽬录下,拷⻉flume-env.sh.template然后重命名为flume-env.sh
cp flume-env.sh.template flume-env.sh
chmod 777 flume-env.sh
vim flume-env.sh -
进⼊flume-env.sh中配置java jdk路径
export JAVA_HOME=/opt/java/jdk1.8.0_261
3.配置环境变量
-
在/opt目录下
vim .bash_profile
# Flume
export FLUME_HOME=/opt/flume/export FLUME_HOME=/opt/flume/apache-flume-1.9.0-bin
export PATH=$PATH:$FLUME_HOME/bin
source .bash_profile
-
在flume-env.sh文件中配置
# Flume
export FLUME_HOME=/opt/flume/export FLUME_HOME=/opt/flume/apache-flume-1.9.0-bin
export PATH=$PATH:$FLUME_HOME/bin -
版本验证
flume-ng version
ps:(/etc/profile中我也添加了代码段中的配置)#刷新配置source /etc/profile
4.进行文件传输配置slave
scp -r /opt/flume/apache-flume-1.9.0-bin slave1:/opt/flume/
scp -r /opt/flume/apache-flume-1.9.0-bin slave2:/opt/flume/
按照上诉步骤在slave1、slave2进行操作
5.Flume部署示例(
4.1 Avro(以下还没操作修改)
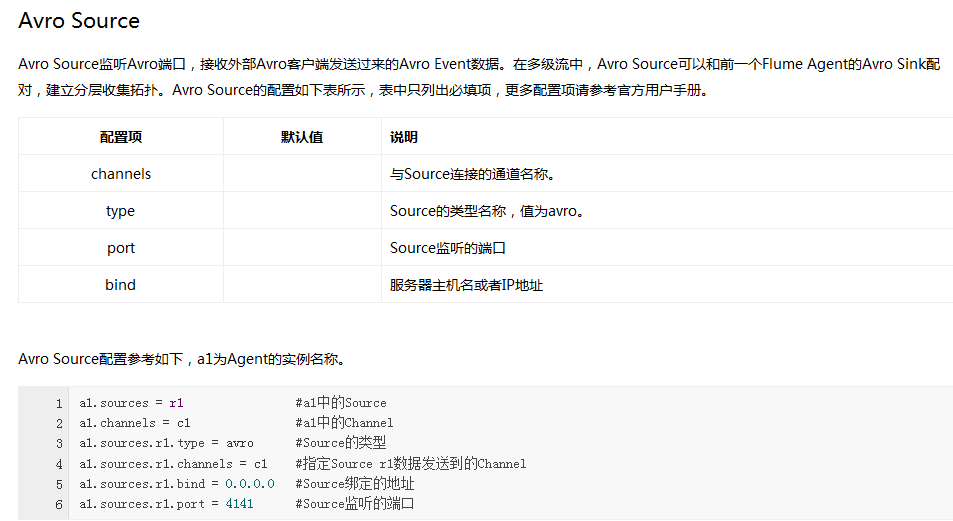
Flume可以通过Avro监听某个端口并捕获传输的数据,具体示例如下:
// 创建一个Flume配置文件
$ cd app/cdh/flume-1.6.0-cdh5.7.1
$ mkdir example
$ cp conf/flume-conf.properties.template example/netcat.conf
// 配置netcat.conf用于实时获取另一终端输入的数据
$ vim example/netcat.conf
# Name the components on this agent
a1.sources = r1
a1.sinks = k1
a1.channels = c1
# Describe/configure the source
a1.sources.r1.type = netcat
a1.sources.r1.bind = localhost
a1.sources.r1.port = 44444
# Describe the sink
a1.sinks.k1.type = logger
# Use a channel that buffers events in memory
a1.channels.c1.type = memory
a1.channels.c1.capacity = 1000
a1.channels.c1.transactionCapacity = 100
# Bind the source and sink to the channel
a1.sources.r1.channels = c1
a1.sinks.k1.channel = c1
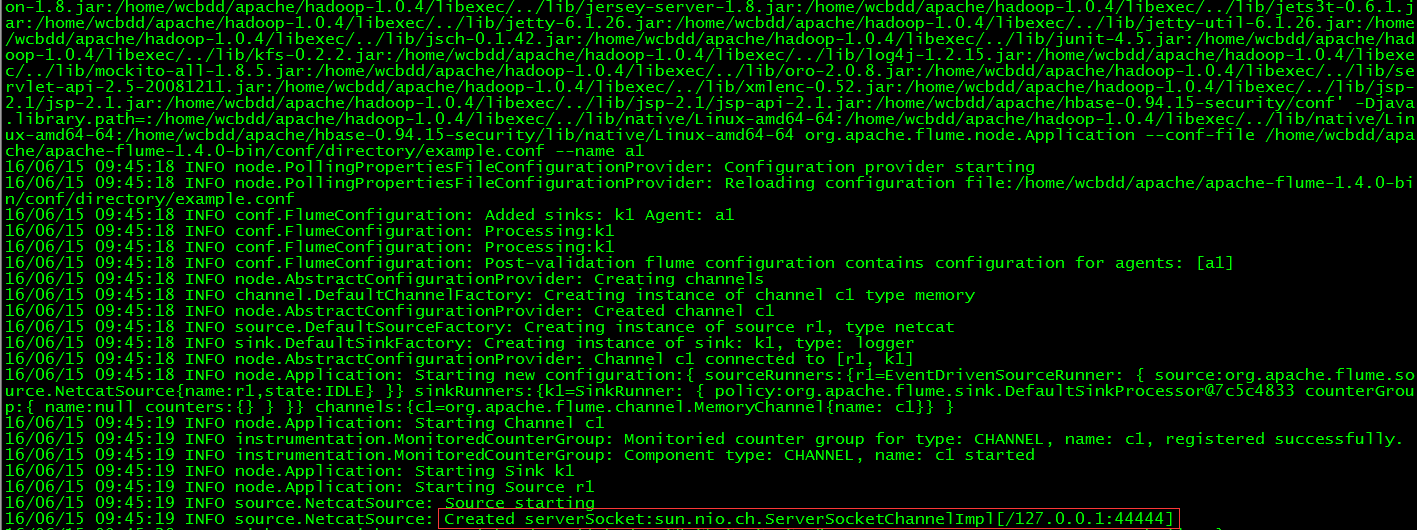
// 运行FlumeAgent,监听本机的44444端口
$ flume-ng agent -c conf -f example/netcat.conf -n a1 -Dflume.root.logger=INFO,console
// 打开另一终端,通过telnet登录localhost的44444,输入测试数据
$ telnet localhost 44444
// 查看flume收集数据情况
4.2 Spool
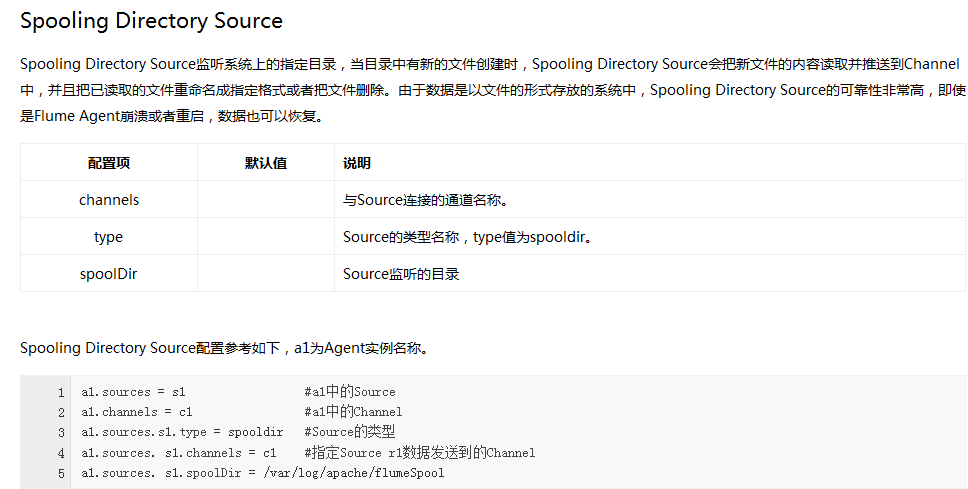
Spool用于监测配置的目录下新增的文件,并将文件中的数据读取出来。需要注意两点:拷贝到spool目录下的文件不可以再打开编辑、spool目录下不可包含相应的子目录。具体示例如下:
// 创建两个Flume配置文件
$ cd app/cdh/flume-1.6.0-cdh5.7.1
$ cp conf/flume-conf.properties.template example/spool1.conf
$ cp conf/flume-conf.properties.template example/spool2.conf
// 配置spool1.conf用于监控目录avro_data的文件,将文件内容发送到本地60000端口
$ vim example/spool1.conf
# Namethe components
local1.sources= r1
local1.sinks= k1
local1.channels= c1
# Source
local1.sources.r1.type= spooldir
local1.sources.r1.spoolDir= /home/hadoop/avro_data
# Sink
local1.sinks.k1.type= avro
local1.sinks.k1.hostname= localhost
local1.sinks.k1.port= 60000
#Channel
local1.channels.c1.type= memory
# Bindthe source and sink to the channel
local1.sources.r1.channels= c1
local1.sinks.k1.channel= c1
// 配置spool2.conf用于从本地60000端口获取数据并写入HDFS
# Namethe components
a1.sources= r1
a1.sinks= k1
a1.channels= c1
# Source
a1.sources.r1.type= avro
a1.sources.r1.channels= c1
a1.sources.r1.bind= localhost
a1.sources.r1.port= 60000
# Sink
a1.sinks.k1.type= hdfs
a1.sinks.k1.hdfs.path= hdfs://localhost:9000/user/wcbdd/flumeData
a1.sinks.k1.rollInterval= 0
a1.sinks.k1.hdfs.writeFormat= Text
a1.sinks.k1.hdfs.fileType= DataStream
# Channel
a1.channels.c1.type= memory
a1.channels.c1.capacity= 10000
# Bind the source and sink to the channel
a1.sources.r1.channels= c1
a1.sinks.k1.channel= c1
// 分别打开两个终端,运行如下命令启动两个Flume Agent
$ flume-ng agent -c conf -f example/spool2.conf -n a1
$ flume-ng agent -c conf -f example/spool1.conf -n local1
// 查看本地文件系统中需要监控的avro_data目录内容
$ cd avro_data
$ cat avro_data.txt
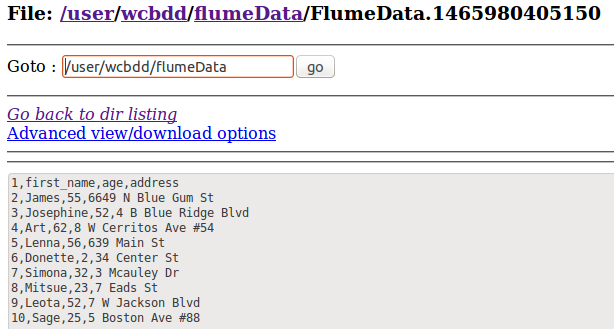
// 查看写HDFS的Agent,检查是否捕获了数据别写入HDFS
// 通过WEB UI查看HDFS中的文件
4.3 其它
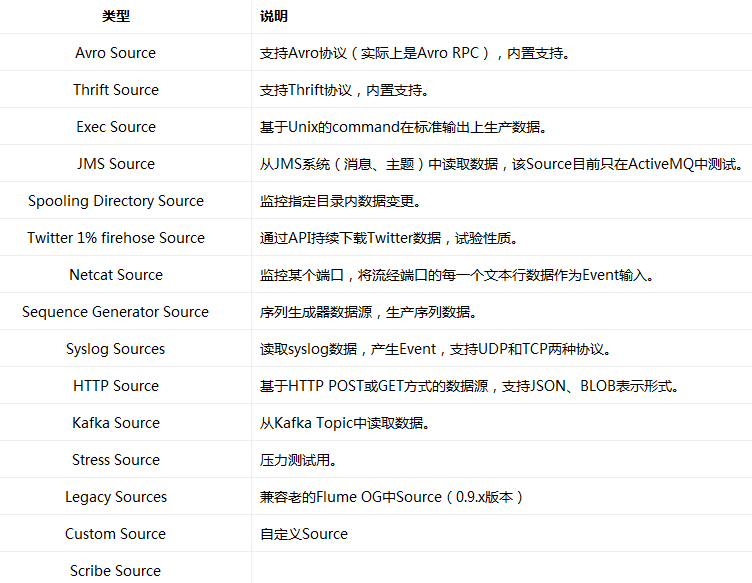
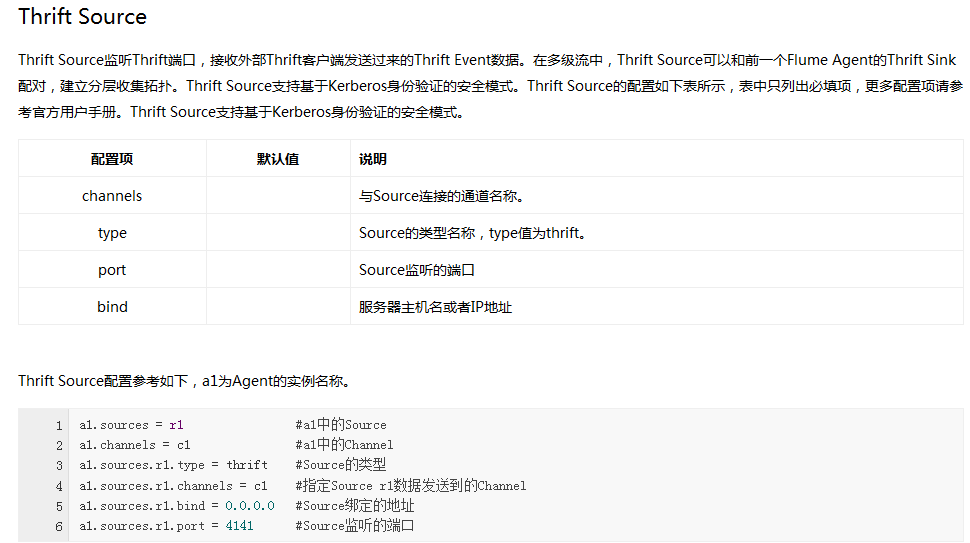
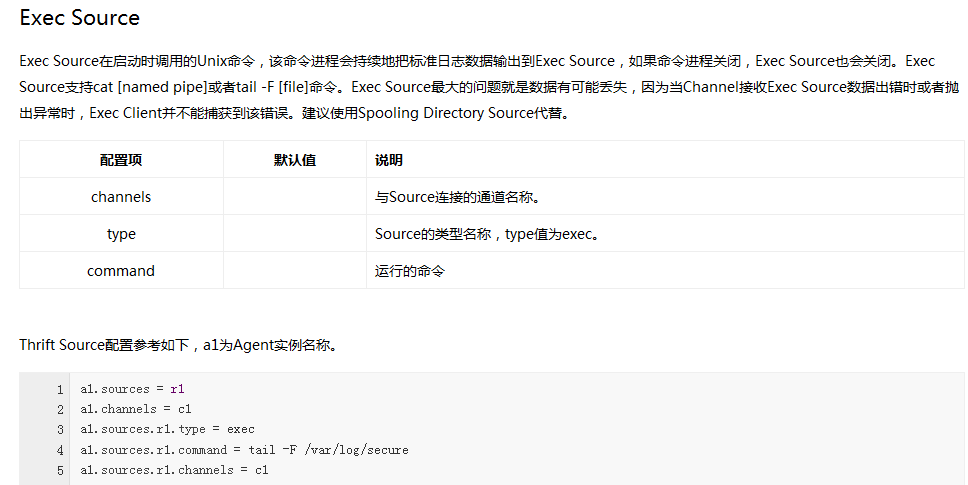
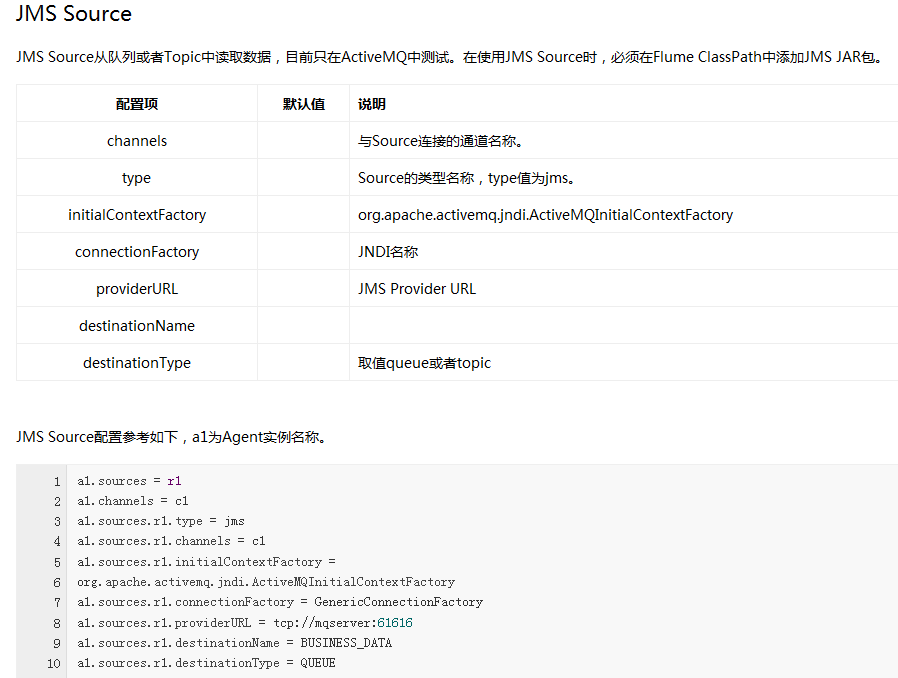
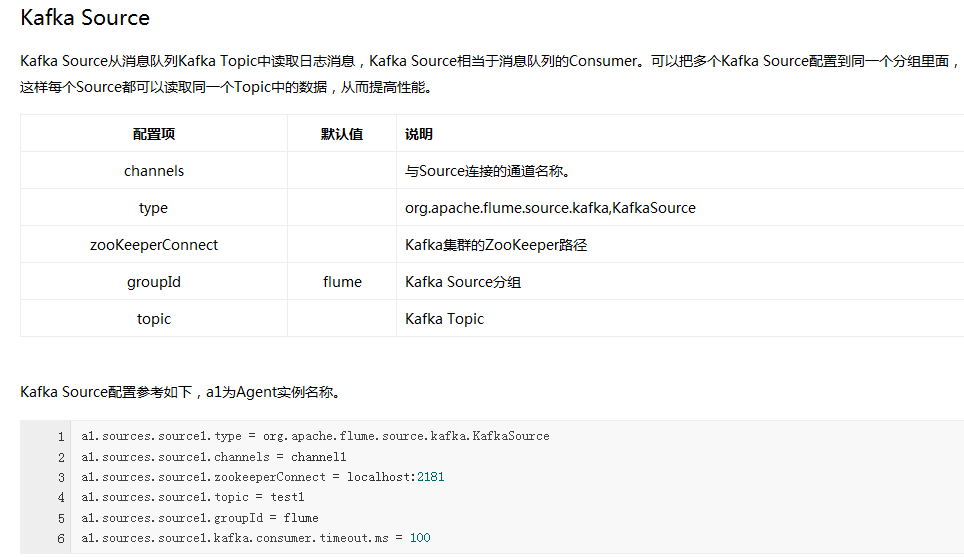
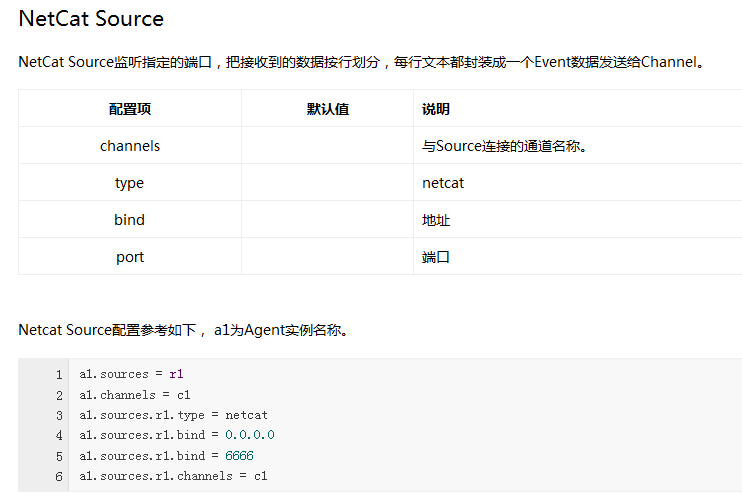
Flume内置了大量的Source,其中Avro Source、Thrift Source、Spooling Directory Source、Kafka Source具有较好的性能和较广泛的使用场景。下面是Source的一些参考资料:


