大数据(1) - 虚拟机集群搭建
使用工具:
1.VMware12 +,
2.CentOS-6.8 / CentOS-7 +,
3.jdk1.8
一、安装主服务器虚拟机
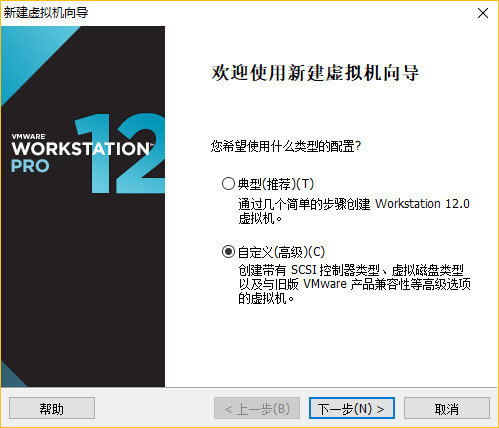
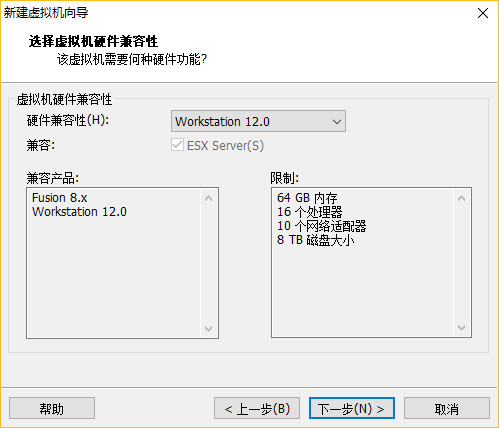
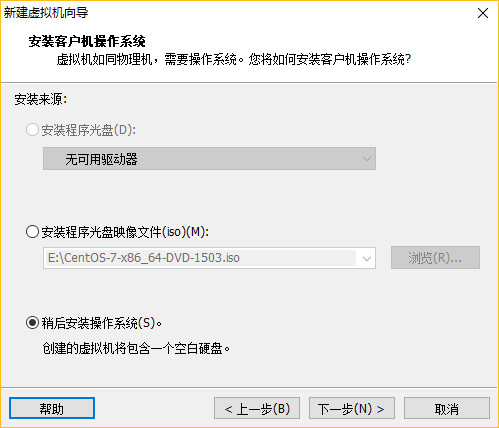
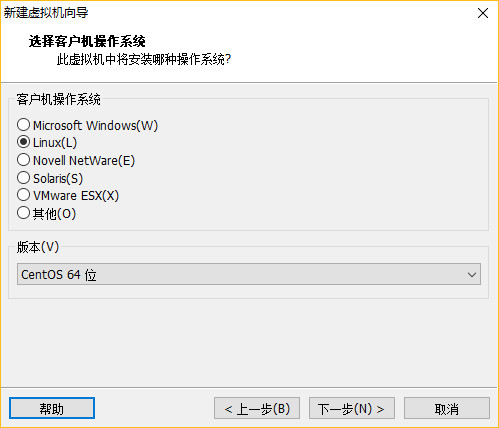
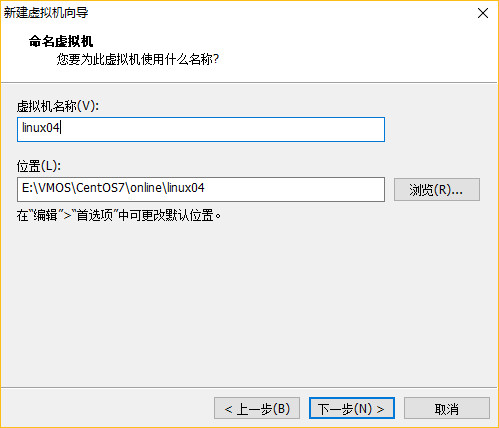


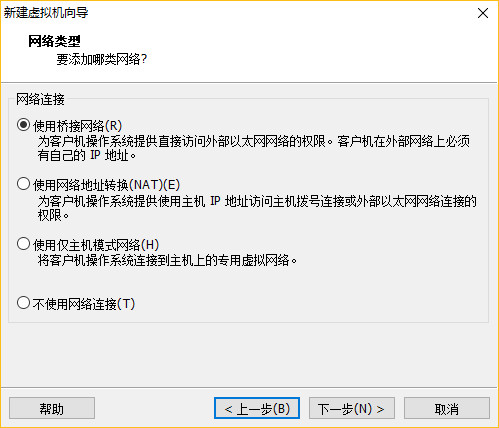
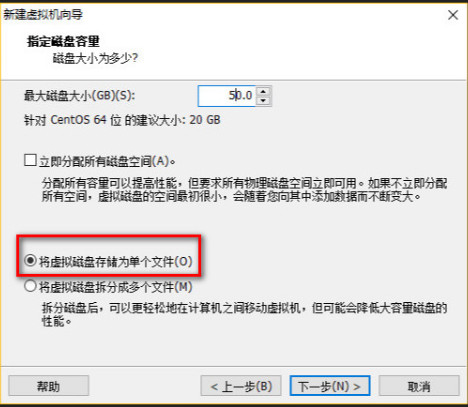
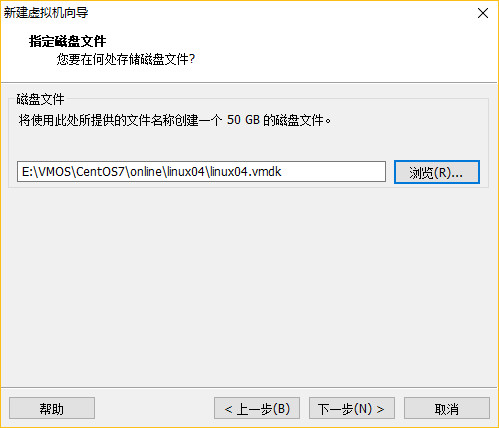
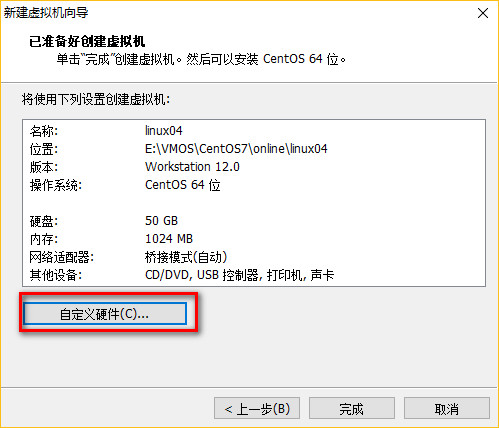
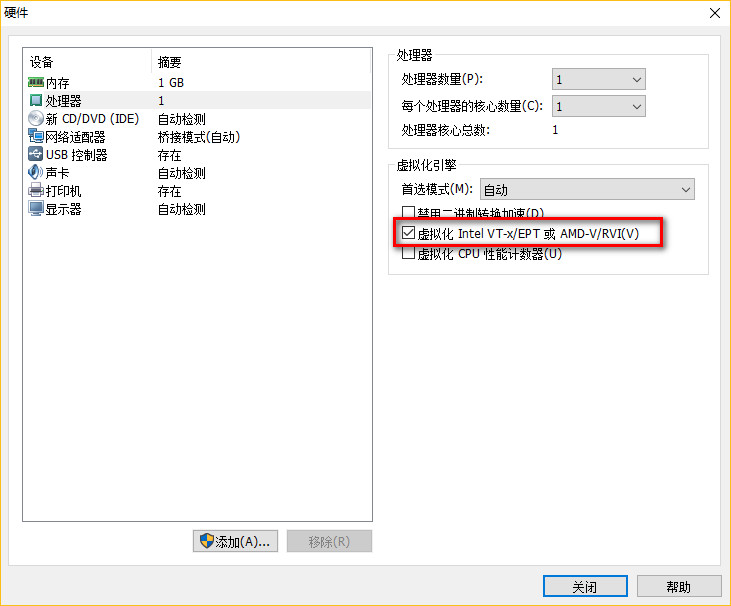
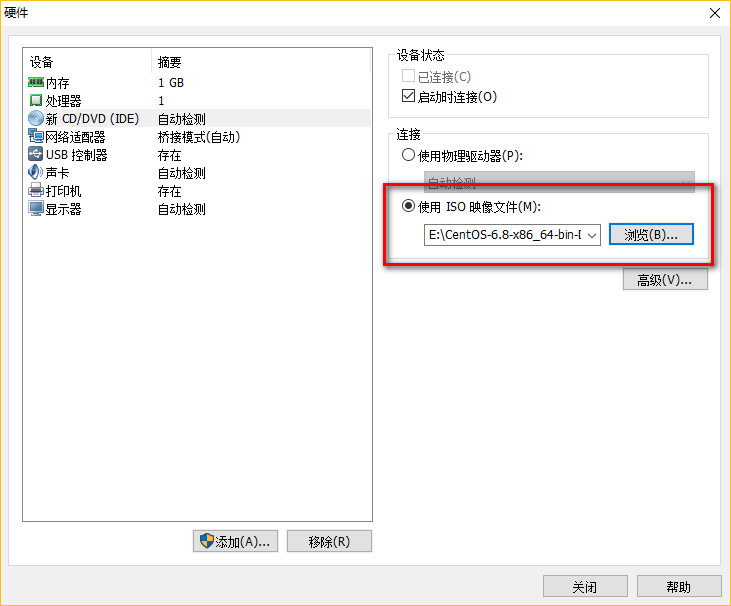
配置完成,点击启动虚拟机!
二、虚拟机网络设置
需要静态的方式配置ip,请参考链接: 设置静态IP
(1)重启网卡服务:
CentOS6.8: # service network restart
CentOS7.2: # systemctl restart network.service
(2)CRT远程连接Linux
(3)禁用SELinux
** Selinux:linux安全管理工具
** # vi /etc/sysconfig/selinux
** 编辑改动如下:
	SELINUX:disable
(4)禁用防火墙
** CentOS 6.8
	iptables
	# service iptables stop
	# chkconfig iptables off

** CentOS 7.2
	# systemctl stop firewalld.service
	# systemctl disable firewalld.service
(5)ping外网测试
ping www.baidu.com
三、分配权限给普通管理员
su - root

visudo

添加:
shifu(对应账号)   ALL=(ALL)       NOPASSWD: ALL

四、修改ip与主机名的映射关系
$ sudo vi /etc/hosts

(对应你准备配置的ip)
192.168.1.213 linux01
192.168.1.214 linux02
192.168.1.215 linux03
五、更新yum与安装samba
参考更新优化linux链接:linux软件优化安装
参考安装samba链接 :安装samba
六、安装JDK
(1)解压jdk包
在家目录创建两个文件夹:
cd ~
mkdir -p softwares/installtions
mkdir modules

在windows将jdk压缩包用samba拉到linux的installtions中,解压到modules中

tar -zxf jdk-8u131-linux-x64.gz -C /home/amidn/modules
(2)配置环境变量
vim /etc/profile

在文件最底部添加:

#JAVA_HOME
JAVA_HOME=/home/admin/modules/jdk1.8.0_121
export CLASSPATH=.:$JAVA_HOME/jre/lib/rt.jar:$JAVA_HOME/lib/dt.jar:$JAVA_HOME/lib/tools.jar
export PATH=$PATH:$JAVA_HOME/bin

保存后让配置生效:

source /etc/profile
(3)删除OpenJDK(CentOS 自带的JAVA环境)
查看相关的自带java文件:
rpm -qa | grep java

用无依赖的方式删除掉:

sudo rpm -e --nodeps (将查询到的文件复制到这里,一个一个的删掉)
(4)查看java版本
source /etc/profile

java -version

如果是你安装的版本,就完成啦
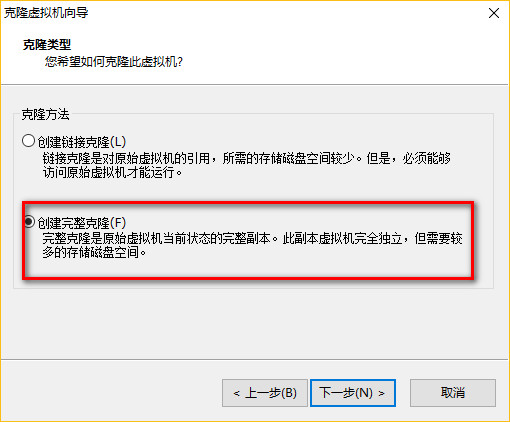
七、将linux01,克隆出linux02,linux03
(1)克隆
先关机

sudo shutdown -h now

(2)修改后两台机器的网络配置
** 主机名
	$ sudo vi /etc/sysconfig/network
** 网卡MAC地址
	$ sudo vi /etc/udev/rules.d/70-persistent-net.rules
** IP地址
	$ sudo vi /etc/sysconfig/network-scripts/ifcfg-eth0
(3)使用CRT连接3台机器,测试
八、 配置SSH无秘钥访问(如下操作,需要在3台机器中分别执行)
** 生成密钥,猛点回车
	$ ssh-keygen -t rsa

** 分发公钥
	$ ssh-copy-id linux01;  ssh-copy-id linux02; ssh-copy-id linux03;

** ssh访问测试
	ssh linux01
	ssh linux02
	ssh linux03
九、关闭后两台机器的界面(linux02,linux03)
CentOS6:
	$ sudo vi /etc/inittab
CentOS7:
	$ sudo systemctl set-default multi-user.target
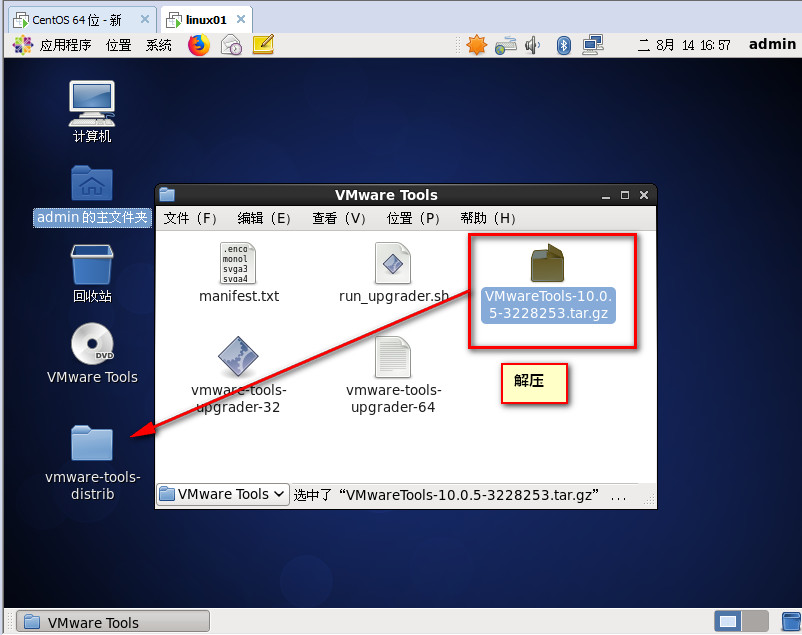
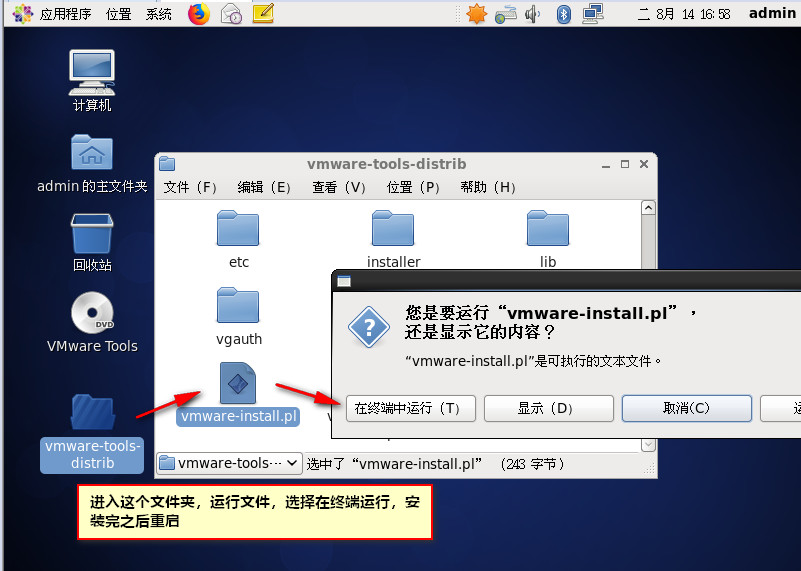
十、安装VMTool(只安装在linux01)

十一、配置时间服务器
(1) 检查时区
$ date -R
    ** 如果时区不是+0800东八区区时的话,需要手动纠正
	$ sudo rm -rf /etc/localtime
	$ sudo ln -s /usr/share/zoneinfo/Asia/Shanghai /etc/localtime
(2)检查软件包
如果ntp工具不存在,则需要使用yum安装
	$ sudo rpm -qa | grep ntp
如果不存在则安装:
	$ sudo yum -y install ntp
(3)先以网络时间为标准,纠正集群的时间服务器的时间
$ sudo ntpdate pool.ntp.org
(4)修改ntp配置文件
$ sudo vi /etc/ntp.conf

修改为如下:
	#允许192.168.1.x网段上的所有机器和当前这台机器进行实践同步
	restrict 192.168.1.0 mask 255.255.255.0 nomodify notrap

#当该节点丢失网络连接,依然可以作为时间服务器为集群其他节点提供时间同步服务
	server 127.127.1.0
	fudge 127.127.1.0 stratum 10

	# Use public servers from the pool.ntp.org project.
	# Please consider joining the pool (http://www.pool.ntp.org/join.html).
	#server 0.centos.pool.ntp.org iburst
	#server 1.centos.pool.ntp.org iburst
	#server 2.centos.pool.ntp.org iburst
	#server 3.centos.pool.ntp.org iburst
(5)重启ntp服务
CentOS6:
	$ sudo chkconfig ntpd on
	$ sudo service ntpd restart
CentOS7:
	$ sudo systemctl enable ntpd.service
	$ sudo systemctl restart ntpd.service
注意:出现报错为:the NTP socket is in use, exiting
解决办法:
service ntpd stop

ntpdate ntp.api.bz
(6)使用从节点,手动同步时间(linux02,linux03)
$ sudo ntpdate linux01
(7)设置时间同步任务(linux02,linux03)
# crontab -e 编辑时间任务
	(尖叫提示:上面的#号代表root用户,下边的#号代表shell注释)
# .------------------------------------------minute(0~59)
# | .----------------------------------------hours(0~23)
# | | .--------------------------------------day of month(1~31)
# | | | .------------------------------------month(1~12)
# | | | | .----------------------------------day of week(0~6)
# | | | | | .--------------------------------command
# | | | | | |
# | | | | | |
*/10 * * * * /usr/sbin/ntpdate linux01
(8)重启定时任务
CentOS6:
	# service crond restart
CentOS7:
	# systemctl restart crond.service
十二、备份配置好的集群、(必须养成定期备份的习惯)
先关机:
$ sudo shutdown -h now
按照时间新建文件夹,将已经安装完成的3台虚拟机,备份到该文件夹中。
