K8S安装knative
1.knative简介
github: https://github.com/knative
官网: https://knative.dev/docs/
2.安装
2.1 安装 knative serving
(1) 环境准备
https://www.cnblogs.com/xunweidezui/p/16547831.html
安装go1.19环境
mkdir -p /zc/go
wget https://dl.google.com/go/go1.19.5.linux-amd64.tar.gz
tar zxvf go1.19.5.linux-amd64.tar.gz -C /usr/local/

# vim /etc/profile   ###添加
export GOROOT=/usr/local/go      ##Golang安装目录
export PATH=$PATH:$GOROOT/bin
export GOPATH=/zc/go             ##Golang项目目录

source /etc/profile
安装jq
yum -y install jq
安装cosign
### 如果linux服务器能连
go install github.com/sigstore/cosign/cmd/cosign@latest

### 不能联网
# binary
wget "https://github.com/sigstore/cosign/releases/download/v1.6.0/cosign-linux-amd64"
mv cosign-linux-amd64 /usr/local/bin/cosign
chmod +x /usr/local/bin/cosign

# rpm
wget "https://github.com/sigstore/cosign/releases/download/v1.6.0/cosign-1.6.0.x86_64.rpm"
rpm -ivh cosign-1.6.0.x86_64.rpm

# dkpg
wget "https://github.com/sigstore/cosign/releases/download/v1.6.0/cosign_1.6.0_amd64.deb"
dpkg -i cosign_1.6.0_amd64.deb
(2) 从清单中提取镜像并验证签名
### yaml文件在外网,需要提前下载
curl -fsSLO https://github.com/knative/serving/releases/download/knative-v1.9.0/serving-core.yaml
cat serving-core.yaml | grep 'gcr.io/' | awk '{print $2}' > images.txt
input=images.txt
while IFS= read -r image
do
  COSIGN_EXPERIMENTAL=1 cosign verify -o text "$image" | jq
done < "$input"
(3) 安装
最好提前下载对应版本的镜像,这里是1.9.2
安装所需的自定义资源
kubectl apply -f https://github.com/knative/serving/releases/download/knative-v1.9.2/serving-crds.yaml
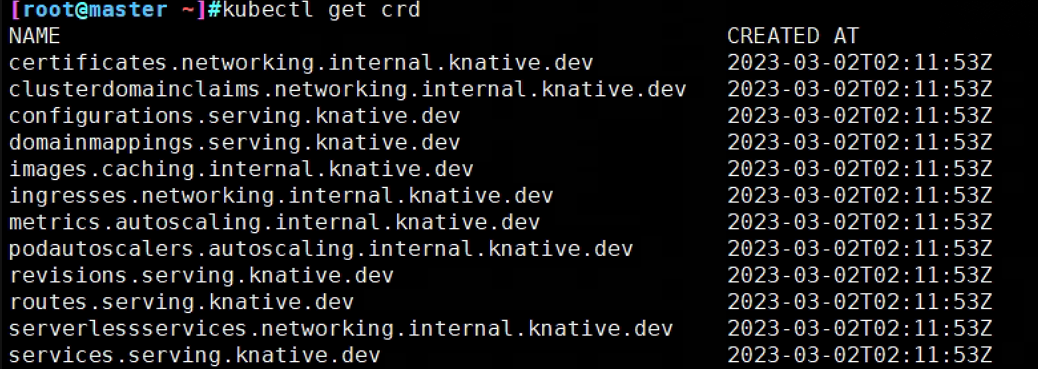
kubectl get crd
安装 Knative Serving 的核心组件
docker login --username=深渊浩劫 registry.cn-hangzhou.aliyuncs.com
ZC120604

docker pull registry.cn-hangzhou.aliyuncs.com/syhj/knative:activator1.9.2
docker pull registry.cn-hangzhou.aliyuncs.com/syhj/knative:autoscaler1.9.2
docker pull registry.cn-hangzhou.aliyuncs.com/syhj/knative:controller1.9.2
docker pull registry.cn-hangzhou.aliyuncs.com/syhj/knative:domain-mapping1.9.2
docker pull registry.cn-hangzhou.aliyuncs.com/syhj/knative:domainmapping-webhook1.9.2
docker pull registry.cn-hangzhou.aliyuncs.com/syhj/knative:webhook1.9.2

docker tag registry.cn-hangzhou.aliyuncs.com/syhj/knative:activator1.9.2 gcr.io/knative-releases/knative.dev/serving/cmd/activator:1.9.2
docker tag registry.cn-hangzhou.aliyuncs.com/syhj/knative:autoscaler1.9.2 gcr.io/knative-releases/knative.dev/serving/cmd/autoscaler:1.9.2
docker tag registry.cn-hangzhou.aliyuncs.com/syhj/knative:controller1.9.2 gcr.io/knative-releases/knative.dev/serving/cmd/controller:1.9.2
docker tag registry.cn-hangzhou.aliyuncs.com/syhj/knative:domain-mapping1.9.2 gcr.io/knative-releases/knative.dev/serving/cmd/domain-mapping:1.9.2
docker tag registry.cn-hangzhou.aliyuncs.com/syhj/knative:domainmapping-webhook1.9.2 gcr.io/knative-releases/knative.dev/serving/cmd/domain-mapping-webhook:1.9.2
docker tag registry.cn-hangzhou.aliyuncs.com/syhj/knative:webhook1.9.2 gcr.io/knative-releases/knative.dev/serving/cmd/webhook:1.9.2
sed -i 's/activator\@sha256\:f9ed20f316f33d529d72e9002b940bb6d2d8daa76361623787f4b87526196c9f/activator\:1.9.2/g' serving-core-1.9.2.yaml
sed -i 's/autoscaler\@sha256\:6699846e900830294e4ec4cc2c2b000a1c5fa5fe3e8846624ead01cdf0e4a8d3/autoscaler\:1.9.2/g' serving-core-1.9.2.yaml
sed -i 's/controller\@sha256\:8fc3dac5d9e9c788bd250d49f411e419d3655e427e15b6a0b73a03935132f738/controller\:1.9.2/g' serving-core-1.9.2.yaml
sed -i 's/domain-mapping\@sha256\:98ee56cb1815e90d9985616a664ce133679c790120c3b8a3e04a7488486727d1/domain-mapping\:1.9.2/g' serving-core-1.9.2.yaml
sed -i 's/domain-mapping-webhook\@sha256\:26cb5fdb9a5fe575919869331172e2b73de01084c043191748fbd45ba443abc2/domain-mapping-webhook\:1.9.2/g' serving-core-1.9.2.yaml
sed -i 's/webhook\@sha256\:67f619672751867e70f60321be906cec40a77d0d849cc2354fbc4415c01c3442/webhook\:1.9.2/g' serving-core-1.9.2.yaml
yaml 添加 nodeselector
## master给node打标签
kubectl label node 10.45.80.26 zcm-app=zcm-knative

## serving-core.yaml 的每一个Deployment字段都需要添加nodeselector
......
        app.kubernetes.io/version: "1.9.0"
    spec:
      serviceAccountName: controller
      nodeSelector:
        zcm-app: zcm-knative
      containers:
        - name: activator
......
kubectl apply -f https://github.com/knative/serving/releases/download/knative-v1.9.2/serving-core.yaml
注意:k8s版本最好在1.24及以上版本,不然容器运行可能有问题。
https://kubernetes.io/releases/version-skew-policy/
安装 Kourier 并启用其 Knative 集成
##同样,最好提前下载镜像
kubectl apply -f https://github.com/knative/net-kourier/releases/download/knative-v1.9.2/kourier.yaml
将 Knative Serving 配置为默认使用 Kourier
kubectl patch configmap/config-network \
  --namespace knative-serving \
  --type merge \
  --patch '{"data":{"ingress-class":"kourier.ingress.networking.knative.dev"}}'
获取外部 IP 地址或 CNAME
kubectl --namespace kourier-system get service kourier
安装完成网络插件后两个ns的pod逐渐running,但是速度很慢

(4) 配置DNS
You can configure DNS to prevent the need to run curl commands with a host header.
The following tabs expand to show instructions for configuring DNS. Follow the procedure for the DNS of your choice:
Knative 提供了一个名为 Kubernetes Job 的 Job default-domain,它将 Knative Serving 配置为使用sslip.io作为默认 DNS 后缀。
kubectl apply -f https://github.com/knative/serving/releases/download/knative-v1.9.2/serving-default-domain.yaml
hub-nj.iwhalecloud.com/knative/default-domain:1.9.2

这仅在集群服务公开 IPv4 地址或主机名时才有效,因此除非 正在运行LoadBalancer,否则它将不适用于 IPv6 集群或 minikube 等本地设置
(5) 安装knative的CLI
从 1.9 开始的Knative knCLI 版本使用cosign签名。可以使用以下步骤来验证 CLI 二进制文件:
通过运行以下命令,从发布页面下载所需文件以及checksums.txt、checksum.txt.pem和文件:checksums.txt.sig
wget https://github.com/knative/client/releases/download/knative-v1.9.2/checksums.txt
wget https://github.com/knative/client/releases/download/knative-v1.9.2/kn-darwin-amd64
wget https://github.com/knative/client/releases/download/knative-v1.9.2/checksums.txt.sig
wget https://github.com/knative/client/releases/download/knative-v1.9.2/checksums.txt.pem
通过运行以下命令验证签名
COSIGN_EXPERIMENTAL=1 cosign verify-blob \
--cert checksums.txt.pem \
--signature checksums.txt.sig \
checksums.txt
如果签名有效,可以SHA256通过运行以下命令来验证总和是否与下载的二进制文件匹配
sha256sum --ignore-missing -c checksums.txt
安装 Knative CLI
2.2 安装 knative eventing
https://blog.csdn.net/sone_yoonyul/article/details/124469856
Knative 安装说明
Knative 简介
通过阿里云镜像服务来拉取国外镜像

