gitlab安装
根据官方文档安装:https://www.gitlab.com.cn/installation/#centos-6
centos6:
1、没有安装lokkit,yum search lokkit后安装lokkit
sudo yum install -y curl policycoreutils-python openssh-server cronie
sudo lokkit -s http -s ssh
2、安装邮件客户端软件postfix
sudo yum install postfix
sudo service postfix start
sudo chkconfig postfix on
3、设置yum的仓库
curl https://packages.gitlab.com/install/repositories/gitlab/gitlab-ee/script.rpm.sh | sudo bash
4、真正开始安装gitlab
sudo EXTERNAL_URL="http://gitlab.example.com" yum -y install gitlab-ee
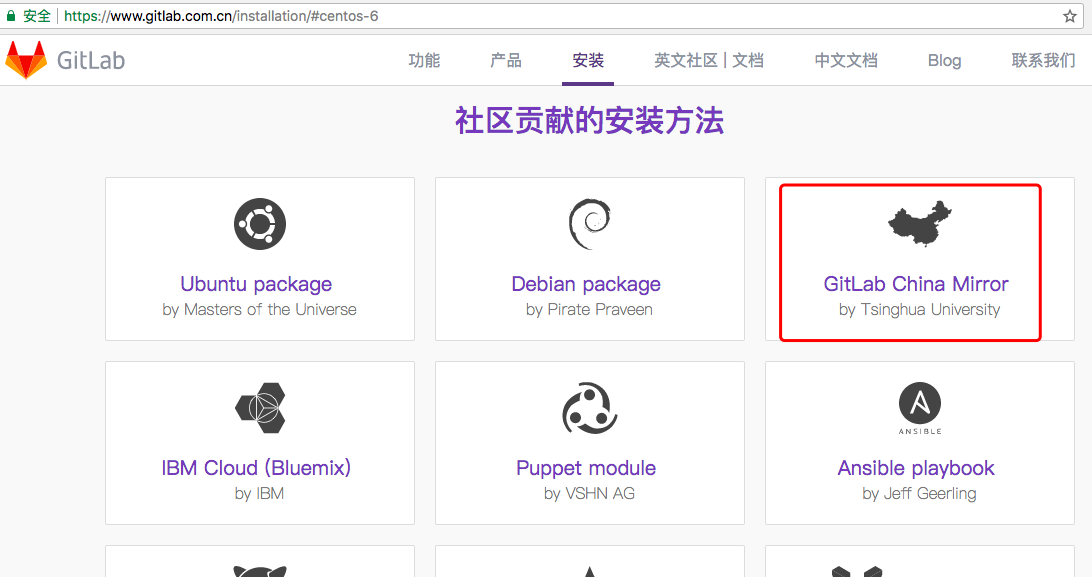
5、由于网络原因,我这完成了上面的1、2步,然后使用gitlba清华镜像安装

https://mirror.tuna.tsinghua.edu.cn/help/gitlab-ce/

6、然后参考https://yq.aliyun.com/articles/74395进行配置启动
sudo vim /etc/gitlab/gitlab.rb # 修改默认的配置文件;external_url 'http://10.7.9.21'这条配置是web访问的url
sudo gitlab-ctl reconfigure # 然后启动服务;会安装一段时间其他操作
sudo gitlab-ctl start # 启动所有 gitlab 组件;
sudo gitlab-ctl stop # 停止所有 gitlab 组件;
sudo gitlab-ctl restart # 重启所有 gitlab 组件;
sudo gitlab-ctl status # 查看服务状态;
gitlab-rake gitlab:check SANITIZE=true --trace # 检查gitlab;
sudo gitlab-ctl tail # 查看日志;7、浏览器访问 external_url,首次登录就会让你修改默认帐号root的密码
8、剩下的就是和github一样进行操作即可
参考:
1、https://yq.aliyun.com/articles/74395
2、https://mirror.tuna.tsinghua.edu.cn/help/gitlab-ce/
3、https://www.gitlab.com.cn/installation/#centos-6


