ElasticSearch5.5.2:Windows下ElasticSearch安装配置
环境
1、Windows10企业版X64
2、JDK-1.8
3、ElasticSearch-5.5.2
4、elasticsearch-head插件
5、node-v6.11.2-x64.msi
1、下载软件
首先默认机器已经安装了java环境,JDK-1.8等。
1.1 、下载ElasticSearch
从官方下载中心 ElasticSearch Download 下载ElasticSearch安装包,ES的最新版本是5.5.2

开启ElasticSearch 服务
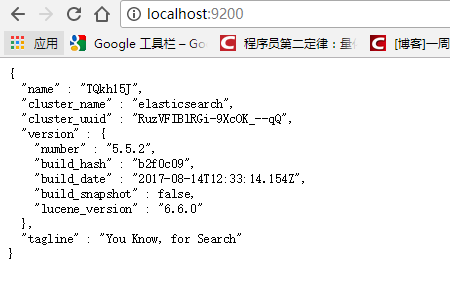
将zip文件解压到elasticsearch-5.5.2,进入 D:\work\ElasticSearch\elasticsearch-5.5.2\bin 目录,双击执行 elasticsearch.bat,该脚本文件执行 ElasticSearch 安装程序,稍等片刻,打开浏览器,输入 http://localhost:9200 ,
显式以下画面,说明ES安装成功。
1.2、下载下载elasticsearch-head
下载路径:https://github.com/mobz/elasticsearch-head

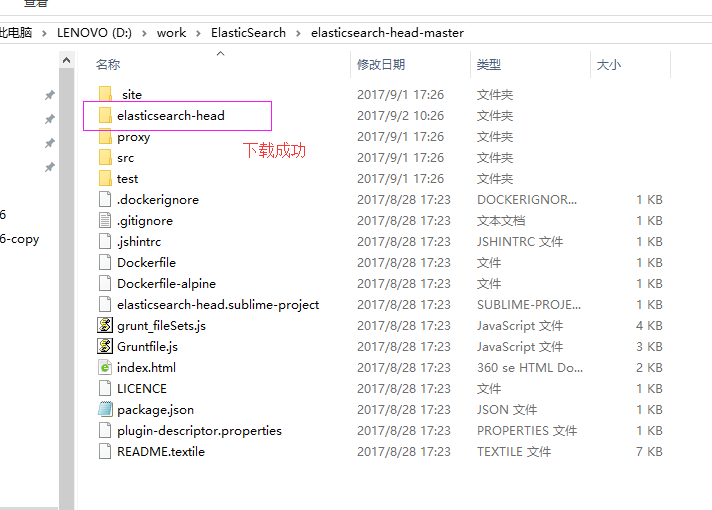
下载解压后,转到elasticsearch-head解压路径D:\work\ElasticSearch\elasticsearch-head-master,打开命令框,把把head插件的源码git clone下来:git clone git://github.com/mobz/elasticsearch-head.git

1.3、Node.js下载安装

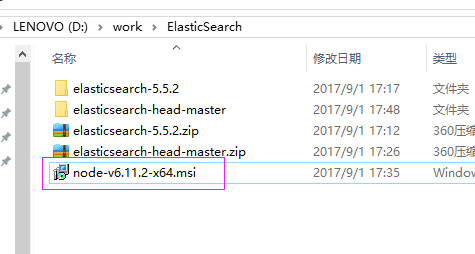
安装后,检查是否安装成功

安装成功
2、安装grunt
grunt是一个很方便的构建工具,可以进行打包压缩、测试、执行等等的工作,5.0里的head插件就是通过grunt启动的。因此需要安装grunt:
注意:路径切到nodejs安装路径下。
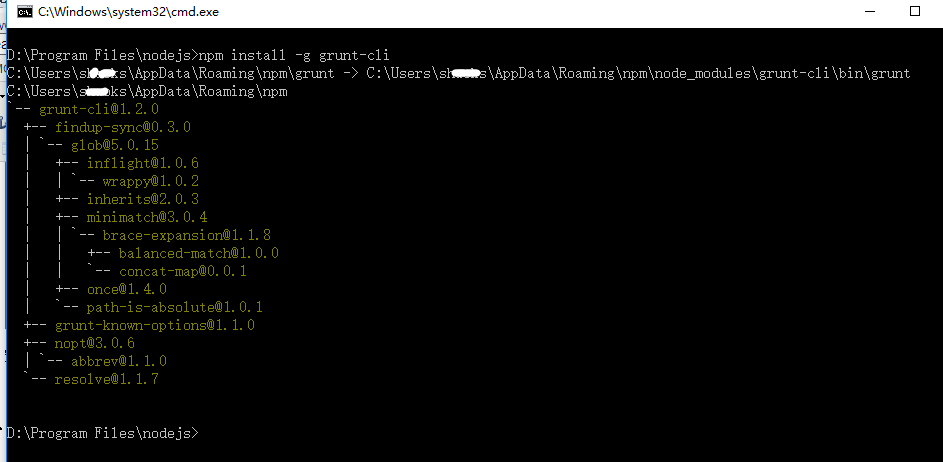
打开命令框,输入:npm install -g grunt-cli
-g代表全局安装。安装路径为C:\Users\xxx\AppData\Roaming\npm,并且自动加入PATH变量。安装完成后检查一下:
3、修改head源码
目录:elasticsearch-head/Gruntfile.js:


增加hostname属性,设置为*
4、修改连接地址
目录:elasticsearch-head\_site/app.js
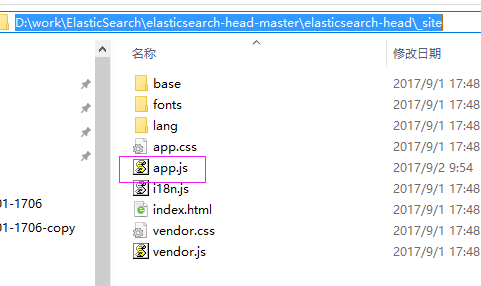
修改head的连接地址:
this.base_uri = this.config.base_uri || this.prefs.get("app-base_uri") || "http://localhost:9200";
把localhost修改成你es的服务器地址,如:
this.base_uri = this.config.base_uri || this.prefs.get("app-base_uri") || "http://10.10.10.10:9200";
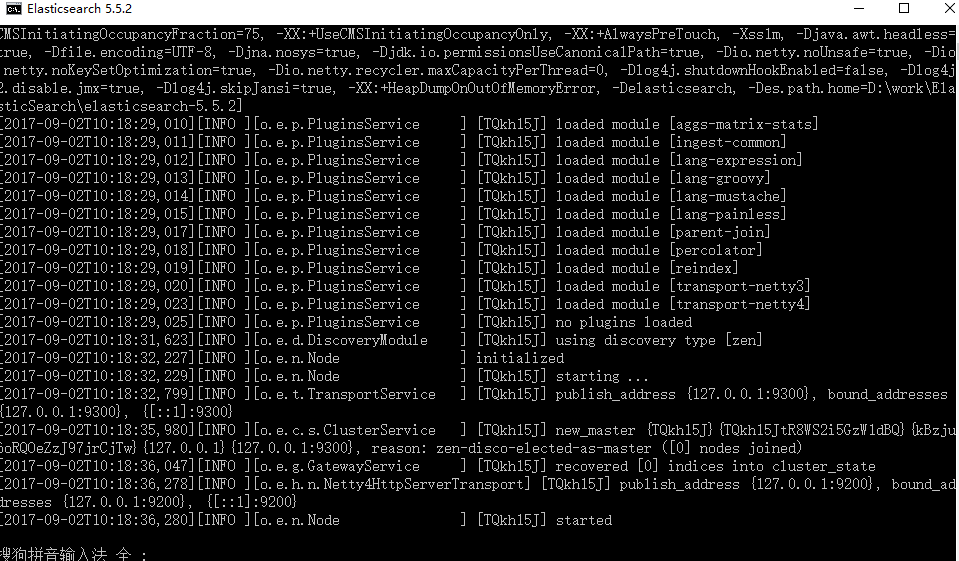
5、启动elasticsearch.bat
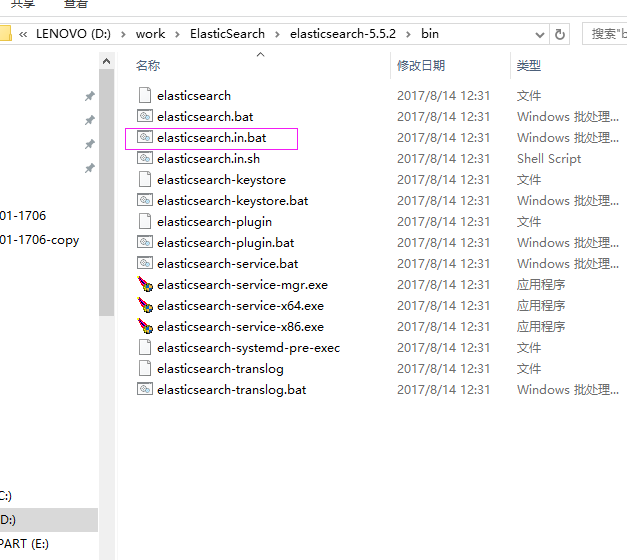
效果图如下:
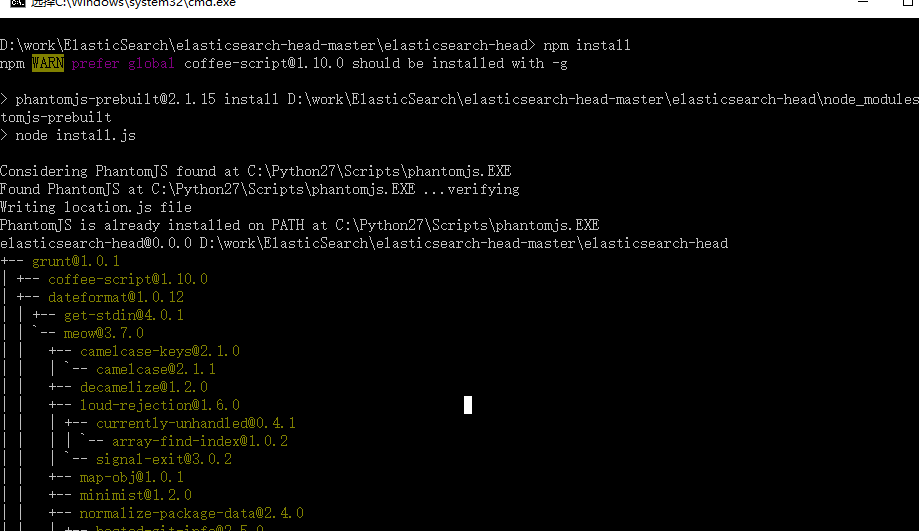
6、执行npm install 下载的包
在elasticsearch-head目录中,执行:npm install ,记住输入命令后然后回车

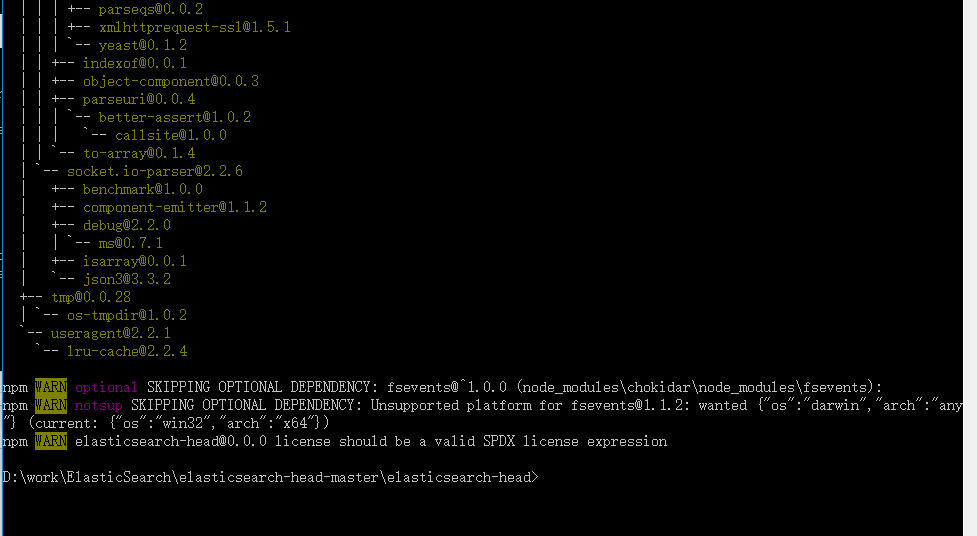
7、最后,在head源代码目录下启动nodejs:
grunt server

8、访问:target:9100
这个时候,访问http://localhost:9100就可以访问head插件了:

集群未连接:解决方案
修改elasticsearch.yml文件
# 增加如下字段
http.cors.enabled: true http.cors.allow-origin: "*"保存后重启启动elasticsearch.bat和head,然后访问在浏览器访问http://localhost:9100/,集群还是未连接
重新修改elasticsearch.yml文件,打开如下,里面所有配置都是注释,把必要的配置取消注释,并修改成自己实际的参数
# ======================== Elasticsearch Configuration =========================
#
# NOTE: Elasticsearch comes with reasonable defaults for most settings.
#       Before you set out to tweak and tune the configuration, make sure you
#       understand what are you trying to accomplish and the consequences.
#
# The primary way of configuring a node is via this file. This template lists
# the most important settings you may want to configure for a production cluster.
#
# Please consult the documentation for further information on configuration options:
# https://www.elastic.co/guide/en/elasticsearch/reference/index.html
#
# ---------------------------------- Cluster -----------------------------------
#
# Use a descriptive name for your cluster:
#
#换个集群的名字,免得跟别人的集群混在一起
cluster.name: ictr_ElasticSearch
#
# ------------------------------------ Node ------------------------------------
#
# Use a descriptive name for the node:
#
#换个节点名字
node.name: ictr_node1
node.master: true
#
# Add custom attributes to the node:
#
#node.attr.rack: r1
node.attr.rack: r1
#
# ----------------------------------- Paths ------------------------------------
#
# Path to directory where to store the data (separate multiple locations by comma):
#
#path.data: /path/to/data
path.data: /data/elasticsearch
#
# Path to log files:
#
#path.logs: /path/to/logs
#
# ----------------------------------- Memory -----------------------------------
#
# Lock the memory on startup:
#
#bootstrap.memory_lock: true
#
# Make sure that the heap size is set to about half the memory available
# on the system and that the owner of the process is allowed to use this
# limit.
#
# Elasticsearch performs poorly when the system is swapping the memory.
#
# ---------------------------------- Network -----------------------------------
#
# Set the bind address to a specific IP (IPv4 or IPv6):
#
#修改一下ES的监听地址,这样别的机器也可以访问
network.host: 127.0.0.1
#
# Set a custom port for HTTP:
#
#默认的就好
http.port: 9200
#
# For more information, consult the network module documentation.
#
# --------------------------------- Discovery ----------------------------------
#
# Pass an initial list of hosts to perform discovery when new node is started:
# The default list of hosts is ["127.0.0.1", "[::1]"]
#

discovery.zen.ping.unicast.hosts: ["127.0.0.1", "[::1]"]
#
# Prevent the "split brain" by configuring the majority of nodes (total number of master-eligible nodes / 2 + 1):
#
#discovery.zen.minimum_master_nodes: 3
#
# For more information, consult the zen discovery module documentation.
#
# ---------------------------------- Gateway -----------------------------------
#
# Block initial recovery after a full cluster restart until N nodes are started:
#
#gateway.recover_after_nodes: 3
#
# For more information, consult the gateway module documentation.
#
# ---------------------------------- Various -----------------------------------
#
# Require explicit names when deleting indices:
#
#action.destructive_requires_name: true


http.cors.enabled: true
http.cors.allow-origin: "*"

action.auto_create_index: .security,.monitoring*,.watches,.triggered_watches,.watcher-history*
xpack.security.enabled: false
xpack.monitoring.enabled: true
xpack.graph.enabled: false
xpack.watcher.enabled: false
xpack.ml.enabled: false

#xpack.security.audit.enabled: true
#http.cors.allow-headers: Authorization
#action.auto_create_index: .security,.monitoring*,.watches,.triggered_watches,.watcher-history*,.ml*
#action.auto_create_index: *
#vm.max_map_count=262144
保存后重启启动elasticsearch.bat和head,然后访问在浏览器访问http://localhost:9100/ 集群连接成功

    * RED(红): 代表具体的分片还没有在集群中分配好;

    * YELLOW(黄): 代表主分片已经分配好,但是副本尚未分配;

    * GREEN(绿):表示所有的分片都已分配好,群集正常运行;
如果在局域网中无法访问,需要修改 elasticsearch.yml配置文件,
增加“network.host: 0.0.0.0”。
9、将ElasticSearch 安装成Windows服务(Service)
转到ElasticSearch的bin目录打开命令框,输入:elasticsearch-service.bat install

打开服务界面:
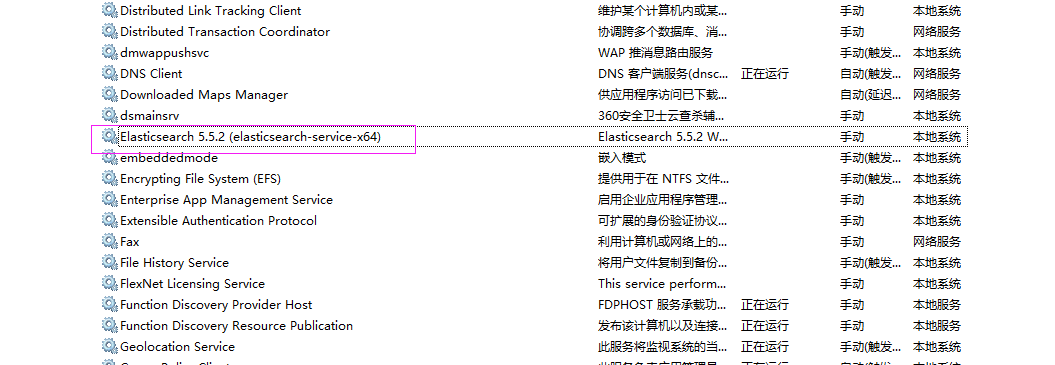
启动服务,失败,查看目录下D:\work\ElasticSearch\elasticsearch-5.5.2\logs日志
错误信息如下:
[2017-09-02 13:52:13] [error] [14192] Failed creating java %JAVA_HOME%\jre\bin\server\jvm.dll
[2017-09-02 13:52:13] [error] [14192] 系统找不到指定的路径。
解决办法:
修改环境变量,把 JAVA_HOME 的环境变量由用户变量的位置移动到系统变量里面

重启elasticsearch-service服务,启动成功


