Linux 学习(十七)
1、使用ansible的playbook实现自动化安装httpd
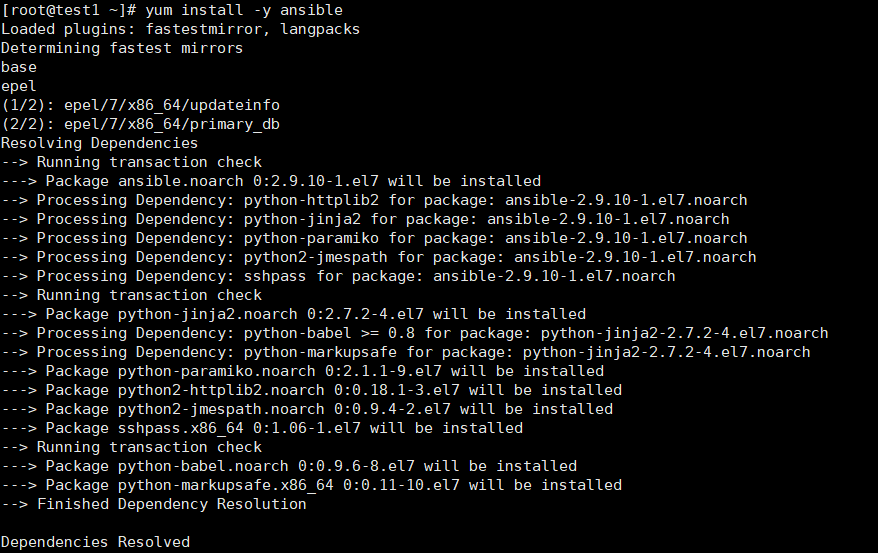
(1) 安装Ansible
yum install -y ansible
(2) 主机列表
vim /etc/ansible/hosts
[webservers]
192.168.5.12
192.168.5.13
(3) 配置ssh验证链接
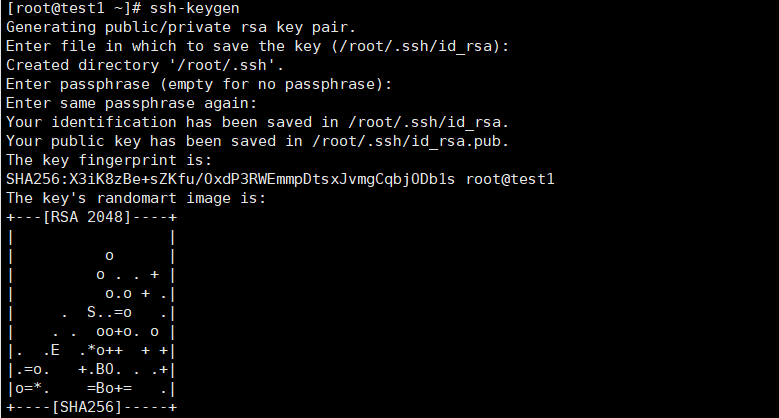
ssh-keygen
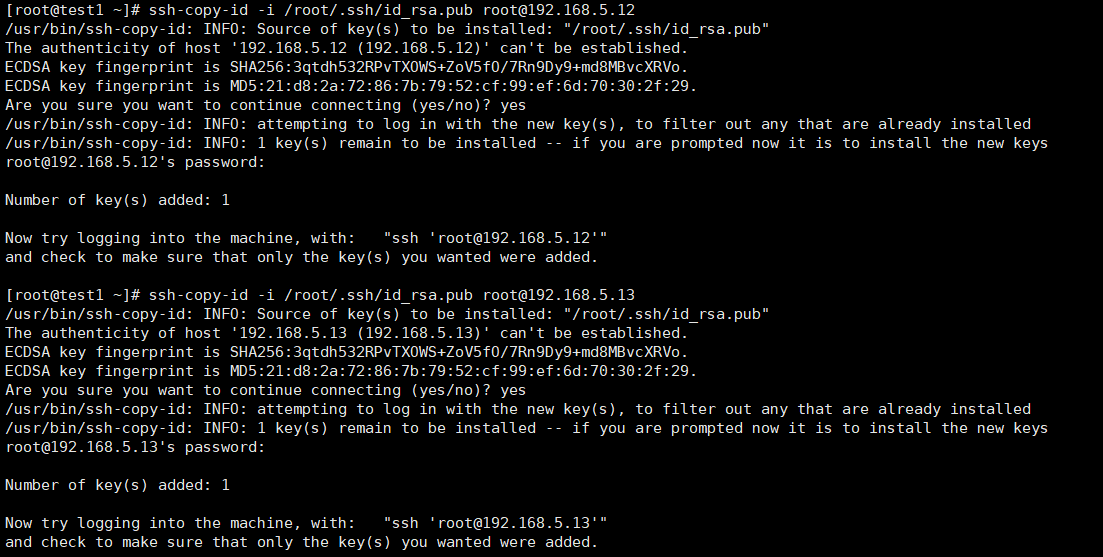
ssh-copy-id -i /root/.ssh/id_rsa.pub root@192.168.5.12
ssh-copy-id -i /root/.ssh/id_rsa.pub root@192.168.5.13
(4) 建立playbook文件
mkdir  /data/playbook
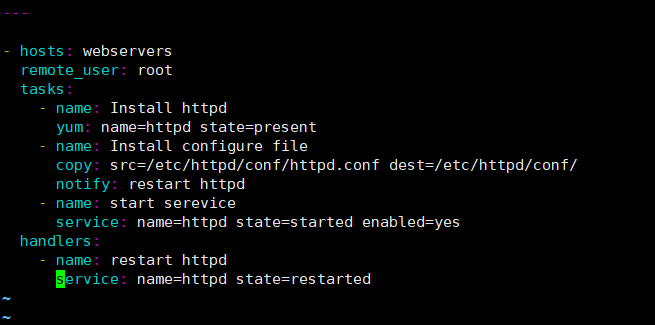
vim httpd.yml

---

- hosts: webservers
  remote_user: root
  tasks:
    - name: Install httpd
      yum: name=httpd state=present
    - name: Install configure file
      copy: src=/etc/httpd/conf/httpd.conf dest=/etc/httpd/conf/
      notify: restart httpd
    - name: start serevice
      service: name=httpd state=started enabled=yes
  handlers:
    - name: restart httpd
      service: name=httpd state=restarted
(5) 使用playbook文件进行httpd服务的安装并测试
ansible-playbook httpd.yml -C
ansible-playbook httpd.yml
ss -ntl


2、建立httpd服务器,要求提供两个基于名称的虚拟主机:
(1)www.X.com,页面文件目录为/web/vhosts/x;错误日志为/var/log/httpd/x.err,访问日志为/var/log/httpd/x.access
(2)www.Y.com,页面文件目录为/web/vhosts/y;错误日志为 /var/log/httpd/www2.err,访问日志为/var/log/httpd/y.access
(3)为两个虚拟主机建立各自的主页文件index.html,内容分别为其对应的主机名
(1) 建立主页目录
mkdir /web/vhosts/{x,y} -p

(2) 配置主页文件
echo www.X.com > /web/vhosts/x/index.html
echo www.Y.com > /web/vhosts/y/index.html

(3) 建立虚拟主机文件
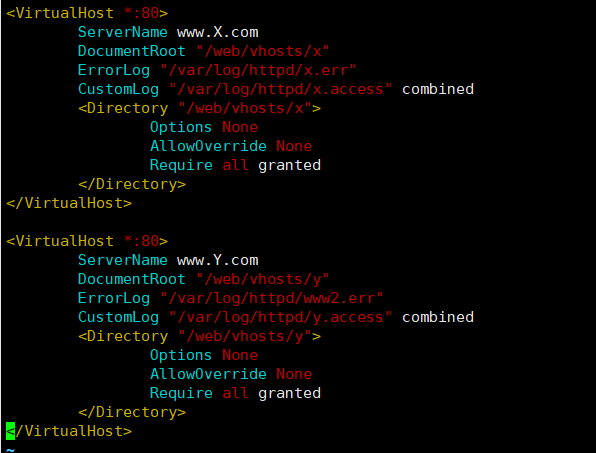
vim /etc/httpd/conf.d/vhosts.conf

<VirtualHost *:80>
        ServerName www.X.com
        DocumentRoot "/web/vhosts/x"
        ErrorLog "/var/log/httpd/x.err"
        CustomLog "/var/log/httpd/x.access" combined
        <Directory "/web/vhosts/x">
                Options None
                AllowOverride None
                Require all granted
        </Directory>
</VirtualHost>

<VirtualHost *:80>
        ServerName www.Y.com
        DocumentRoot "/web/vhosts/y"
        ErrorLog "/var/log/httpd/www2.err"
        CustomLog "/var/log/httpd/y.access" combined
        <Directory "/web/vhosts/y">
                Options None
                AllowOverride None
                Require all granted
        </Directory>
</VirtualHost>

(4) 修改对应的域名
echo "192.168.5.11 www.X.com www.Y.com" >> /etc/hosts

(5) 重启并验证
systemctl start httpd
ss -ntl

(6) 访问结果
curl www.X.com
curl www.Y.com

(7) 查看日志
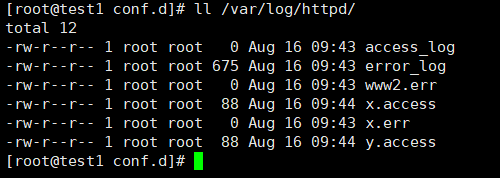
ll /var/log/http/
