【代码】Processing笔触手写板笔刷代码合集(包含流速、毛笔笔触、压感笔触等多种)
代码来源于openprocessing,考虑到国内不是很好访问,我把我找到的比较好的搬运过来!
@
合集1
参考:https://openprocessing.org/sketch/793375
https://github.com/SourceOf0-HTML/processing-p5.js/tree/master
这个可以体验6种笔触,作者介绍如下:
There are multiple pages. Use the "←" "→" buttons below to switch.
The second page explains the UI.
I will explain the sketches I made in the past.
Some variable names have been changed. I wanted to explain in order, so I divided the processing in detail. The UI has been added so the code is getting longer ...
Video of this sketch in action (Twitter)
https://twitter.com/BUN_information/status/1195300719231791104
Gorilla Sun has written an explanation of each part with animations on his blog. Thank you!
https://gorillasun.de/blog/Simulating-brush-strokes-with-Hookes-Law-in-P5JS-and-Processing
其中三种种笔触的代码如下:
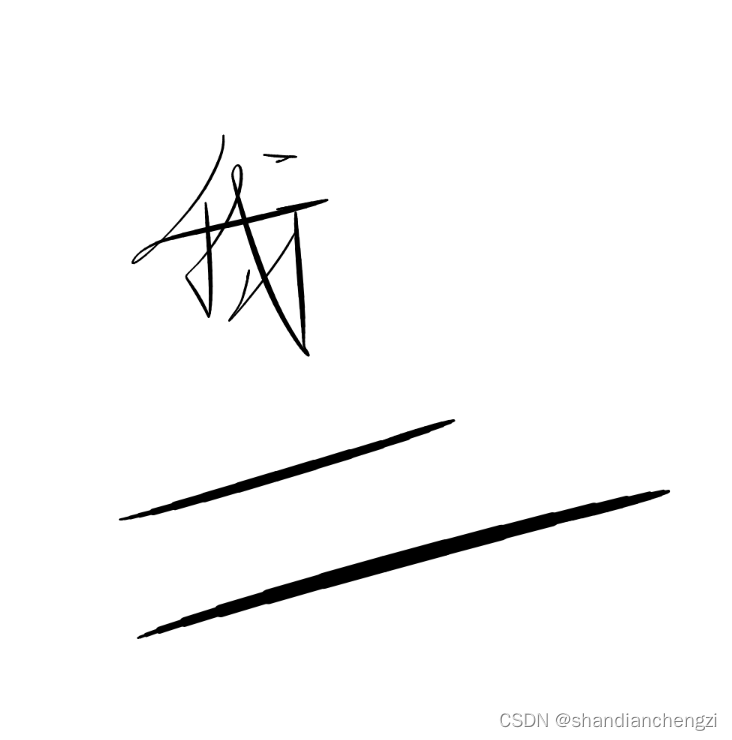
笔触4(流速笔触,速写)
特点:越快越粗,很适合画速写。
代码
/*
setup=()=>{m=n=x=y=u=v=0,s=0.08,f=0.8;createCanvas(L=500,L);background(C=255)}
draw=()=>{u+=(m-x)*s,v+=(n-y)*s,u*=f,v*=f,a=x,b=y;strokeWeight(abs(u+v)/3+1);line(x+=u,y+=v,a,b)}
mousePressed=()=>{x=m=mouseX,y=n=mouseY}
mouseDragged=()=>{m=mouseX,n=mouseY}
/**/

function setup() {
  mX = mY = x = y = ax = ay = 0;
  spring = 0.08;
  friction = 0.8;
  createCanvas( 500, 500 );
  background( 255 );
}

function draw() {
  ax += ( mX - x ) * spring;
  ay += ( mY - y ) * spring;
  ax *= friction;
  ay *= friction;

  oldX = x;
  oldY = y;
  x += ax;
  y += ay;
  strokeWeight( abs( ax + ay ) / 3 + 1 );
  line( x, y, oldX, oldY );
}

function mousePressed() {
  mX = x = mouseX;
  mY = y = mouseY;
}

function mouseDragged() {
  mX = mouseX;
  mY = mouseY;
}
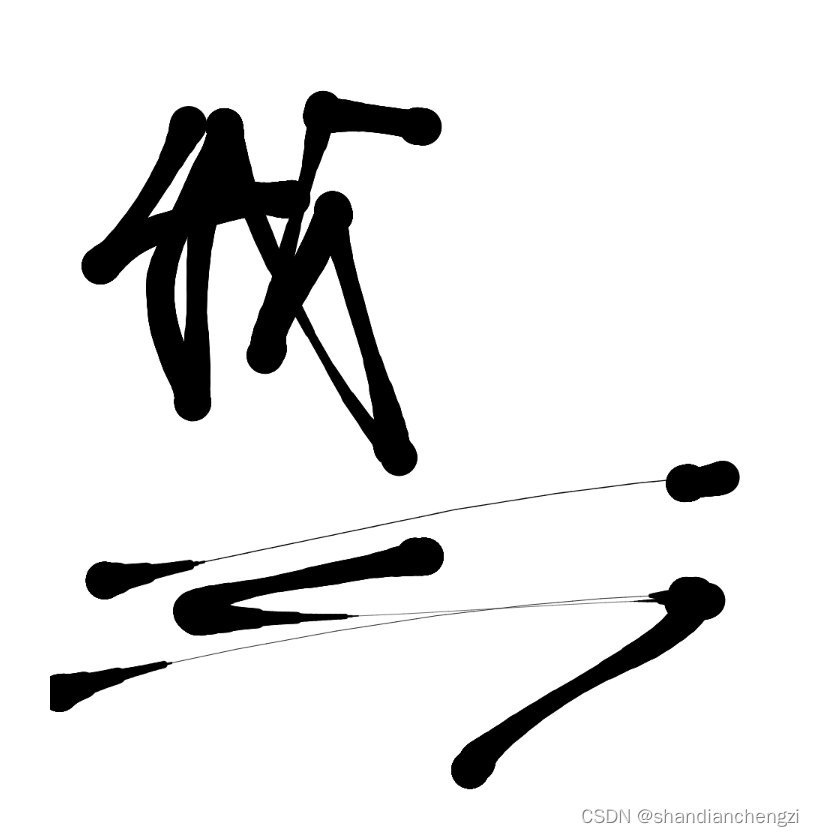
笔触5(流速笔触,晕染)
特点:越慢越粗,墨水有晕染感,适合写字。
/*
setup=_=>createCanvas(S=500,S),D=10,m=n=x=y=u=v=r=f=0
draw=_=>{R=r;if(mouseIsPressed){m=mouseX;n=mouseY;!f?(f=1,x=m,y=n):0;u+=(m-x)/2;v+=(n-y)/2;u/=2;v/=2;r=25-sqrt(u*u+v*v)*.7;i=D;while(--i)strokeWeight(R+=(r-R)/D),line(x,y,x+=u/D,y+=v/D)}else if(f){u=v=f=0}}
/**/

function setup() {
  createCanvas(S=500,S);
  distance = 10;
  spring = 0.5;
  friction = 0.5;
  mX = mY = x = y = ax = ay = r = f = 0;
}

function draw() {
  oldR = r;
  if(mouseIsPressed) {
    mX = mouseX;
    mY = mouseY;
    if(!f) {
      f = 1;
      x = mX;
      y = mY;
    }
    ax += ( mX - x ) * spring;
    ay += ( mY - y ) * spring;
    ax *= friction;
    ay *= friction;
    r = 25 - sqrt( ax*ax + ay*ay ) * 0.7;

    for( i = 0; i < distance; ++i ) {
      oldX = x;
      oldY = y;
      x += ax / distance;
      y += ay / distance;
      oldR += ( r - oldR ) / distance;
      strokeWeight( oldR );
      line( x, y, oldX, oldY );
    }
  } else if(f) {
    ax = ay = f = 0;
  }
}
/**/
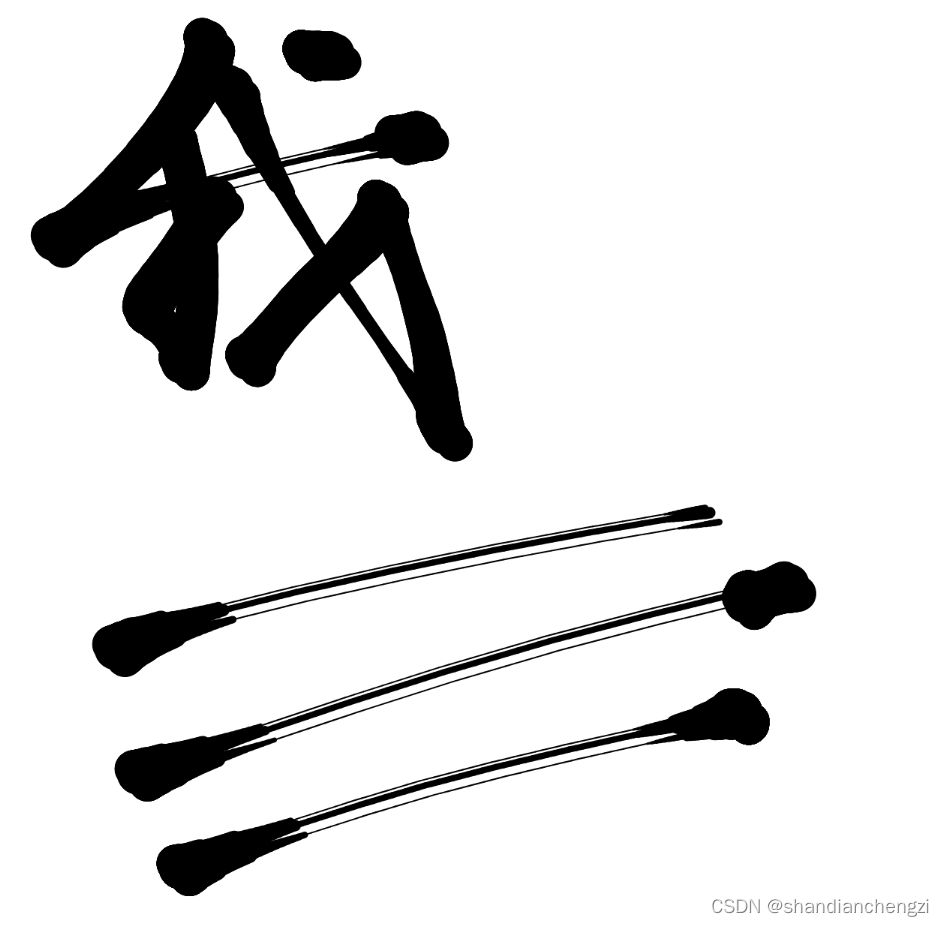
笔触6(流速笔触,毛笔)
特点:越慢越粗,有墨水晕染,线条有割裂,适合写毛笔字。
/**
 * Added on October 22, 2020
 *
 * Hi, I'm BUN.
 * I've been surprised at how many people have forked over this sketch, more than I expected. Thanks.
 *
 * Here is a sketch that explains this code with multiple codes.
 * Please use it as a reference.
 * https://www.openprocessing.org/sketch/793375
 *
 * Brief explanation.
 * This code primarily uses "Hook's Law".
 * In other words, it simulates the motion of a spring.
 *
 * From the mouse position, the position to be drawn is moved like a spring.
 * And the width of the line is changed according to the speed of the movement.
 *
 ** Added on May 8, 2021 **
 * Gorilla Sun has written an explanation of each part with animations on his blog. Thank you!
 * https://gorillasun.de/blog/Simulating-brush-strokes-with-Hooke's-Law-in-P5JS-and-Processing
 **/
function setup() {
  createCanvas(windowWidth,windowHeight);
  distance = 10;
  spring = 0.5;
  friction = 0.5;
  size = 25;
  diff = size/8;
  x = y = ax = ay = a = r = f = 0;
}

function draw() {
  oldR = r;
  if(mouseIsPressed) {
    mX = mouseX;
    mY = mouseY;
    if(!f) {
      f = 1;
      x = mX;
      y = mY;
    }
    ax += ( mX - x ) * spring;
    ay += ( mY - y ) * spring;
    ax *= friction;
    ay *= friction;
    a += sqrt( ax*ax + ay*ay ) - a;
    a *= 0.6;
    r = size - a;

    for( i = 0; i < distance; ++i ) {
      oldX = x;
      oldY = y;
      x += ax / distance;
      y += ay / distance;
      oldR += ( r - oldR ) / distance;
      if(oldR < 1) oldR = 1;
      strokeWeight( oldR+diff );
      line( x, y, oldX, oldY );
      strokeWeight( oldR );
      line( x+diff*2, y+diff*2, oldX+diff*2, oldY+diff*2 );
      line( x-diff, y-diff, oldX-diff, oldY-diff );
    }
  } else if(f) {
    ax = ay = f = 0;
  }
}
/**/
合集2
压感笔触,这个我暂时也没找到合集也没找到太多现成的就只找到一个,剩下的我打算自己写一下。
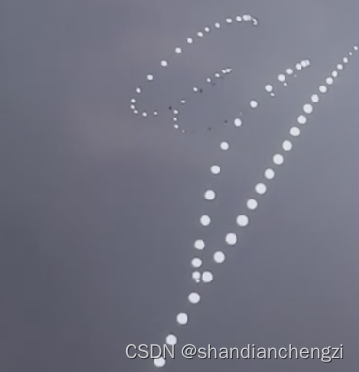
笔触1(平板压感笔触,不连续圆点)
特点: 有压感,支持平板手写笔,可惜是不连续的圆点。
size(600,600);
var p=0;
this.addEventListener('pointermove', function(ev) {
	p=(ev.pressure);
 }, false);
background(55);
draw = function(){
ellipse(mouseX,mouseY,20*p,20*p);
};
笔触2(平板压感笔触,连续)【自制】
基于前面的笔触自己合的。
var p=0;
this.addEventListener('pointermove', function(ev) {
	p=(ev.pressure);
 }, false);

function setup() {
  createCanvas(S=500,S);
  distance = 10;
  spring = 0.5;
  friction = 0.5;
  mX = mY = x = y = ax = ay = r = f = 0;
}

function draw() {
  if(mouseIsPressed) {
    mX = mouseX;
    mY = mouseY;
    if(!f) {
      f = 1;
      x = mX;
      y = mY;
    }
    ax += ( mX - x ) * spring;
    ay += ( mY - y ) * spring;
    ax *= friction;
    ay *= friction;

    for( i = 0; i < distance; ++i ) {
      oldX = x;
      oldY = y;
      x += ax / distance;
      y += ay / distance;
      strokeWeight( p*20 );
      line( x, y, oldX, oldY );
    }
  } else if(f) {
    ax = ay = f = 0;
  }
}
笔触3(平板压感笔触,连续,修复上一个的压感不连续的毛病)【自制】
已经公开发布,欢迎测试:https://openprocessing.org/sketch/2249898
var p=0;
// this.addEventListener('pointermove', function(ev) {
// 	p=(ev.pressure);
//  }, false);

function setup() {
  createCanvas(S=500,S);
  distance = 10;
  spring = 0.5;
  friction = 0.5;
	size = 150;
	pressure = 0;
  mX = mY = x = y = ax = ay = r = f = 0;
}

function draw() {
	oldX = x;
	oldY = y;
  if(mouseIsPressed) {
		oldR = r;
		// get pressure 取第一个touches的压力值
		for (i = 0; i < touches.length; i++) {
			pressure = touches[i].pressure;
			break;
		}
		r = size * pressure; // 使用压力值来调整圆点大小
    if (r < 1) r = 1; // 确保圆点有最小大小
    mX = mouseX;
    mY = mouseY;
    if(!f) {
      f = 1;
      x = mX;
      y = mY;
    }
    ax += ( mX - x ) * spring;
    ay += ( mY - y ) * spring;
    ax *= friction;
    ay *= friction;

    for( i = 0; i < distance; ++i ) {
      oldX = x;
      oldY = y;
      x += ax / distance;
      y += ay / distance;
			// 平滑过度压力值
      oldR += ( r - oldR ) / distance;
      strokeWeight( oldR ); // 设置基于压力的笔触宽度
      // 画一个基于压力大小的线
			line( x, y, oldX, oldY );
    }
  } else if(f) {
    ax = ay = f = 0;
  }
}


【推荐】国内首个AI IDE,深度理解中文开发场景,立即下载体验Trae
【推荐】编程新体验,更懂你的AI,立即体验豆包MarsCode编程助手
【推荐】抖音旗下AI助手豆包,你的智能百科全书,全免费不限次数
【推荐】轻量又高性能的 SSH 工具 IShell:AI 加持,快人一步
· Manus重磅发布:全球首款通用AI代理技术深度解析与实战指南
· 被坑几百块钱后,我竟然真的恢复了删除的微信聊天记录!
· 没有Manus邀请码?试试免邀请码的MGX或者开源的OpenManus吧
· 园子的第一款AI主题卫衣上架——"HELLO! HOW CAN I ASSIST YOU TODAY
· 【自荐】一款简洁、开源的在线白板工具 Drawnix