
UI基础 - UITabBarController
■ 简言
1. 标签控制器管理一个选择展示界面,可以控制多个 controller,与导航栏控制器不同的是,它所管理的 controller 不存在层级关系!它分三层结构

注:UITabBar 包含多个 UITabBarItem,每个 item 对应一个 viewController,默认高度是 49
■ 使用方式
1. 下面代码中详细介绍了如何使用 UITabBarController;因第 2、3、4、5 视图控制器中并无实质内容,已忽略
// - AppDelegate.m:指定 UITabBarController 作为根视图
1 #import "AppDelegate.h"
2 #import "TabBarController.h"

 1 - (BOOL)application:(UIApplication *)application didFinishLaunchingWithOptions:(NSDictionary *)launchOptions {
 2
 3     self.window = [[UIWindow alloc] initWithFrame:[[UIScreen mainScreen] bounds]];
 4     self.window.backgroundColor = [UIColor whiteColor];
 5     [self.window makeKeyAndVisible];
 6
 7     TabBarController *tbVC = [[TabBarController alloc] init];
 8     self.window.rootViewController = tbVC;
 9     return YES;
10 }
// - TabBarController.m
  1 #import "TabBarController.h"
  2 #include "FirstViewController.h"
  3 #include "SecondViewController.h"
  4 #include "ThirdViewController.h"
  5 #include "FourthViewController.h"
  6 #include "FifthViewController.h"
  7 #include "SixthViewController.h"
  8 @interface TabBarController()<UITabBarControllerDelegate> // 代理
  9 @property (nonatomic,strong) UINavigationController *navi1;
 10 @property (nonatomic,strong) UINavigationController *navi2;
 11 @property (nonatomic,strong) UINavigationController *navi3;
 12 @property (nonatomic,strong) UINavigationController *navi4;
 13 @property (nonatomic,strong) UINavigationController *navi5;
 14 @property (nonatomic,strong) UINavigationController *navi6;
 15
 16 @end
 17
 18 @implementation TabBarController
 19
 20 - (void)viewDidLoad {
 21     [super viewDidLoad];
 22
 23     self.tabBar.tintColor = [UIColor greenColor];  // 选中颜色
 24     self.tabBar.barTintColor = [UIColor blueColor];// 背景颜色
 25     //NSLog(@"%@",NSStringFromCGRect(self.tabBar.frame));// {{0, 519}, {320, 49}}
 26     self.delegate = self;// 代理
 27
 28
 29     // 尺寸小于 tabBar 的系统尺寸:图片自动填充
 30     // 尺寸大于 tabBar 的系统尺寸:图片宽度自动填充,高度显示原图片高度
 31     //[self.tabBar setBackgroundImage:[UIImage imageNamed:@"tabBarBack.png"]];// 背景图片会覆盖 barTintColor
 32
 33     // 背景图片系统默认大小显示
 34     // 方式一
 35     UIImageView *img = [[UIImageView alloc] initWithImage:[UIImage imageNamed:@"tabBarBack.png"]];
 36     img.frame = CGRectMake(0, 0, self.tabBar.frame.size.width, self.tabBar.frame.size.height);
 37     img.contentMode = UIViewContentModeScaleToFill;
 38     [[self tabBar] insertSubview:img atIndex:0];
 39
 40 //    // 方式二
 41 //    CGRect frame = CGRectMake(0,0,self.view.bounds.size.width,49);
 42 //    UIView *view = [[UIView alloc] initWithFrame:frame];
 43 //    UIImage *tabBarBackgroundImage = [UIImage imageNamed:@"tabBarBack.png"];
 44 //    UIColor *color = [[UIColor alloc] initWithPatternImage:tabBarBackgroundImage];
 45 //    [view setBackgroundColor:color];
 46 //    [[self tabBar] insertSubview:view atIndex:0];
 47
 48
 49     FirstViewController *firstVC = [FirstViewController new];
 50     self.navi1 = [[UINavigationController alloc] initWithRootViewController:firstVC];
 51     self.navi1.navigationBarHidden = NO;
 52     self.navi1.navigationBar.translucent = YES;
 53     firstVC.view.backgroundColor = [UIColor redColor];
 54     // 重绘图片尺寸会造成图片失真的问题
 55     firstVC.tabBarItem = [[UITabBarItem alloc] initWithTitle:@"微信" image:[self reSizeImage:[UIImage imageNamed:@"mainframe.png"] toSize:CGSizeMake(20, 20)] tag:101];// 设置标题、背景图片
 56     firstVC.tabBarItem.badgeValue = @"13";// 角标
 57     firstVC.navigationItem.title = @"1页面";
 58
 59
 60     SecondViewController *secondVC = [SecondViewController new];
 61     secondVC.view.backgroundColor = [UIColor purpleColor];
 62     self.navi2 = [[UINavigationController alloc] initWithRootViewController:secondVC];
 63     self.navi2.navigationBarHidden = NO;
 64     self.navi2.navigationBar.translucent = YES;
 65     secondVC.navigationItem.title = @"2页面";
 66     secondVC.tabBarItem = [[UITabBarItem alloc] initWithTitle:@"通讯录" image:[UIImage imageNamed:@"contacts.png"] tag:102];// 图片过大
 67
 68     ThirdViewController *thirdVC = [ThirdViewController new];
 69     self.navi3 = [[UINavigationController alloc] initWithRootViewController:thirdVC];
 70     self.navi3.navigationBarHidden = NO;
 71     self.navi3.navigationBar.translucent = YES;
 72     thirdVC.view.backgroundColor = [UIColor yellowColor];
 73     thirdVC.navigationItem.title = @"3页面";
 74     // 图片过大可通过将图片重命名方式:以 @2x 或 @3x 的规范命名,这样命名 iOS 自动将原图尺寸变为原来尺寸的 1/2 或 1/3 来适应视网膜屏幕的设备
 75     thirdVC.tabBarItem = [[UITabBarItem alloc] initWithTitle:@"发现" image:[UIImage imageNamed:@"discover@2x.png"] tag:103] ;// 变为原图尺寸的一半
 76     thirdVC.tabBarItem.title = @"探索";// 标题
 77
 78     FourthViewController *fourthVC = [FourthViewController new];
 79     self.navi4 = [[UINavigationController alloc] initWithRootViewController:fourthVC];
 80     self.navi4.navigationBarHidden = NO;
 81     self.navi4.navigationBar.translucent = YES;
 82     fourthVC.view.backgroundColor = [UIColor orangeColor];
 83     fourthVC.navigationItem.title = @"4页面";
 84     fourthVC.tabBarItem = [[UITabBarItem alloc] initWithTabBarSystemItem:UITabBarSystemItemDownloads tag:104];// 利用系统自带的样式
 85     fourthVC.tabBarItem.title = @"下载";// 此时再设置标题是无效的
 86
 87     FifthViewController *fifthVC = [FifthViewController new];
 88     self.navi5 = [[UINavigationController alloc] initWithRootViewController:fifthVC];
 89     self.navi5.navigationBarHidden = NO;
 90     self.navi5.navigationBar.translucent = YES;
 91     fifthVC.view.backgroundColor = [UIColor cyanColor];
 92     fifthVC.navigationItem.title = @"5页面";
 93     fifthVC.tabBarItem = [[UITabBarItem alloc] initWithTitle:@"应用" image:[UIImage imageNamed:@"apply@2x.png"] tag:105] ;
 94
 95     SixthViewController *sixthVC = [SixthViewController new];
 96     self.navi6 = [[UINavigationController alloc] initWithRootViewController:sixthVC];
 97     self.navi6.navigationBarHidden = NO;
 98     self.navi6.navigationBar.translucent = YES;
 99     sixthVC.view.backgroundColor = [UIColor brownColor];
100     sixthVC.navigationItem.title = @"6页面";
101     sixthVC.tabBarItem.title = @"其它";// 标题
102
103     // tabBarItem 超过 5 个时,系统会自动添加一个更多的按钮,点击更多按钮,没有在底部出现的那些按钮会以列表的形式展现
104     self.viewControllers = [NSArray arrayWithObjects:self.navi1,self.navi2,self.navi3,self.navi4,self.navi5,self.navi6,nil];
105     self.selectedIndex = 2;// 默认选中下标
106     for (UIViewController *VC in self.viewControllers) {
107         VC.tabBarItem.selectedImage =[UIImage imageNamed:@"selectedItem@2x.png"];// 选中 tabBarItem 时的背景图片:当使用系统自带的样式时,无效
108     }
109 }
110
111 // 将要选中
112 -(BOOL)tabBarController:(UITabBarController *)tabBarController shouldSelectViewController:(UIViewController *)viewController{
113     return YES;
114 }
115
116 // 已经选中
117 -(void)tabBarController:(UITabBarController *)tabBarController didSelectViewController:(UIViewController *)viewController{
118
119     NSLog(@"didSelectViewController = %@",viewController);
120     // 取消角标
121     if(tabBarController.selectedIndex == 0){
122         viewController.tabBarItem.badgeValue = nil;
123     }
124 }
125
126 // 定制
127 - (void)tabBarController:(UITabBarController *)tabBarController willBeginCustomizingViewControllers:(NSArray<__kindof UIViewController *> *)viewControllers{
128
129     NSLog(@"willBegin:%@",viewControllers);
130 }
131
132 - (void)tabBarController:(UITabBarController *)tabBarController willEndCustomizingViewControllers:(NSArray<__kindof UIViewController *> *)viewControllers changed:(BOOL)changed{
133     NSLog(@"willEnd:%@",viewControllers);
134
135 }
136
137 - (void)tabBarController:(UITabBarController *)tabBarController didEndCustomizingViewControllers:(NSArray<__kindof UIViewController *> *)viewControllers changed:(BOOL)changed{
138
139     NSLog(@"didEnd:%@",viewControllers);
140 }
141
142 - (UIImage *)reSizeImage:(UIImage *)image toSize:(CGSize)reSize{
143
144     UIGraphicsBeginImageContext(CGSizeMake(reSize.width, reSize.height));
145     [image drawInRect:CGRectMake(0, 0, reSize.width, reSize.height)];
146     UIImage *reSizeImage = UIGraphicsGetImageFromCurrentImageContext();
147     UIGraphicsEndImageContext();
148     return reSizeImage;
149 }
150
151 @end
// - FirstViewController.m
 1 #import "FirstViewController.h"
 2 #import "SixthViewController.h"
 3 @implementation FirstViewController
 4
 5 - (void)viewDidLoad {
 6     [super viewDidLoad];
 7
 8     UIButton * pushButton = [UIButton buttonWithType:UIButtonTypeCustom];
 9     pushButton.frame = CGRectMake(20, 100, 280, 30);
10     pushButton.layer.cornerRadius = 15;
11     pushButton.backgroundColor = [UIColor yellowColor];
12     [pushButton setTitle:@"进入详情页面" forState:UIControlStateNormal];
13     [pushButton setTitleColor:[UIColor blackColor] forState:UIControlStateNormal];
14     [pushButton addTarget:self action:@selector(pushNext:) forControlEvents:UIControlEventTouchUpInside];
15     [self.view addSubview:pushButton];
16 }
17
18 - (void)pushNext:(UIButton *)button{
19
20     SixthViewController * sixVC = [[SixthViewController alloc] init];
21     sixVC.view.backgroundColor = [UIColor magentaColor];
22     [self.navigationController pushViewController:sixVC animated:YES];
23 }
24
25 @end
// - SixthViewController.h:注意循环依赖的问题
1 #import <UIKit/UIKit.h>
2 @class CustomView;
3 @interface SixthViewController : UIViewController
4
5 @property(nonatomic,strong)CustomView *custonView; // self 里强引用了 CustomView
6
7 @end
// - SixthViewController.m
 1 #import "SixthViewController.h"
 2 #import "CustomView.h"
 3 @implementation SixthViewController
 4
 5 - (void)viewDidLoad {
 6     [super viewDidLoad];
 7
 8     self.navigationItem.title = @"6页面:循环依赖示例";
 9     self.custonView = [[CustomView alloc] initWithFrame:CGRectMake(0, 10, 320, 300)];
10     self.custonView.backgroundColor = [UIColor yellowColor];
11     self.custonView.controller = self;
12     [self.view addSubview:self.custonView];
13 }
14
15 - (void)dealloc{
16
17     NSLog(@"SixViewController  dealloc !");
18 }
19
20 @end
// - CustomView.h
1 #import <UIKit/UIKit.h>
2 @class SixthViewController;
3 @interface CustomView : UIView
4
5 // 使用 weak 解决循环依赖问题
6 @property(nonatomic,weak)SixthViewController *controller;
7
8 @end
// - CustomView.m
 1 #import "CustomView.h"
 2 #import "SixthViewController.h"
 3 @implementation CustomView
 4 - (id)initWithFrame:(CGRect)frame{
 5
 6     self = [super initWithFrame:frame];
 7     if (self) {
 8
 9         UIButton * button = [UIButton buttonWithType:UIButtonTypeCustom];
10         button.frame = CGRectMake(50, 150, 220, 30);
11         button.layer.cornerRadius = 8;
12         button.backgroundColor = [UIColor cyanColor];
13         [button setTitle:@"修改颜色" forState:UIControlStateNormal];
14         [button addTarget:self action:@selector(changecolor) forControlEvents:UIControlEventTouchUpInside];
15         [self addSubview:button];
16     }
17     return self;
18 }
19
20 - (void)changecolor{
21
22     if (!self.controller) {
23         NSLog(@"请指定 CustomView 的控制视图");
24     }else{
25         self.controller.view.backgroundColor = [UIColor colorWithRed:arc4random()%255/255.0 green:arc4random()%255/255.0  blue:arc4random()%255/255.0  alpha:1.0];
26     }
27 }
28
29 - (void)dealloc{
30
31     NSLog(@"CustomView dealloc");
32 }
33
34 @end
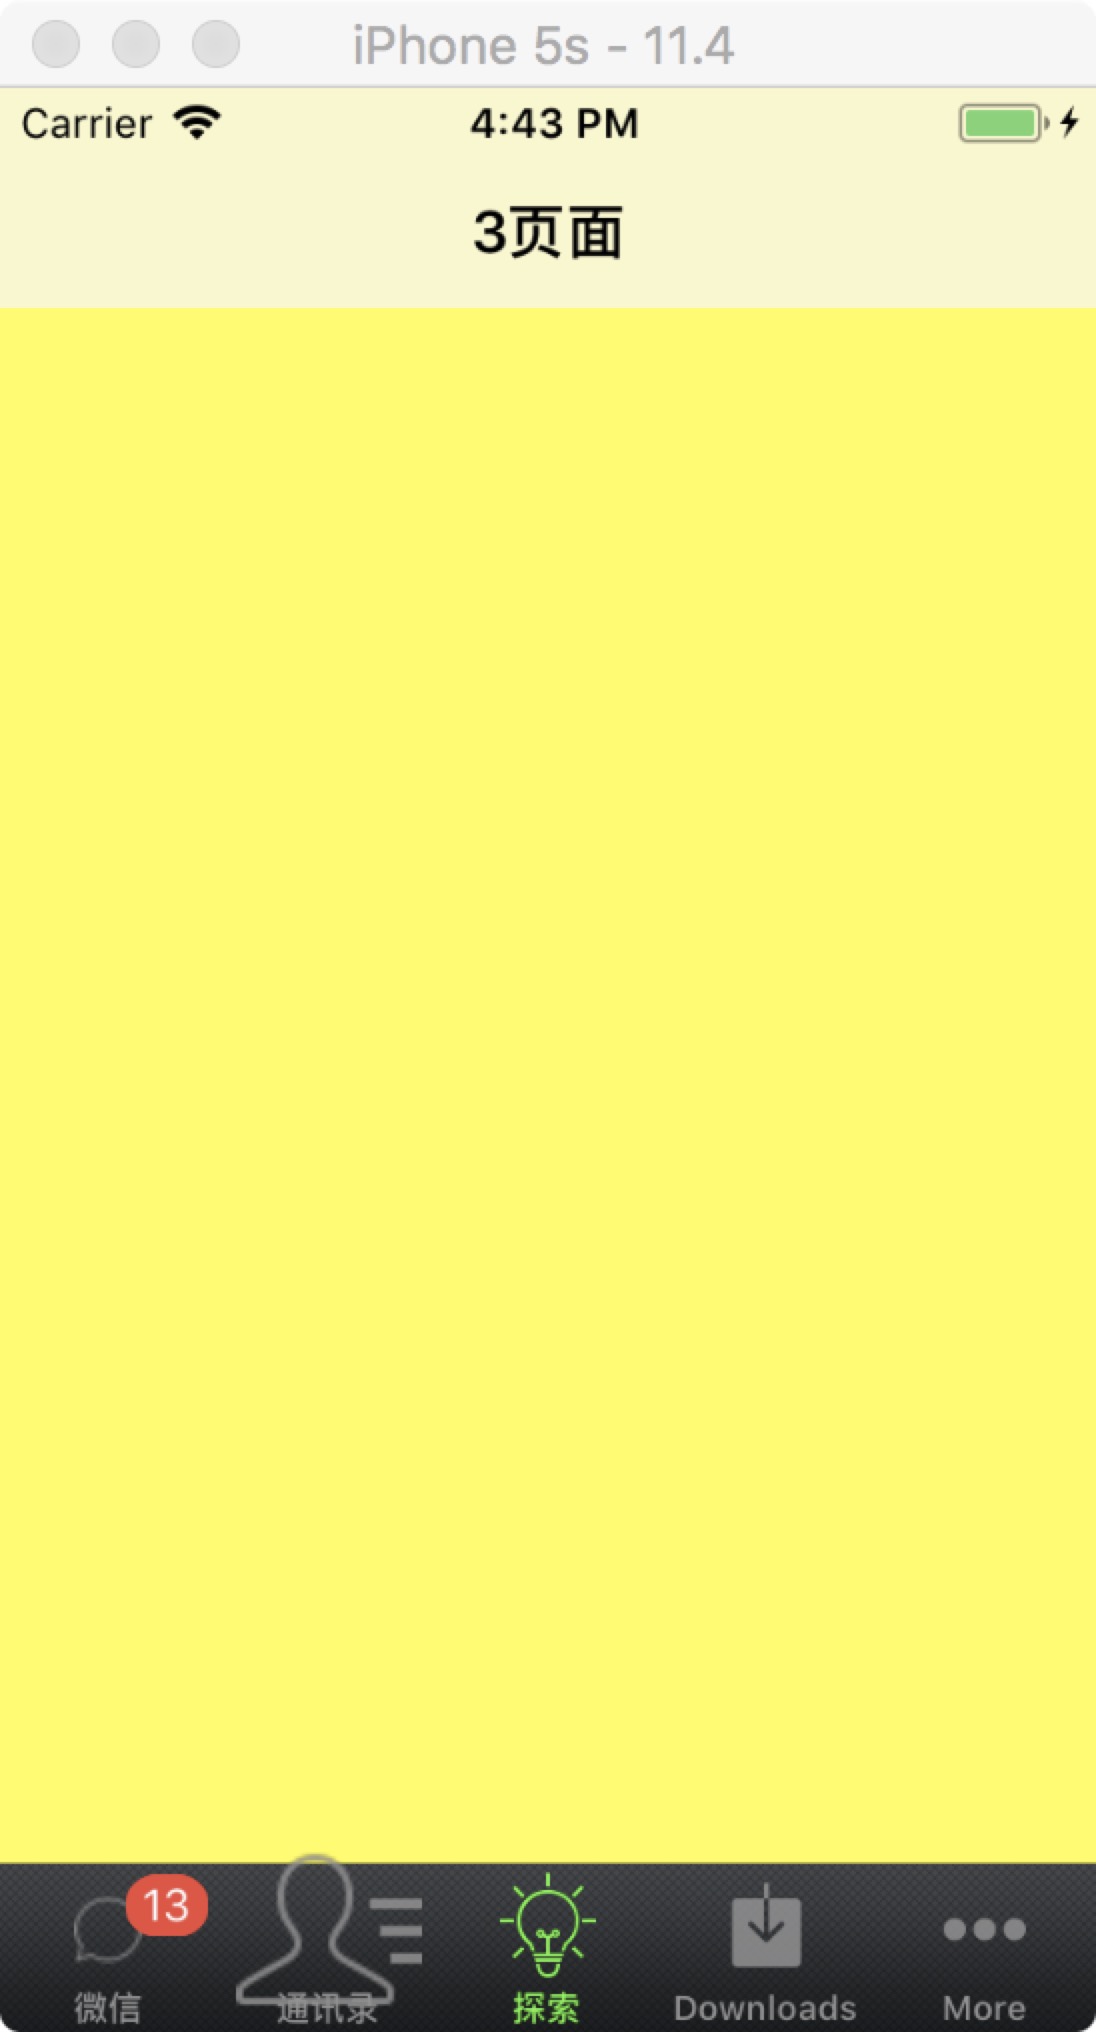
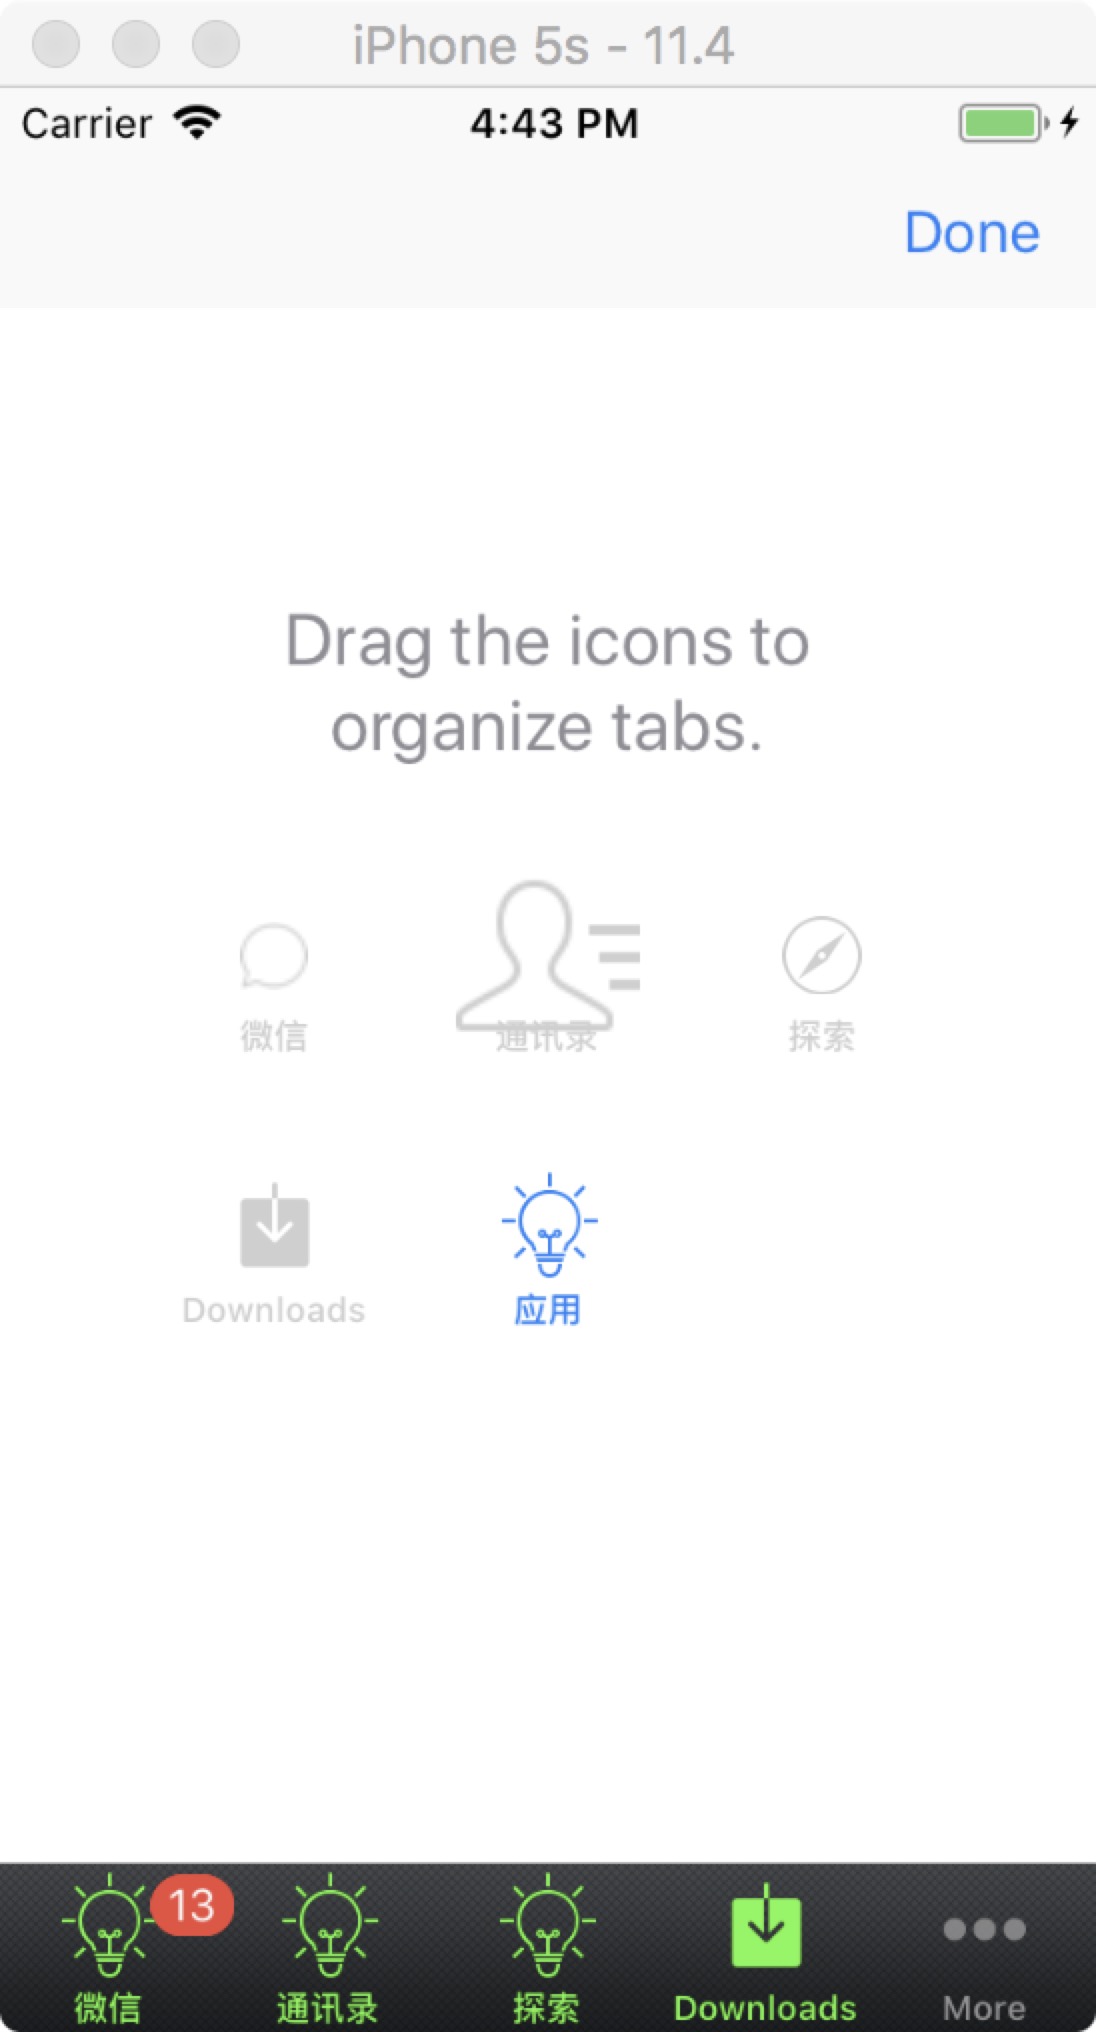
运行效果:默认选中第 2 下标 | 点击更多 | 点击 Edit
 |
|  |
| 
分类:
UI章节


【推荐】国内首个AI IDE,深度理解中文开发场景,立即下载体验Trae
【推荐】编程新体验,更懂你的AI,立即体验豆包MarsCode编程助手
【推荐】抖音旗下AI助手豆包,你的智能百科全书,全免费不限次数
【推荐】轻量又高性能的 SSH 工具 IShell:AI 加持,快人一步
· AI与.NET技术实操系列:向量存储与相似性搜索在 .NET 中的实现
· 基于Microsoft.Extensions.AI核心库实现RAG应用
· Linux系列:如何用heaptrack跟踪.NET程序的非托管内存泄露
· 开发者必知的日志记录最佳实践
· SQL Server 2025 AI相关能力初探
· 震惊!C++程序真的从main开始吗?99%的程序员都答错了
· 【硬核科普】Trae如何「偷看」你的代码?零基础破解AI编程运行原理
· 单元测试从入门到精通
· 上周热点回顾(3.3-3.9)
· winform 绘制太阳,地球,月球 运作规律