CentOS 7 上 安装 jira

步骤
1.安装jdk8
https://www.cnblogs.com/sea-stream/p/10404360.html


2.安装mysql
wget -i -c http://dev.mysql.com/get/mysql57-community-release-el7-10.noarch.rpm
yum -y install mysql57-community-release-el7-10.noarch.rpm
yum -y install mysql-community-server

#开启MySQL服务
systemctl start  mysqld.service
#查看MySQL状态
systemctl status mysqld.service

#获取密码
grep "password" /var/log/mysqld.log

#使用密码登陆
mysql -uroot -p

#修改密码长度规则
mysql> set global validate_password_policy=0;
mysql> set global validate_password_length=1;

#修改root密码
ALTER USER 'root'@'localhost' IDENTIFIED BY '111111';


3.创建数据库
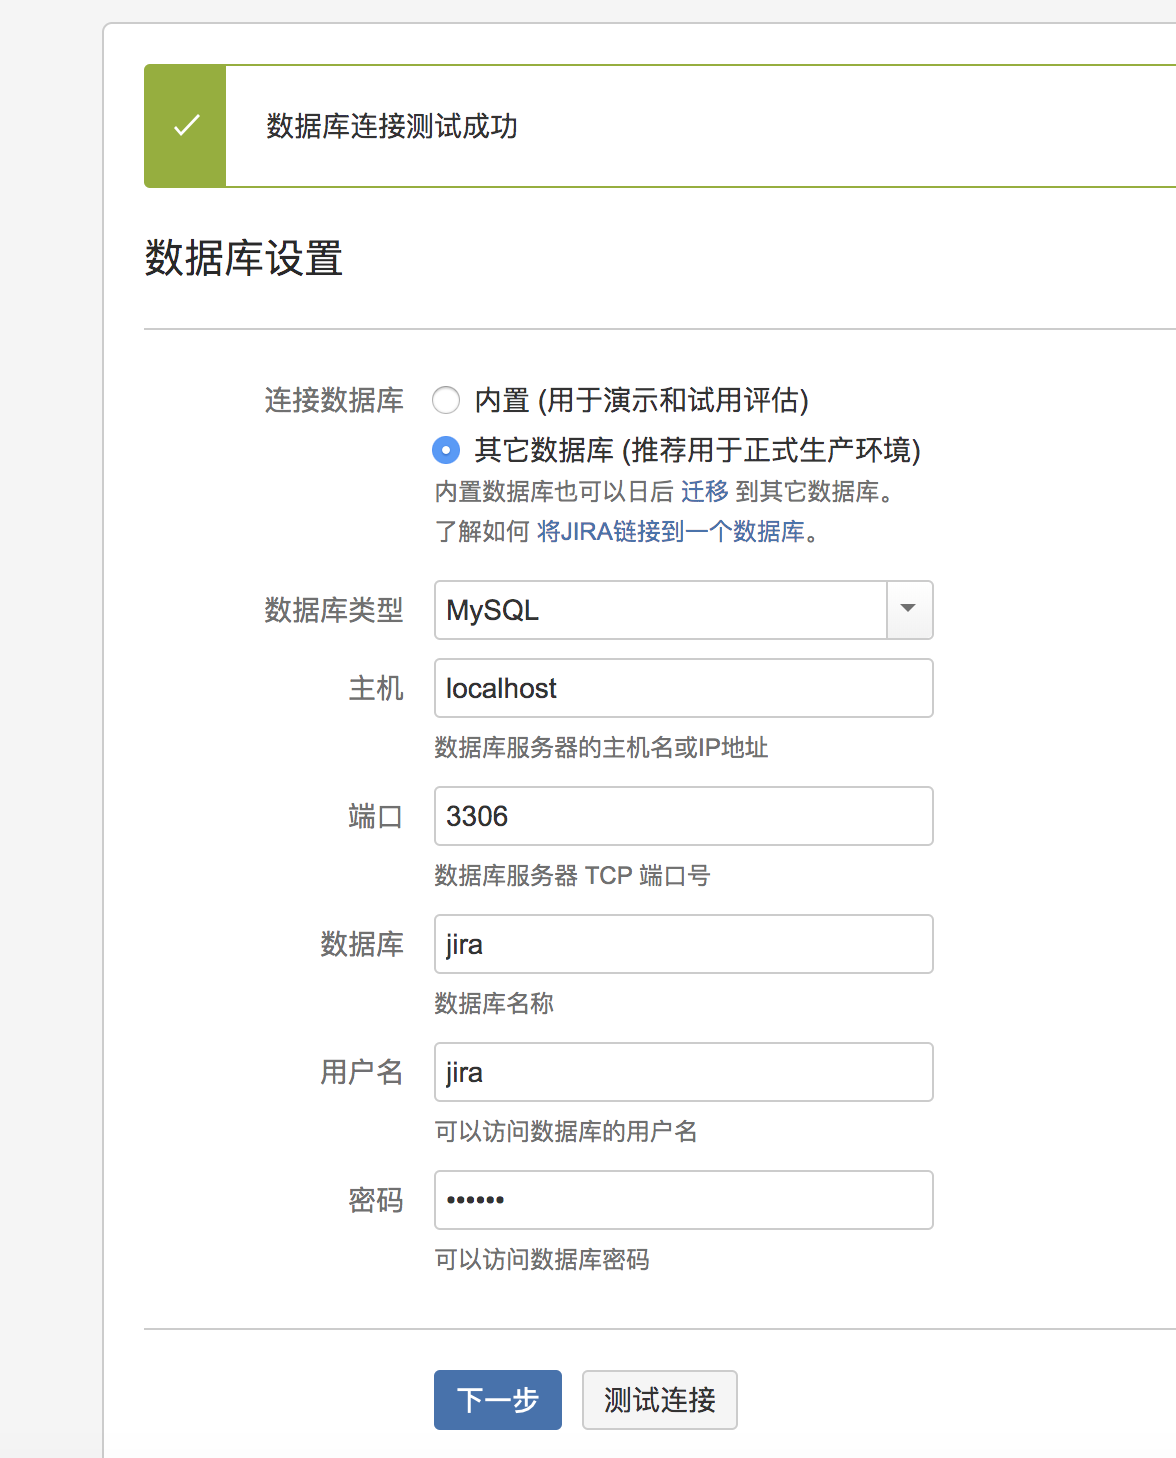
CREATE DATABASE jira CHARACTER SET utf8 COLLATE utf8_bin;

#创建新用户:
CREATE USER 'jira'@'localhost' IDENTIFIED BY '111111';

#新用户授权:
grant all privileges on *.* to jira@localhost identified by '111111';

#刷新更改
flush privileges;

#测试连接
mysql -u jira -h localhost -p111111

#不使用ssl
set useSSL=false

4.下载jira
链接: https://pan.baidu.com/s/13BQgkh-TE85oMJ5JgsW4Eg
提取码: 99cs

#上传文件
scp jdk-8u221-linux-x64.tar.gz root@x.x.x.x:/root/

#移动到/opt下
mv atlassian-jira-software-7.4.1-x64.bin /opt/

#赋予执行权限
chmod +x atlassian-jira-software-7.4.1-x64.bin

#开始安装
./atlassian-jira-software-7.4.1-x64.bin


#log 信息
[root@xxx opt]# ./atlassian-jira-software-7.4.1-x64.bin
Unpacking JRE ...
Starting Installer ...
九月 29, 2019 3:50:07 下午 java.util.prefs.FileSystemPreferences$1 run
信息: Created user preferences directory.
九月 29, 2019 3:50:07 下午 java.util.prefs.FileSystemPreferences$2 run
信息: Created system preferences directory in java.home.

This will install JIRA Software 7.4.1 on your computer.
OK [o, Enter], Cancel [c]
o
Choose the appropriate installation or upgrade option.
Please choose one of the following:
Express Install (use default settings) [1], Custom Install (recommended for advanced users) [2, Enter], Upgrade an existing JIRA installation [3]
1
Details on where JIRA Software will be installed and the settings that will be used.
Installation Directory: /opt/atlassian/jira
Home Directory: /var/atlassian/application-data/jira
HTTP Port: 8080
RMI Port: 8005
Install as service: Yes
Install [i, Enter], Exit [e]
i

Extracting files ...


Please wait a few moments while JIRA Software is configured.
Installation of JIRA Software 7.4.1 is complete
Start JIRA Software 7.4.1 now?
Yes [y, Enter], No [n]
y

Please wait a few moments while JIRA Software starts up.
Launching JIRA Software ...
Installation of JIRA Software 7.4.1 is complete
Your installation of JIRA Software 7.4.1 is now ready and can be accessed
via your browser.
JIRA Software 7.4.1 can be accessed at http://localhost:8080
Finishing installation ...
[root@xxx opt]#


#下载破解文件
链接:https://pan.baidu.com/s/1NbfN00mvnRrAhHPQyUW8zw  密码:d9ov
链接:https://pan.baidu.com/s/1-tfquh1f1b3atqxg1nz2JQ  密码:t8ec
一共有两个,其中
atlassian-extras-3.2.jar是用来替换原来的atlassian-extras-3.2.jar文件,用作破解jira系统的。
mysql-connector-java-5.1.39-bin.jar是用来连接mysql数据库的驱动软件包。


#上传
bogon:Desktop macname$ scp atlassian-extras-3.2.jar mysql-connector-java-5.1.39-bin.jar root@x.x.x.x:/root/
root@x.x.x.x's password:
atlassian-extras-3.2.jar                                                  100%  153KB 476.4KB/s   00:00
mysql-connector-java-5.1.39-bin.jar                                       100%  966KB   1.1MB/s   00:00
bogon:Desktop macname$


# 停止jira
/opt/atlassian/jira/bin/stop-jira.sh
# 启动jira
/opt/atlassian/jira/bin/start-jira.sh
或者
#关闭服务
/etc/init.d/jira stop
#启动服务
/etc/init.d/jira start


#关闭服务
/etc/init.d/jira stop

#移动破解文件
[root@xxx ~]# mv atlassian-extras-3.2.jar mysql-connector-java-5.1.39-bin.jar /opt/atlassian/jira/atlassian-jira/WEB-INF/lib/
mv:是否覆盖"/opt/atlassian/jira/atlassian-jira/WEB-INF/lib/atlassian-extras-3.2.jar"? y
[root@xxx ~]#

#启动服务
/etc/init.d/jira start


#查看日志
tailf /opt/atlassian/jira/logs/catalina.out


#创建文件夹
mkdir -p /opt/atlassian/jira/conf/Catalina/localhost


#删除jira
rm -rf /var/atlassian /opt/atlassian


#安装失败了,好像说是内存不够,谁安装成功了指点下!!!

参考:
https://blog.csdn.net/weixin_40725027/article/details/82760420
https://blog.csdn.net/shangyuanlang/article/details/80972416
https://blog.csdn.net/love8753/article/details/78113447
https://www.cnblogs.com/gentle-awen/p/10114775.html


 浙公网安备 33010602011771号