手动搭建:SpringBoot环境、项目结构、数据库模型
手动搭建:SpringBoot环境、项目结构、数据库模型
如果插件Spring Assistant与我们的电脑有冲突,那我们就不要选择此插件,
自己来搭建环境创建项目
1、创建一个项目
(1)选择Maven项目创建
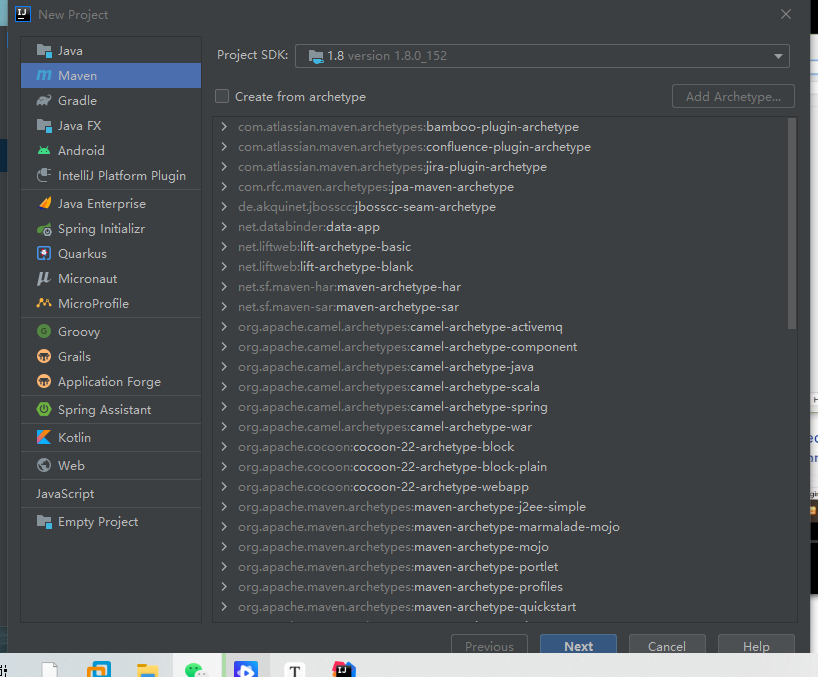
(2)自定义名称
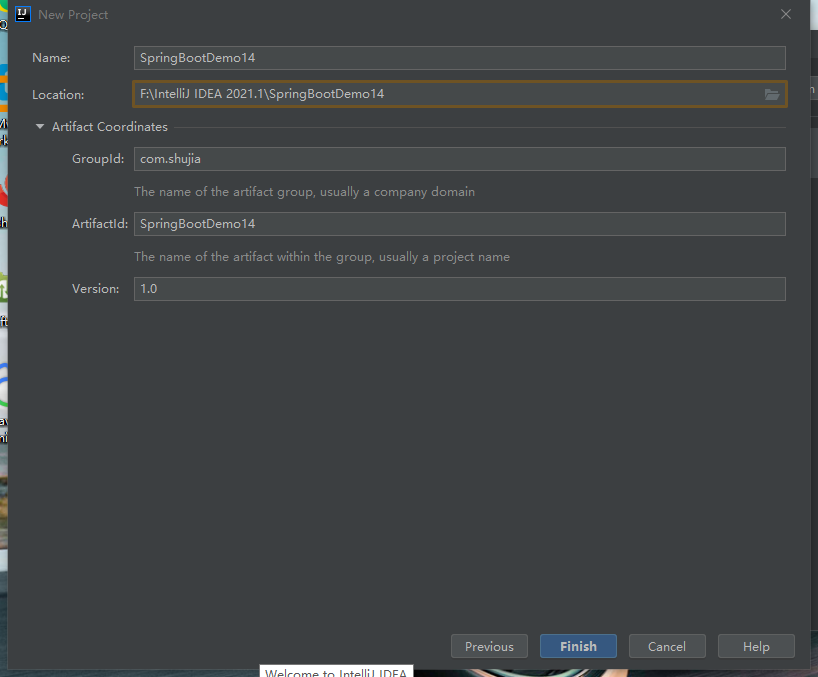
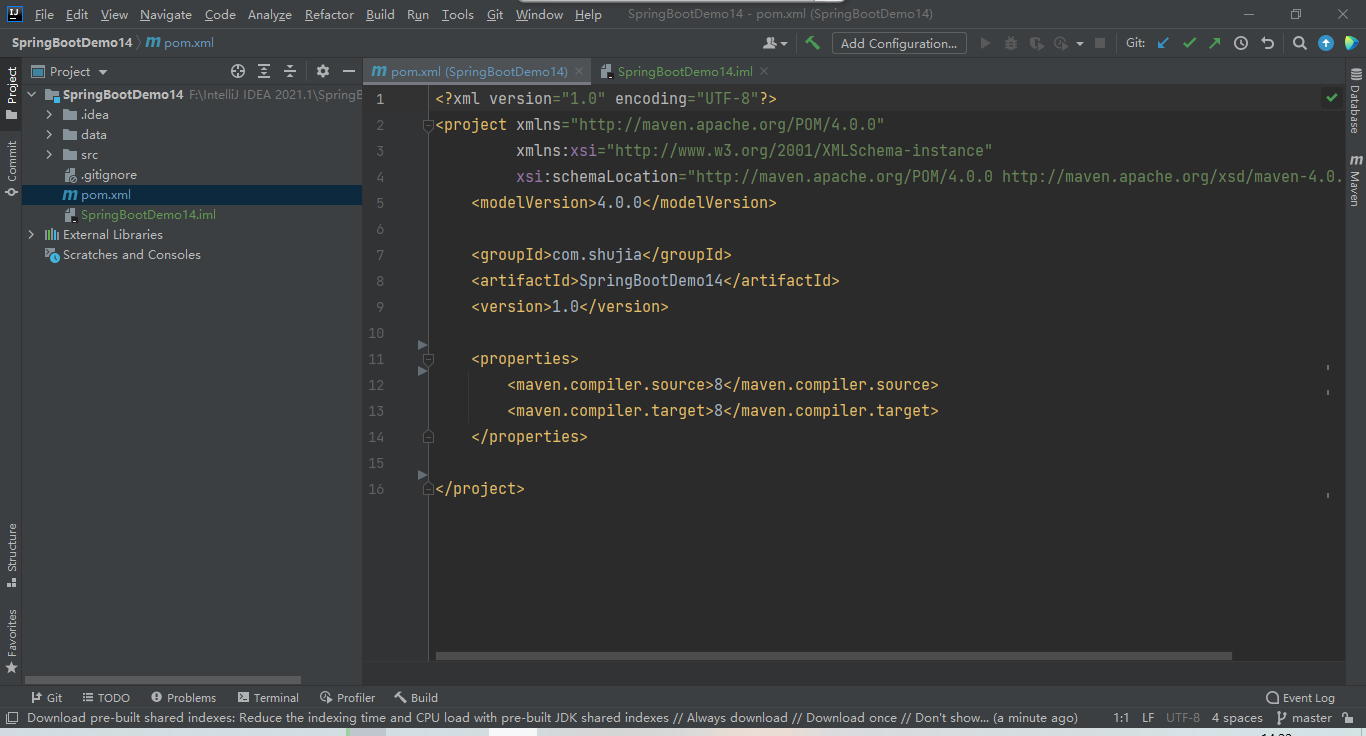
(3)创建完成的样子
2、手动搭建SpringBoot环境
(1)将SpringBoot需要的依赖添加到pom.xml中
  <parent>
        <groupId>org.springframework.boot</groupId>
        <artifactId>spring-boot-starter-parent</artifactId>
        <version>2.1.4.RELEASE</version>
  </parent>
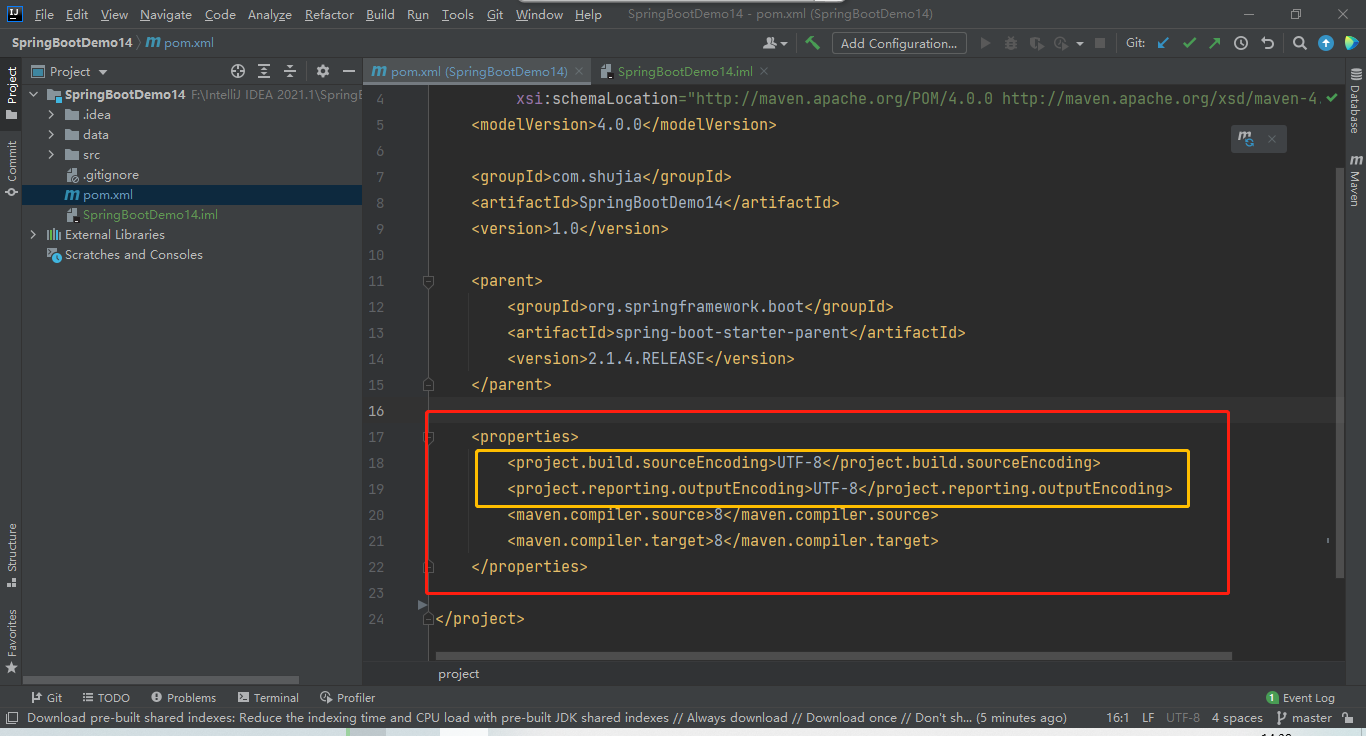
(2)将SpringBoot项目的编码添加到pom.xml中的<properties>中
<project.build.sourceEncoding>UTF-8</project.build.sourceEncoding>
<project.reporting.outputEncoding>UTF-8</project.reporting.outputEncoding>
(3)将SpringBoot项目所需要的依赖添加到pom.xml中
<!--添加本项目所能用到的依赖-->
<dependencies>
        <!--添加Springmvc依赖-->
        <dependency>
            <groupId>org.springframework.boot</groupId>
            <artifactId>spring-boot-starter-web</artifactId>
        </dependency>

        <!-- springBoot JPA的起步依赖 -->
        <dependency>
            <groupId>org.springframework.boot</groupId>
            <artifactId>spring-boot-starter-data-jpa</artifactId>
        </dependency>

        <!--因为此项目需要mysql的库,那么此次添加mysql依赖-->
        <dependency>
            <groupId>mysql</groupId>
            <artifactId>mysql-connector-java</artifactId>
        </dependency>
</dependencies>
(4)SpringBoot项目需要的特定插件添加pom.xml中
因为SpringBoot项目打包的方式和其他东西打包有一定的差别,需要特定的插件
	<build>
        <plugins>
            <plugin>
                <groupId>org.springframework.boot</groupId>
                <artifactId>spring-boot-maven-plugin</artifactId>
                <version>2.1.4.RELEASE</version>
                <configuration>
                    <fork>true</fork>
                </configuration>
            </plugin>
        </plugins>
	</build>
(5)刷新一下Maven:鼠标右击----选择Maven----选择Reload project
(6)所需要的东西都配置好了,那么这个SpringBoot项目就创建好了
3、添加配置文件
因为SpringBoot项目最终的数据要放到某一个数据库里面的,需要配置数据库的地址
本次使用mysql数据库,所以需要配置mysql数据库的地址
配置mysql数据库的地址之前,在mysql中先建一个表
(1)在mysql中新建一个数据库,命名为 springbootdemo
(2)在 springbootdemo库中,自定义设计一个表
create table  student88(
    id int primary key auto_increment,
    name varchar(255) not null,
    age int not null default 0,
    gender varchar(255),
    clazz varchar(255),
    sum_score int
);

-- 对name做索引
create index stu_name_index on student88(name);
(2)返回IDEA,右击项目名称,选择new---->Directory新建一个目录,命名为 data
(3)右击data目录,选择 new---->File 新建一个文件,命名为 student88.sql
(4)将我们自定义学生表的代码粘贴到 student88.sql 文件中
添加数据库的配置
配置文件以及资源等,放在
resources目录内
(1)在 resources 目录中新建一个File文件,命名统一为:application.properties
(2)将mysql配置的代码粘贴到 application.properties 文件中
主机名
master:3306、数据库名称springbootdemo,权限root、密码123456mysql驱动名称
com.mysql.cj.jdbc.Driver上面所述根据个人情况的不同,进行修改
# 对MySQL连接进行配置
spring.datasource.url=jdbc:mysql://master:3306/springbootdemo?useUnicode=true&characterEncoding=utf-8&allowMultiQueries=true&useSSL=false&serverTimezone=GMT%2b8
spring.datasource.username=root
spring.datasource.password=123456
# mysql驱动
spring.datasource.driver-class-name=com.mysql.cj.jdbc.Driver
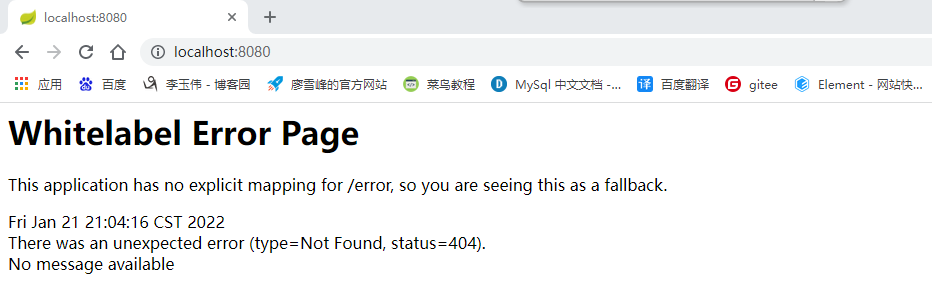
(3)配置完成后,运行一下,然后在浏览器中搜索localhost:8080
会出现如下图所示,说明访问是通的
4、创建SpringBoot的项目入口(该入口用来启动SpringBoot的项目)
Application:应用
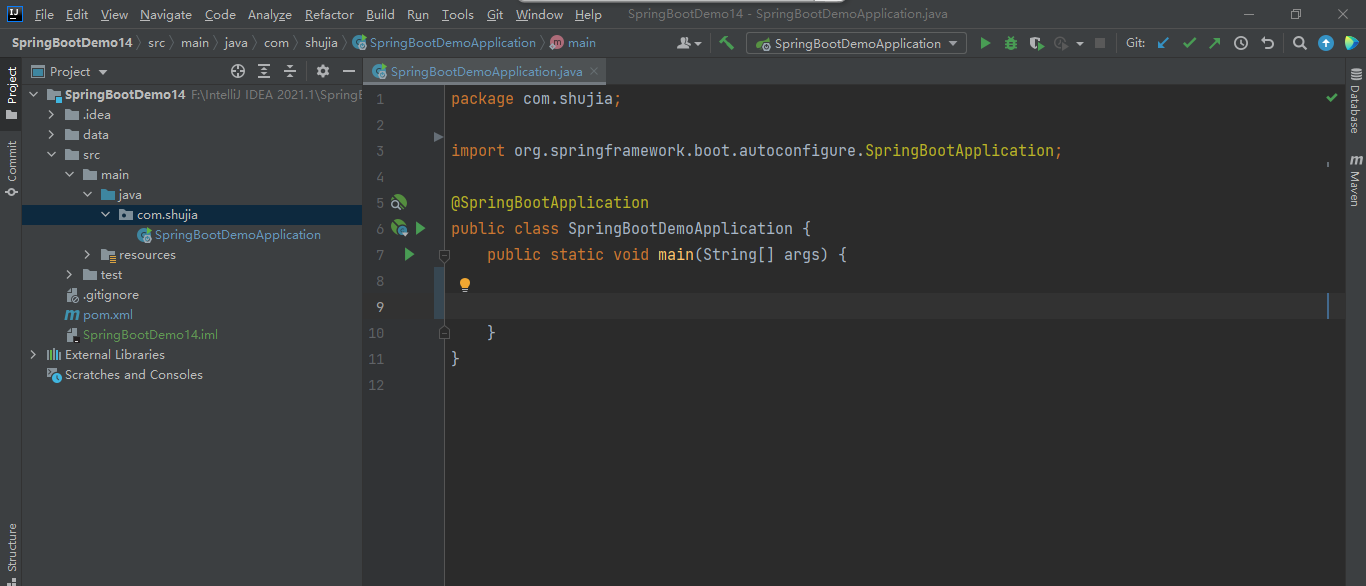
(1)在 scr---->main---->java 中先新建一个包,例:com.shujia
(2)在新建的包内,新建一个class文件,例:SpringBootDemoApplication
(3)在类上方艾特一下SpringBootApplication(表示这个类是作为SpringBoot的应用)
(4)添加main方法
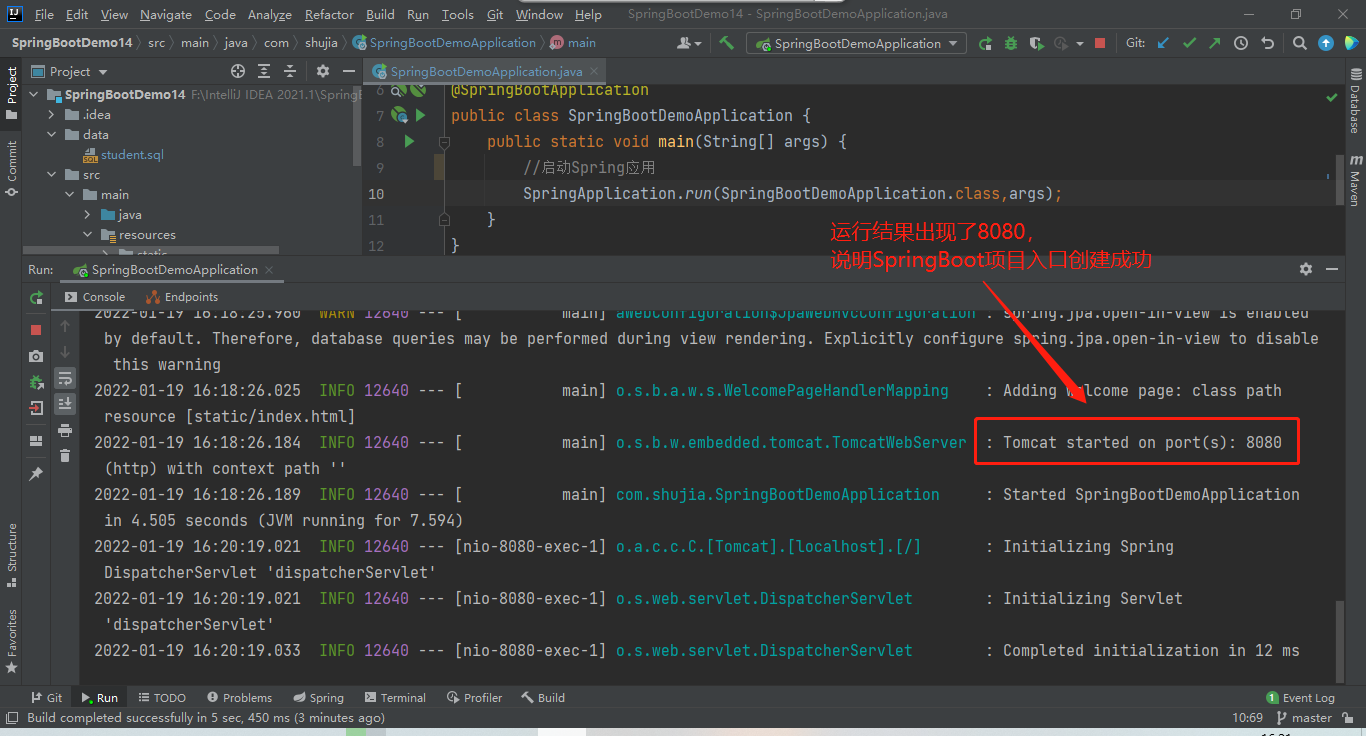
(5)添加启动Spring应用的代码:引用 SpringApplication,调取run方法
SpringApplication.run(类名.class,args);
//启动Spring应用
SpringApplication.run(SpringBootDemoApplication.class,args);
(6)运行程序
5、编写SpringBoot项目结构
首先用户请求页面先会到达Controller控制层,然后Controller控制层来调Service层;
Service层用来写复杂的业务逻辑,Service层调Dao层;
Dao层对数据的进行持久化,实现了很多方法,如查找、删除、筛选...,与MySQL数据库进行交互;
Entity/Model层用一个Java的类去描述MySQL的表
在编写代码的时候,先从Entity层开始写,由下往上
(1)创建项目结构层的目录,在 scr---->main---->java---->com.shujia 中创建目录
目录1:Entity-------数据库的模型,在Java里面定义一个类,去描述MySQL数据库中的表
目录2:Dao----------数据持久层
目录3:Service------数据服务层
目录4:Controller---数据控制层
目录5:common-------存放我们通用的东西
(2)编辑 Entity 层,在目录 Entity中新建一个class文件,类名与自定义的表名保持一致:Student88
在MySQ中,取列名的时候,是 sum_score ,而且忽略大小写;
在Java中,定义属性的时候则命名 sumScore ,而且严格区分大小写
当Java中命名 sumScore的时候,和MySQL中的列名对不上,这时候就需要在上方加个@Column注解
①在类上面加个注解:@Entity
②在类上面加个注解:@Table(),指定一下它是哪张表;
指定它的name="表名",当作参数加入括号内,按照表里面的列来定义属性
package com.shujia.Entity;
import javax.persistence.*;

@Entity
@Table(name = "student88")
public class Student88 {
    //定义属性
    @Id //通过注解来设定主键
    @GeneratedValue(strategy = GenerationType.IDENTITY) //通过注解来设定Id自增
    private Integer id;
    private String name;
    private Integer age;
    private String gender;
    private String clazz;
    //属性名一般同数据库中表的列名一致,不一致时可以使用 @Column 注解
    @Column(name = "sum_score")
    private Integer sumScore;

    //因为属性都用private修饰,需要定义公共的SetXxx()和GetXxx()来进行增删改查

    public Integer getId() {
        return id;
    }

    public void setId(Integer id) {
        this.id = id;
    }

    public String getName() {
        return name;
    }

    public void setName(String name) {
        this.name = name;
    }

    public Integer getAge() {
        return age;
    }

    public void setAge(Integer age) {
        this.age = age;
    }

    public String getGender() {
        return gender;
    }

    public void setGender(String gender) {
        this.gender = gender;
    }

    public String getClazz() {
        return clazz;
    }

    public void setClazz(String clazz) {
        this.clazz = clazz;
    }

    public Integer getSumScore() {
        return sumScore;
    }

    public void setSumScore(Integer sumScore) {
        this.sumScore = sumScore;
    }
}
(3)编辑 Dao 层,在目录Dao中新建一个接口,命名为 Student88Repository
repository:仓库
除了Dao层是接口,其他层都是类
接口会定义很多种方法,可能没有具体的实现;
实际上它继承的父类,对一些方法基本上都实现了,就不需要在接口中添加方法了;
如果需要我们自定义的方法,那么再到该接口中来定义
在接口的上方需要添加注解`@Repository`
Dao层的接口需要继承`JpaRepository`类,指定泛型为`Student88`,指定主键为`Integer`
package com.shujia.Dao;

import com.shujia.Entity.Student88;
import org.springframework.data.jpa.repository.JpaRepository;
import org.springframework.stereotype.Repository;

@Repository
public interface Student88Repository extends JpaRepository<Student88,Integer> {
}
(4)编辑 Service 层,在目录Service 中新建一个class文件,命名为:Student88Service
Resource:资源,谋略;
在
Service层内,可以进行增删改查、分页、保存等功能,是写业务具体的一个逻辑;由于
Dao层是最终和数据库交互的一层,那么Service层调的是Dao层;
在类的上方需要添加注解@Service;
在类中添加注解@Resource;
引用Dao层资源;
引用Dao层之后,就可以添加操作:例如:
	findAll()------把所有的学生信息拿出来
	findById()-----通过Id去找学生
	deleteById()---通过Id去删除学生
	save()---------保存
	...
根据操作需求来定义方法;
package com.shujia.Service;

import com.shujia.Dao.Student88Repository;
import com.shujia.Entity.Student88;
import org.springframework.stereotype.Service;

import javax.annotation.Resource;
import java.util.List;

@Service
public class Student88Service {
    @Resource   //添加资源注解
    private Student88Repository student88Repository;//引用Dao层资源

    //引用Dao层资源后,就可以在此层进行业务操作了(定义方法)
    //定义findAll()方法,返回的是一个集合,参数是在Entity定义的类
    public List<Student88> findAll(){
        return student88Repository.findAll();
    }
}
(5)编辑 Controller 层,在目录Controller新建一个class文件,
命名为:Student88Controller
用户通过
url来请求获得数据,url会发到Controller去处理
添加注解@RestController,表示一个规范,将数据以json的格式返回
添加注解@RequestMapping(),括号里加个参数,确保用户想要请求的是什么
例:@RequestMapping("/user")-------请求user中的数据
   @RequestMapping("/student")----请求student表中的数据
@RestController //将数据以json的格式返回
@RequestMapping("/student")
public class StudentController {

    @RequestMapping("/all")
    public List<Student> findAll(){

    }

    @RequestMapping("/all2")
    public List<Student> findAll2(){

    }
}
(6)编辑 common 层,在目录common新建一个class文件,命名为:Result
用户向服务器发送请求(Req)--->服务器处理请求--->服务器返回给用户响应(Res)
返回给用户的一般有:
        404,notfound:表示访问的页面不存在
        505:服务器内部错误
        200:访问页面成功
404、505、200表示http的状态码,紧跟着返回给用户的还有消息、数据
返回给用户的一般有:状态码、消息、数据
基于状态码、消息、数据,我们可以在Java中定义一个类来描述它们
根据类返回一个对象给用户,用户根据对象提取状态码、消息、数据
package com.shujia.common;

public class Result<T> {
    //定义返回给用户的状态码、消息、数据
    private String code;
    private String msg;
    //返回的数据有可能是user,有可能是student,有可能是集合,类型不确定,所有使用泛型类型
    //同时类名后面要加上泛型
    private T data;

    //添加数据的构造方法
    public Result() {   //无参构造,有些请求是不需要返回数据的,比如删除了某个东西

    }

    public Result(T data) {     //想要返回数据,就调用有参构造方法
        this.data = data;
    }

    //添加三个属性的公共方法
    public String getCode() {
        return code;
    }

    public void setCode(String code) {
        this.code = code;
    }

    public String getMsg() {
        return msg;
    }

    public void setMsg(String msg) {
        this.msg = msg;
    }

    public T getData() {
        return data;
    }

    public void setData(T data) {
        this.data = data;
    }

    //访问要么成功,要么失败,可以添加两个静态方法
    //不管成功与否,都会返回一个Result对象

    //请求成功,不返回数据(只返回状态码和消息)
    public static <T> Result<T> success() {
        //返回一个对象给用户
        Result rs = new Result<>();
        rs.setCode("200");
        rs.setMsg("OK");
        return rs;
    }

    //请求成功,返回数据(T data作为参数,会调用有参构造方法)
    public static <T> Result<T> success(T data) {
        //返回一个对象给用户
        Result<T> rs = new Result<T>(data);
        rs.setCode("200");
        rs.setMsg("OK");
        return rs;
    }

    //请求失败
    public static <T> Result<T> error(String code,String msg) {
        Result rs = new Result<>();
        rs.setCode(code);
        rs.setMsg(msg);
        return rs;

    }
}
(7)因为在common层设置了静态方法,这时候还需要返回 Controller 层修改一下代码
package com.shujia.Controller;


import com.shujia.Entity.Student88;
import com.shujia.Service.Student88Service;
import com.shujia.common.Result;
import org.springframework.web.bind.annotation.GetMapping;
import org.springframework.web.bind.annotation.RequestMapping;
import org.springframework.web.bind.annotation.RestController;

import javax.annotation.Resource;
import java.util.List;

@RestController     //控制将数据以JSON形式返回
@RequestMapping("/student88")   //确认用户想要请求的数据
public class Student88Controller {
    //因为本层需要调用Service,所有引用资源
    @Resource
    private Student88Service student88Service;

    @GetMapping("/all")
    public Result<List<Student88>> findAll(){
   //返回值类型 List<Student88> 改成Result<List<Student88>>

        //引用Service资源后,可以调取Service的方法了
        List<Student88> list = student88Service.findAll();
        //本方法需要返回数据,直接类名调取Result中的静态方法
        return Result.success(list);
    }
}
(9)开始运行,查看是否有错误
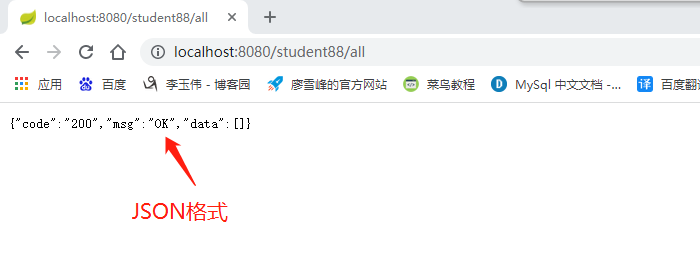
(8)若无错误,想要访问Controller层,8080后面要加上路径/student88
想要调取Controller层的findAll方法,/student88加上/aa

 浙公网安备 33010602011771号