20172305 2017-2018-2 《程序设计与数据结构》课堂测试报告
20172305 2017-2018-2 《程序设计与数据结构》课堂测试报告
课程:《程序设计与数据结构》
班级: 1723
姓名: 谭鑫
学号: 20172305
实验教师:王志强老师
测试日期:2018年5月28日
必修/选修: 必修
1.测试内容
- Android开发实践:Android平台上开发移动程序,模拟栈的操作:Push和Pop
2. 测试过程及结果
-
设计思路:
- 在Java环境下运用的stack栈的方法应用到Android开发环境
- 分别实现Push和Pop两个方法
- 合理优化Android界面
-
步骤:
- 建立活动的App名称,确定界面至少有两个Button,两个EditText。
- Button1 : 实现Push方法
- Button2 : 实现Pop方法
- EditText1 : 实现写入栈内的数字
- EditText1 : 实现栈内信息的显示
-
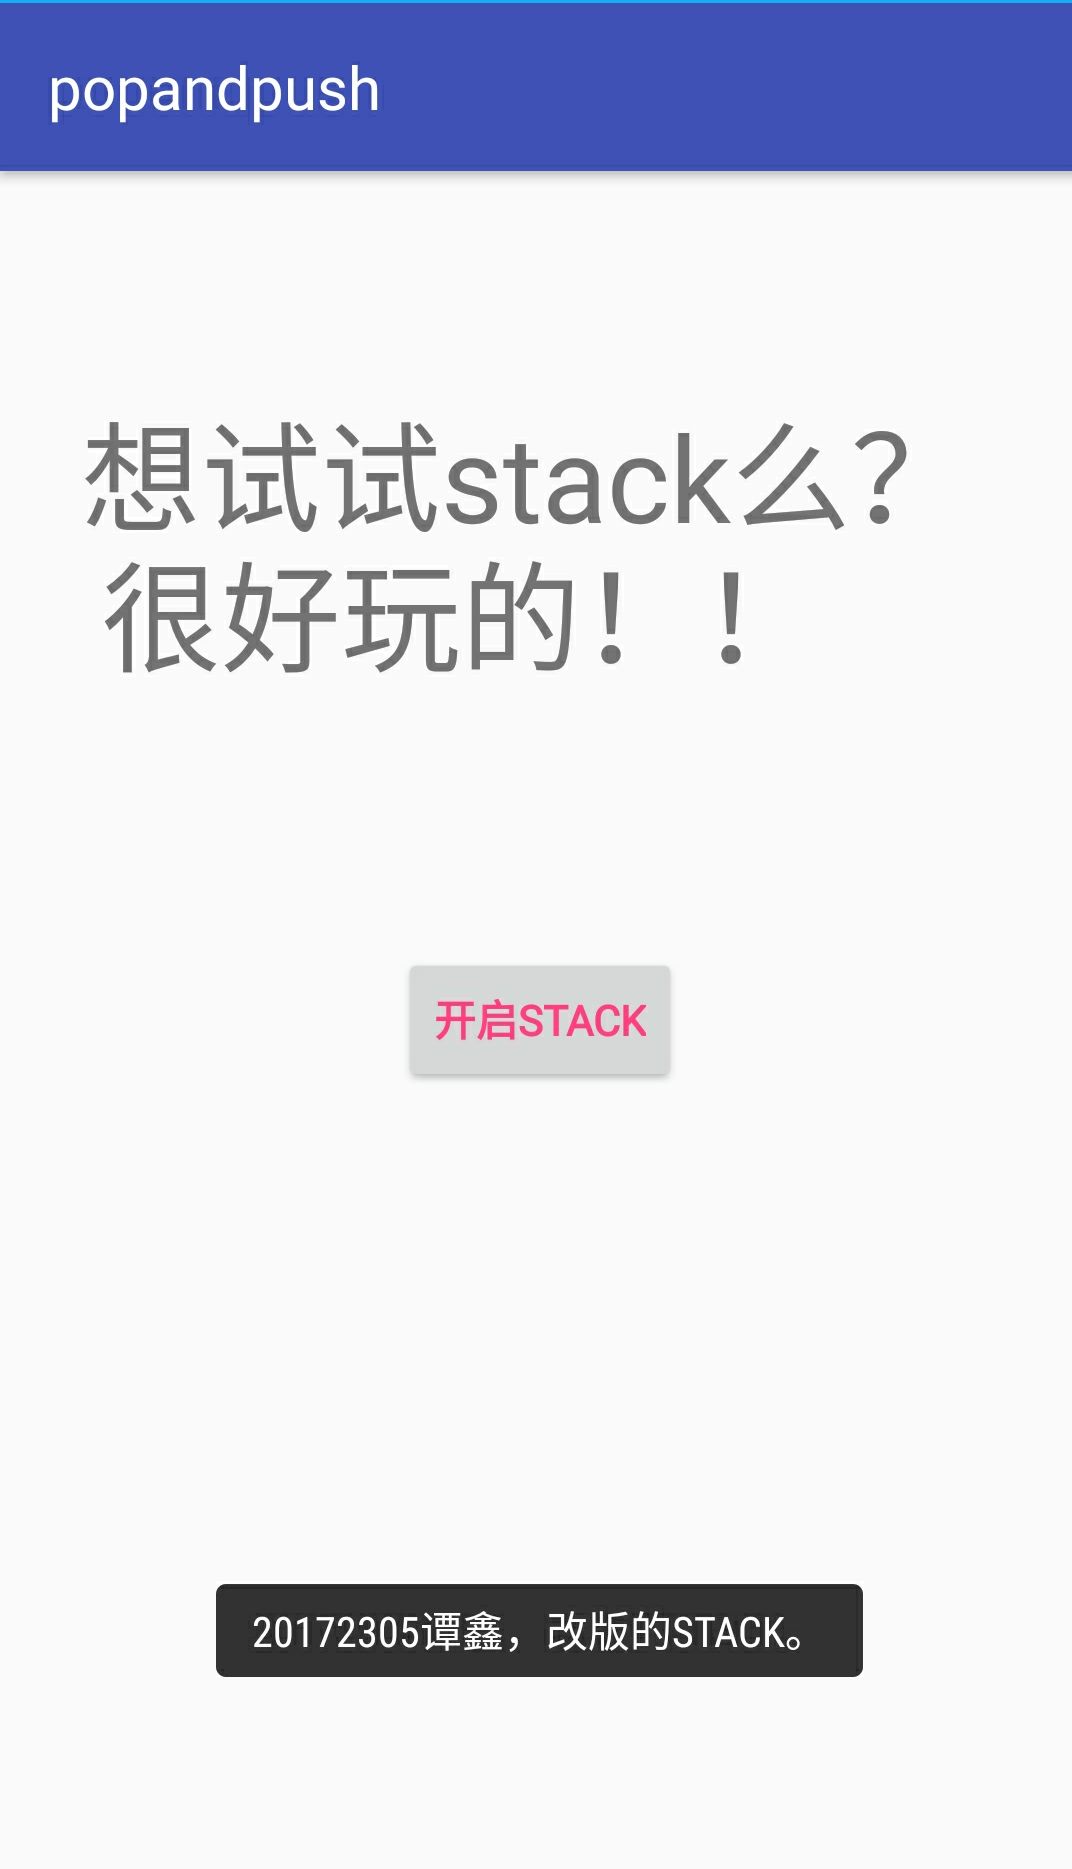
界面一
-
进行优化,做了一个Toast、一个TextView、一个Button

-
第一步,Toast,做了一个气泡,标注我的学号名字,以及改版的STACK
Toast toast = Toast.makeText(this,"20172305谭鑫,改版的STACK。",Toast.LENGTH_LONG); toast.show();- 第二步,Button,做了一个按钮,进行开启对话框,通过对话框再开启第二个界面.第一行是添加按钮内的内容,第二行是使内容变色为粉色(深粉色),第三行是加粗内容。
android:text="开启STACK" android:textColor="@color/colorAccent" android:textStyle="bold"- 第三步,TextView,做了一个显示文本,第一行是添加文本内容,第二行是添加字体大小。
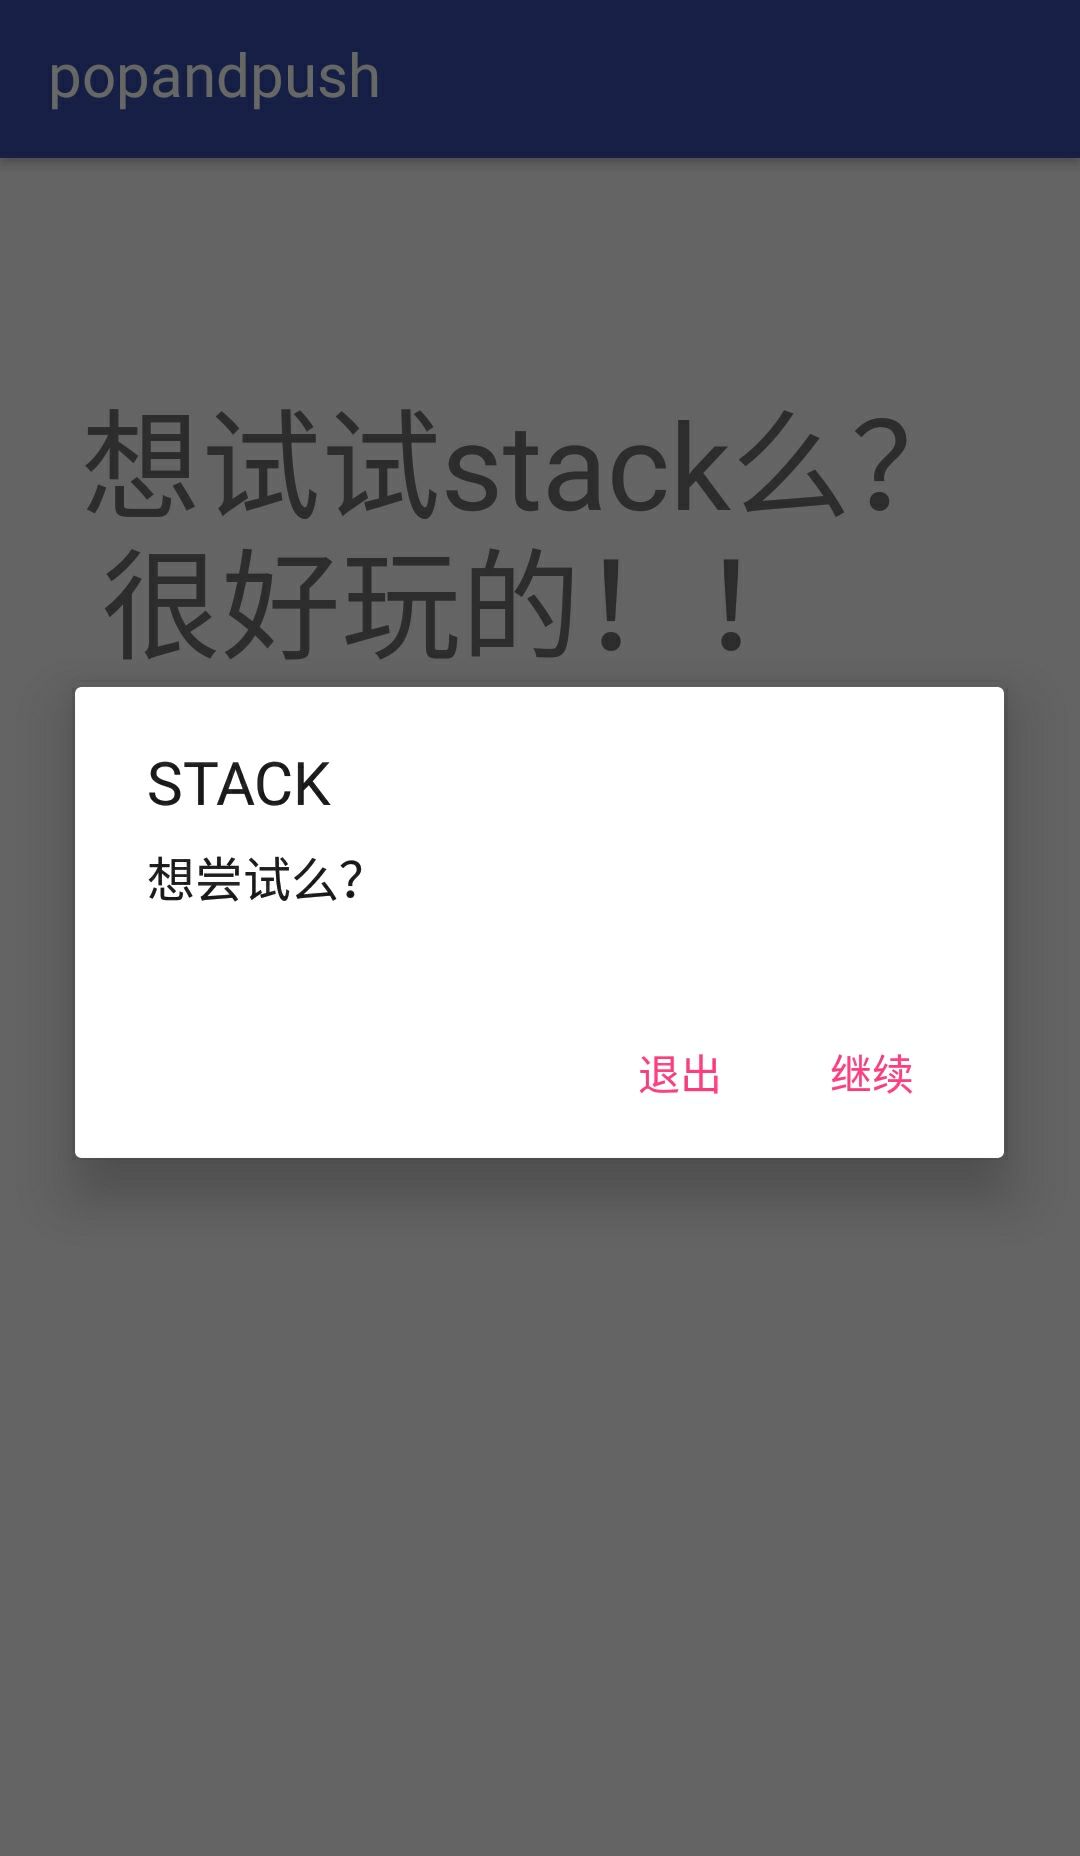
android:text="想试试stack么?\n\t很好玩的!!" android:textSize="40dp"- 第四步,做对话框,在之前的版本上没有这部分,我是在看过同学的代码之后进行添加的,通过对话框进行跳转到第二个界面,正式开启栈的相关内容。
AlertDialog.Builder dialog = new AlertDialog.Builder(MainActivity.this);
        dialog.setTitle("STACK");
        dialog.setMessage("想尝试么?");
        dialog.setCancelable(false);
        dialog.setPositiveButton("继续", new DialogInterface.OnClickListener() {
            @Override
            public void onClick(DialogInterface dialogInterface, int i) {
                Intent intent = new Intent(MainActivity.this,SecondActivity.class);
                startActivity(intent);
            }
        });
        dialog.setNegativeButton("退出", new DialogInterface.OnClickListener() {
            @Override
            public void onClick(DialogInterface dialogInterface, int i) {
            }
        });
        dialog.show();
-
-
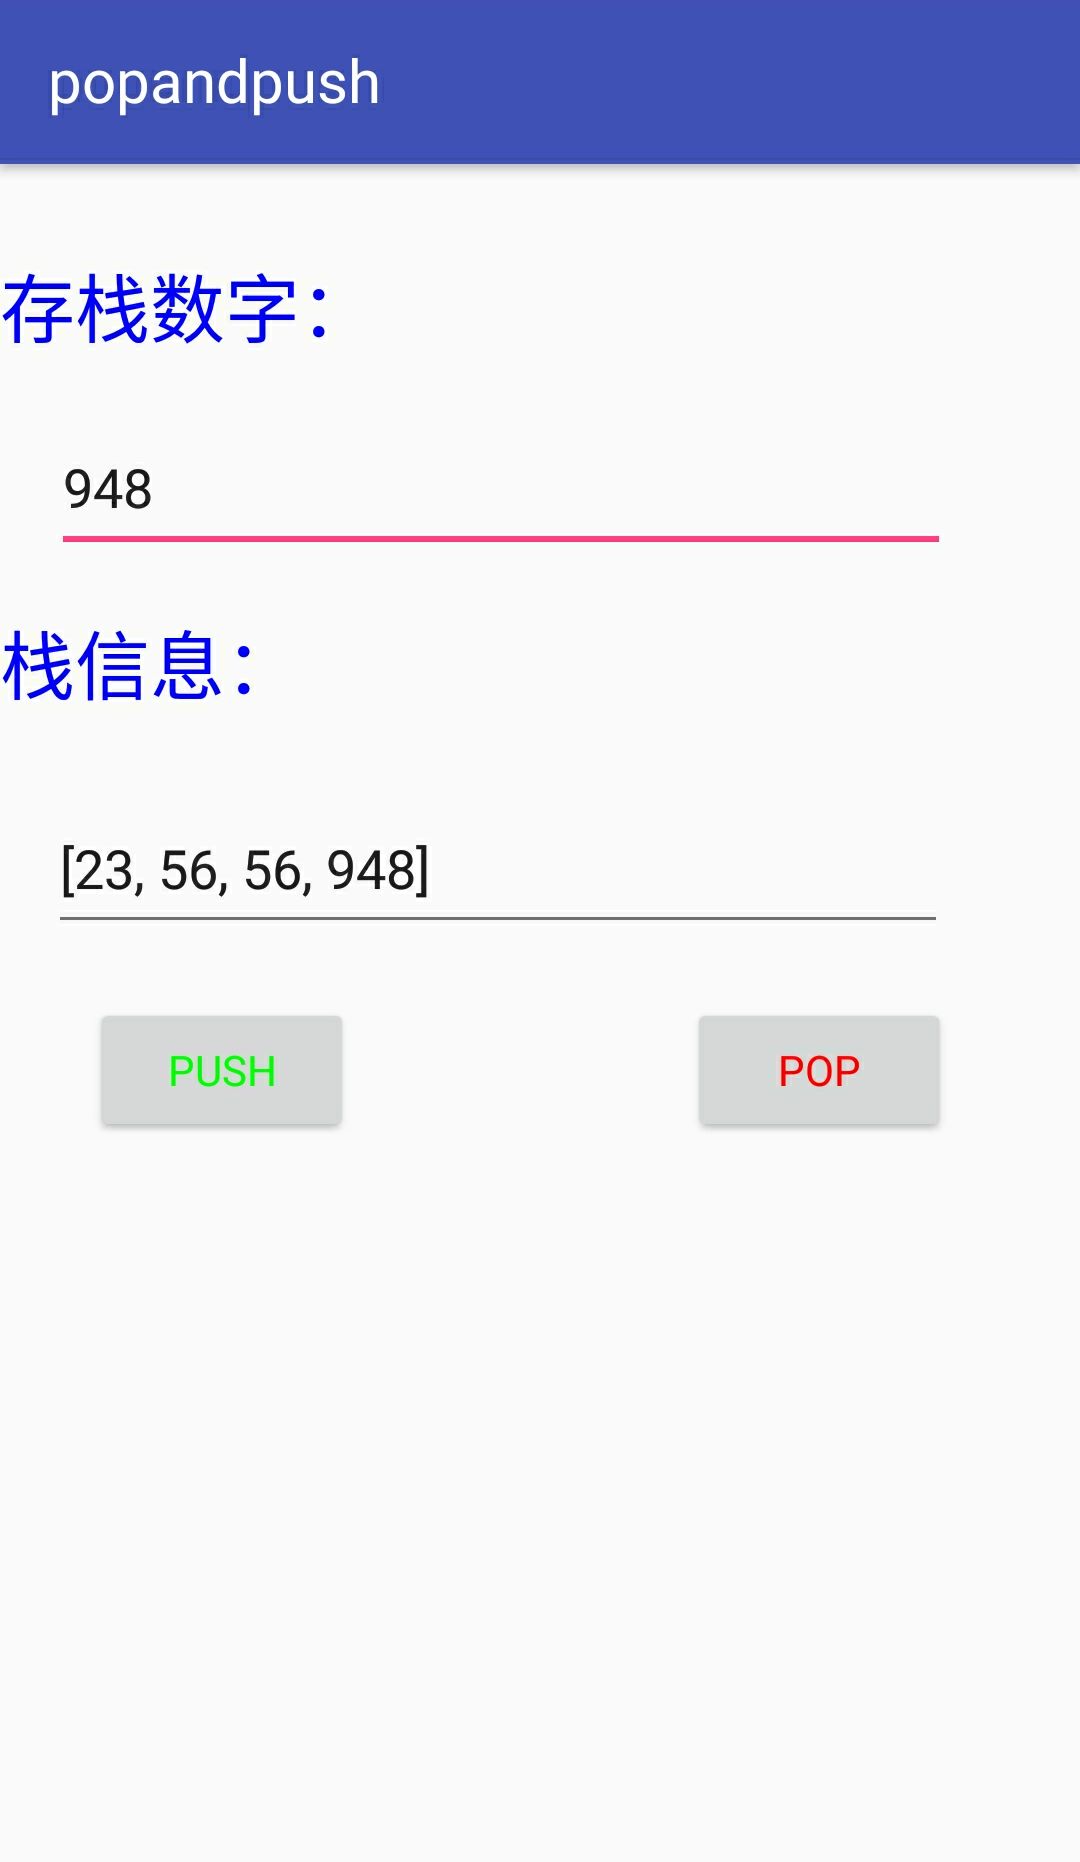
界面二
-
建造了两个Button,两个EditText,两个TextView和一个Toast其中Button是实现Pop和Push,EditText用来标注TextView中的内容的,TextView用来写入数字和产生栈信息的。

-
第一步,两个Button,两个的第一行是按钮的名字,第二行均进行不同颜色的改写,第三行进行加粗。
android:text="Push"
android:textColor="@color/green"
android:textStyle="bold"
android:text="Pop" android:textColor="@color/red" android:textStyle="bold" -
第二步,两个TextView,用来标注EditText内的信息,区分两个框内的内容。进行了颜色(蓝色)和大小的改写
android:text="存栈数字:"
android:textColor="@color/blue"
android:textSize="25dp"
android:text="栈信息:" android:textColor="@color/blue" android:textSize="25dp"- 第三步,一个Toast,没什么用,就是标识一下是“测试”
Toast toast = Toast.makeText(this,"测试",Toast.LENGTH_LONG); toast.show();- 第四步,主体部分,在两个EditText内使用Stack.pop和Stack.push。
EditText editText1 = (EditText)findViewById(R.id.editText1);
stack.push(editText1.getText().toString());
System.out.println(editText1.getText().toString());
EditText editText2=(EditText)findViewById(R.id.editText2);
editText2.setText(editText1.getText(), TextView.BufferType.EDITABLE);
editText2.setText(stack.toString(), TextView.BufferType.EDITABLE);
EditText editText2=(EditText)findViewById(R.id.editText2); stack.pop(); editText2.setText(stack.toString(), TextView.BufferType.EDITABLE); -
3. 测试过程中遇到的问题和解决过程
-
问题1:在修改内容颜色的时候没有颜色
-
问题1解决方案:在网上查找添加颜色的方法,在工程目录values文件夹下的color.xml内添加以颜色即可。
-
问题2:对话框
-
问题2解决方案:通过看同学的代码内容,理解了建立对话框的代码,
dialog.setTitle("STACK");是标题的部分,dialog.setMessage("想尝试么?");是主体信息,dialog.setPositiveButton("继续", new DialogInterface.OnClickListener()是开启第二个界面的,dialog.setNegativeButton("退出", new DialogInterface.OnClickListener()是退出,不跳转到第二个界面。只是浅层次的学习了一下对话框,会在以后学习对话框,并尝试不同风格的对话框。
其他(感悟、思考等)
这是第一次使用Android Studio开发小程序,在成功实现了Push的方法之后,虽然做了Pop的Button键,但是没有实现Pop的方法。下次做实验一定会全部完成之后在进行提交的。


