前提:已经安装Flume
1. 编写Flume agent配置文件
[root@sam01 scripts]# vim collect-app-agent.conf
# filename: collect-app-agent.conf
# 定义一个名字为 a1001 的agent
# 定义channel
a1001.channels = ch-1
# 定义source
a1001.sources = src-1
# 定义sink
a1001.sinks = k1

# sink 接到 channel 上
a1001.sinks.k1.channel = ch-1
# source 接到 channel 上
a1001.sources.src-1.channels = ch-1
a1001.sources.src-1.type = spooldir
# 数据文件目录
a1001.sources.src-1.spoolDir = /opt/app/collect-app/logs/data/
# 正则匹配我们需要的数据文件
a1001.sources.src-1.includePattern = ^collect-app.*.log
# 如果想在header信息中加入你传输的文件的文件名,设置下面参数为true,同时设置文件header的key,我们这里设置成fileName,之后你就可以在sink端通过  %{fileName}, 取出header中的fileName变量中的值,这个值就是文件名
# a1001.sources.src-1.basenameHeader = true
# a1001.sources.src-1.basenameHeaderKey = fileName

# 积累多少个event后,一起发到channel, 这个值在生成环境中我们需要根据数据量配置batchSize大的下,通常来讲们的batchSize越大,吞吐就高,但是也要受到 channel 的capacity,transactionCapacity的限制,不能大于channel的transactionCapacity值。 关于这三个参数的区别及说明参看 [官方wiki](https://cwiki.apache.org/confluence/display/FLUME/BatchSize%2C+ChannelCapacity+and+ChannelTransactionCapacity+Properties)
a1001.sources.src-1.batchSize = 100

a1001.sinks.k1.type = hdfs
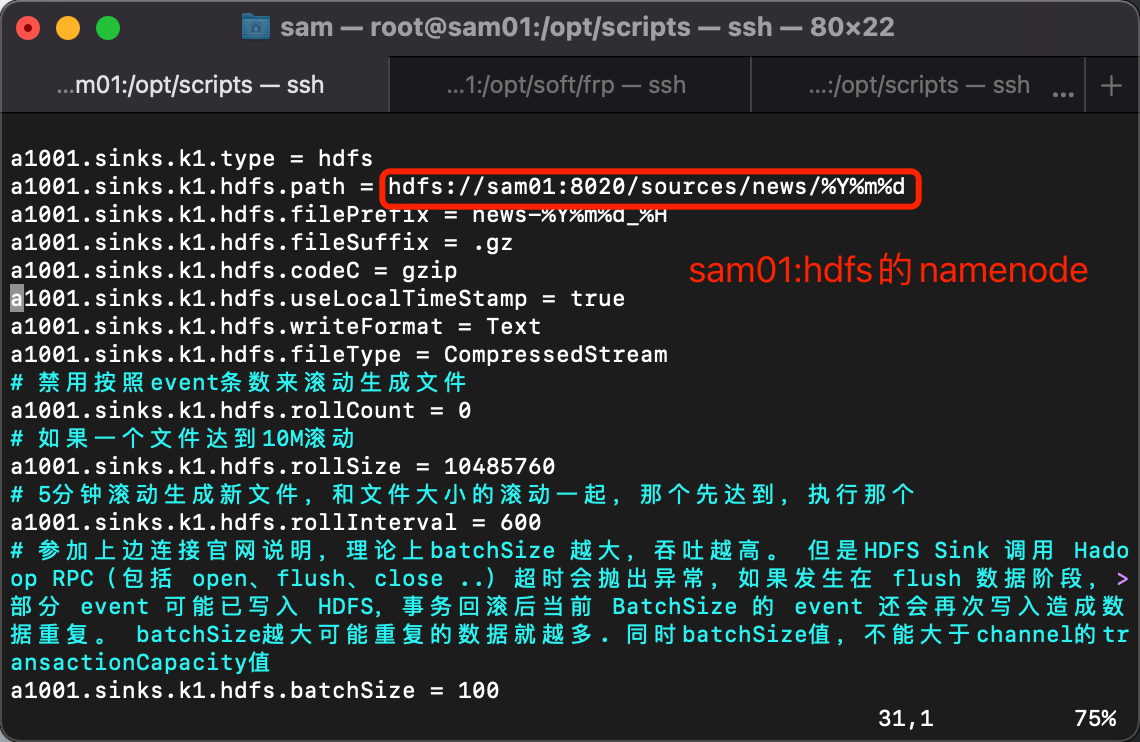
a1001.sinks.k1.hdfs.path = hdfs://sam01:8020/sources/news/%Y%m%d
a1001.sinks.k1.hdfs.filePrefix = news-%Y%m%d_%H
a1001.sinks.k1.hdfs.fileSuffix = .gz
a1001.sinks.k1.hdfs.codeC = gzip
a1001.sinks.k1.hdfs.useLocalTimeStamp = true
a1001.sinks.k1.hdfs.writeFormat = Text
a1001.sinks.k1.hdfs.fileType = CompressedStream
# 禁用按照event条数来滚动生成文件
a1001.sinks.k1.hdfs.rollCount = 0
# 如果一个文件达到10M滚动
a1001.sinks.k1.hdfs.rollSize = 10485760
# 5分钟滚动生成新文件,和文件大小的滚动一起,那个先达到,执行那个
a1001.sinks.k1.hdfs.rollInterval = 600
# 参加上边连接官网说明,理论上batchSize 越大,吞吐越高。 但是HDFS Sink 调用 Hadoop RPC(包括 open、flush、close ..)超时会抛出异常,如果发生在 flush 数据阶段,部分 event 可能已写入 HDFS,事务回滚后当前 BatchSize 的 event 还会再次写入造成数据重复。 batchSize越大可能重复的数据就越多. 同时batchSize值,不能大于channel的transactionCapacity值
a1001.sinks.k1.hdfs.batchSize = 100
# 每个HDFS SINK 开启多少线程来写文件
a1001.sinks.k1.hdfs.threadsPoolSize = 10
# 如果一个文件超过多长时间没有写入,就自动关闭文件,时间单位是秒
a1001.sinks.k1.hdfs.idleTimeout = 60

a1001.channels.ch-1.type = memory
a1001.channels.ch-1.capacity = 10000
a1001.channels.ch-1.transactionCapacity = 100
![image]()
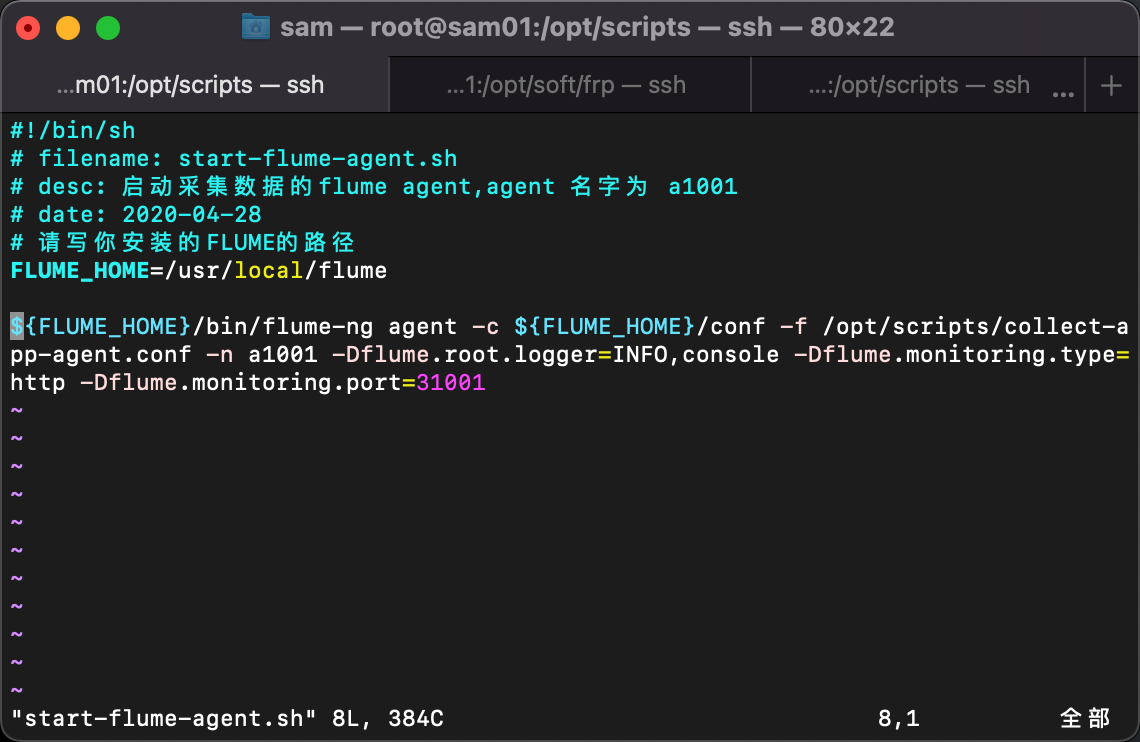
2. 编写启动Flume agent采集数据的脚本
[root@sam01 scripts]# vim start-flume-agent.sh
#!/bin/sh
# filename: start-flume-agent.sh
# desc: 启动采集数据的flume agent,agent 名字为 a1001
# date: 2022-02-25
# 请写你安装的FLUME的路径
FLUME_HOME=/usr/local/flume

${FLUME_HOME}/bin/flume-ng agent -c ${FLUME_HOME}/conf -f /opt/scripts/collect-app-agent.conf -n a1001 -Dflume.root.logger=INFO,console -Dflume.monitoring.type=http -Dflume.monitoring.port=31001
![image]()
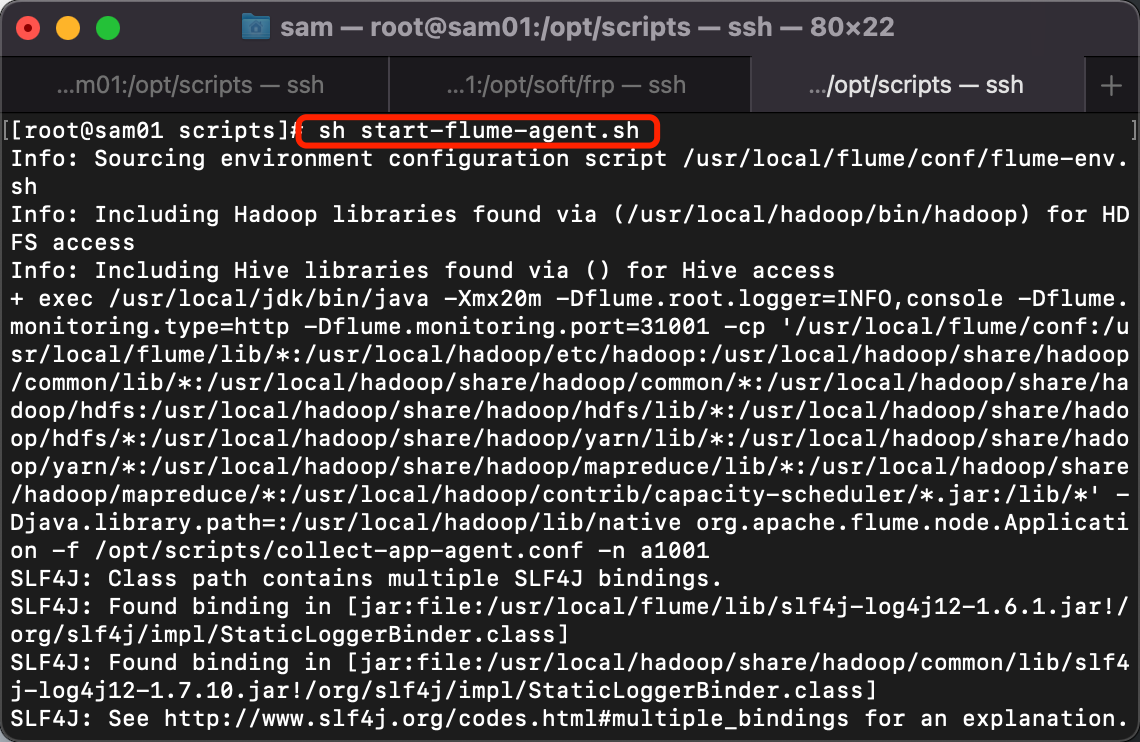
3. 执行脚本start-flume-agent.sh
[root@sam01 scripts]# sh start-flume-agent.sh
![image]()
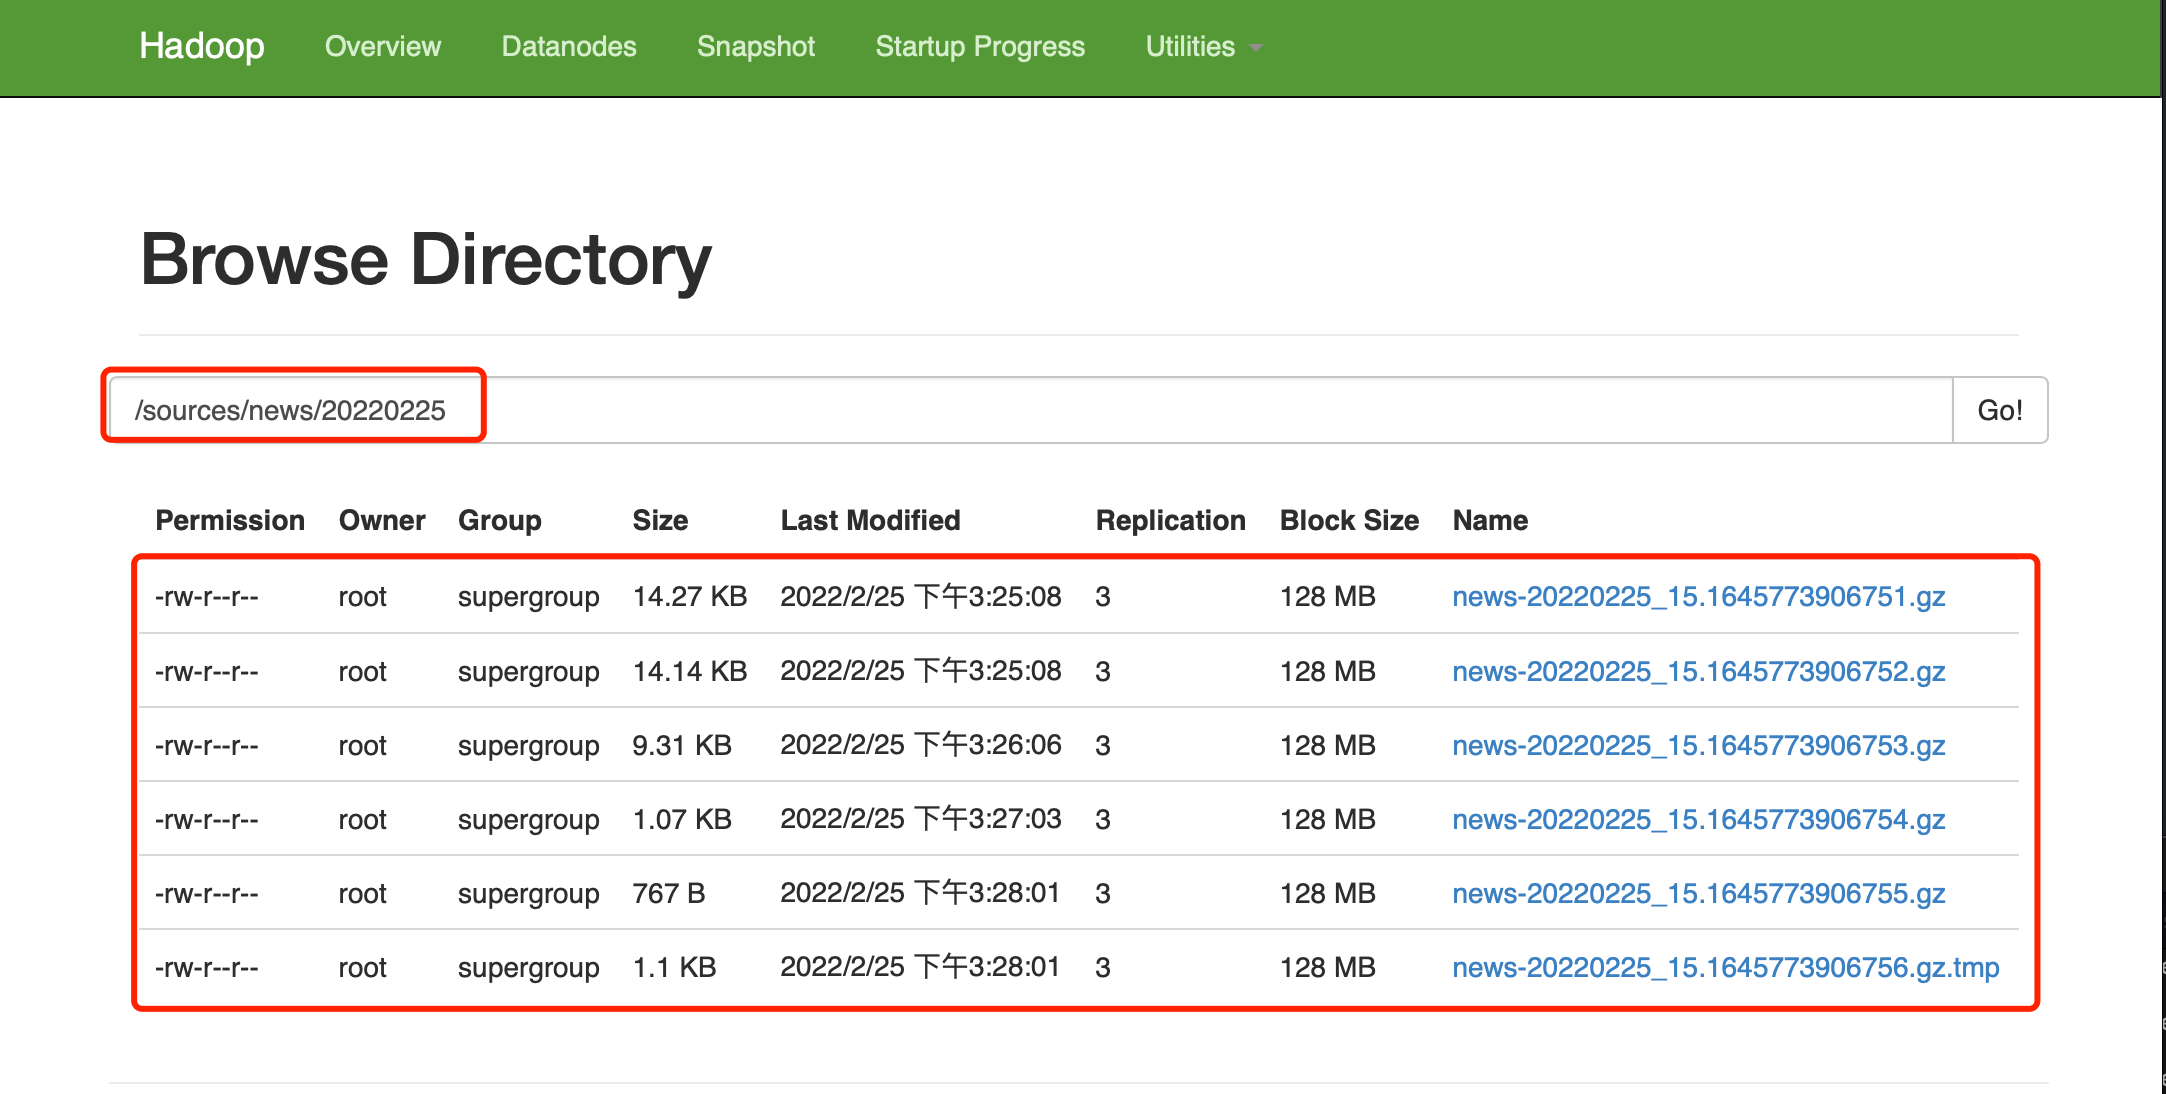
4. 查看HDFS结果
![image]()
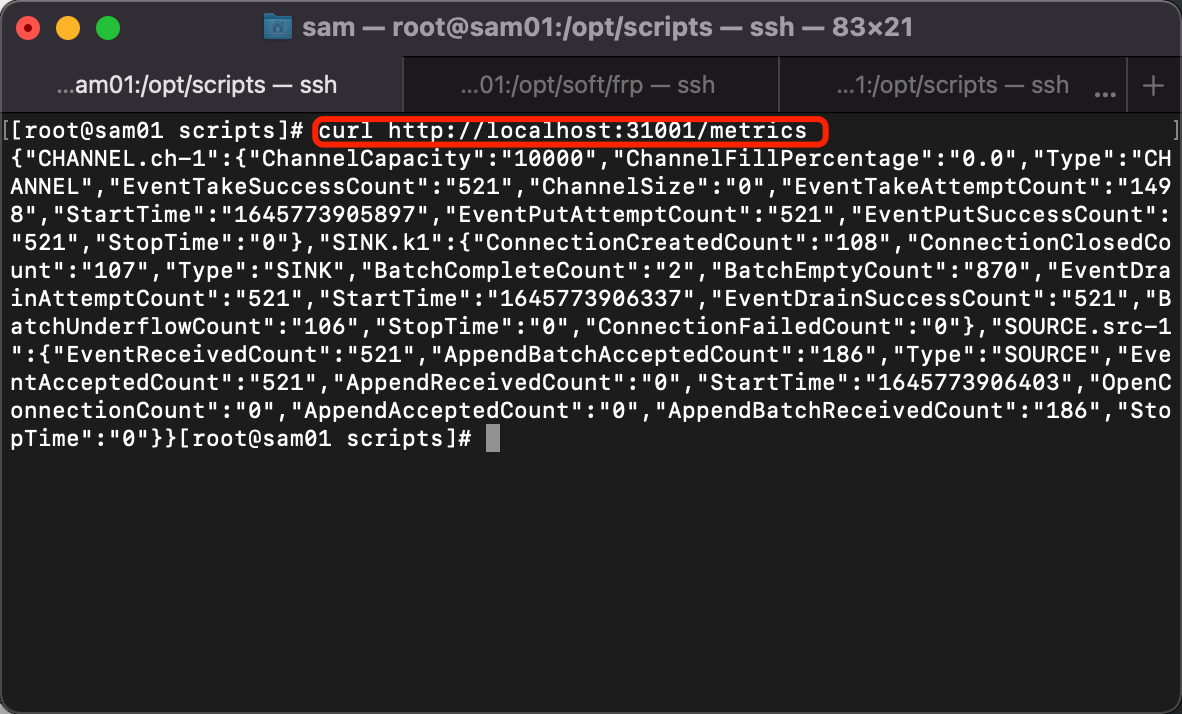
5. 查看Flume的metric信息
[root@sam01 scripts]# curl http://localhost:31001/metrics
![image]()


 浙公网安备 33010602011771号