Spring 源码编译
一、环境准备
此次作者编译得环境如下:
1、maven
2、jdk1.8
3、Idea2020.3.1x64
二、源码下载
-
下载
本次作者下载得版本是最新版本V5.3.8
三、Gradle下载
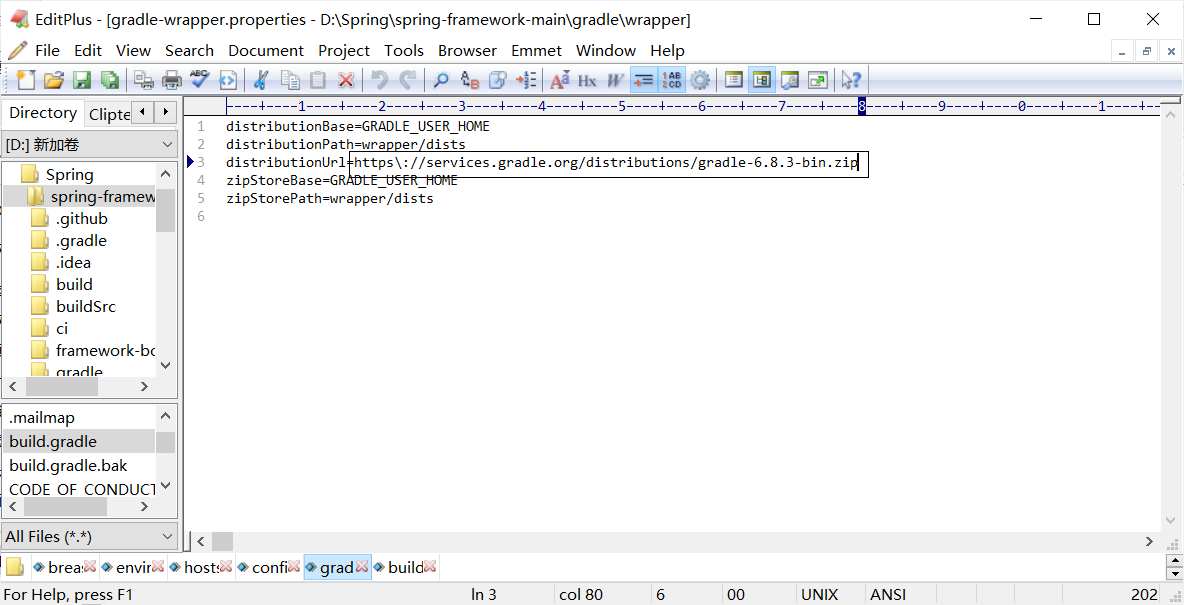
可以自己下载Gradle,也可以由IDEA自己下载,如自己下载,可以去spring-framework-main\gradle\wrapper\gradle-wrapper.properties文件中,根据下图所示得地址进行下载
四、修改镜像
进入到build.gradle文件下,设置镜像,找到如下图所示得位置
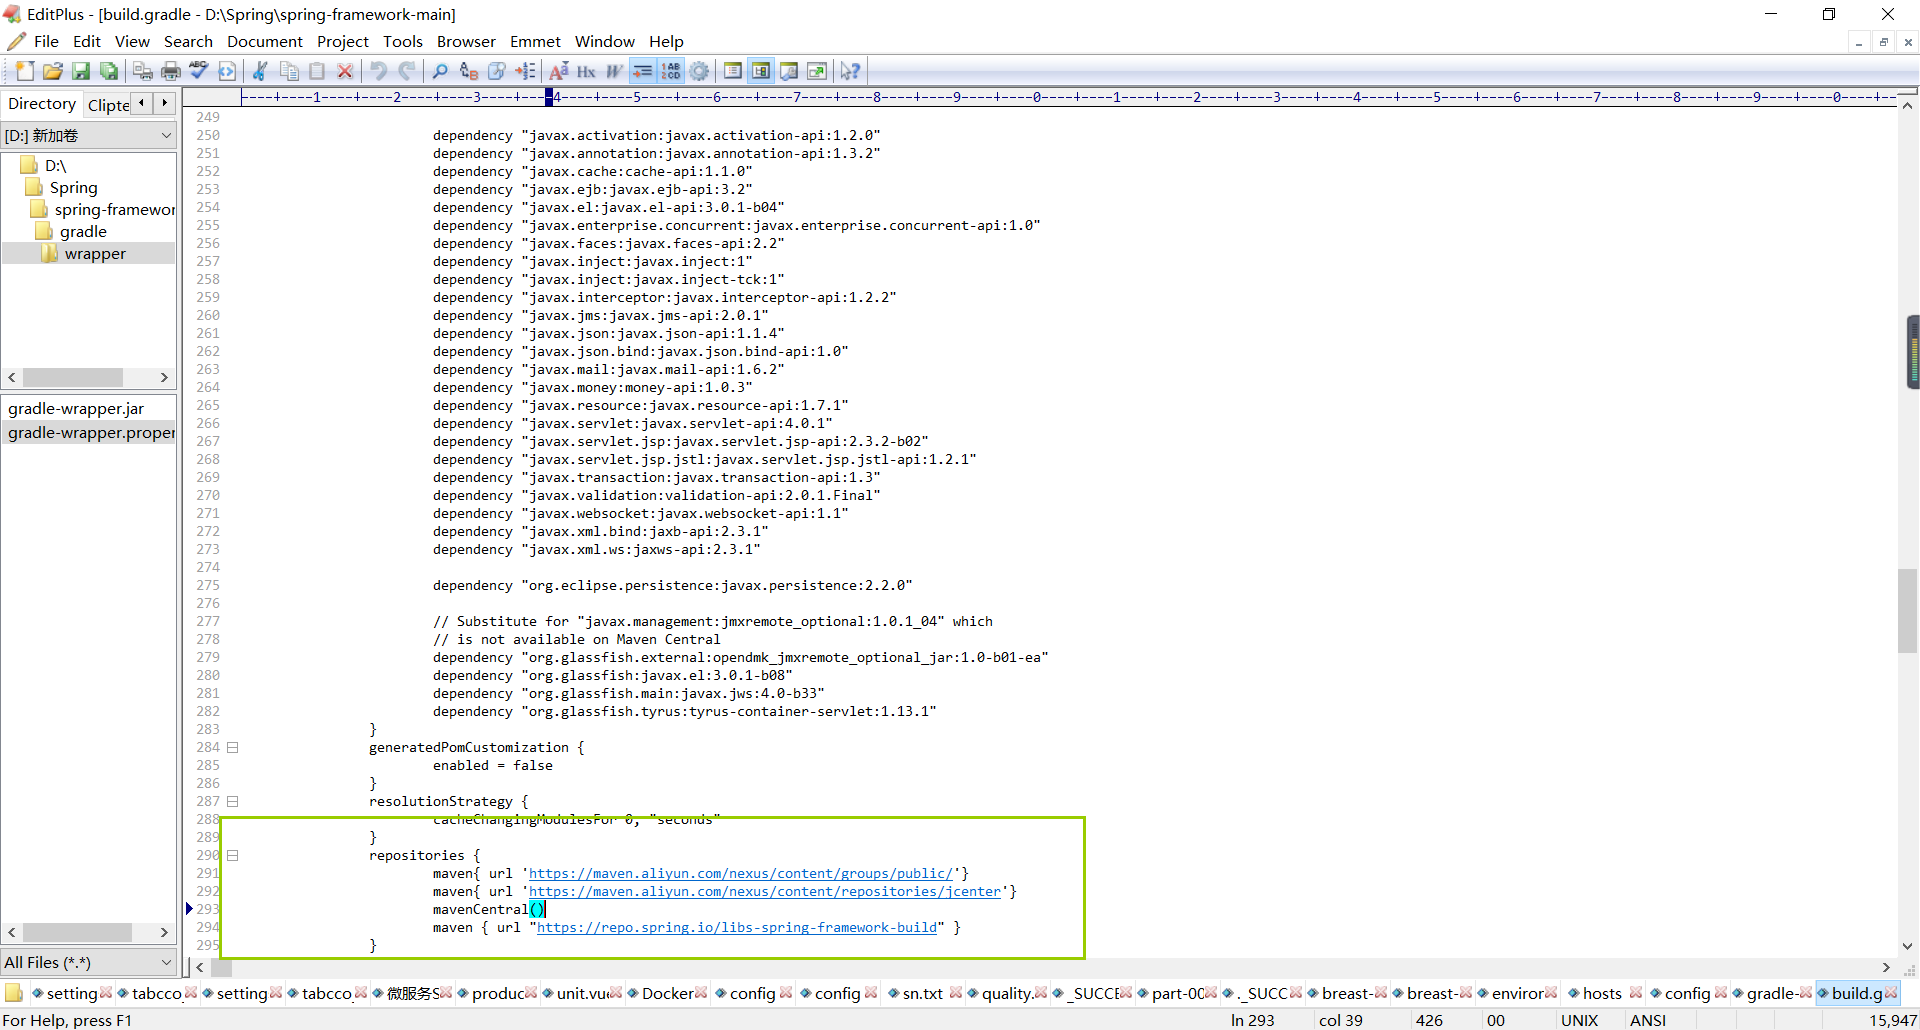
并添加下列信息
repositories {
maven{ url 'https://maven.aliyun.com/nexus/content/groups/public/'}
maven{ url 'https://maven.aliyun.com/nexus/content/repositories/jcenter'}
mavenCentral()
maven { url "https://repo.spring.io/libs-spring-framework-build" }
}
五、编译
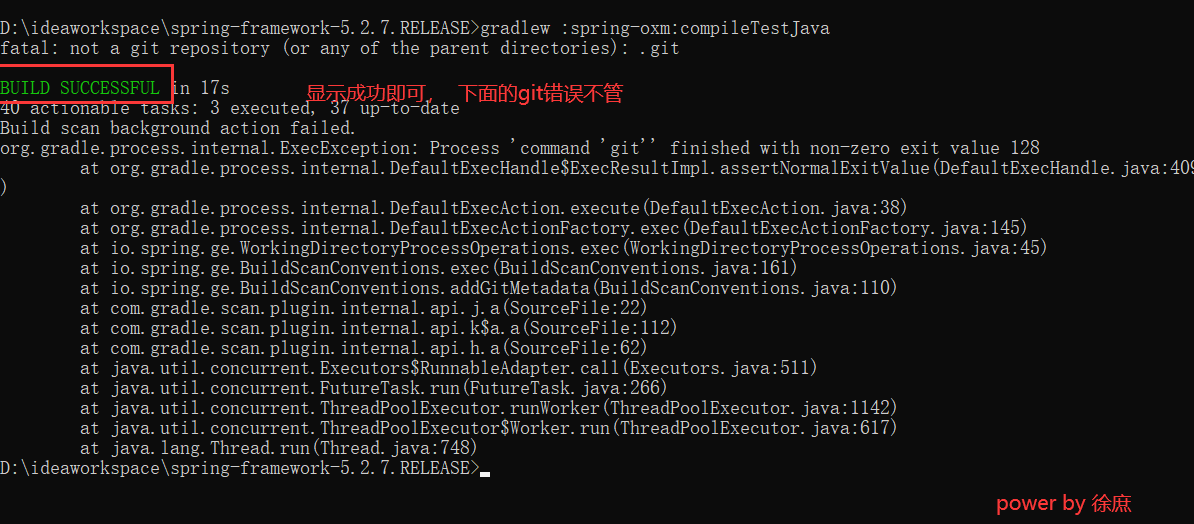
安装官网的方式进行编译,打开源码文件夹,在cmd命令中进行输入
gradlew :spring-oxm:compileTestJava
配置了镜像之后,编译速度会很快
六、导入项目到Idea中
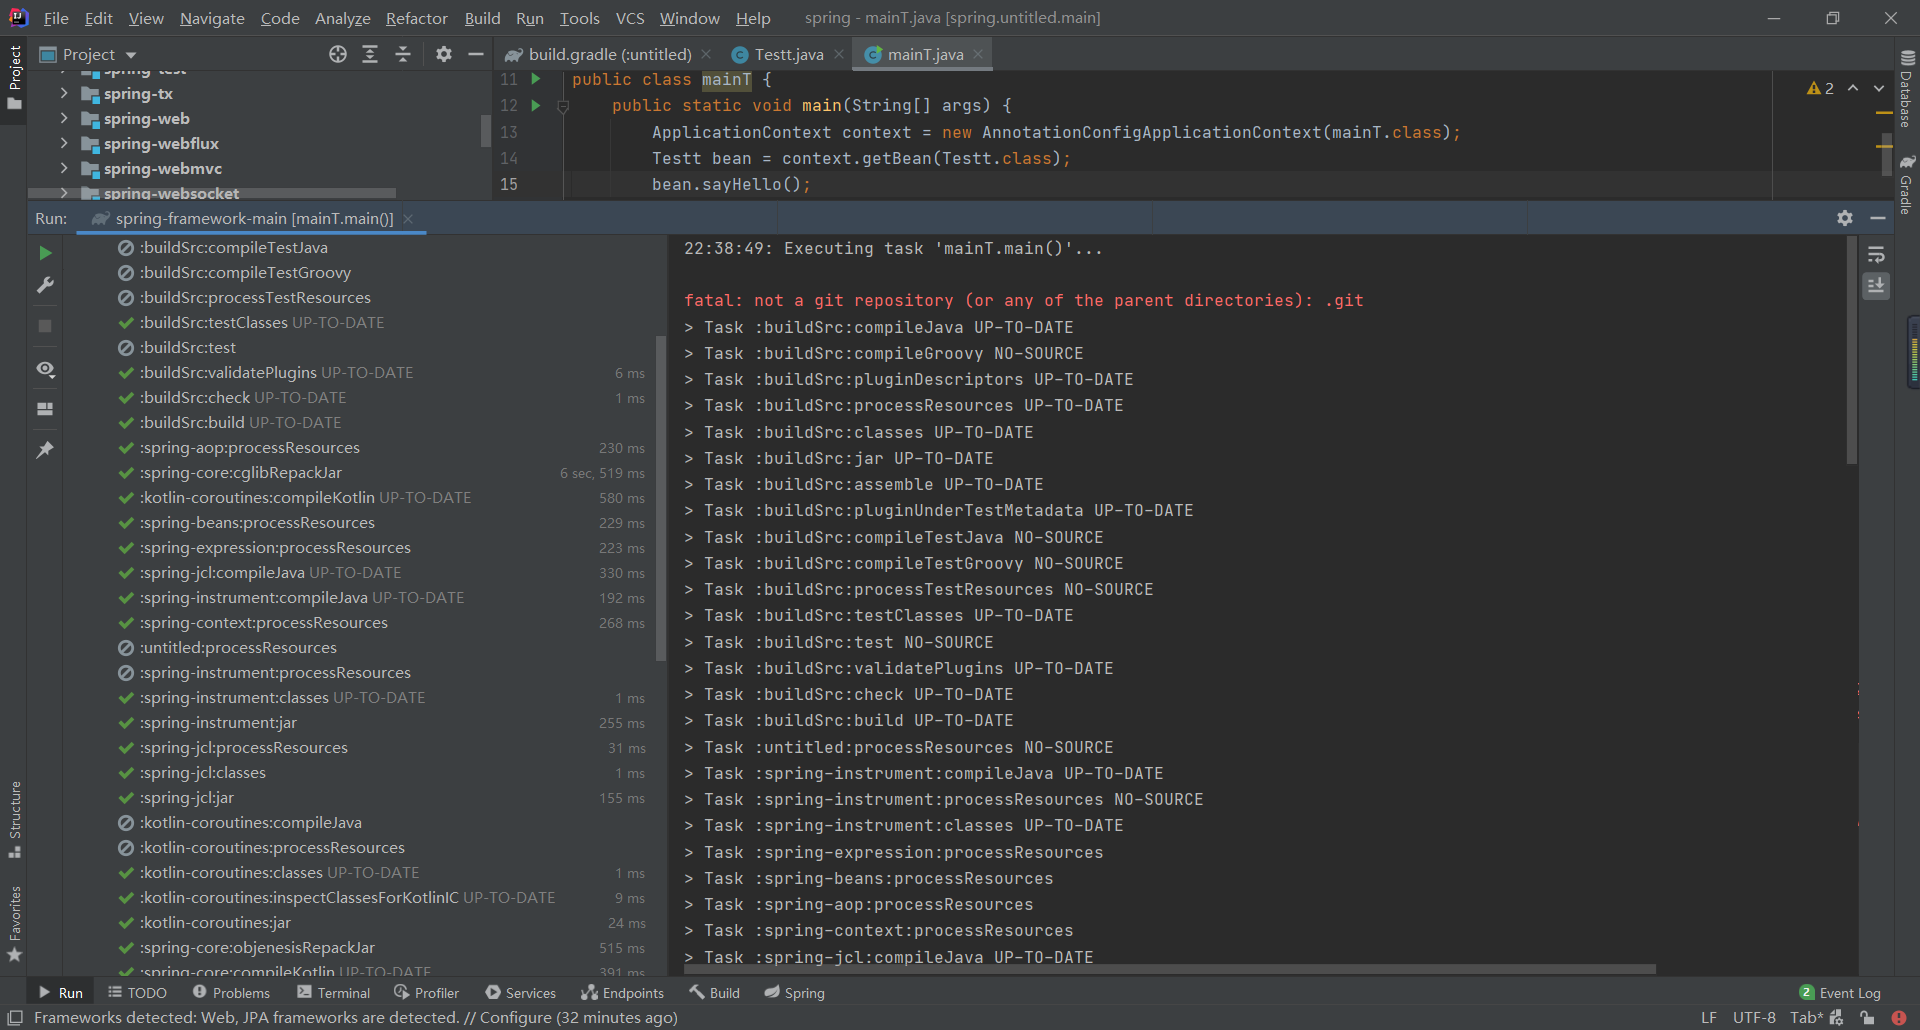
导入到Idea后会需要等待一点时间等待编译完成
七、添加测试模块
新建moudle
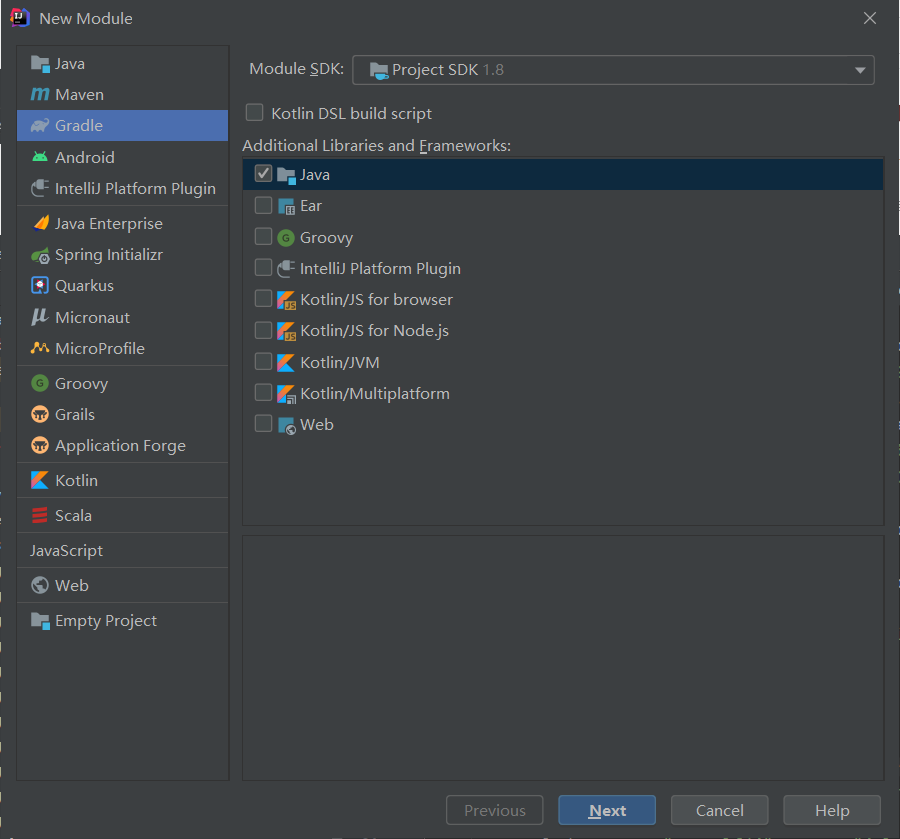
在新建的moudle下的build.gradle中添加依赖
dependencies {
    testCompile group: 'junit', name: 'junit', version: '4.12'
    compile(project(":spring-context"))
}
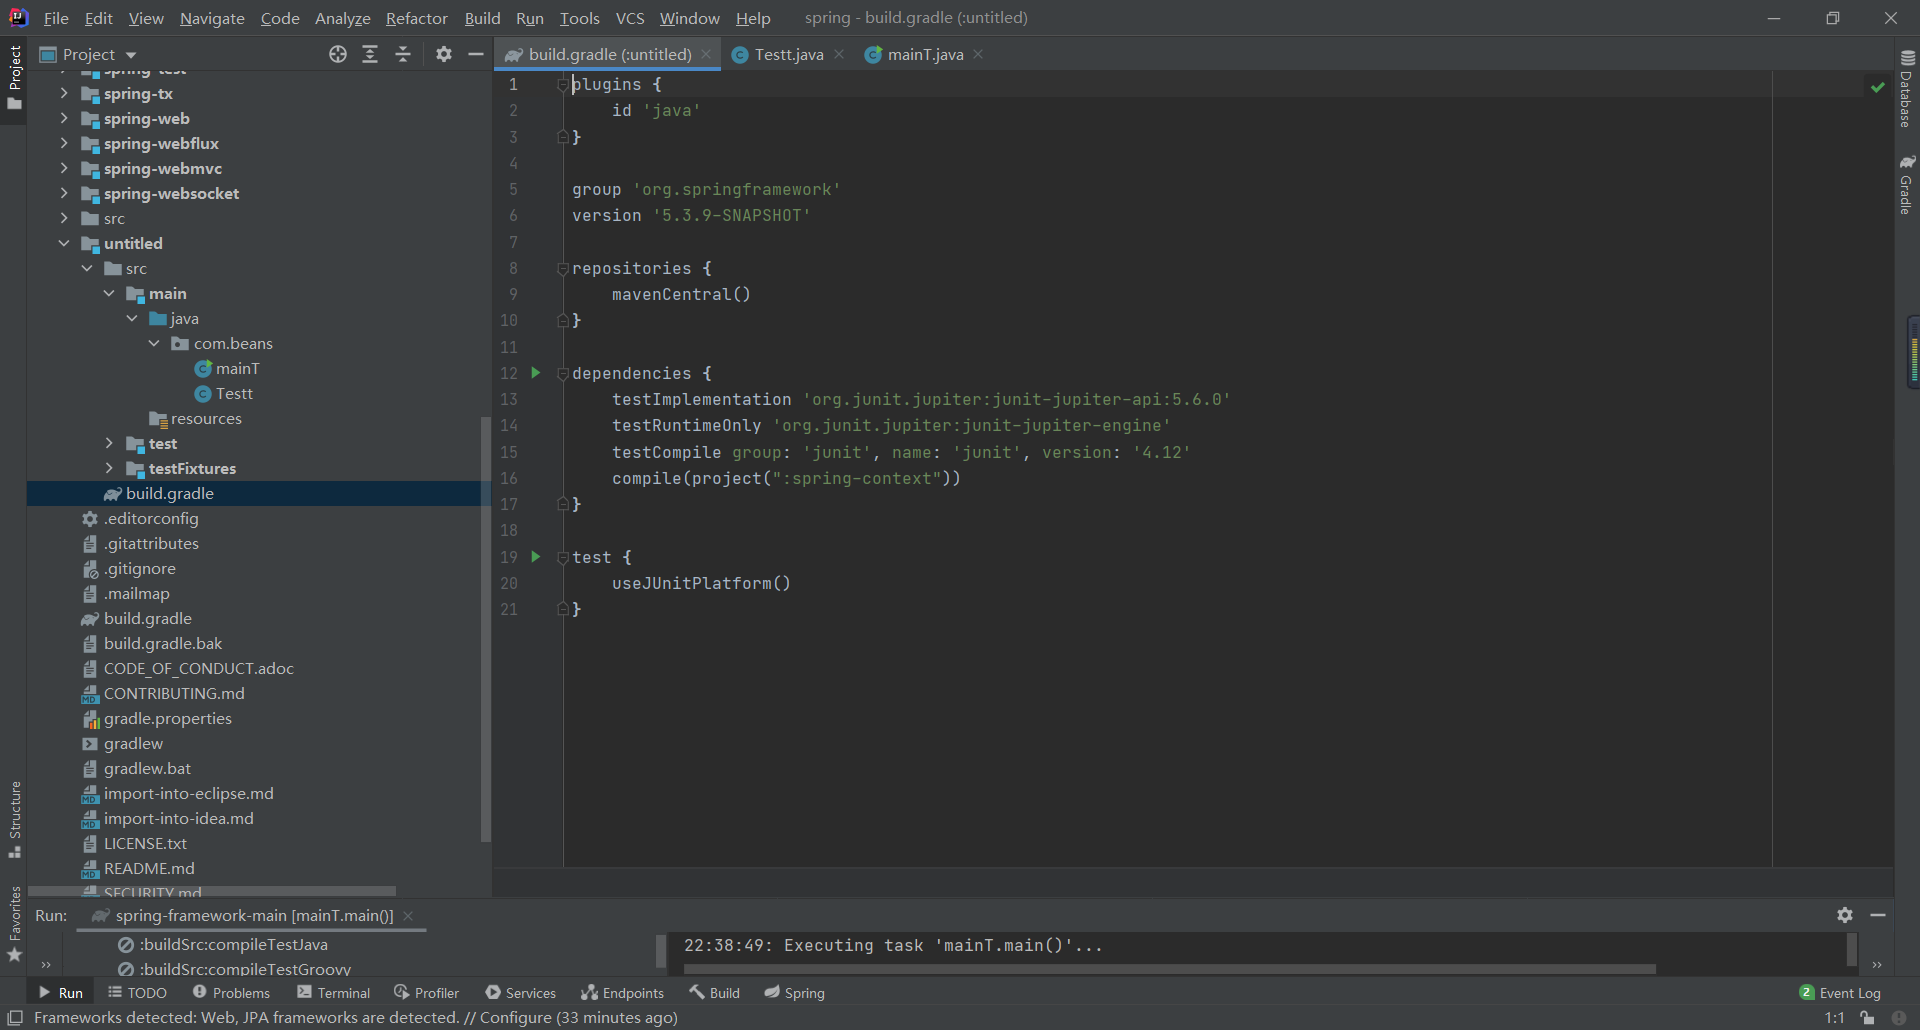
compile(project(":spring-context")) 代表本项目的spring-context,因为要用到注解。
八、新建测试类
如上图所示,新建两个测试类进行测试
1、新建一个bean类
package com.beans;
import org.springframework.stereotype.Service;
2、添加启动配置类
package com.beans;
import org.springframework.beans.factory.annotation.Configurable;
import org.springframework.context.ApplicationContext;
import org.springframework.context.annotation.AnnotationConfigApplicationContext;
import org.springframework.context.annotation.ComponentScan;
import org.springframework.context.annotation.Configuration;
最后运行


