深度图及后处理中用深度图重建世界坐标
深度图介绍
就是将深度信息(Z坐标值)保存在了一张贴图上的R通道上,因为R通道的值范围是[0, 1],所以我们可以用ndc空间下的Z坐标值做下处理就能变成[0, 1]范围了( (Zndc+1)*0.5 )
如何查看深度图
1) 使用Frame Debug查看,Window -> Analysis -> Frame Debugger
注意要设置Camera的深度图模式属性:m_Camera.depthTextureMode = DepthTextureMode.Depth
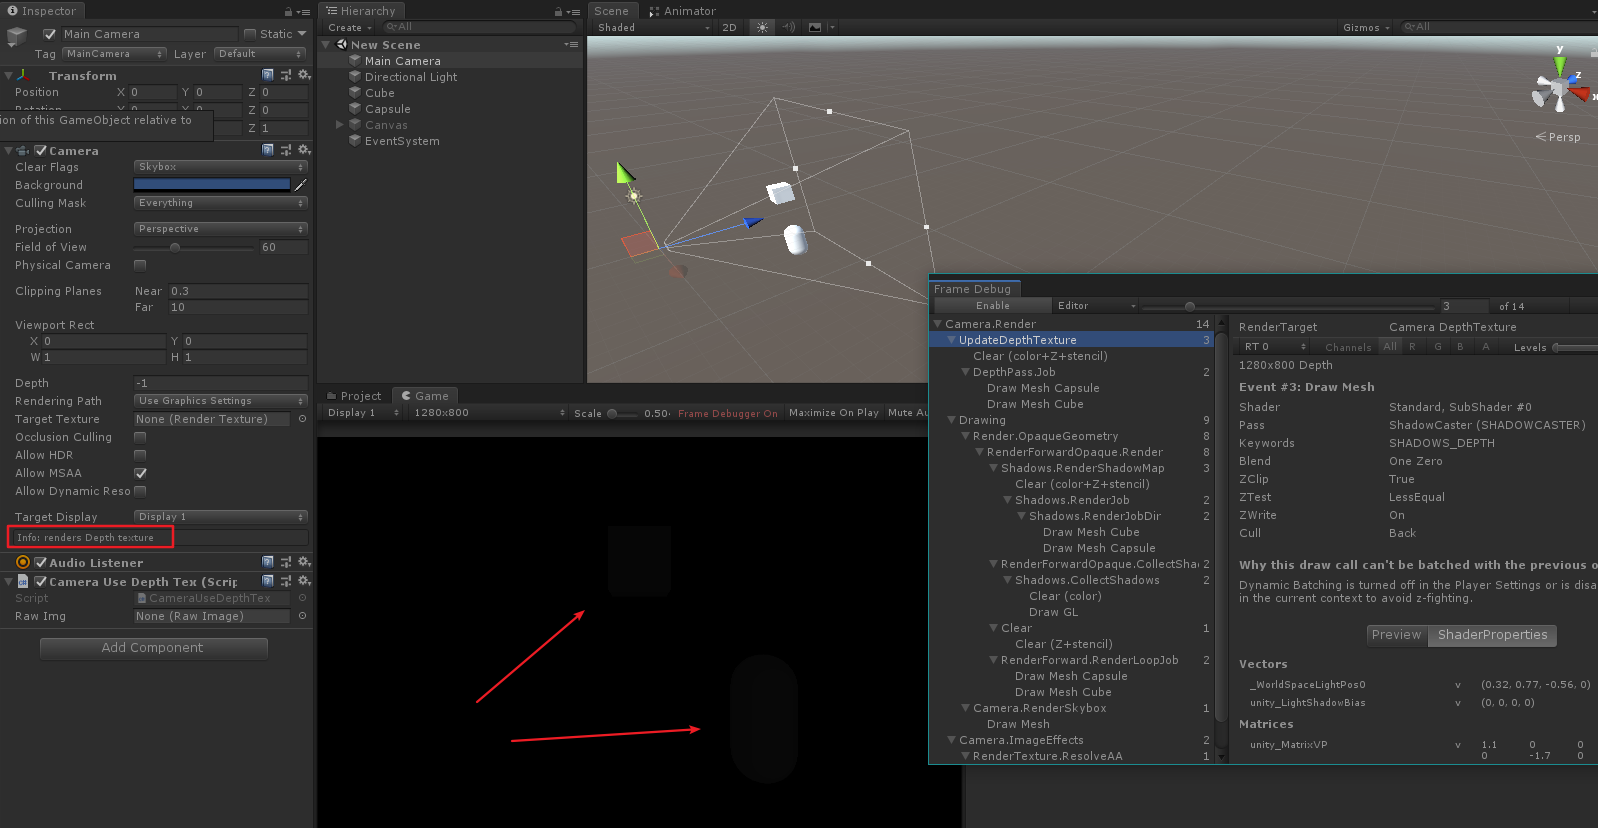
2) 使用Shader.GetGlobalTexture("_CameraDepthTexture")获取深度图后,用RawImage展示,把下面的脚本挂Camera上
using UnityEngine;
using UnityEngine.UI;

[RequireComponent(typeof(Camera))]
public class CameraUseDepthTex : MonoBehaviour
{
    private Camera m_Camera;
    public RawImage m_rawImg;

    private void Start()
    {
        m_Camera = GetComponent<Camera>();
        m_Camera.depthTextureMode = DepthTextureMode.Depth;
    }

    void OnPostRender()
    {
        var tex = Shader.GetGlobalTexture("_CameraDepthTexture");
        if (null != tex)
        {
            //Debug.Log($"{tex.GetType().Name}");
            if (null != m_rawImg)
            {
                m_rawImg.texture = tex;
                m_rawImg.SetNativeSize();
            }
        }
    }

}
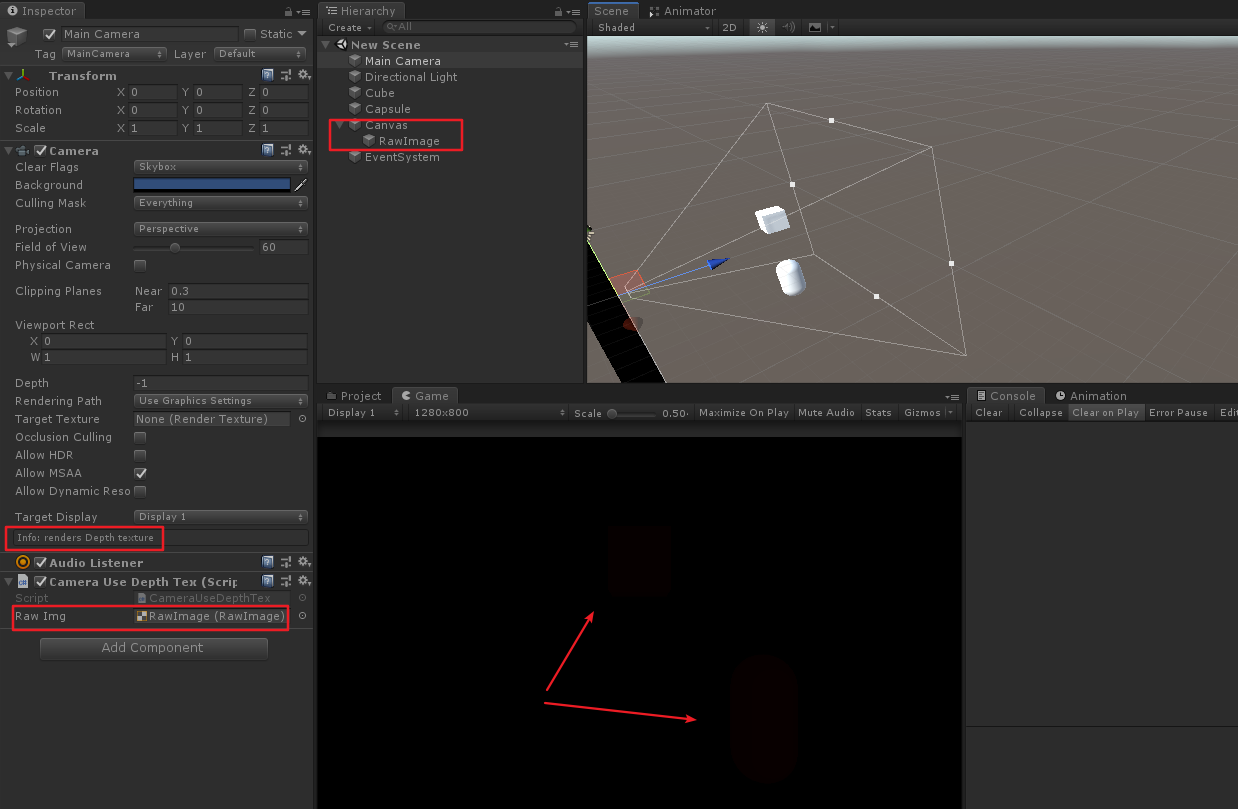
上面的2个深度图可以模糊的看到一个正方体和胶囊体的画面,让人都怀疑深度图到底有没有生成。
深度图是否明显与near值有关
1) near值太小就会不明显,上面就是因为相机的Clipping Planes的near值设置太小了
2) 深度计算公式
 其中:near为近平面的值,far为远平面的值,Zndc表示ndc空间下的Z坐标,Zcam表示视角空间下的Z坐标
而在DirectX 11,DirectX 12等平台上还需要再做下处理
depth=1-Zndc,至于为啥要这样处理,主要是浮点数精度问题会引发Z-Fight闪烁,具体的自己百度。
a) near设为0.3时,基本Zcam超过5之后,值就接近0了

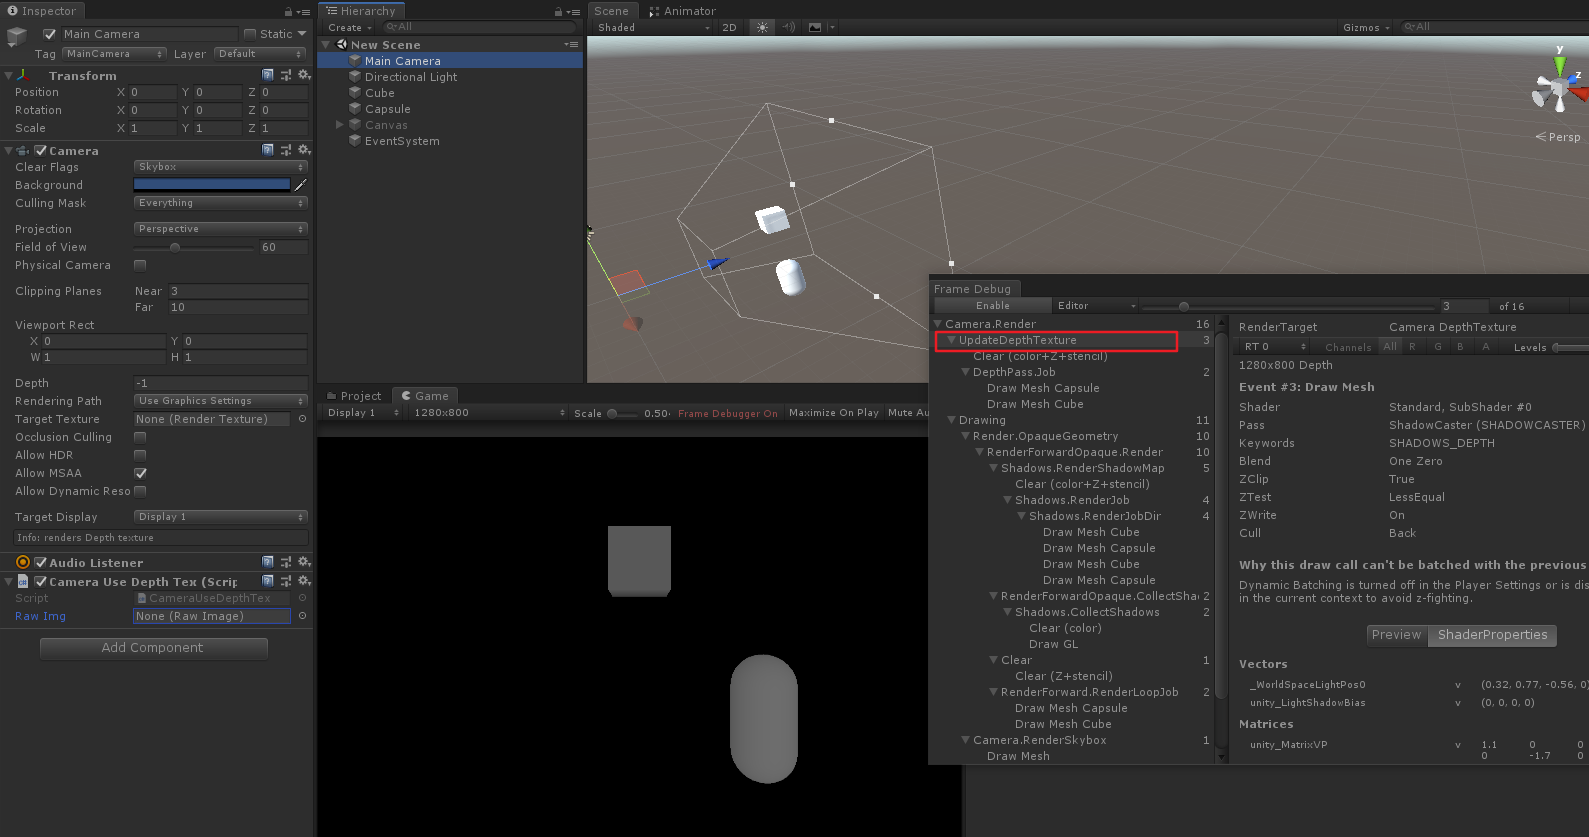
b) near设为3就好很多了

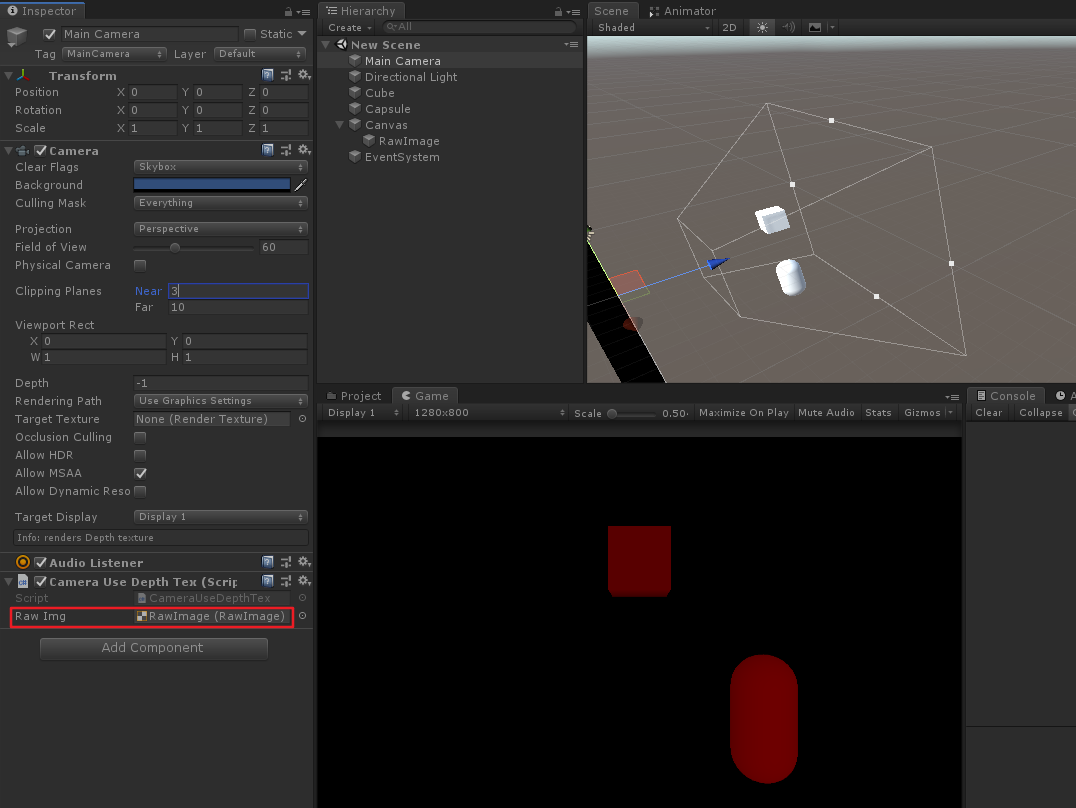
c) near设为3时的深度图,就很明显了
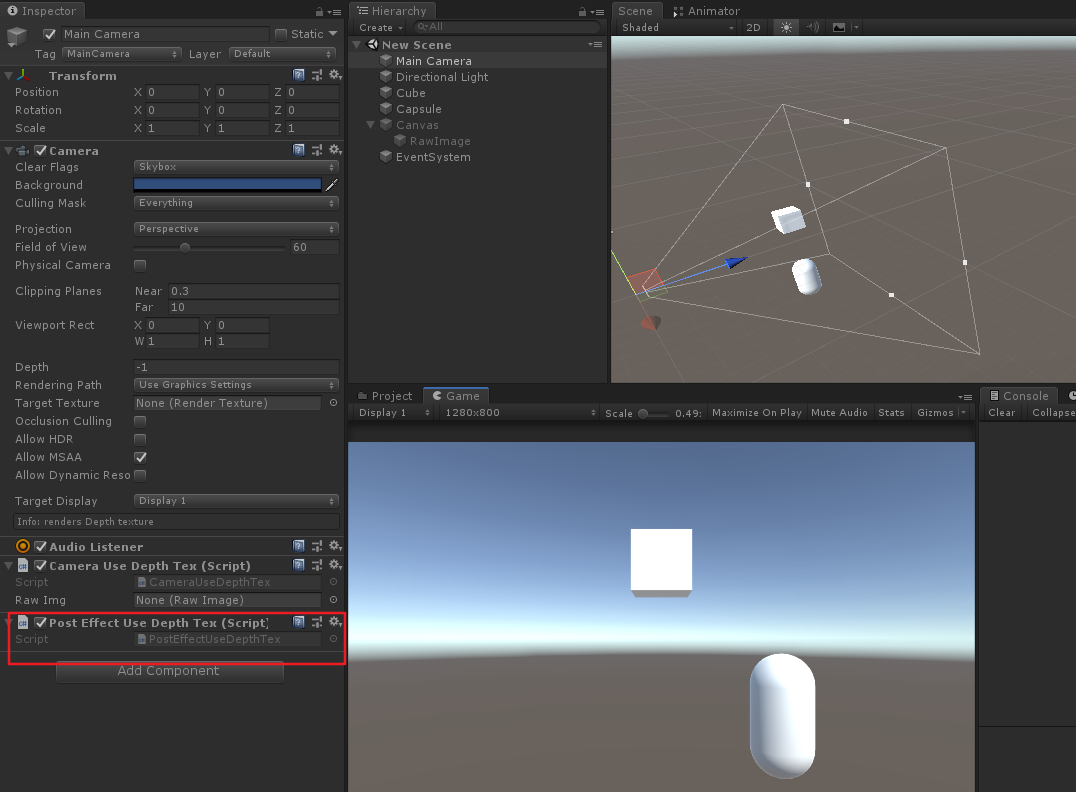
后处理中用深度图重建世界坐标
using UnityEngine;

[RequireComponent(typeof(Camera))]
public class PostEffectUseDepthTex : MonoBehaviour
{

    private Camera m_Camera;
    private Material m_GetWorldPosByDepthMat;

    void Start()
    {
        m_Camera = GetComponent<Camera>();
        m_GetWorldPosByDepthMat = new Material(Shader.Find("My/DepthTex/GetWorldPosByDepth"));
    }

    void OnRenderImage(RenderTexture src, RenderTexture dst)
    {
        var VPMatrix = m_Camera.projectionMatrix * m_Camera.worldToCameraMatrix; // World -> View -> Projection
        var clipToWorldMatrix = VPMatrix.inverse;
        m_GetWorldPosByDepthMat.SetMatrix("_ClipToWorldMatrix", clipToWorldMatrix);
        Graphics.Blit(src, dst, m_GetWorldPosByDepthMat);
    }

}
用到的shader
//后处理中根据深度图重建世界坐标, 注意: 只适用于后处理OnRenderImage那边
Shader "My/DepthTex/GetWorldPosByDepth"
{
    Properties
    {
        _MainTex("Texture", 2D) = "white" {}
    }

    SubShader
    {
        ZTest Always
        ZWrite Off

        Pass
        {
            CGPROGRAM
            #pragma vertex vert
            #pragma fragment frag

            #include "UnityCG.cginc"

            struct appdata
            {
                float4 vertex : POSITION;
                float2 uv : TEXCOORD0;
            };

            struct v2f
            {
                float4 vertex : SV_POSITION;
                float2 uv : TEXCOORD0;
                float2 uv_depth : TEXCOORD1;
            };

            sampler2D _CameraDepthTexture; //深度图
            sampler2D _MainTex; //后处理提供的屏幕图
            float4 _MainTex_TexelSize;
            float4x4 _ClipToWorldMatrix; //裁剪空间到世界空间转换矩阵, 需要c#部分提供

            v2f vert(appdata v)
            {
                v2f o;
                o.vertex = UnityObjectToClipPos(v.vertex);

                o.uv = v.uv;

                o.uv_depth = v.uv;
                #if UNITY_UV_STARTS_AT_TOP
                if (_MainTex_TexelSize.y < 0)
                o.uv_depth.y = 1 - o.uv_depth.y;
                #endif

                return o;
            }

            fixed4 frag(v2f i) : SV_Target
            {
                float depth = SAMPLE_DEPTH_TEXTURE(_CameraDepthTexture, i.uv_depth);
                #if defined(UNITY_REVERSED_Z)
                depth = 1 - depth;
                #endif
                float4 ndcPos = float4(i.uv.x * 2 - 1, i.uv.y * 2 - 1, depth * 2 - 1, 1); //后处理的那张贴图就对应整个屏幕, 所以可以直接用像素创建ndc坐标
                float4 worldPos = mul(_ClipToWorldMatrix, ndcPos); //ndcPos和clipPos只是差一个倍数(就是w分量)
                worldPos /= worldPos.w;

                //用世界坐标做相关处理......

                fixed4 c = tex2D(_MainTex, i.uv);
                return c;
            }
            ENDCG
        }
    }

    FallBack Off
}
当然啦,这边拿到世界坐标后啥都没做,所以画面看不到任何实际变化。至于还原了世界坐标能做什么,比如:雾效,运动模糊等。


 浙公网安备 33010602011771号