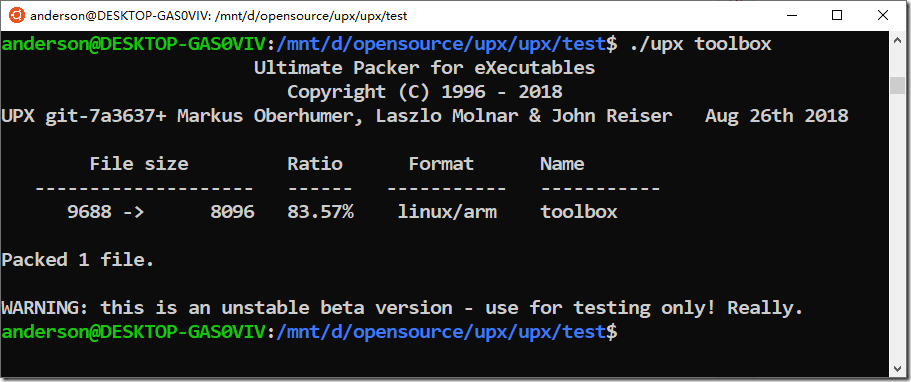
在WSL Ubuntu 下编译UPX详细步骤
准备环境:
1. sudo apt-get update
2. sudo apt-get clang
3. apt-get install libstdc++-dev
Reading package lists... Done
Building dependency tree
Reading state information... Done
Package libstdc++-dev is a virtual package provided by:
libstdc++-8-dev 8.3.0-6ubuntu1~18.04.1
libstdc++-6-dev 6.5.0-2ubuntu1~18.04
libstdc++-7-dev 7.4.0-1ubuntu1~18.04.1
libstdc++-5-dev 5.5.0-12ubuntu1
libstdc++-4.8-dev 4.8.5-4ubuntu8
libc++-dev 6.0-2
You should explicitly select one to install.E: Package 'libstdc++-dev' has no installation candidate
选择第一个继续安装 sudo pt-get install libstdc++-8-dev
4. 安装zlib
sudo apt-get install zlib1g
sudo apt-get install zlib1g.dev
具体编译步骤:
1. git clone https://github.com/upx/upx.git
2. cd upx
3. git submodule update --init –recursive
3. 下载ucl http://www.oberhumer.com/opensource/ucl/download/ucl-1.03.tar.gz
因为upx依赖这种压缩算法,后面要配置这个目录的环境变量
export UPX_UCLDIR=/mnt/d/opensource/upx/ucl-1.03
4. cd ucl-1.03
./configure CC=clang
make
5. 设置环境变量
export UPX_UCLDIR=/mnt/d/opensource/upx/ucl-1.03
export UPX_LZMADIR=/mnt/d/opensource/upx/upx/src/lzma-sdk
export UPX_LZMA_VERSION=0x443
6. 在upx目录下执行 make all
7. 在src目录下会生成upx.out


