
win10安装Linux子系统
本文结构:
一.准备工作
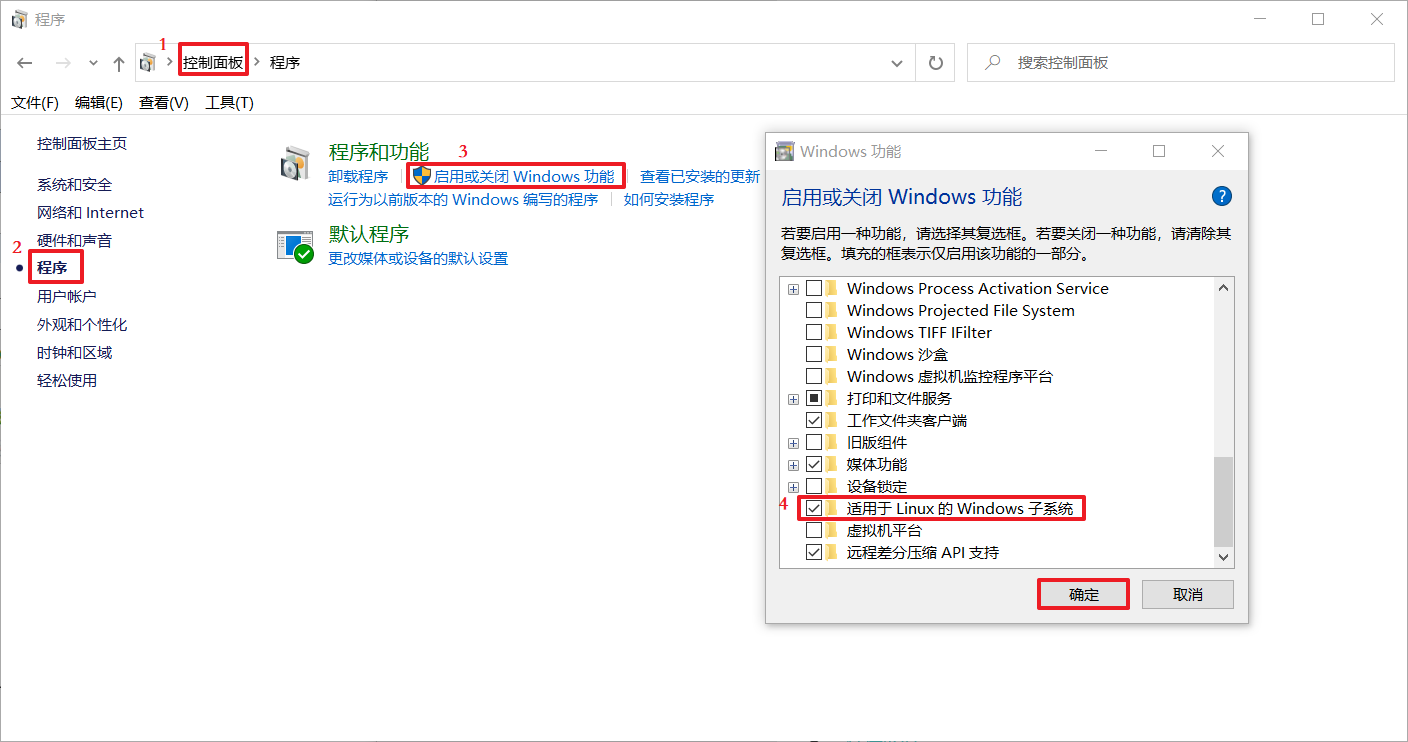
1.在控制面版中启用Linux子系统
2.在设置-更新和安全中-开发者选项中切换到开发人员模式
二.开始安装
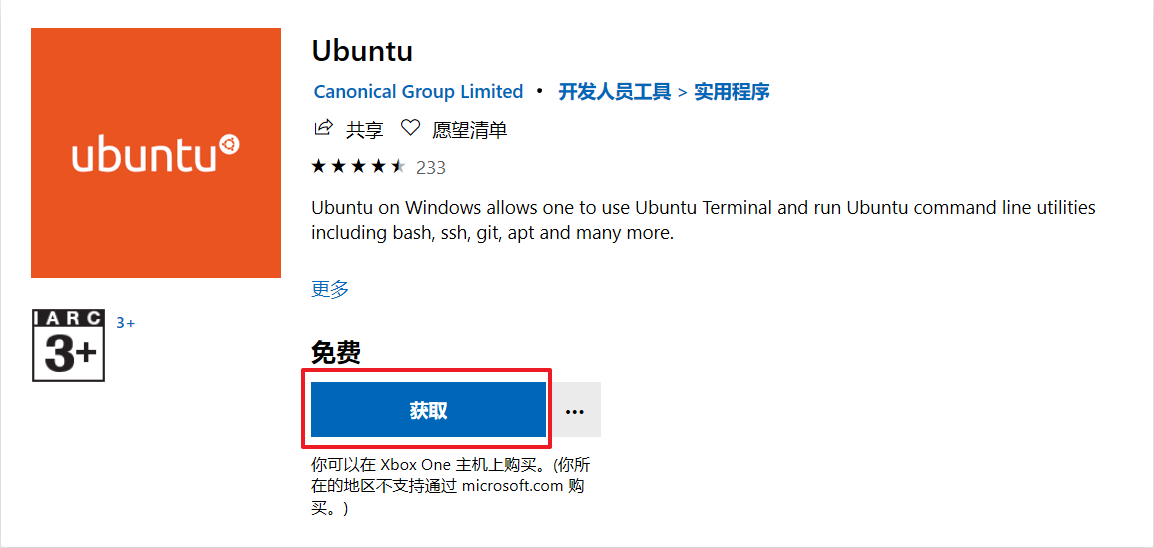
1.在Windows应用商店安装一个Linux发行版本
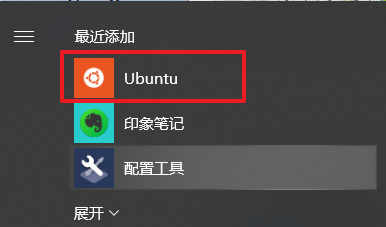
2.安装完成后可以在开始菜单找到,点击即可打开
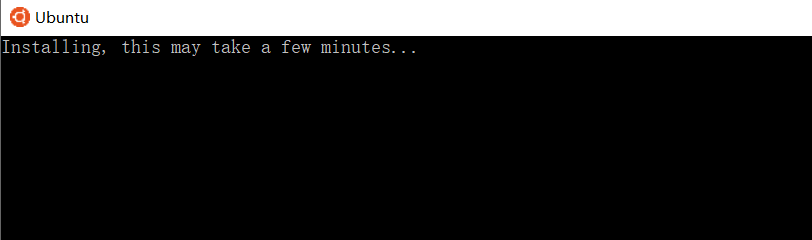
3.第一次进入ubuntu系统,需等待安装完成
4.设置ubuntu系统的用户名和密码
5.设置完成,安装成功
6.设置root密码并切换为root用户
7.设置国内安装源,这里安装阿里云的源
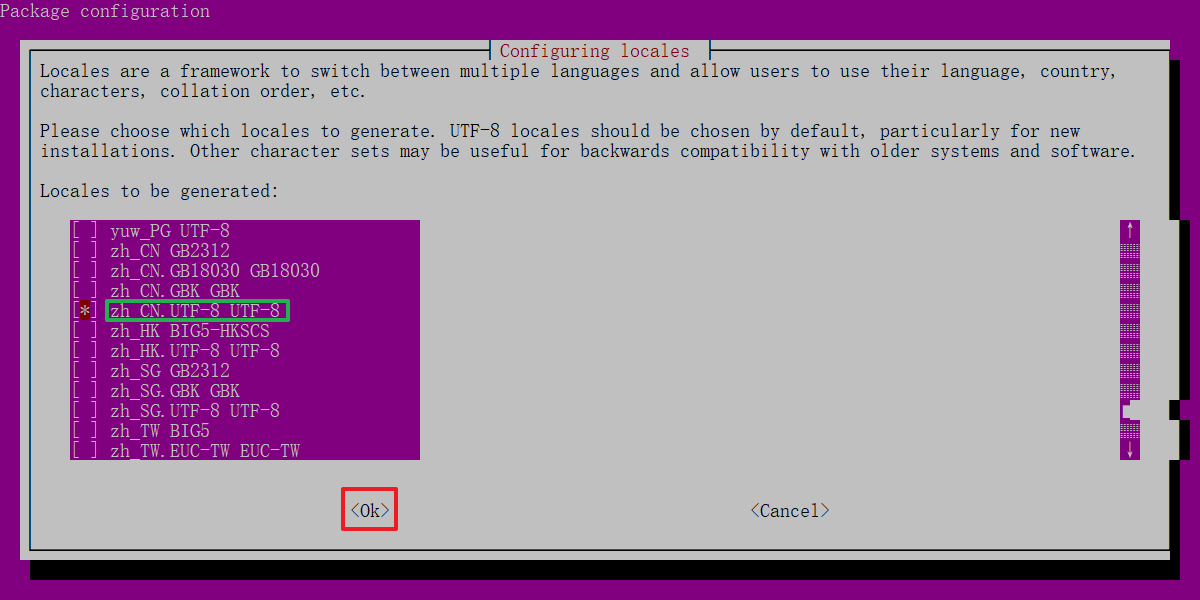
8.切换语言为中文
一.准备工作
1.在控制面版中启用Linux子系统
2.在设置-更新和安全中-开发者选项中切换到开发人员模式

二.开始安装
1.在Windows应用商店安装一个Linux发行版本,选择想要安装的Linux发行版,这里选择ubuntu
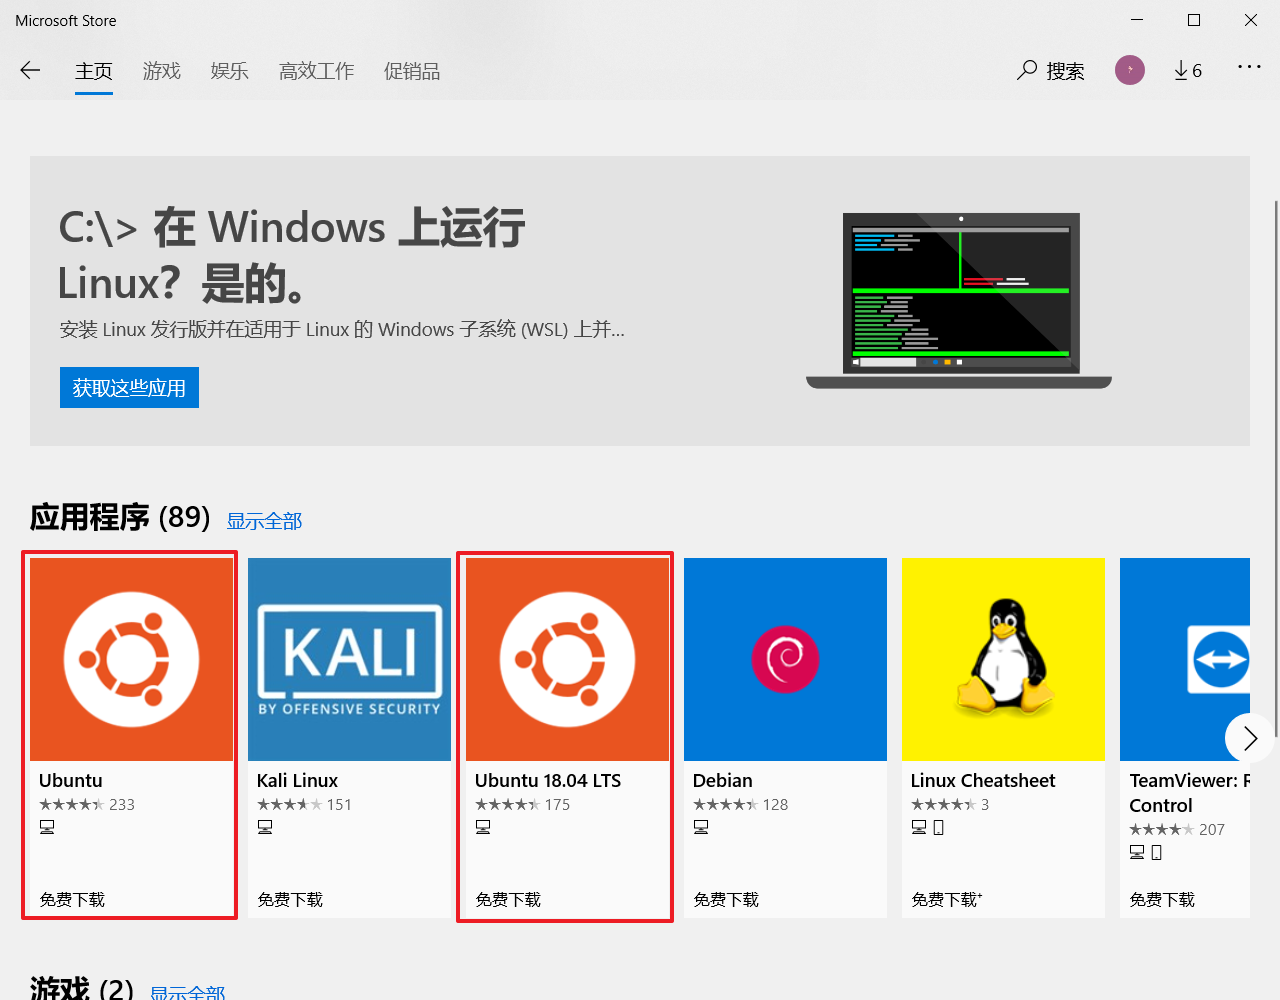
选择要下载的版本,点击下载安装即可:
2.安装完成后可以在开始菜单找到,点击即可打开
3.第一次进入ubuntu系统,需等待安装完成
4.设置ubuntu系统的用户名和密码
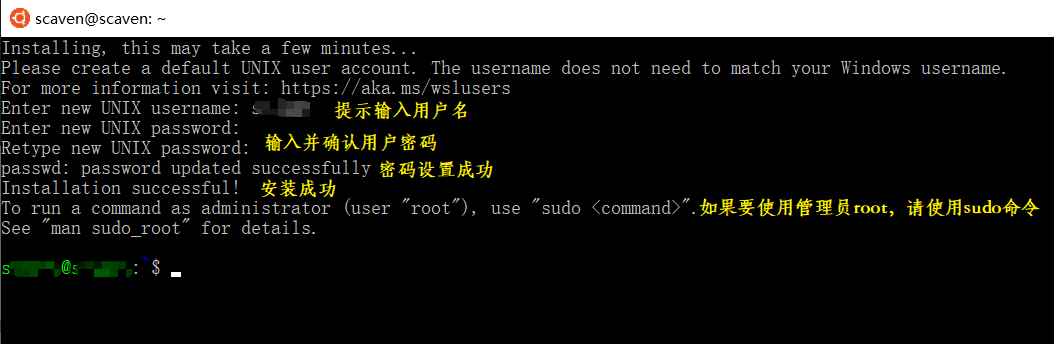
5.设置完成,安装成功
接下来就可以使用ubuntu系统,例如我们可以输入一些简单的Linux命令
root@scaven:~# lsb_release -a
No LSB modules are available.
Distributor ID: Ubuntu
Description:    Ubuntu 18.04.2 LTS
Release:        18.04
Codename:       bionic
root@scaven:~# uname -a
Linux scaven 4.4.0-18362-Microsoft #476-Microsoft Fri Nov 01 16:53:00 PST 2019 x86_64 x86_64 x86_64 GNU/Linux
6.设置root密码并切换为root用户:
scaven@scaven:~$ sudo passwd root
Enter new UNIX password:     #输入root用户密码
Retype new UNIX password:    #再次输入root用户密码
passwd: password updated successfully
scaven@scaven:~$ su - root
Password: #输入刚刚设置的root用户密码
root@scaven:~# whoami
root
root@scaven:~# pwd
/root
7.设置国内安装源,这里安装阿里云的源
阿里云源设置方法可参考阿里云网址:https://developer.aliyun.com/mirror/ubuntu?spm=a2c6h.13651102.0.0.3e221b11yfQs1G
root@scaven:~# cp /etc/apt/sources.list{,.bak} #对现有源文件进行备份
root@scaven:~# ls /etc/apt/
apt.conf.d auth.conf.d preferences.d sources.list sources.list.bak sources.list.d trusted.gpg.
修改/etc/apt/sources.list文件前的内容为:
root@scaven:~# grep -Ev "^#|^$" /etc/apt/sources.list
deb http://archive.ubuntu.com/ubuntu/ bionic main restricted
deb http://archive.ubuntu.com/ubuntu/ bionic-updates main restricted
deb http://archive.ubuntu.com/ubuntu/ bionic universe
deb http://archive.ubuntu.com/ubuntu/ bionic-updates universe
deb http://archive.ubuntu.com/ubuntu/ bionic multiverse
deb http://archive.ubuntu.com/ubuntu/ bionic-updates multiverse
deb http://archive.ubuntu.com/ubuntu/ bionic-backports main restricted universe multiverse
deb http://security.ubuntu.com/ubuntu/ bionic-security main restricted
deb http://security.ubuntu.com/ubuntu/ bionic-security universe
deb http://security.ubuntu.com/ubuntu/ bionic-security multiverse
只需将文件中的`http://archive.ubuntu.com`和`http://security.ubuntu.com`替换成`http://mirrors.aliyun.com`
方法1:使用vim打开文件替换指定内容----:%s@http://archive.ubuntu.com@http://mirrors.aliyun.com@g
方法2:使用sed命令:sed -i "s#http://archive.ubuntu.com#http://mirrors.aliyun.com#g" /etc/apt/sources.list
root@scaven:~# grep -Ev "^#|^$" /etc/apt/sources.list
deb http://mirrors.aliyun.com/ubuntu/ bionic main restricted
deb http://mirrors.aliyun.com/ubuntu/ bionic-updates main restricted
deb http://mirrors.aliyun.com/ubuntu/ bionic universe
deb http://mirrors.aliyun.com/ubuntu/ bionic-updates universe
deb http://mirrors.aliyun.com/ubuntu/ bionic multiverse
deb http://mirrors.aliyun.com/ubuntu/ bionic-updates multiverse
deb http://mirrors.aliyun.com/ubuntu/ bionic-backports main restricted universe multiverse
deb http://mirrors.aliyun.com/ubuntu/ bionic-security main restricted
deb http://mirrors.aliyun.com/ubuntu/ bionic-security universe
deb http://mirrors.aliyun.com/ubuntu/ bionic-security multiverse
root@scaven:~# apt-get update #更新源
8.切换语言为中文
如果看不惯英文,可以将语言修改成中文,选择zh-CN.UTF-8将系统切换为中文环境。
root@scaven:~# dpkg-reconfigure locales
Generating locales (this might take a while)...
  en_US.UTF-8... done
  zh_CN.UTF-8... done
Generation complete.


 浙公网安备 33010602011771号