Python——matplotlib基础绘图函数示例
1、

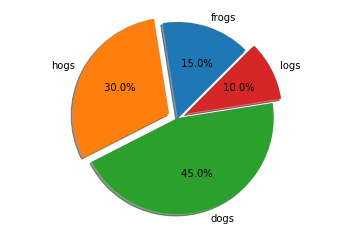
2、饼图
(1)
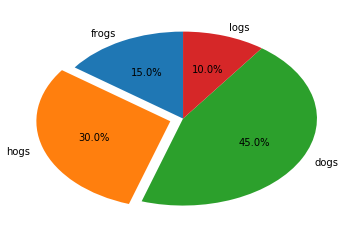
import matplotlib.pyplot as plt

labels='frogs','hogs','dogs','logs'%
sizes=[15,30,45,10]
explode=(0,0.1,0,0) %突出30那块

plt.pie(sizes,explode,labels=labels,autopct='%1.1f%%',
        shadow=False,startangle=90)%尺寸,突出部分,标签,显示数字格式,二维,起始角度
plt.show()
(2)
import matplotlib.pyplot as plt

labels='frogs','hogs','dogs','logs'
sizes=[15,30,45,10]
explode=(0,0.1,0,0.1)

plt.pie(sizes,explode=explode,labels=labels,autopct='% 1.1f% %',
        shadow=True,startangle=45)

plt.axis('equal')
plt.show()
3、直方图
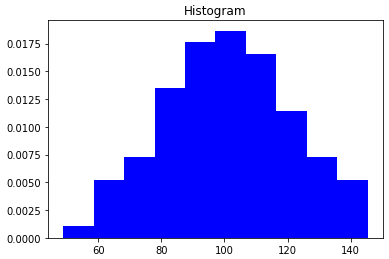
(1)
np.random.seed(0)
mu,sigma=100,20
a=np.random.normal(mu,sigma,size=100)

plt.hist(a,10,normed=1,histtype='stepfilled',
         facecolor='b',alpha=1)%原始数据,直方图分块个数,类型,颜色,颜色显示比例

plt.title('Histogram')
plt.show()
(2)
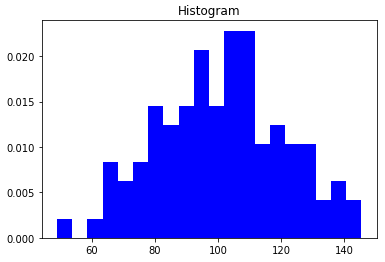
import matplotlib.pyplot as plt
import numpy as np

np.random.seed(0)
mu,sigma=100,20
a=np.random.normal(mu,sigma,size=100)

plt.hist(a,20,normed=1,histtype='stepfilled',
         facecolor='b',alpha=1)

plt.title('Histogram')
plt.show()
4、极坐标图
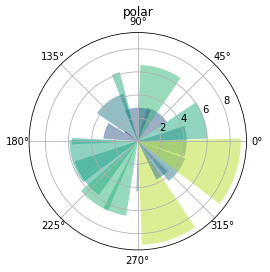
(1)面向对象绘制极坐标图
import matplotlib.pyplot as plt
import numpy as np

N=20
theta=np.linspace(0,2*np.pi,N,endpoint=False)#均分角度
radii=10*np.random.rand(N)#随机角度
width=np.pi/4*np.random.rand(N)#随机宽度

ax=plt.subplot(111,projection='polar')#极坐标图绘制
bars=ax.bar(theta,radii,width=width,bottom=0.0)#哪个角度画,长度,扇形角度,从距离圆心0的地方开始画

for r,bar in zip(radii,bars):
    bar.set_facecolor(plt.cm.viridis(r/10.0))
    bar.set_alpha(0.5)    #添加颜色


plt.title('polar')
plt.show()
5、散点图
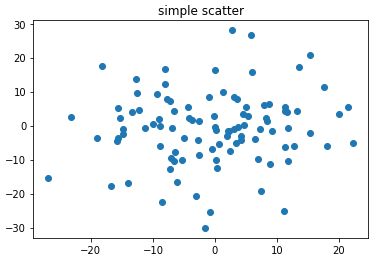
import matplotlib.pyplot as plt
import numpy as np

fig,ax=plt.subplots() #建立对象
ax.plot(10*np.random.randn(100),10*np.random.randn(100),'o')#设置对象
ax.set_title("simple scatter")
plt.show()
