Pixel XL AOSP源码编译
基础配置:
- 操作系统 :虚拟机 ubuntu 20.04.2.0
- 内存 :12G
- 硬盘 :400G
- CPU :4核
Ubuntu汉化:
https://jingyan.baidu.com/article/7c6fb428c4828080652c9064.html
编译过程
1. 源码分支获取
https://source.android.com/setup/start/build-numbers#source-code-tags-and-builds
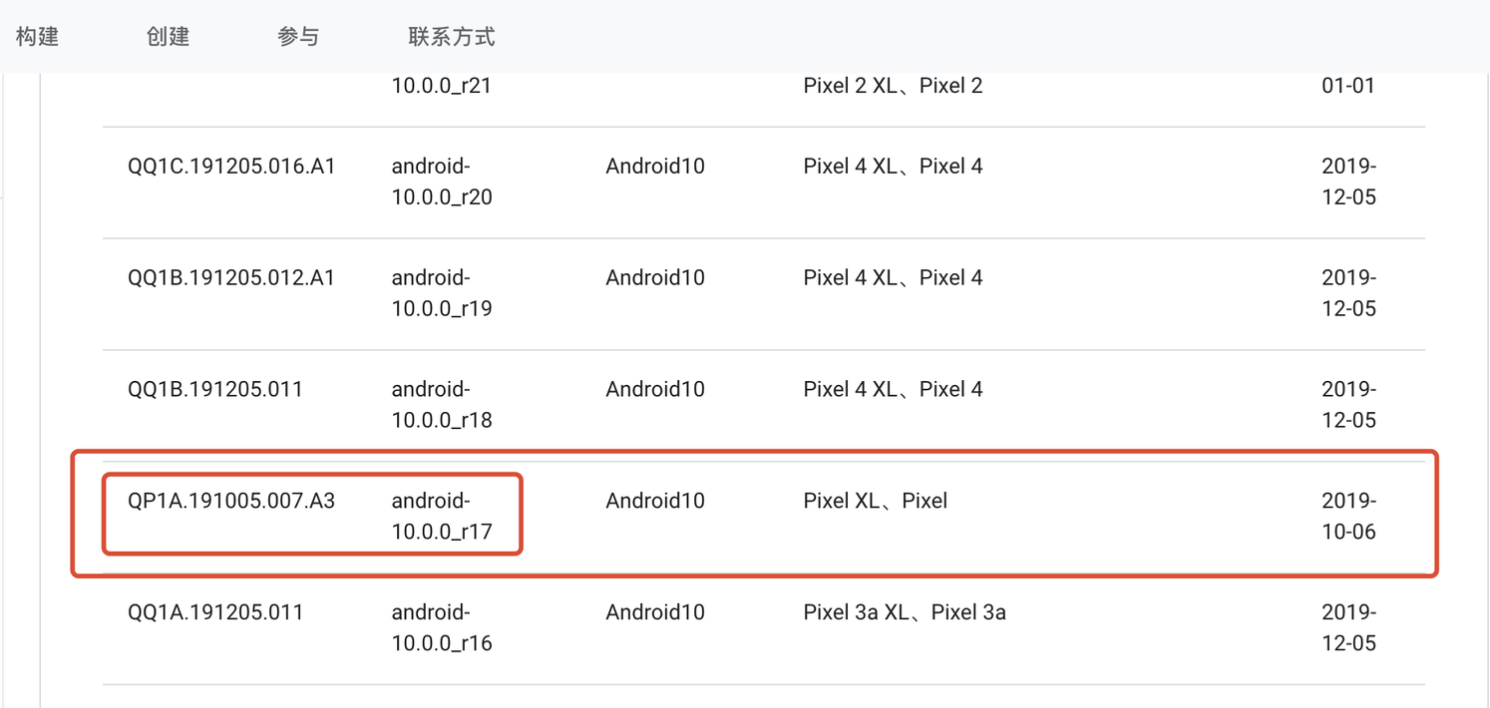
根据手机型号下载对应的版本源码以及对应版本驱动,通过以下网站获取pixel XL android 10版本的源码
源码标记为:android-10.0.0_r17
驱动标记为:QP1A.191005.007.A3
2.下载android源码
sudo apt-get install git-core
sudo apt-get install git-core curl
mkdir ~/bin/
PATH=~/bin:$PATH
cd ~/bin

curl https://mirrors.tuna.tsinghua.edu.cn/git/git-repo > ~/bin/repo

注意:
    使用此命令可能会报错,根据错误,可能需要使用 -k
chmod a+x ~/bin/repo
gedit ~/.bashrc
在~/.bashrc里添加
#国内镜像
export REPO_URL='https://mirrors.tuna.tsinghua.edu.cn/git/git-repo'
3. 同步代码
cd ~/Rom/android-10.0.0_r5
repo init -u https://mirrors.tuna.tsinghua.edu.cn/git/AOSP/platform/manifest -b android-10.0.0_r5
注意:
    使用此命令,可能会报错,提示/usr/bin/env: “python”: 没有那个文件或目录
      sudo ln -s /usr/bin/python3 /usr/bin/python
    可能会报错提示:epo: error: "git" failed with exit status 128
      git config --global http.sslverify "false"
    报错Traceback (most recent call last):
      cd  .repo/repo
      git checkout v1.13.7.1
设置:
    git config --global user.email "you@example.com"
    git config --global user.name "Your Name"
repo sync -c --no-tags --prune -f -j4  #线程根据cpu核数决定 一般为cpu核数x2,此处采用4线程
4. 驱动下载
https://developers.google.com/android/drivers#sailfishqp1a.190711.020
下载与版本对应的驱动:
google_devices-sailfish-qp1a.191005.007.a3-a1615a0f.tgz
qcom-sailfish-qp1a.191005.007.a3-191228fe.tgz
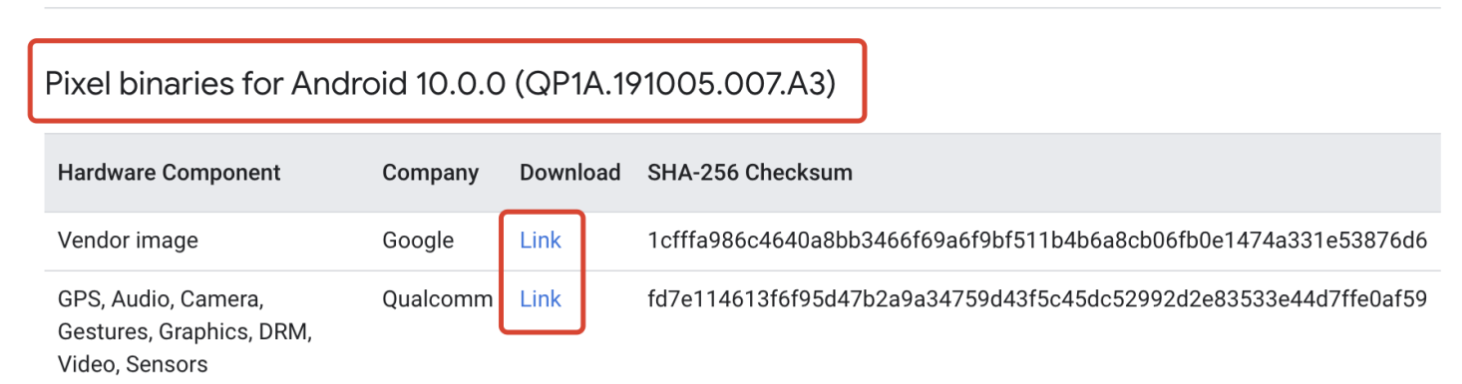
注意:下载完成后解压会获得两个.sh脚本文件,运行两个脚本后会生成vendor文件夹,将vendor文件夹拷贝到源码目录下。
5.编译环境前准备
避免出现无法定位软件的情况,使用阿里镜像源:
cd /etc/apt
mv sources.list sources.list.bak
sudo vi sources.list
选择相应版本的阿里镜像源:
  https://developer.aliyun.com/mirror/ubuntu?spm=a2c6h.13651102.0.0.3e221b11az6wCk
apt-get update
6. 编译环境
sudo apt-get install git-core gnupg flex bison build-essential zip curl zlib1g-dev gcc-multilib g++-multilib libc6-dev-i386 libncurses5 libncurses5-dev x11proto-core-dev libx11-dev lib32z1-dev libgl1-mesa-dev libxml2-utils xsltproc unzip fontconfig
7. 编译脚本准备
进入源码根目录:
source ./build/envsetup.sh
lunch

15
8. 开始编译
make -j2 #线程视配置而定
9. 刷机
回到源码根目录下输入
fastboot flashall -w

 浙公网安备 33010602011771号