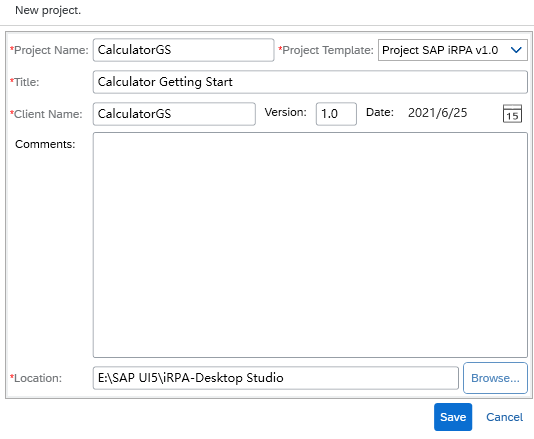
1.Create a Project
2.Add a New Application
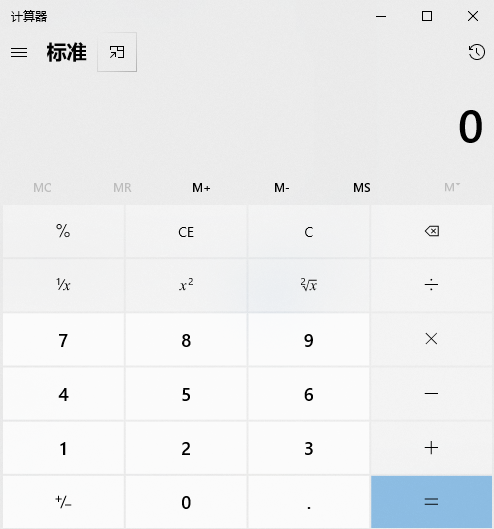
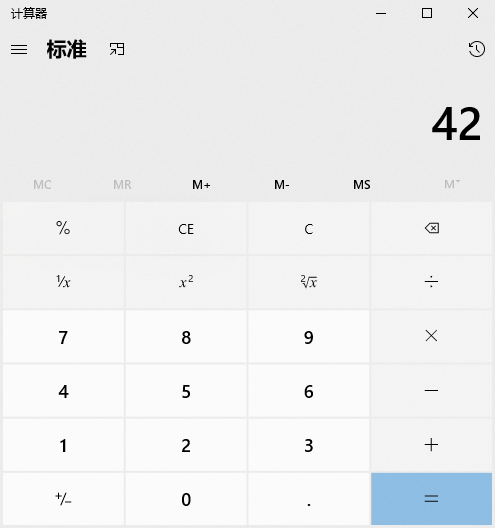
a.On Windows, launch the calculator (calc.exe).
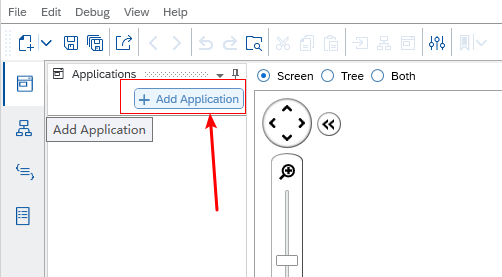
b.In Desktop Studio, switch to the Explorer perspective and choose Add a New Application... from the context menu.
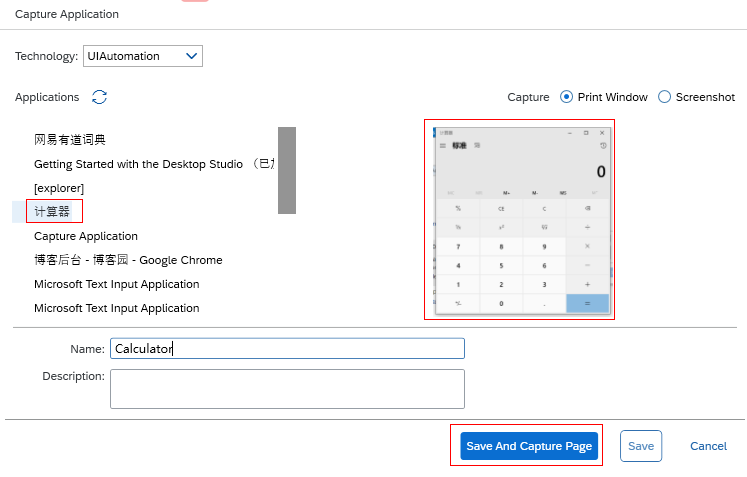
c.In the Capture Application window, choose UIAutomation as the technology connector and select Calculator.
d.The calculator application has now been added to your project.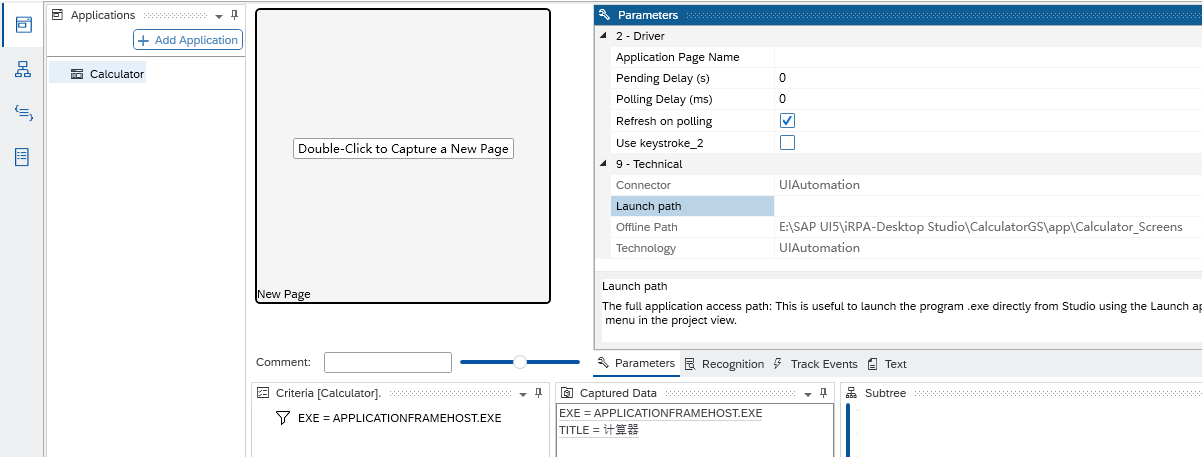
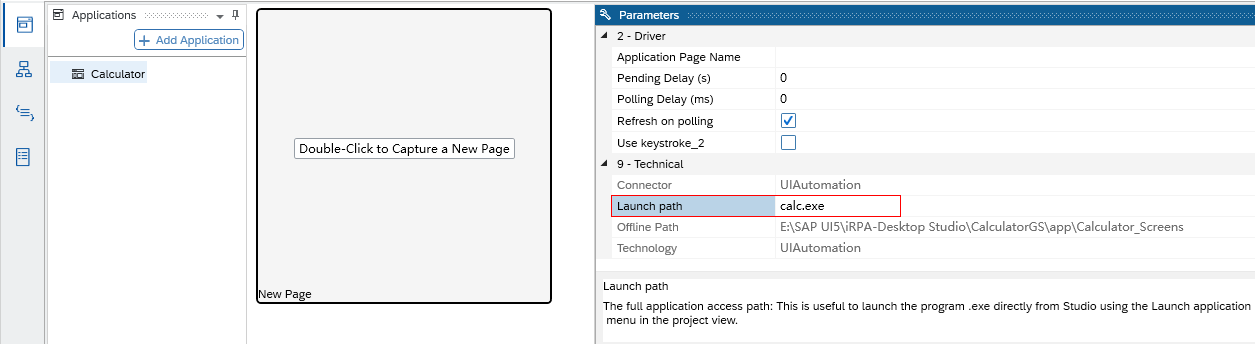
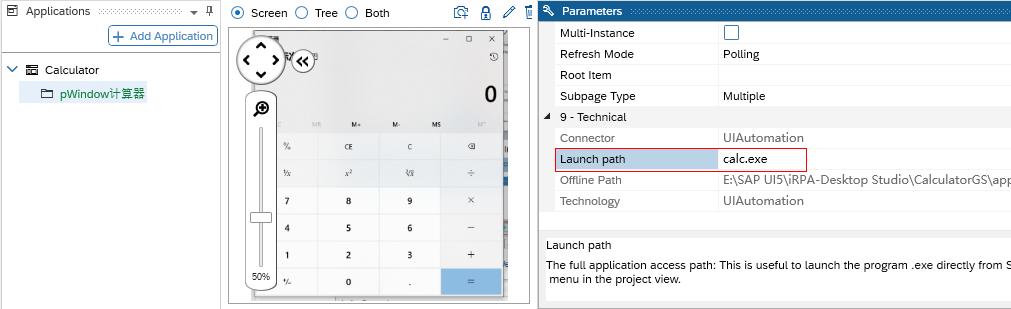
e.In the properties, enter calc.exe as the launch path to finalize.
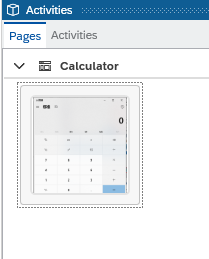
3.Capture the page
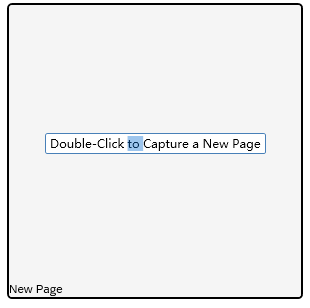
a.Double-click the new page box
or right-click on the application Calculator and select Capture a New Page ... from the context menu
b.Making sure the calculator is in the foreground, select it by keeping Ctrl pressed and hovering the cursor over the application.
A red rectangle appears around the calculator and a list of page names is displayed in the Pages section.
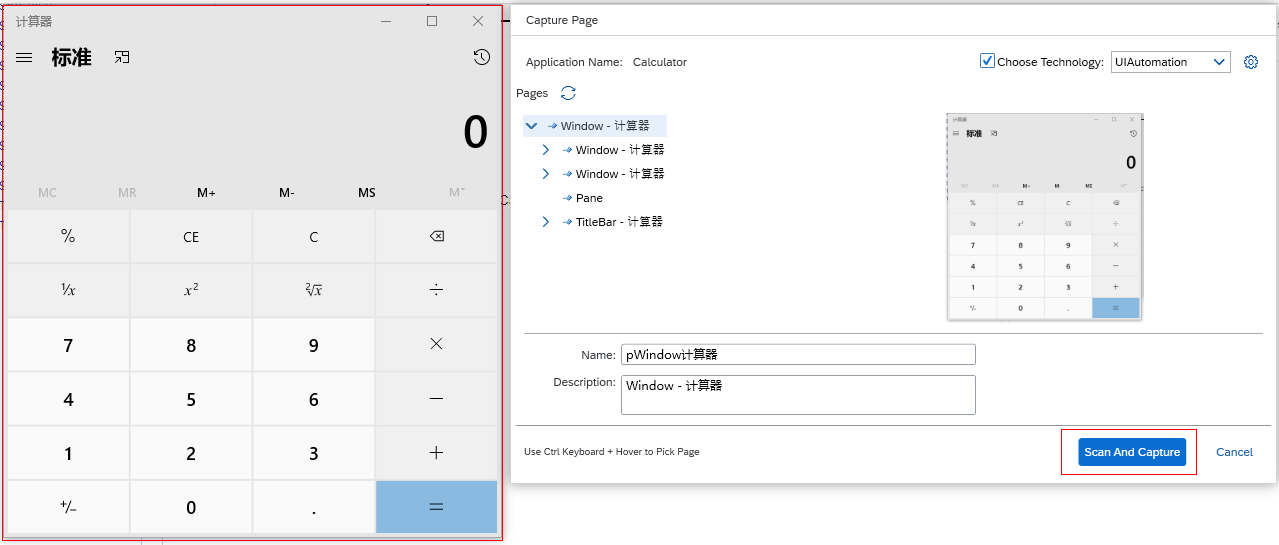
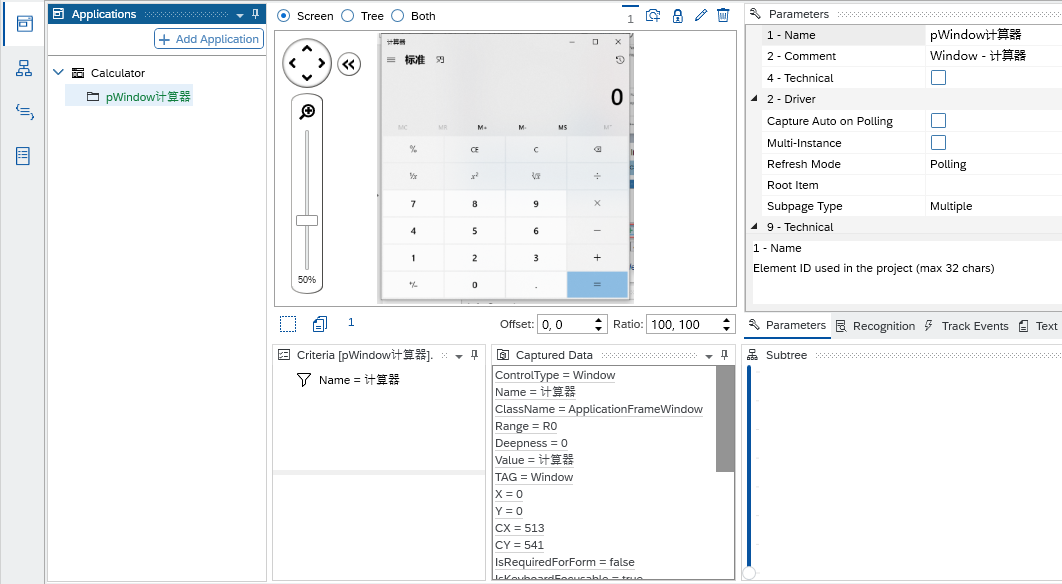
c.Select Window - Calculator from the top of the list and then click Scan and Capture.
d.In the Captured Data screen, select Name=Calculator and click the plus icon (+) in the criteria screen.
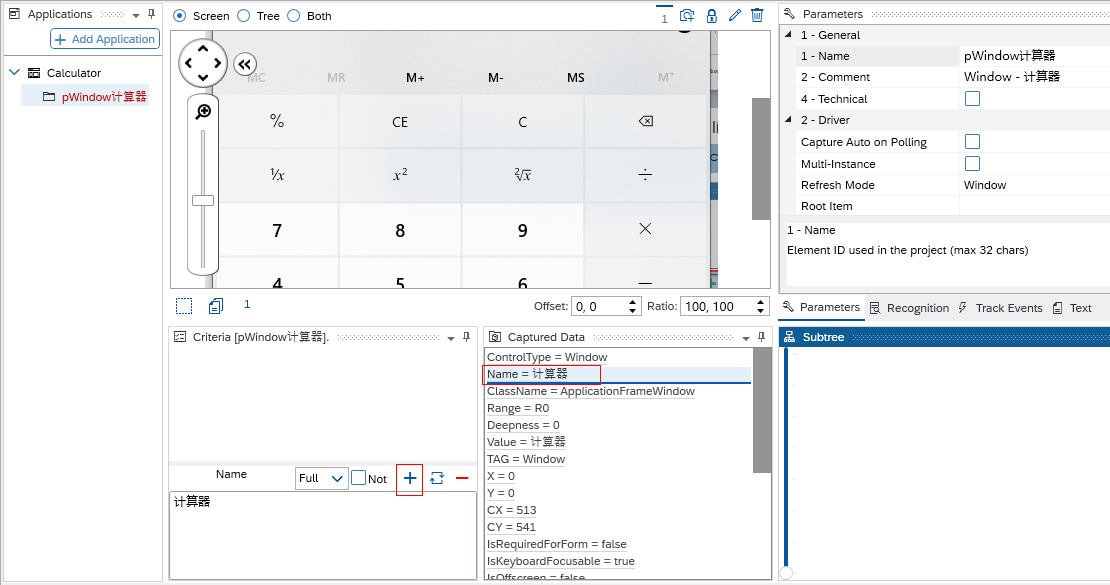
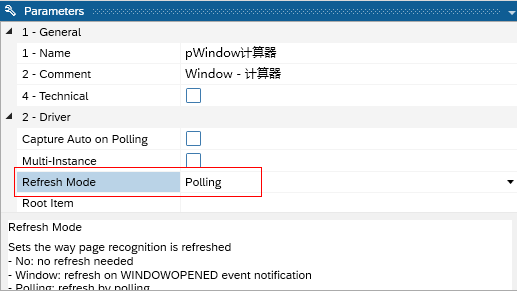
d.In the Parameters window, set the Refresh Mode to Polling.
4.Capture UI Elements
ElementsContext
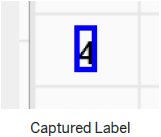
Now that you've captured the page, you can start to locate the buttons. We'll start with button 4. Depending on where you click in the calculator, you can capture the label or the button:

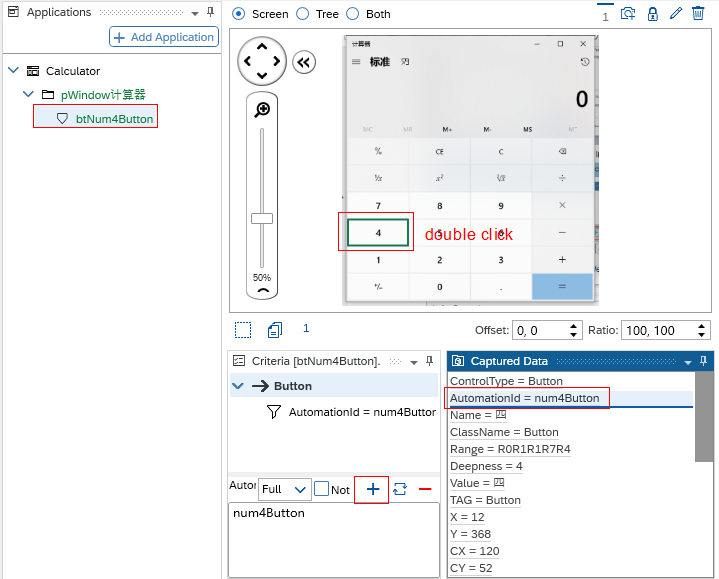
a.Select the button 4 and then double-click it.
The button btNum4Button will appear in red. A criterion is required to ensure proper recognition.
b.In the Captured Data screen area, click on the property AutomationID=num4Button and then click the plus icon (+) located in the criteria area to add this criterion.
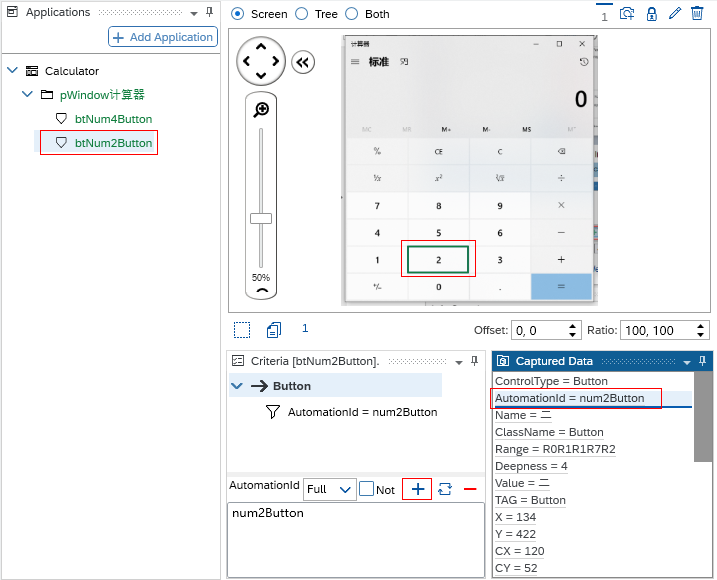
c.Repeat the process for button 2.
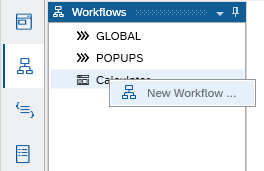
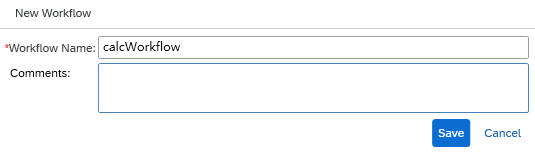
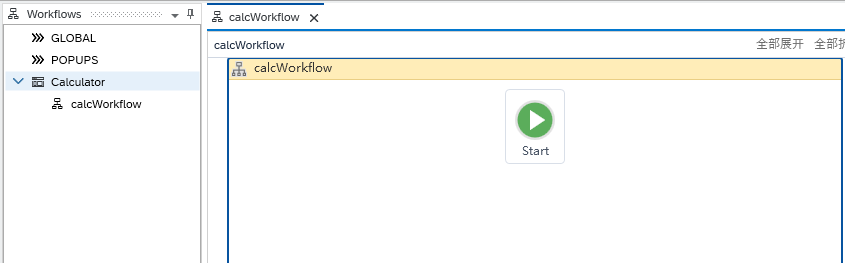
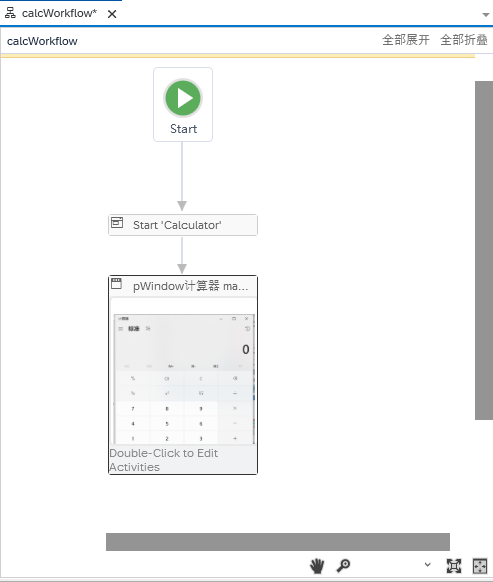
5.Create a New Workflow
a.Save your project.
b.Go to the Workflow perspective, select the application and choose New Workflow... from the context menu.
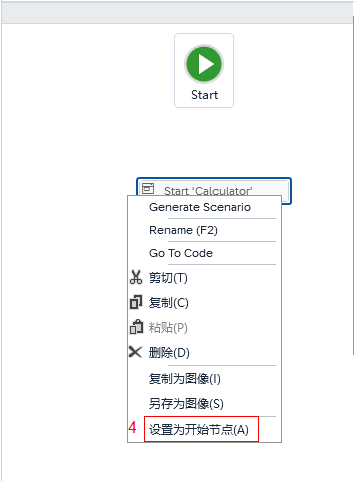
6.Add the application start Activity
a.On the Activities tab, drag and drop Start (under Application) to the canvas near to Start.
b.Find the Application Activity in the Properties window and select Calculator from the dropdown list.
The activity box on the canvas is automatically updated to display Start 'Calculator'.
c.Optional: Set the activity property Wait Starting to avoid a timeout.
d.Right-click on this activity box and select Set as Start Node.
An arrow appears from Start to the Start 'Calculator' activity.

7.Add a page activity
The workflow that you created can use application pages that have been declared.
a.In the Activities window, click the Pages tab, click the arrow next to Calculator, and then drag and drop the pWindowCalculator page to the canvas near the Start activity.
2.Use the handles to connect the two boxes.
8.Configure the page activity
a.Double-click the page activity to edit it.
b.In the Activities window, find the Wait Exist activity under Item - Wait and drag and drop it to button 4.
c.Drag and drop the Click activity to button 4.4
d.Repeat the process with button 2 to define the second action.

It's now time to compile and test your workflow.
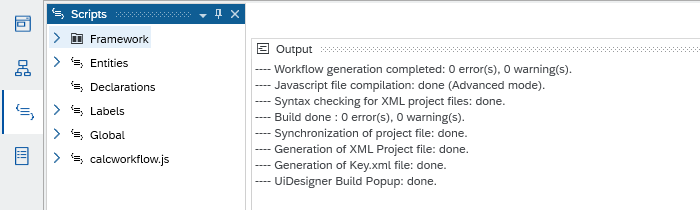
9.Generate the scenario
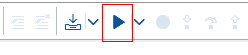
Click the Build button.

If your workflow builds correctly, you should see this screen without any errors.
10.Test the scenario
To test your scenario, you first need to perform the Desktop Agent Tenant Registration.
a.Launch the Debug Mode.
Desktop Studio minimizes and the debugger appears.
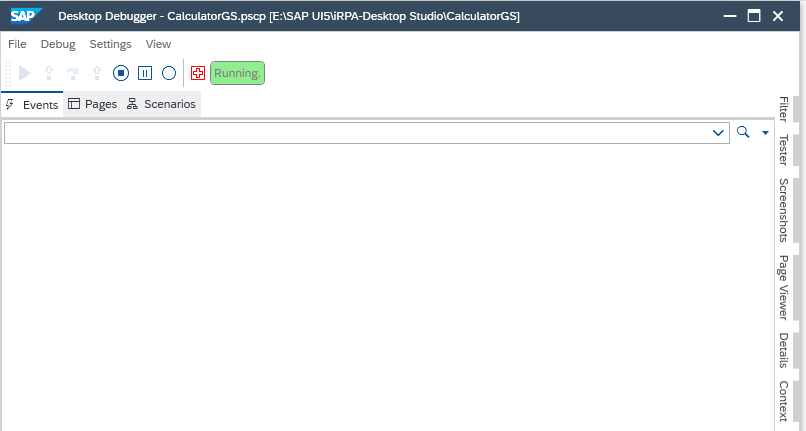
b.Click on Desktop Agent systray and select Test calcWorkflow.

 浙公网安备 33010602011771号