本系列将会开发大量实际的项目。
系列为本人学习笔记,资料:《SwiftUI自学成长笔记》-刘铭
资源源代码下载资源:可以在gitee上下载,搜索刘铭即可。
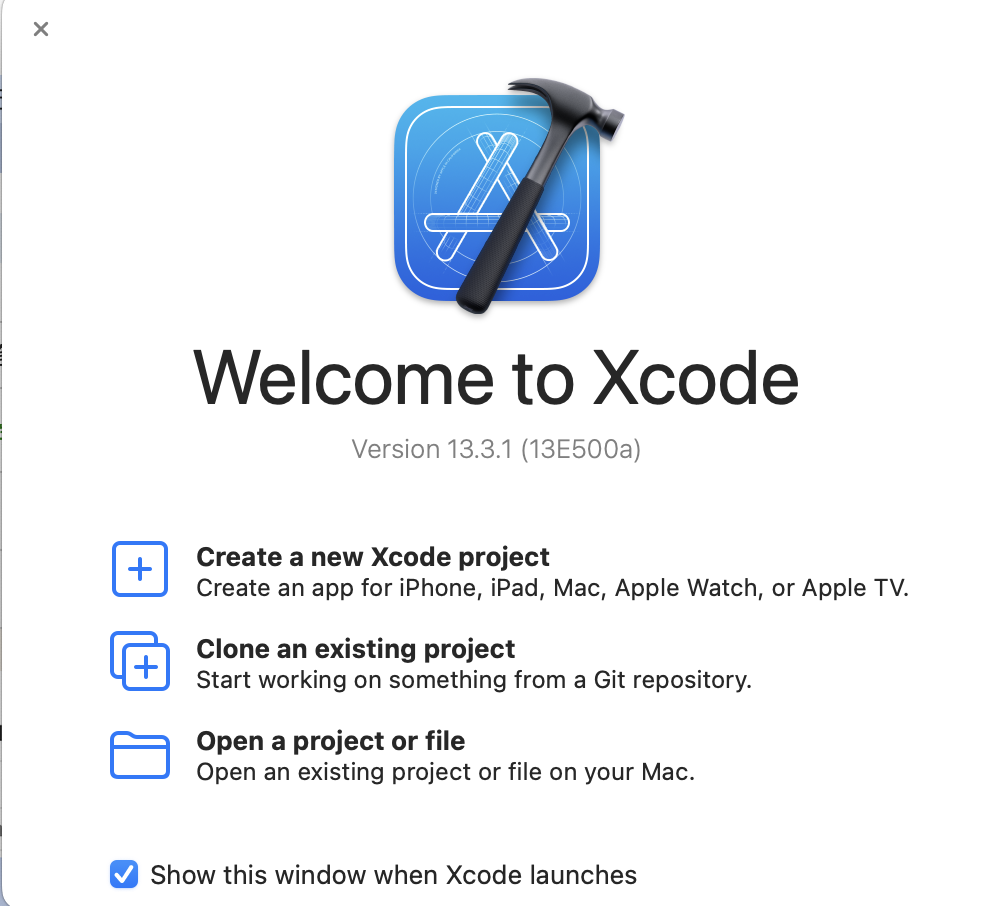
第一章:创建项目
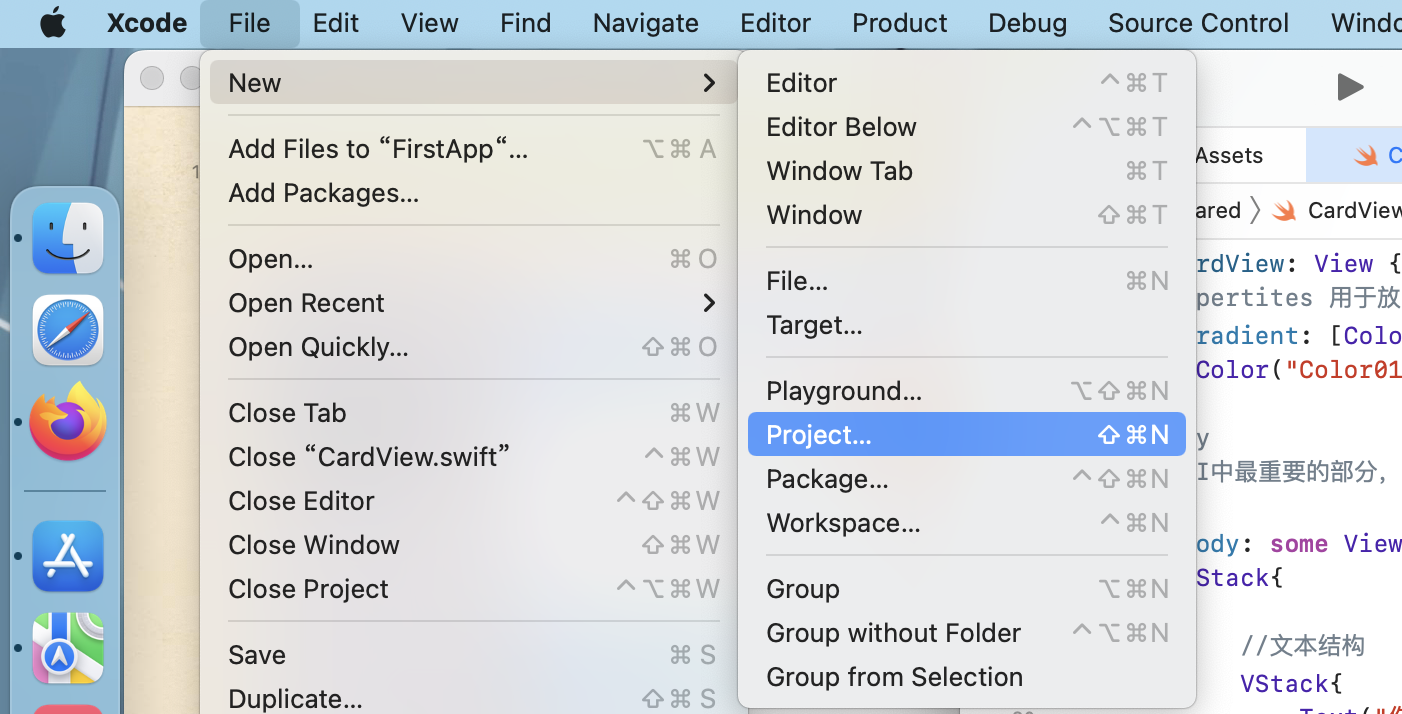
也可以在菜单栏的File中选择Project...来创建项目
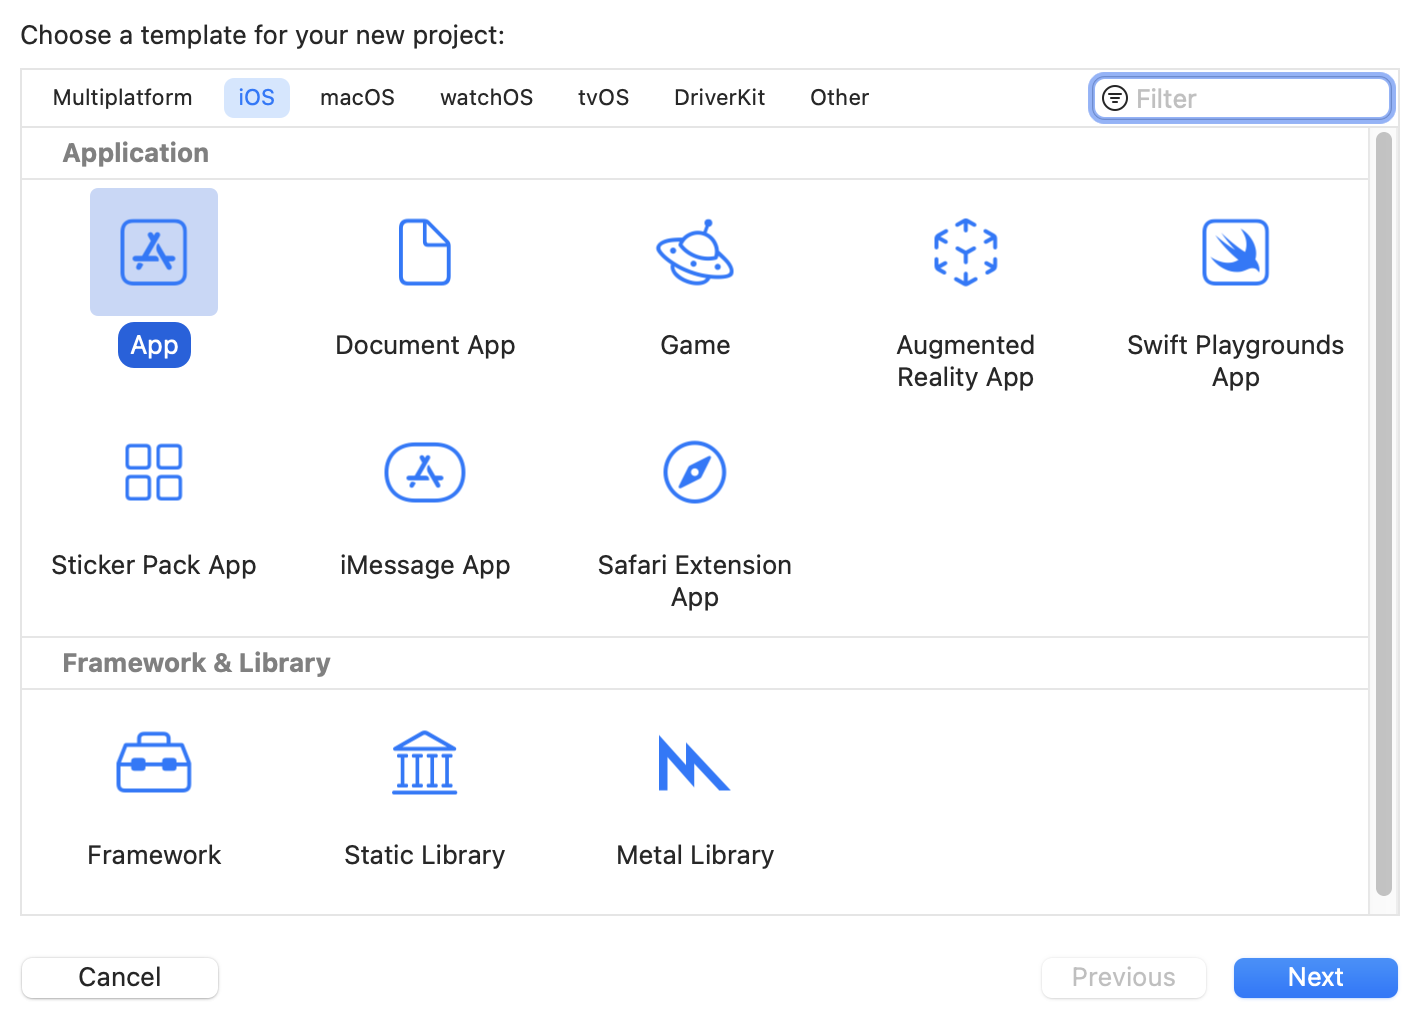
然后选择iOS-App
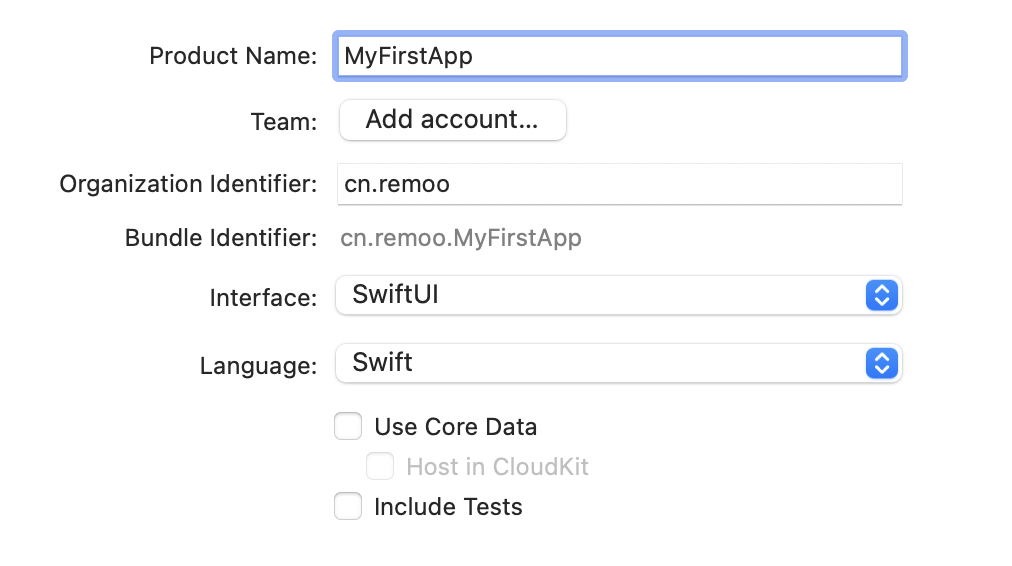
我们如图填写即可,选项对应的介绍请看下面这篇文章:
【Swift】从零开始的Swift语言学习笔记-1:前言&Hello World
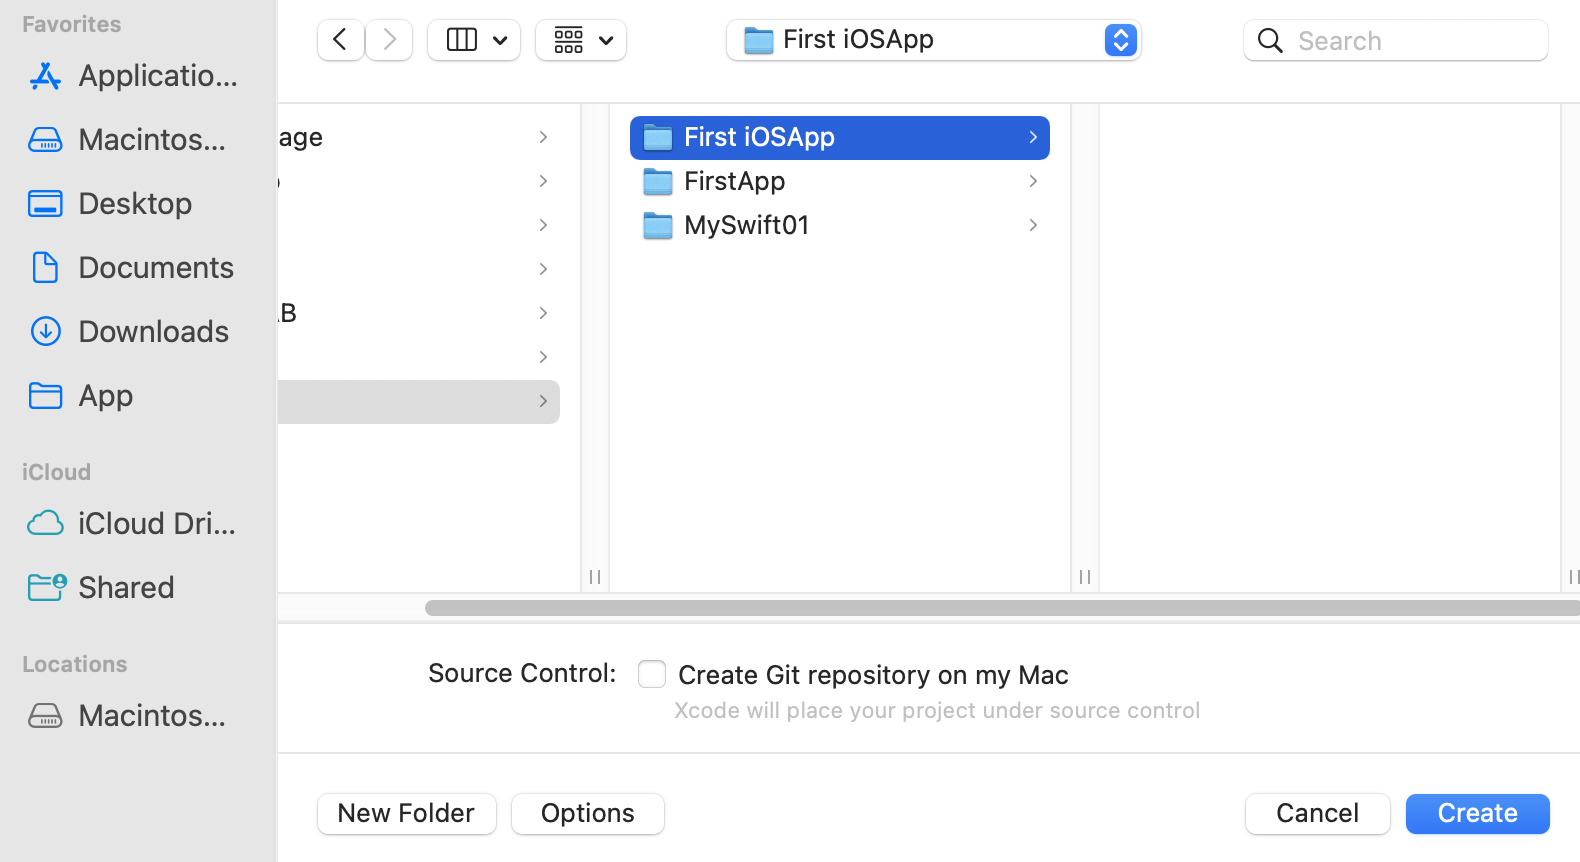
创建完成之后,就可以开始写代码了:

在写代码之前,我们需要为项目添加相关素材。
第二章:为项目添加素材
在Xcode开发流程之中,我们可以同时添加多种规格的素材来适应不同的设备、不同的分辨率。导入了对应的素材以后,你就不需要再过多考虑尺寸适配的问题了。
图标素材:下载
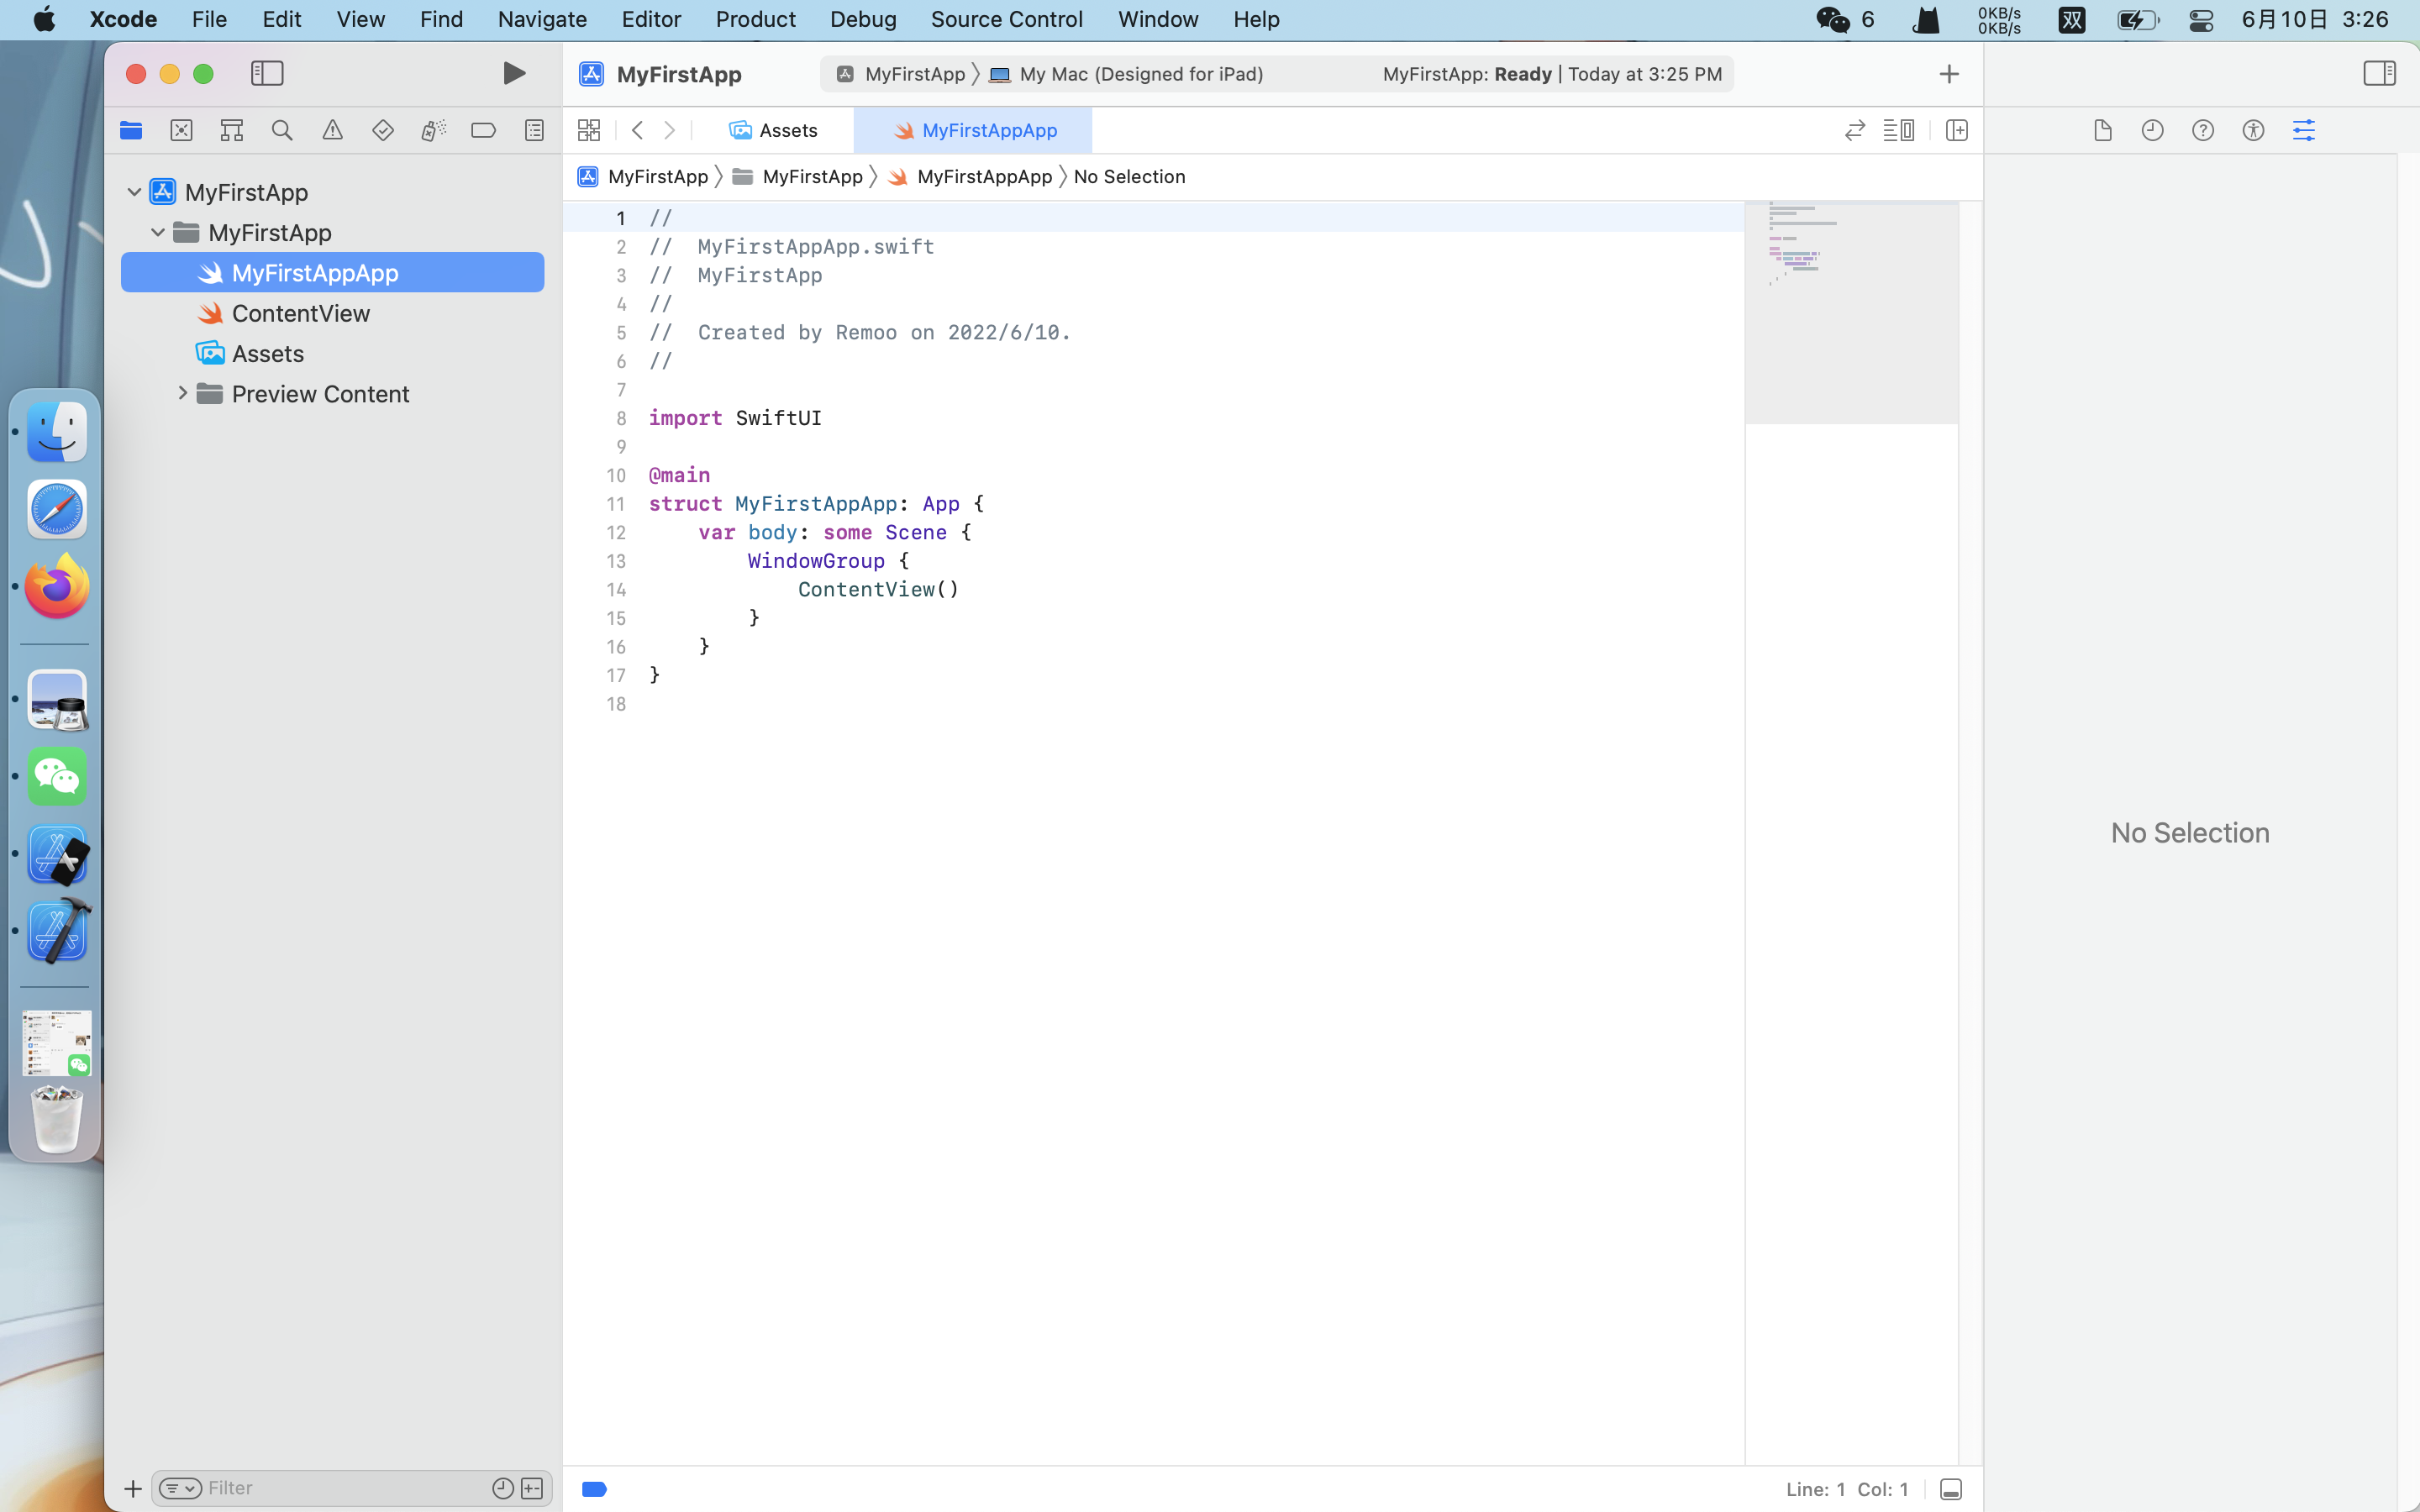
首先先介绍一下Xcode的界面,整个开发界面设计得非常好,从左到右,从整体到局部,从大致到细节。
左边是导航栏,可以从这里管理整个项目;
中间是开发界面;
右边是细节界面。
好了,现在为项目添加素材:
在左边的导航栏中双击Assets,资源。

然后导入应用图标,这里大家可以随便调。
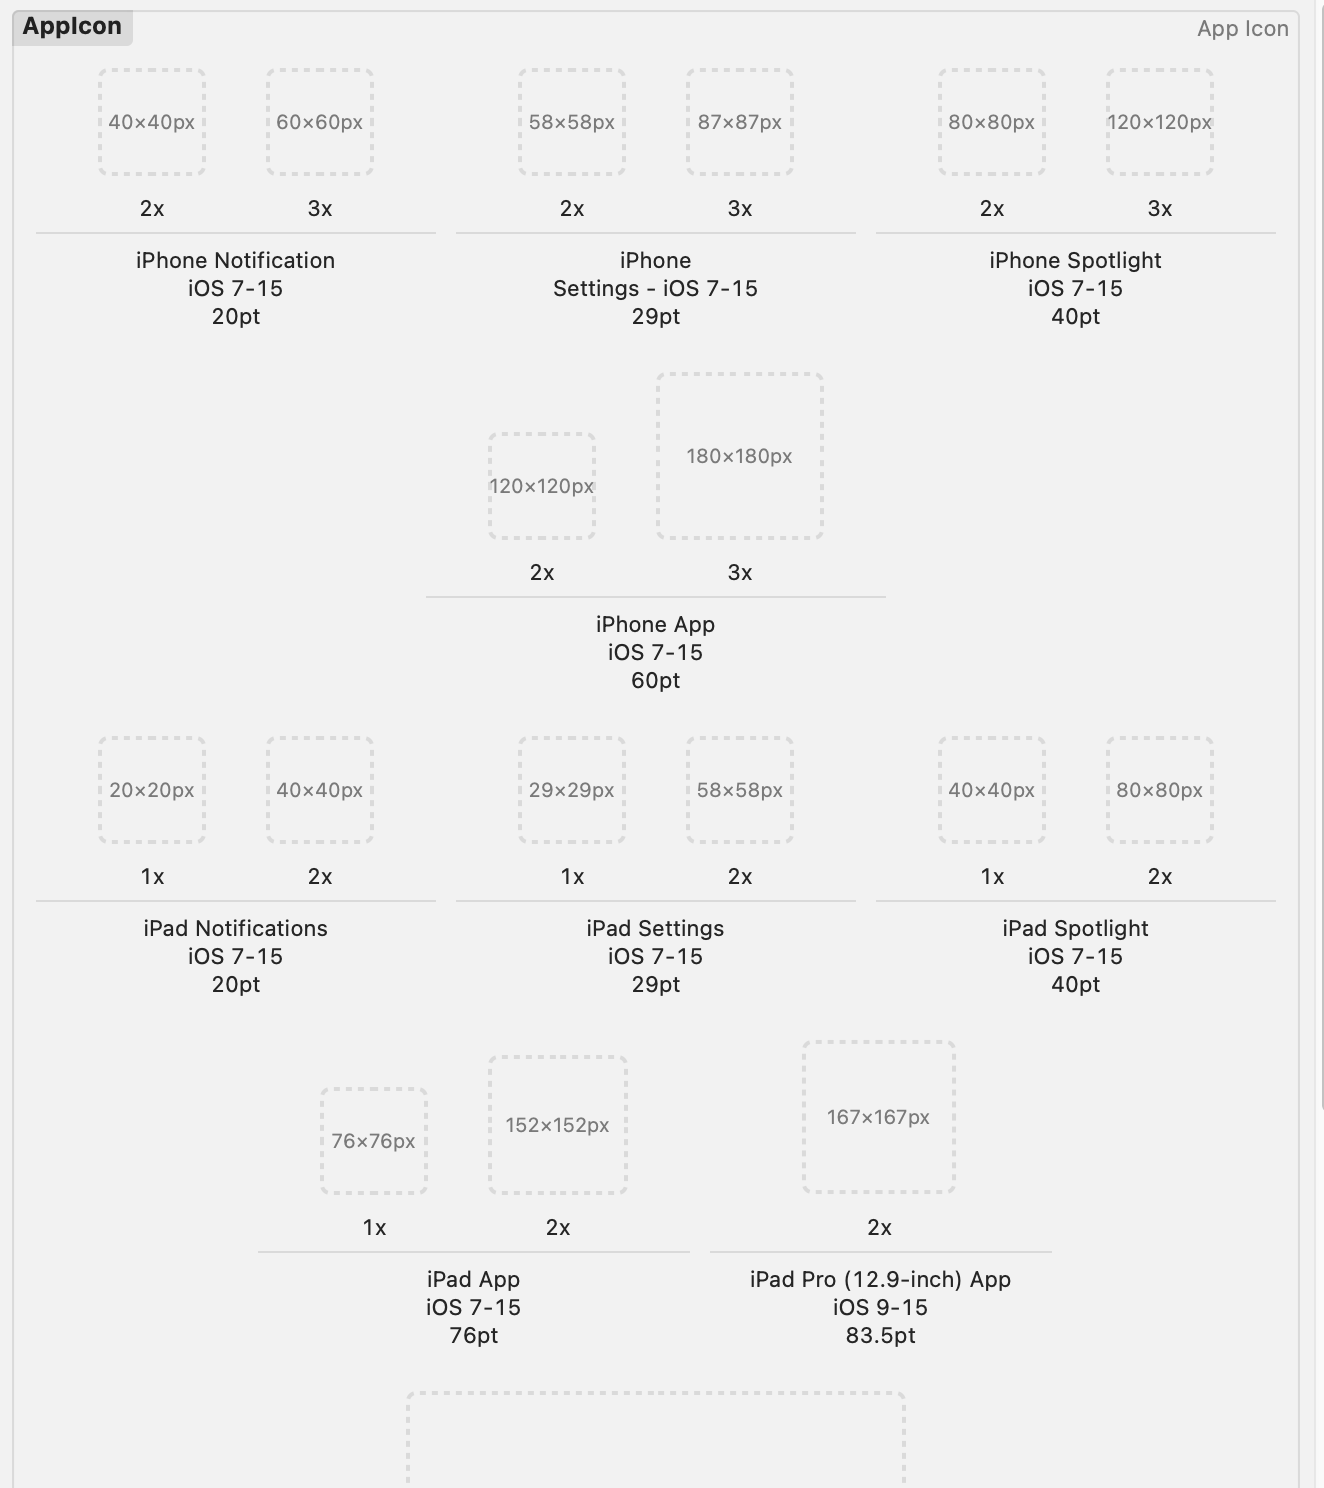
请直接添加上面提供的素材即可。
第三章:创建预定义颜色
这个可以用于暗黑模式,非常方便。设置一个Dark Appearance之后,系统就会自动帮你适应iOS操作系统中的暗黑模式api了,非常方便。
点击下面的“+”号,然后选择Color Set
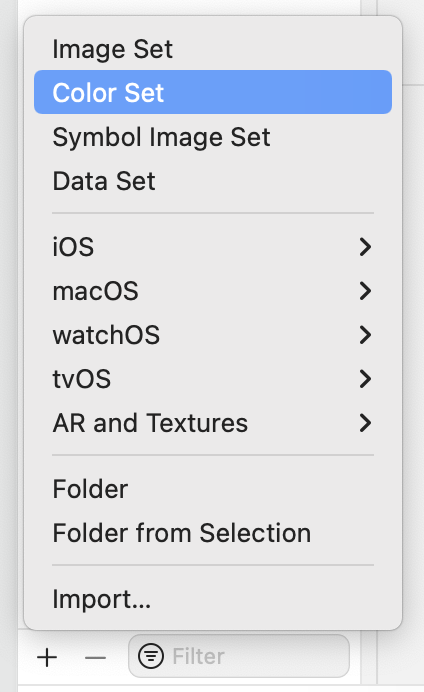
然后命名为:“ColorShadow”

创建好后,里面有两种模式:
任意模式和暗黑模式。
我们把他们都设置为黑色
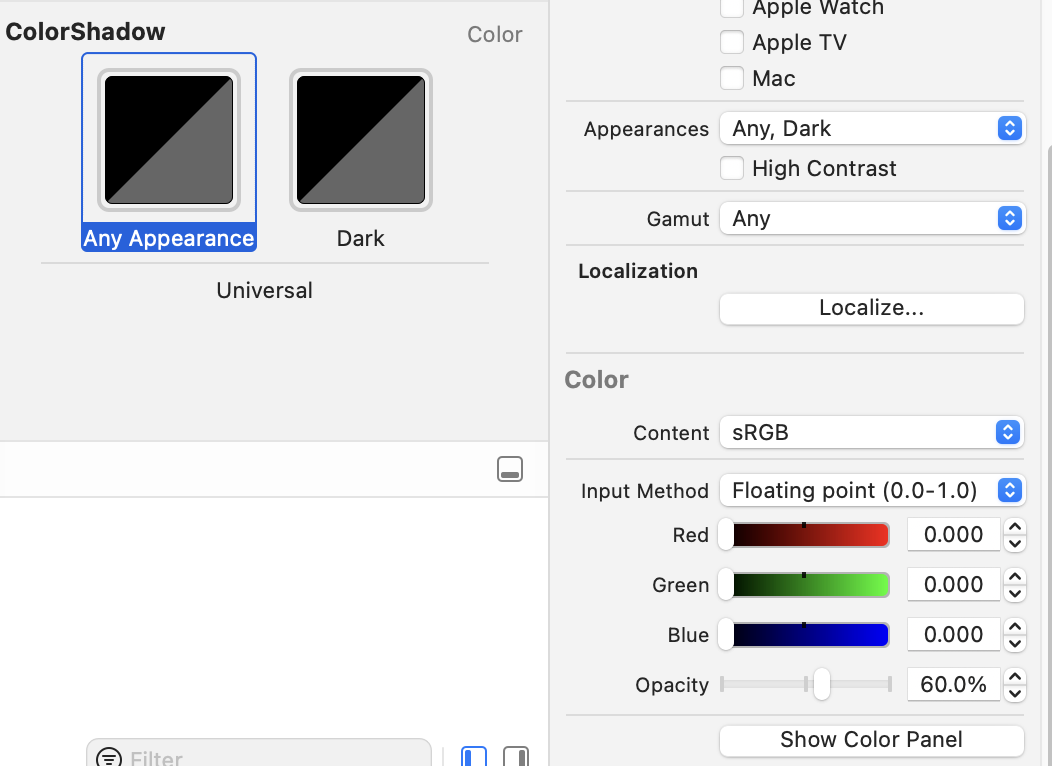
透明度为60 。
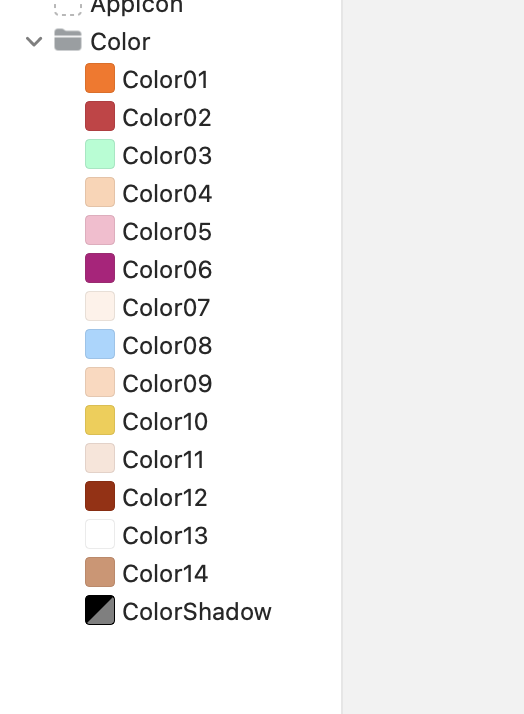
然后我们再添加其他的颜色,这时导入就好了。(直接拖入!)

然后再点击下面那个+号,创一个单独的文件夹整理好。
第四章:导入图片
iOS程序中,我们可以直接使用矢量图(.svg)来避免图像素材在不同分辨率下的适配(失真)等问题。
随便找一个矢量图片做测试即可,普通图片也可以。
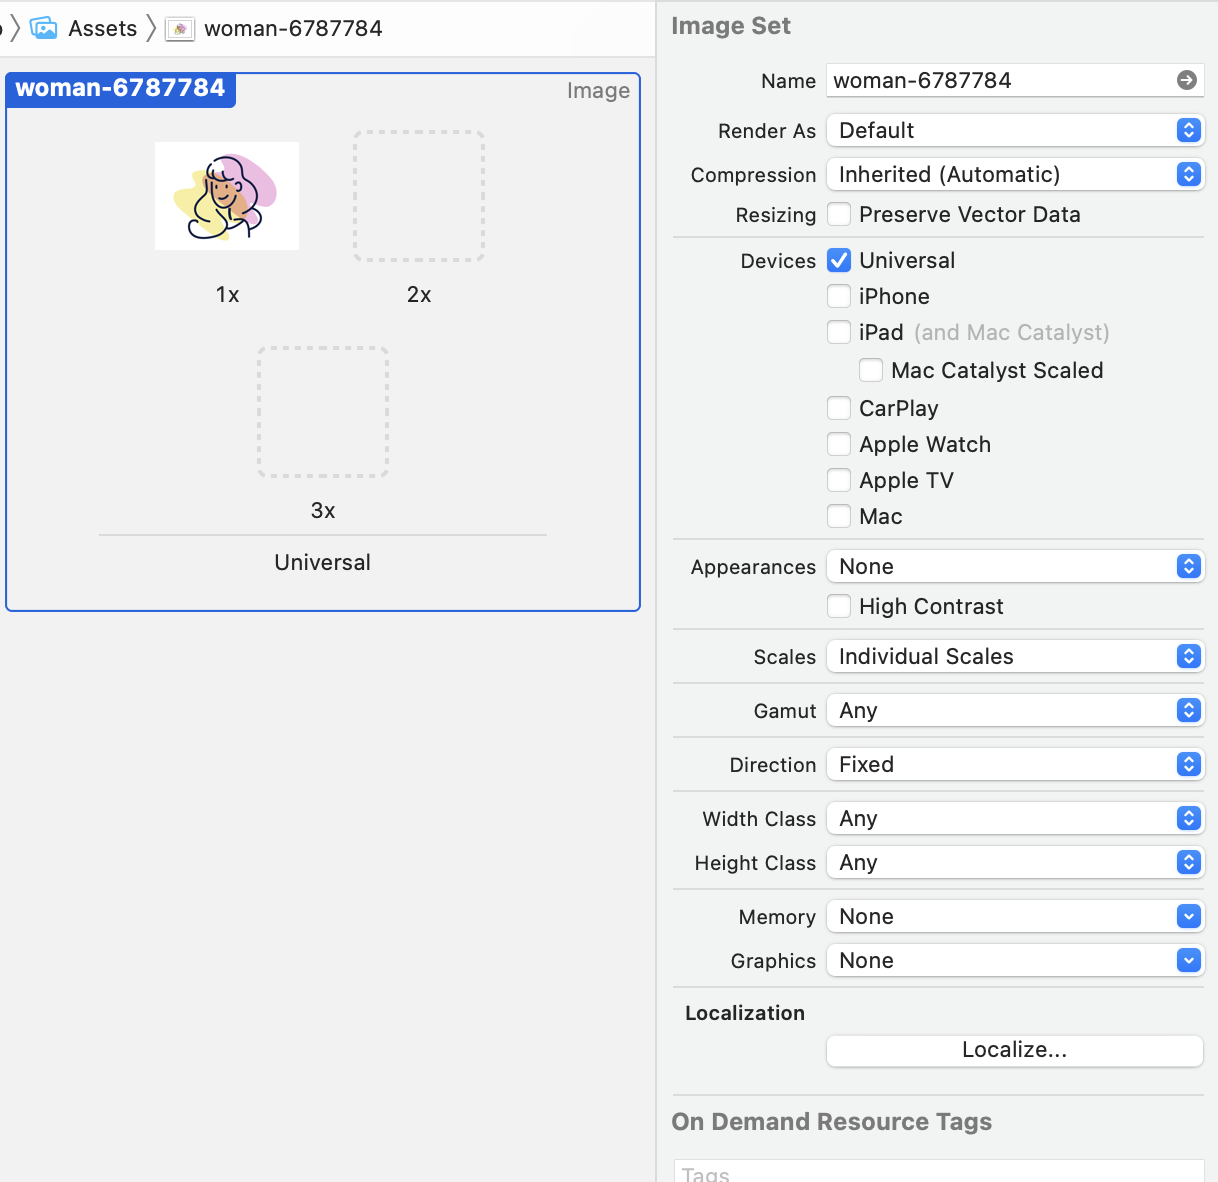
其中,值得注意的是,当勾选了下面这个选项的时候,矢量图就不会失真!

第五章:创建启动动画
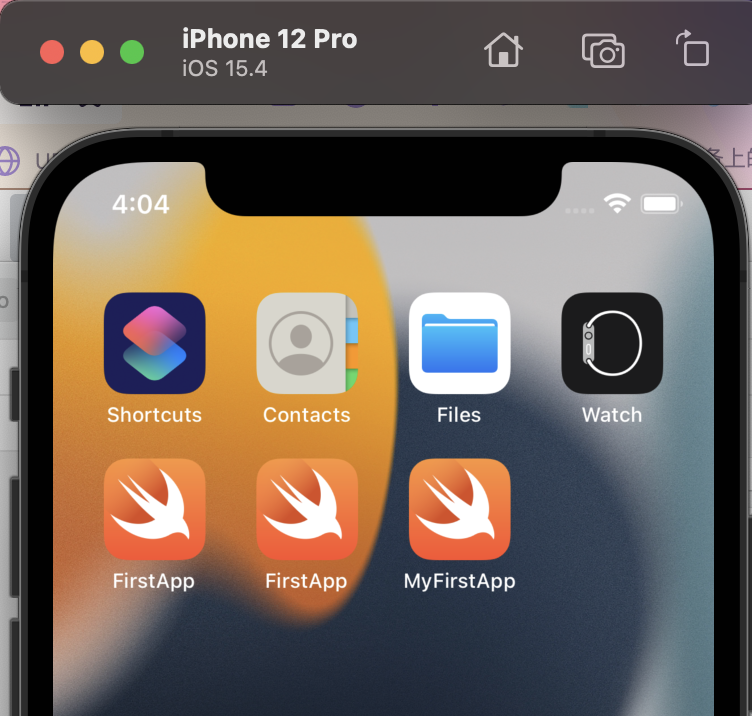
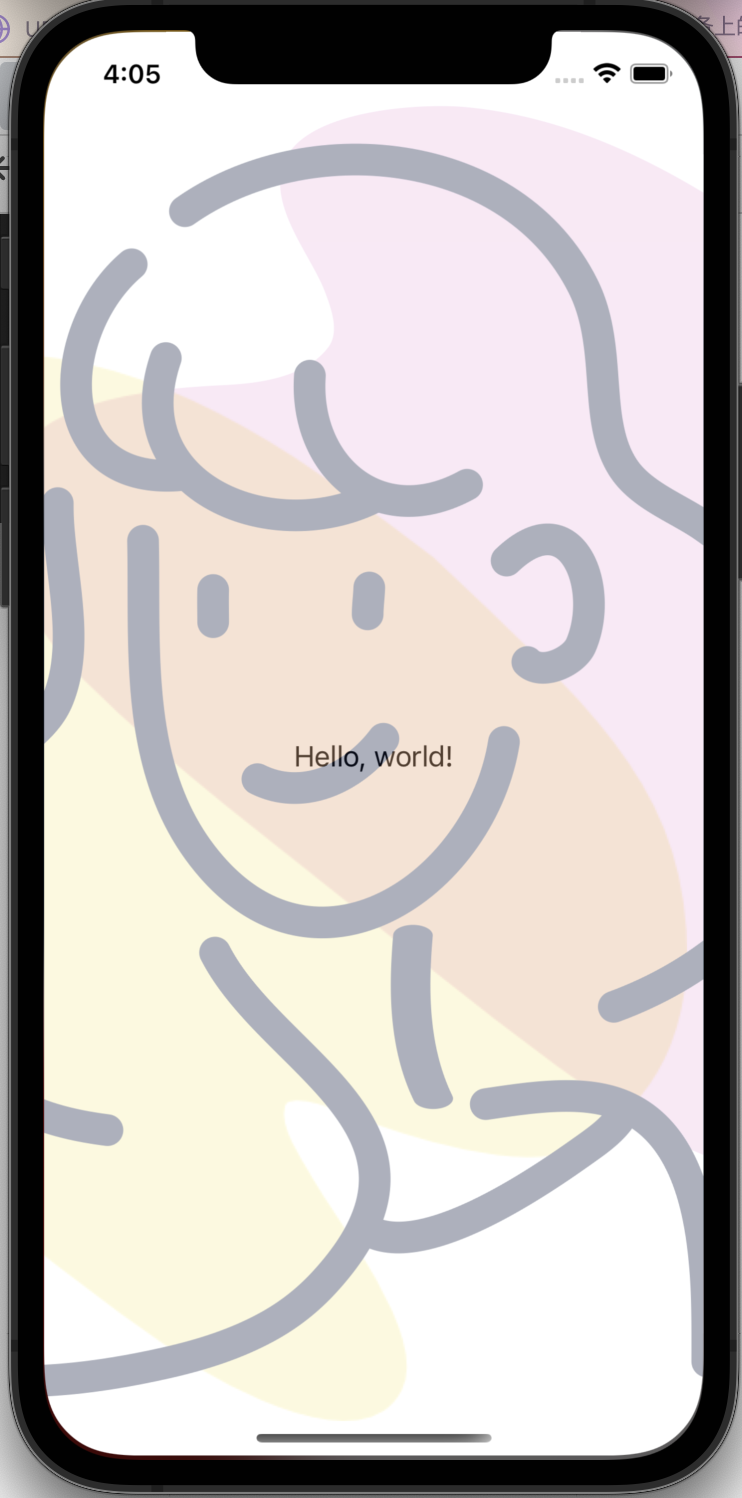
在2020年苹果开发者大会上,Apple推出了一套制作启动画面的流程,非常方便。
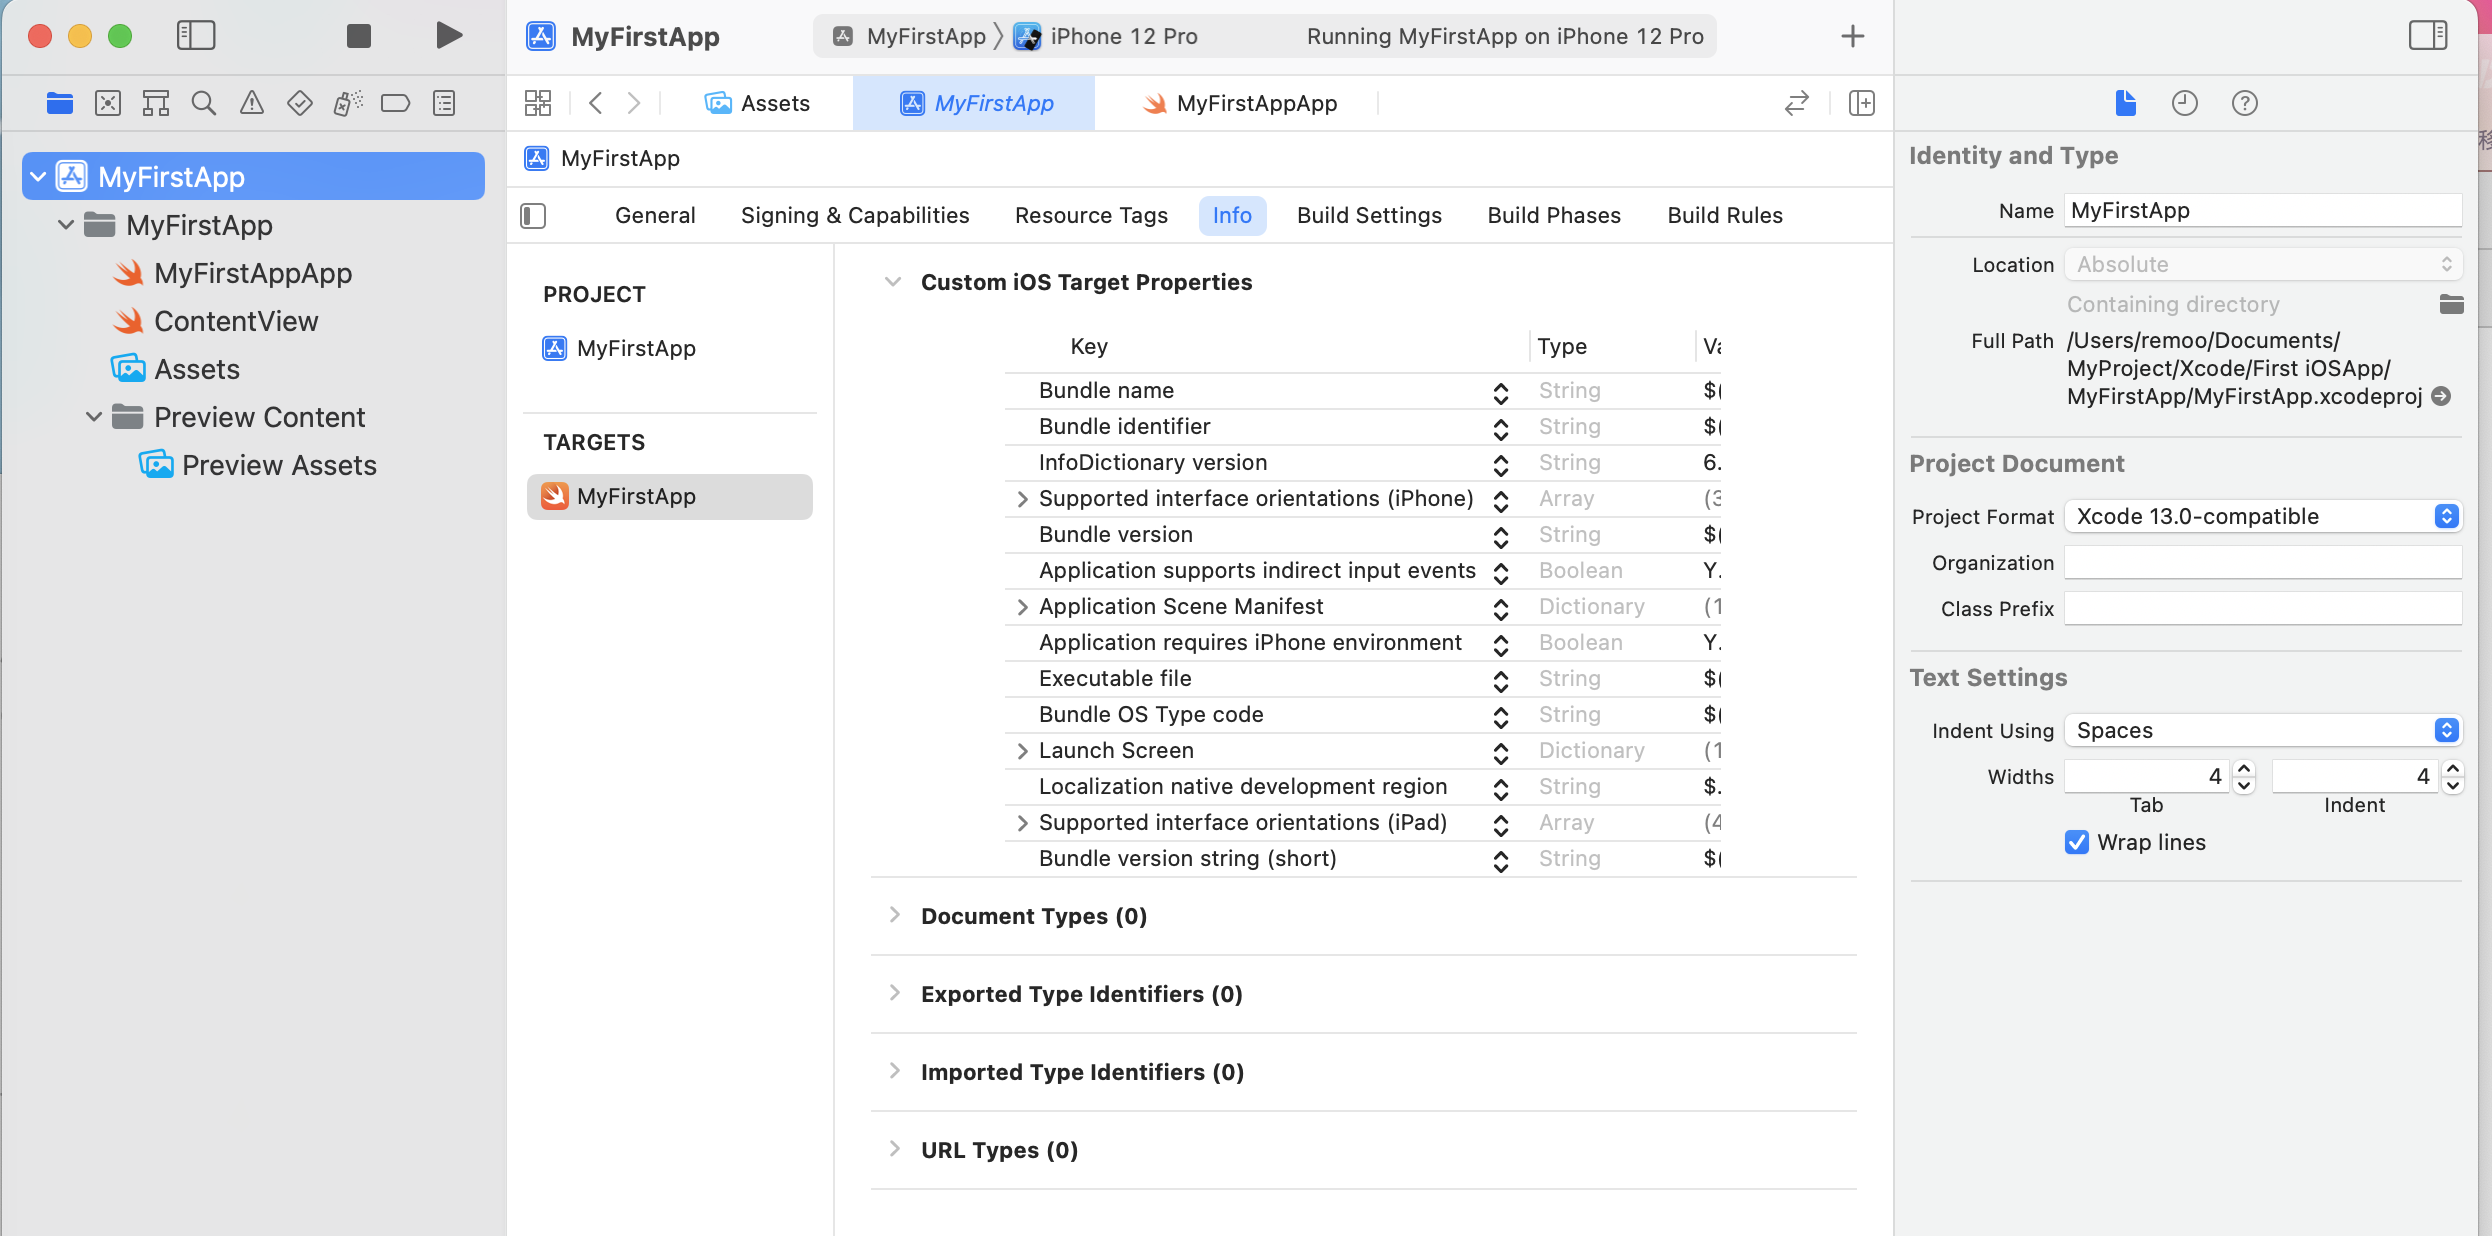
在最左边点击最上面的图标,就看到如上图信息。
点击info,找到Launch Screen键,

点击Launch Screen的“+”号,

value中填入图片名字即可。

第六章:创建卡片视图
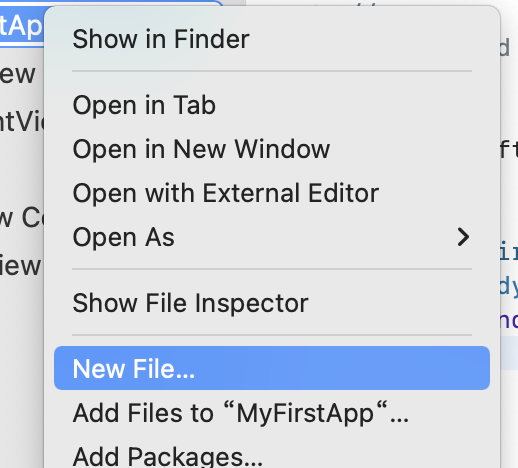
左边导航栏右键MyFirstAppApp,选择New File...
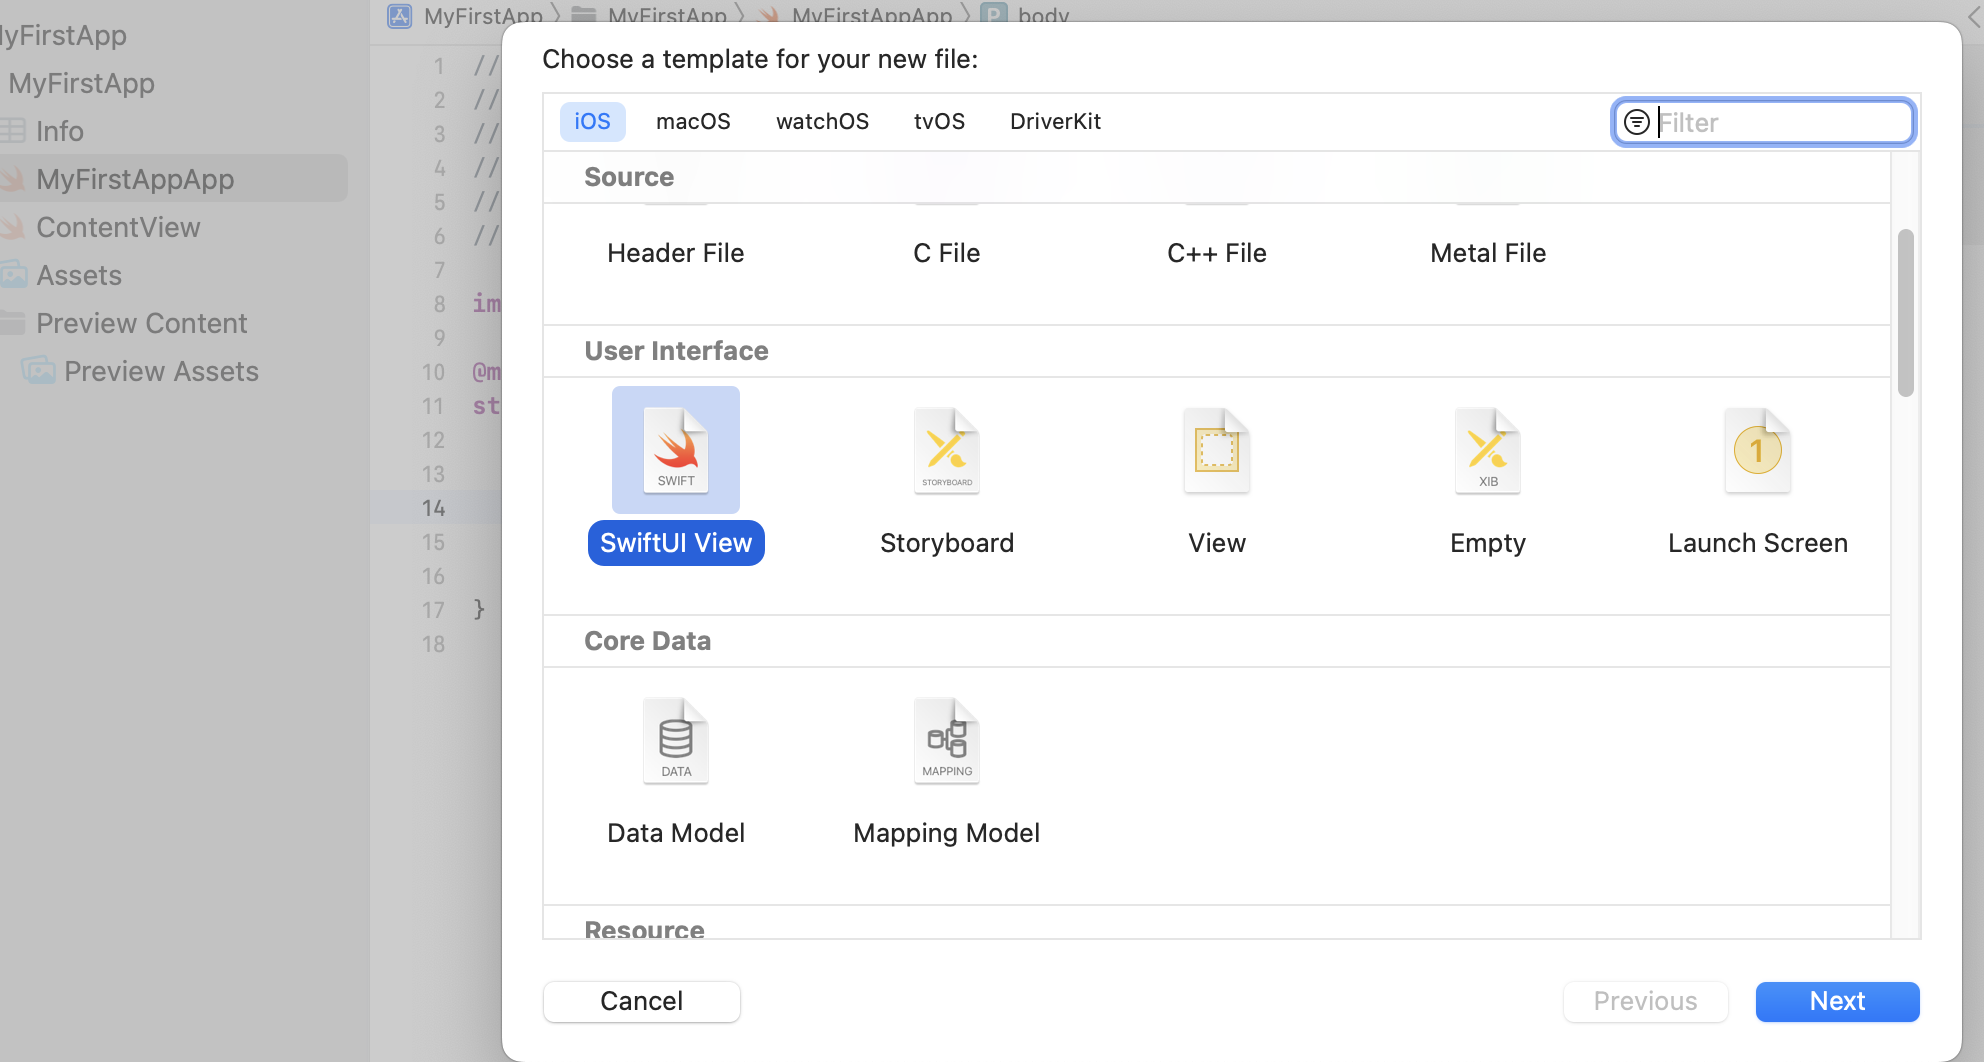
然后选择 用户界面的SwiftUI View
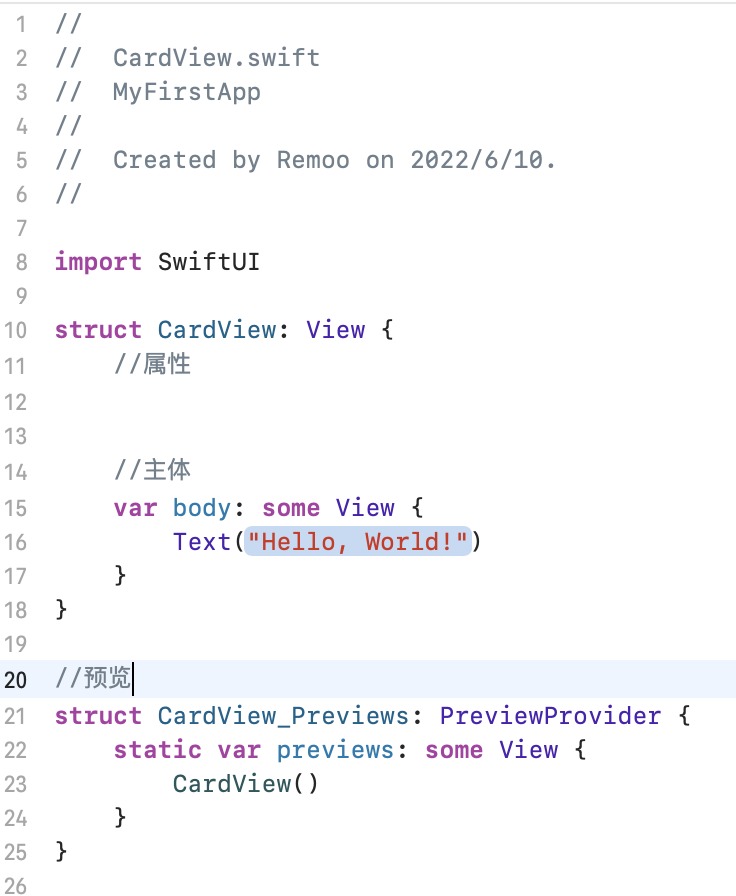
命名为CardView
//
//  CardView.swift
//  MyFirstApp
//
//  Created by Remoo on 2022/6/10.
//

import SwiftUI

struct CardView: View {
    var body: some View {
        Text(/*@START_MENU_TOKEN@*/"Hello, World!"/*@END_MENU_TOKEN@*/)
    }
}

struct CardView_Previews: PreviewProvider {
    static var previews: some View {
        CardView()
    }
}
然后像我这样在这三个地方做好注释,
点击这个Resume就可以进行预览。

在主体部分添加一个容器:ZStack
        ZStack{
            Text("卡片")
        }.frame(width: 335, height: 545)
            .background(Color.green)
            .cornerRadius(16)
            .shadow(radius: 8)
    }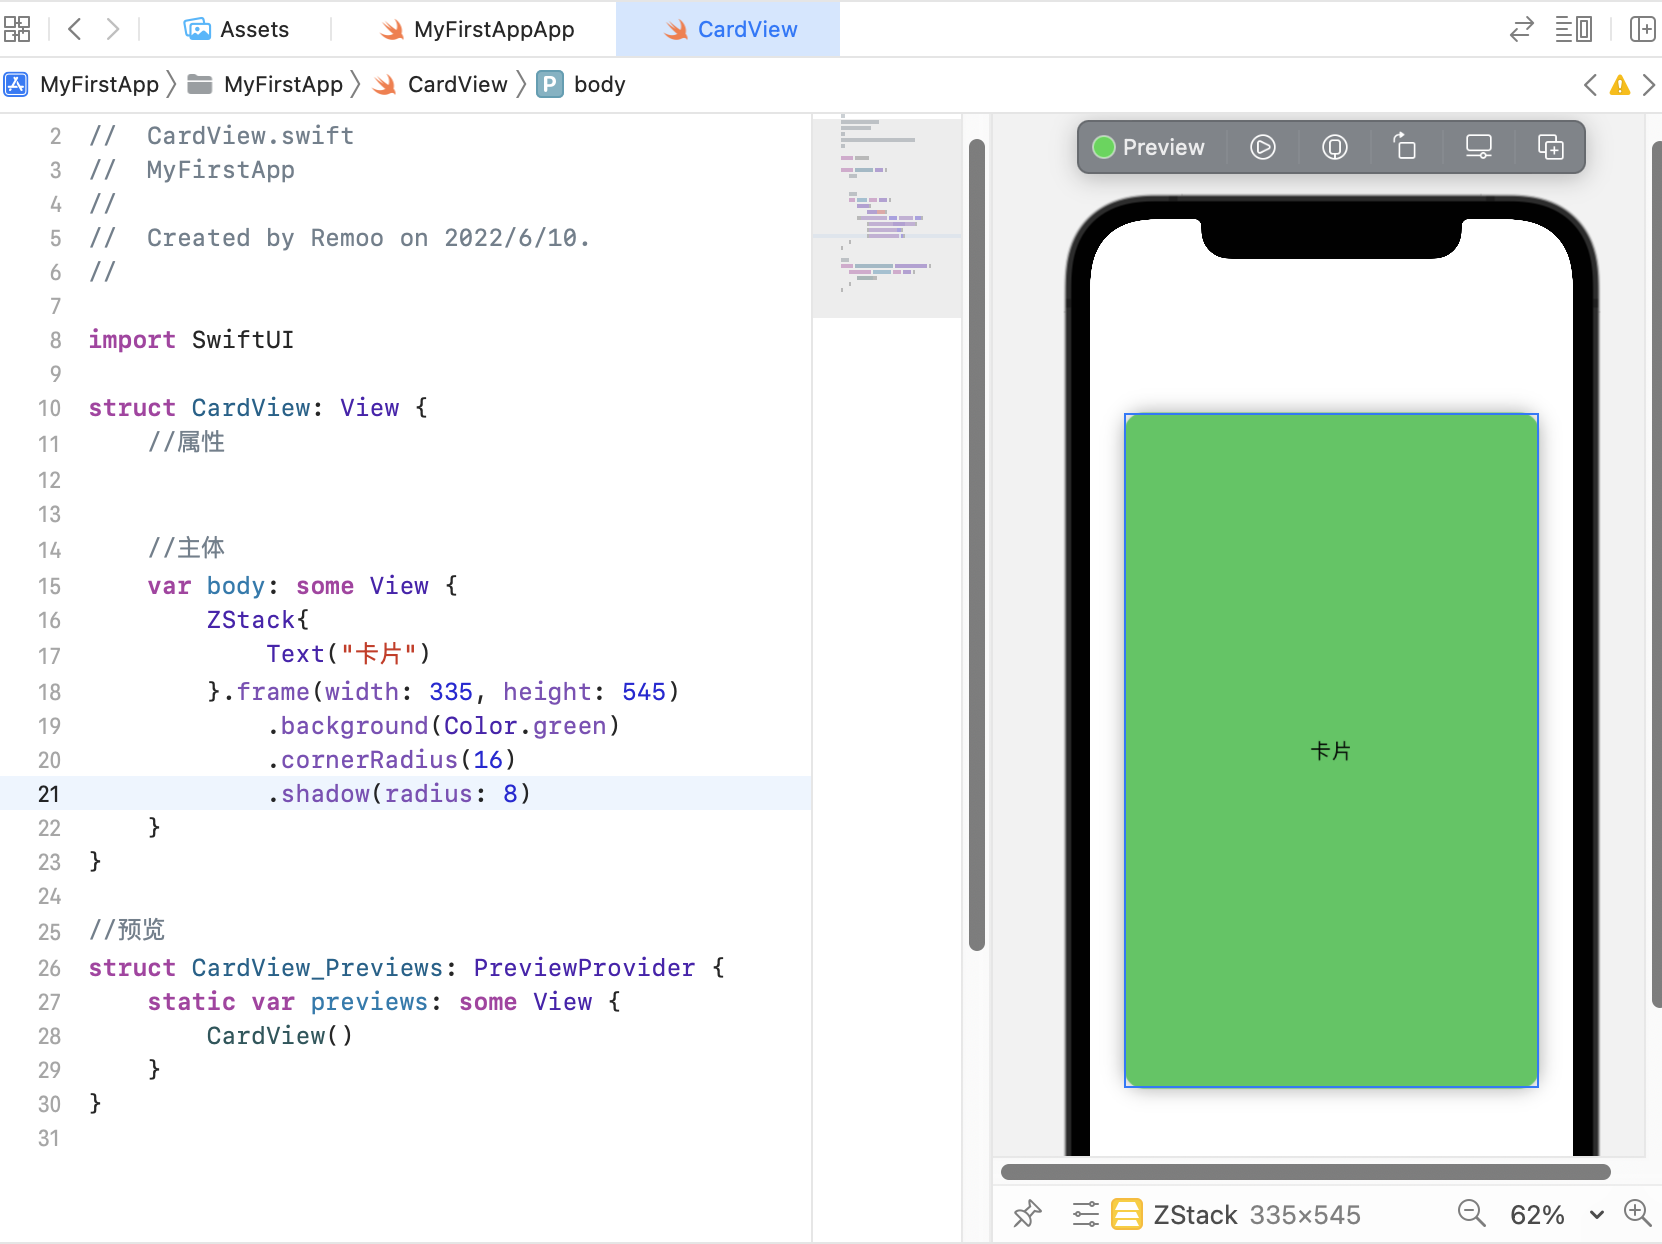
横向是HStack,纵向是VStack。ZStack是中心对齐的意思。
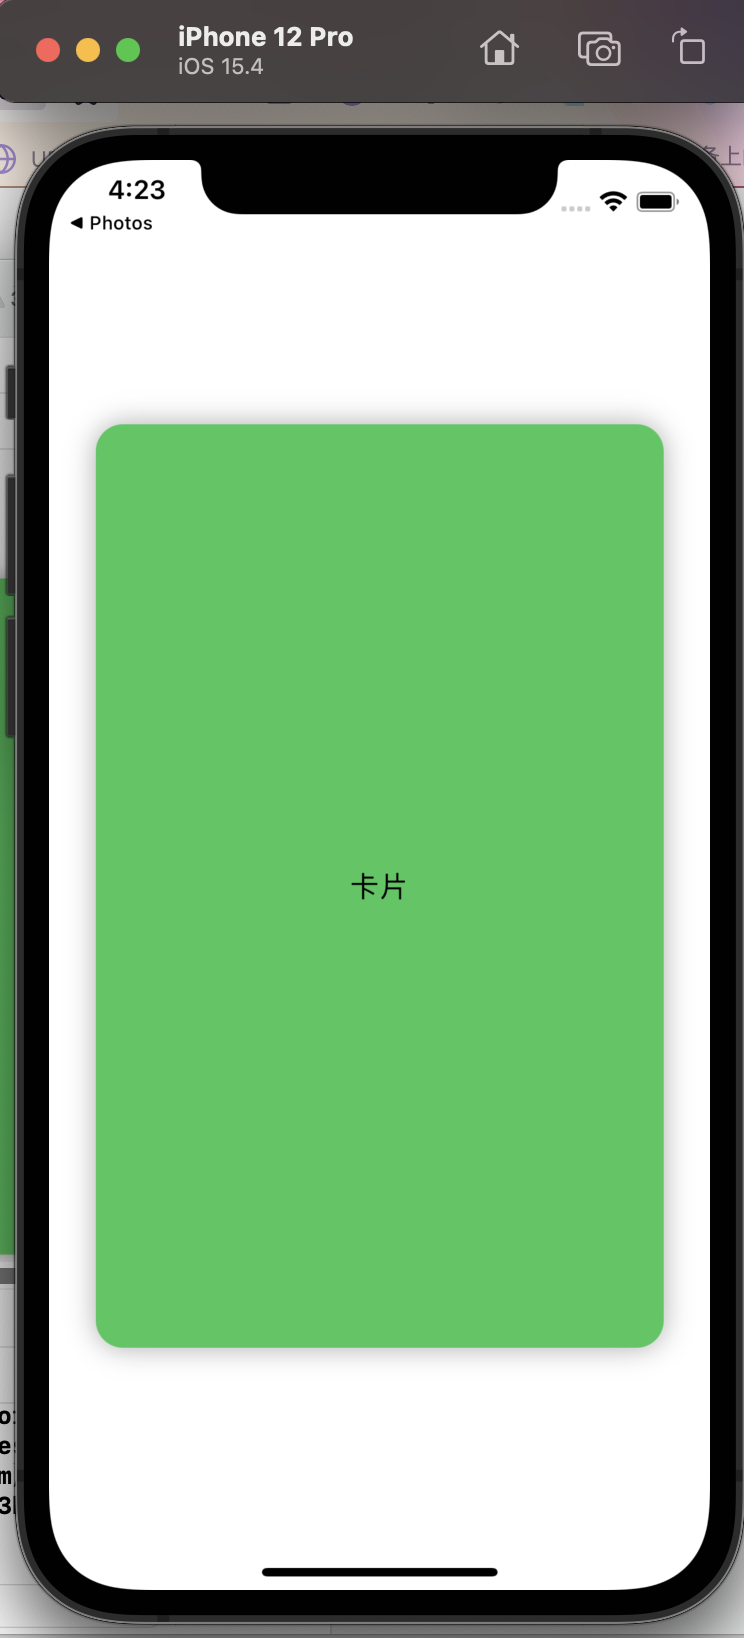
现在是创建好了,但是我们要调用我们刚刚创建好的界面。
我们在ContentView中用代码调用即可。
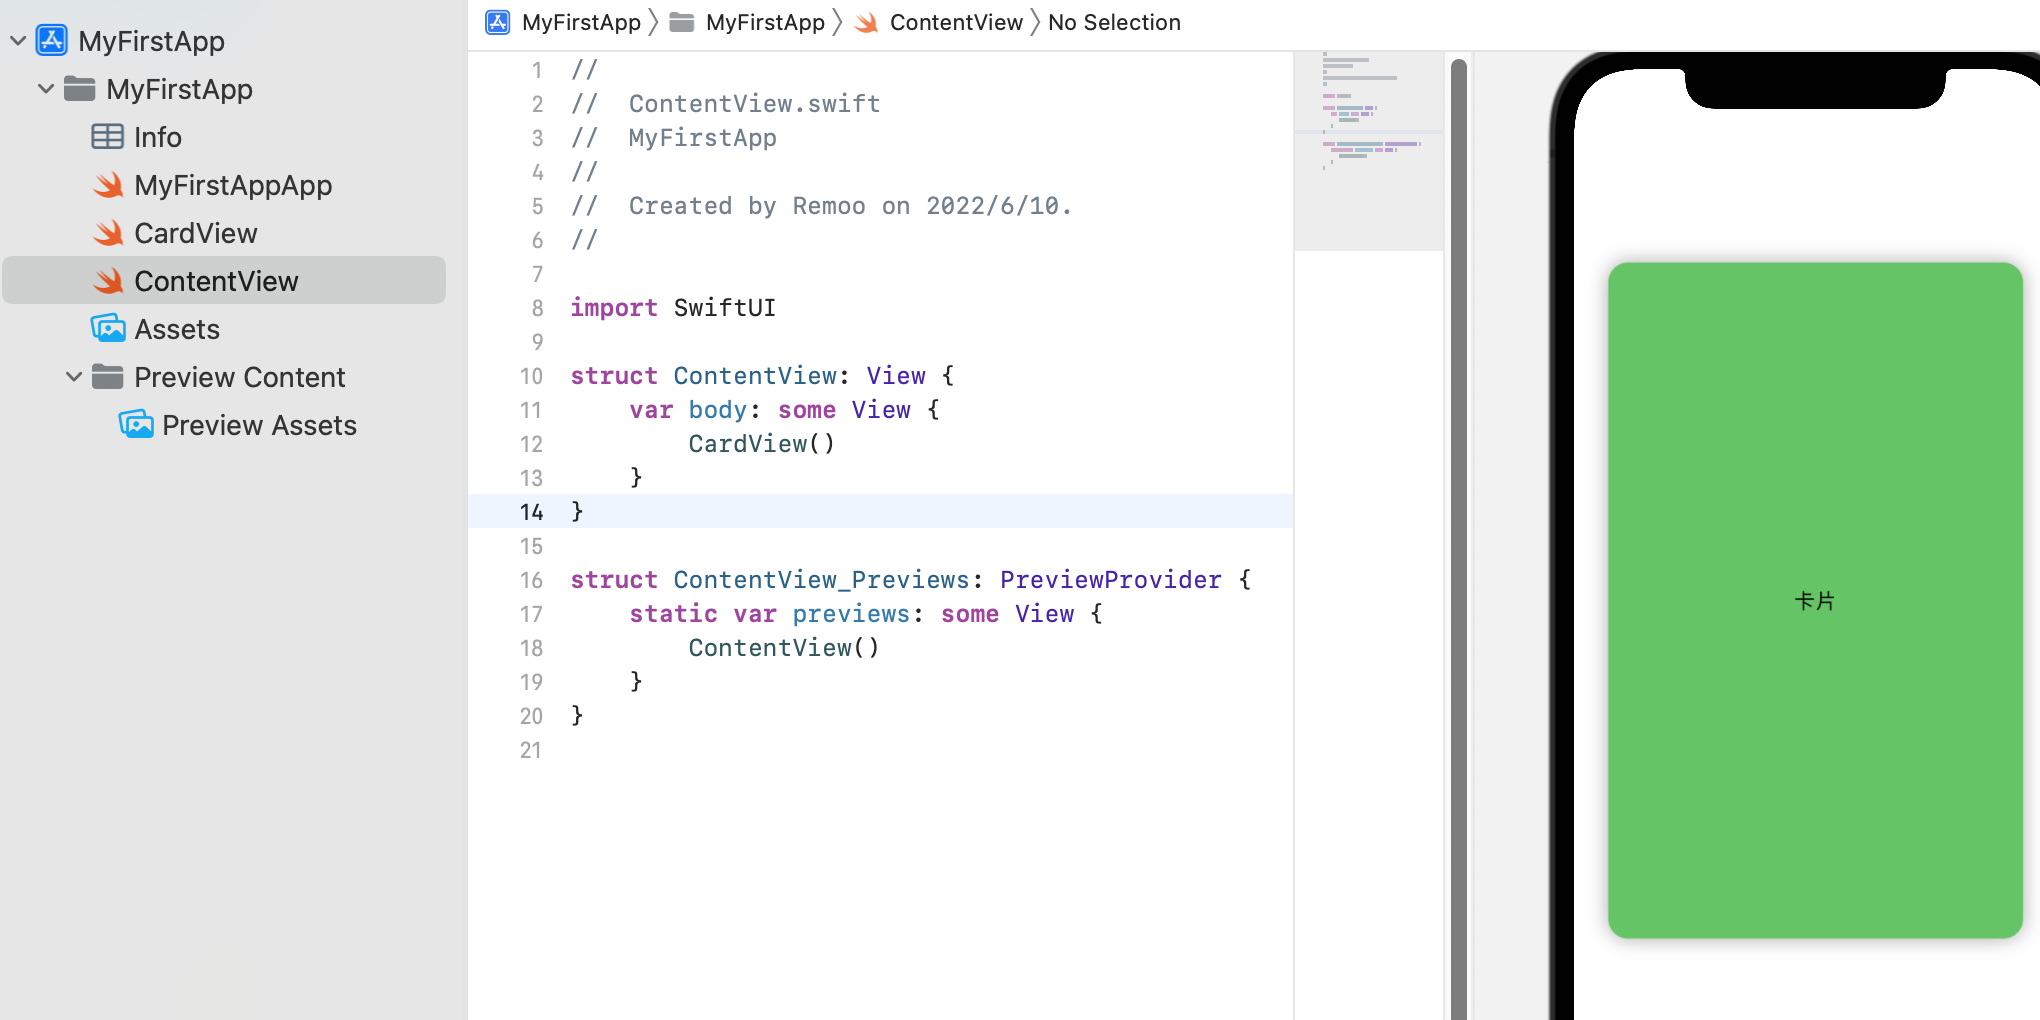
修改的地方:
struct ContentView: View {
    var body: some View {
        CardView()
    }
}
第七章:为卡片视图添加渐变颜色
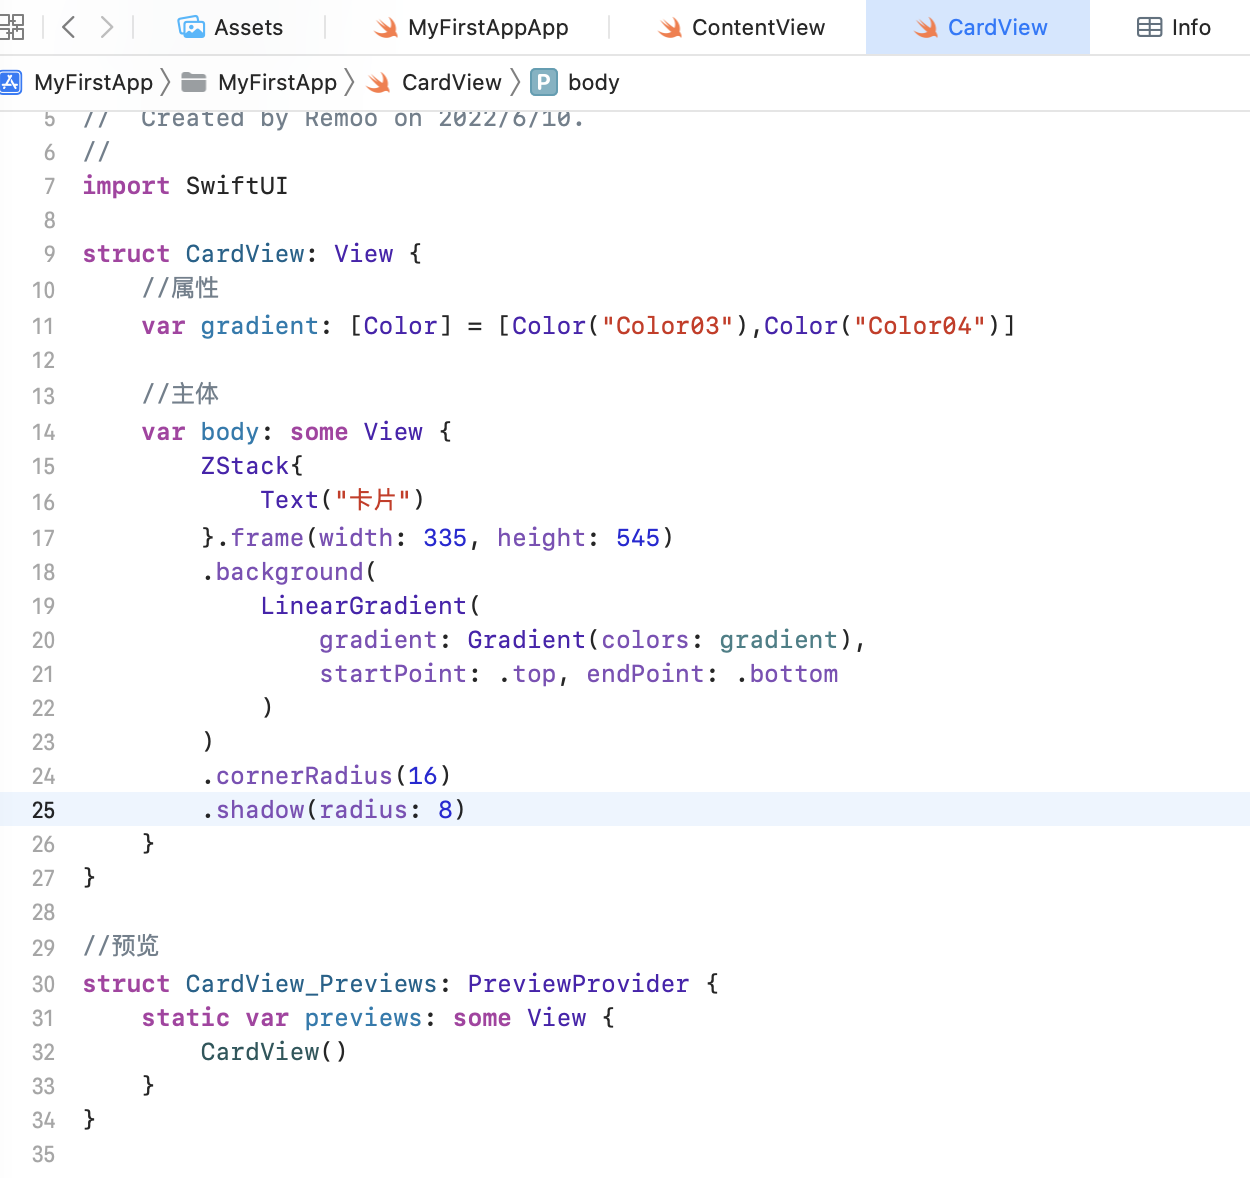
再添加之前,我们先创建一个储存渐变颜色信息的变量。
我们在CardView的属性声明区域:颜色集(现在颜色集只有两种颜色)
var gradient: [Color] = [Color("Color01"),Color("Color02")]

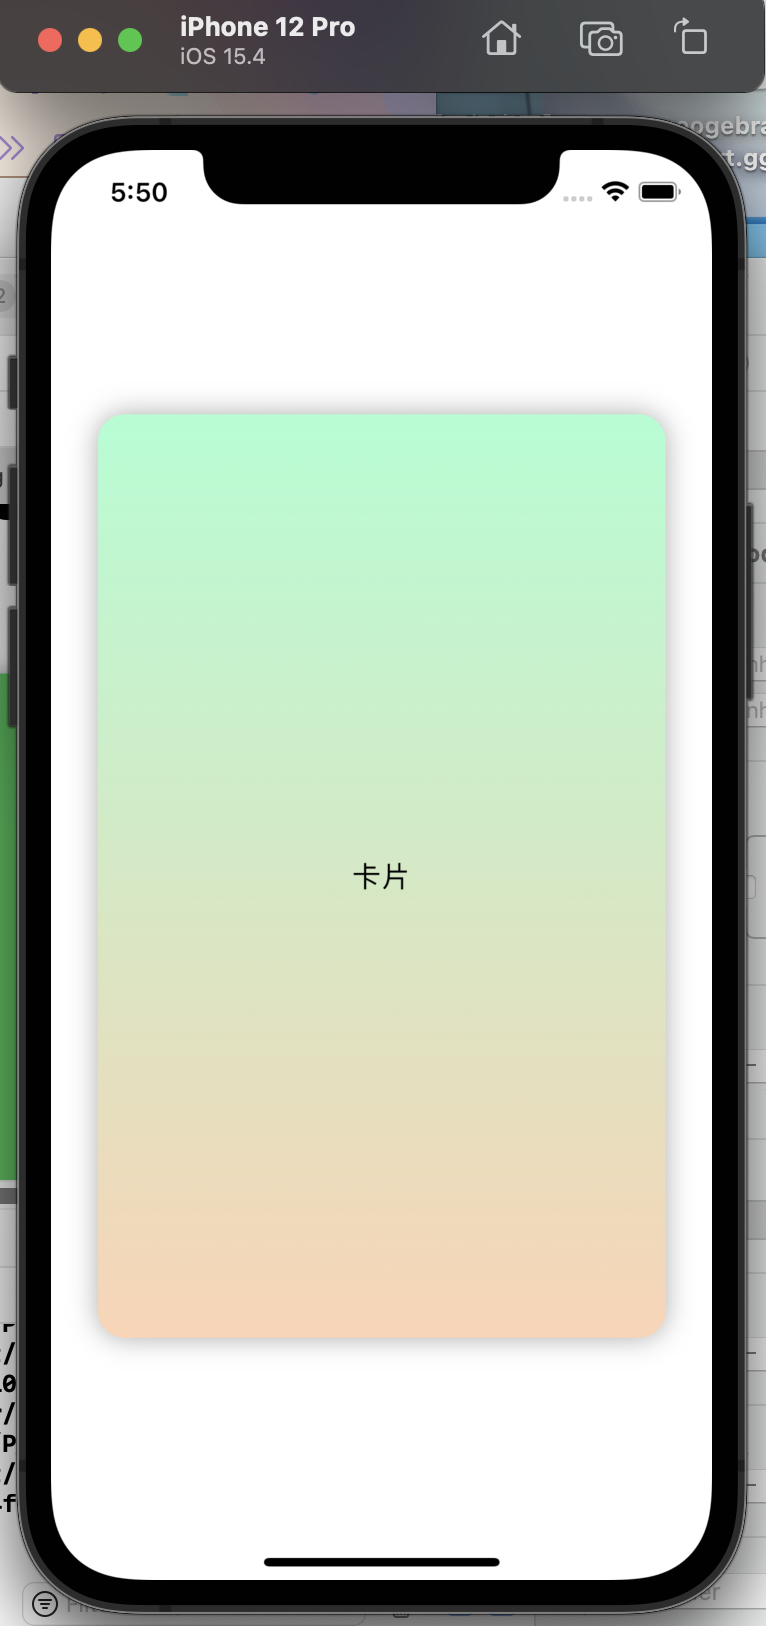
然后在CardView主题部分中的Background()修改为如下:
        .background(
            LinearGradient(
                gradient: Gradient(colors: gradient),
                startPoint: .top, endPoint: .bottom
            )
        )
第八章:为卡片添加SVG图片、文字等
效果:
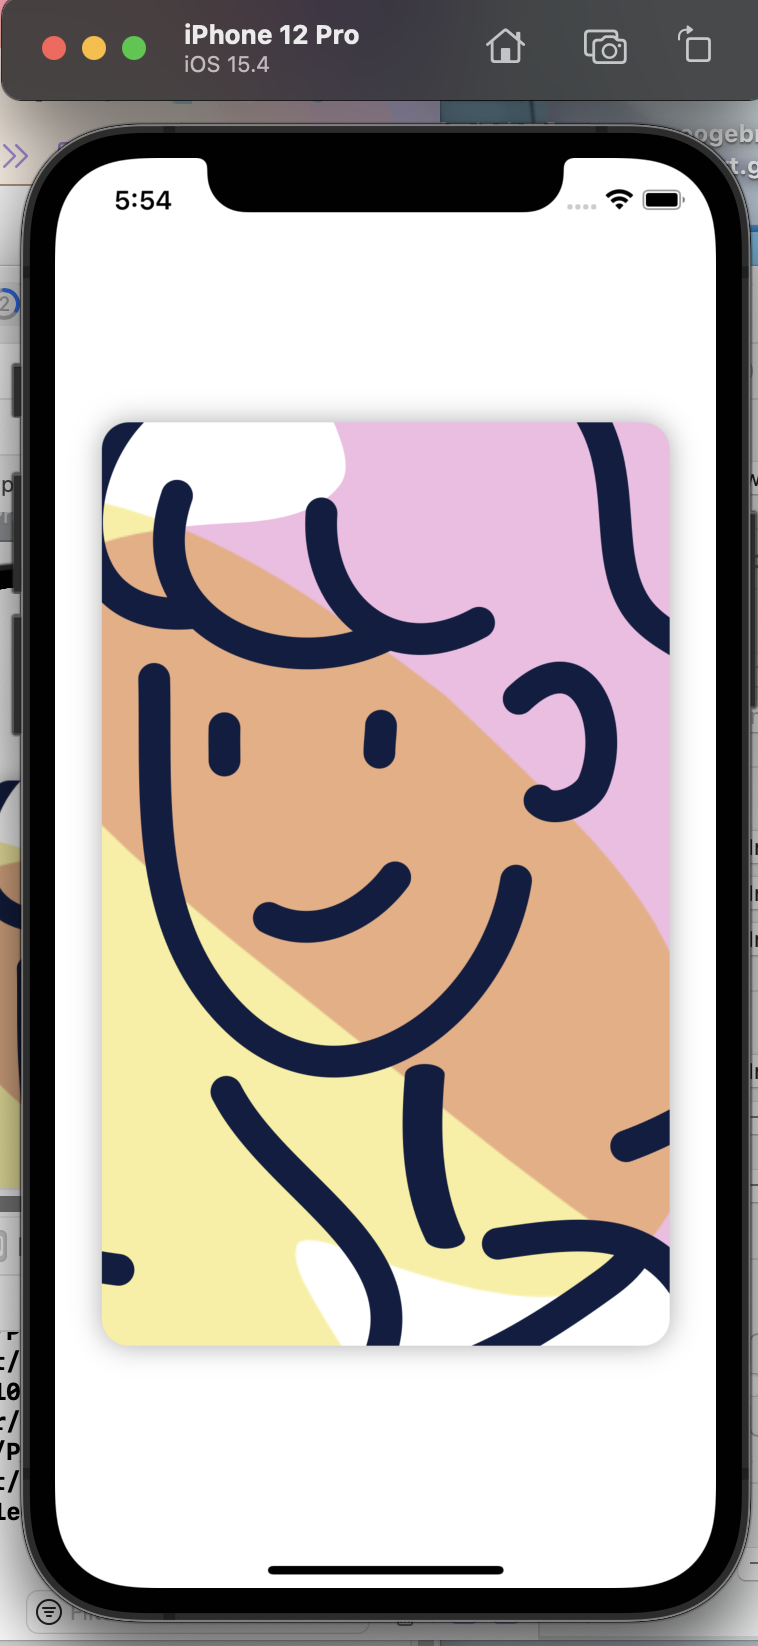
    //主体
    var body: some View {
        ZStack{
            Image("woman-6787784")
        }.frame(width: 335, height: 545)
        .background(
            LinearGradient(
                gradient: Gradient(colors: gradient),
                startPoint: .top, endPoint: .bottom
            )
        )
        .cornerRadius(16)
        .shadow(radius: 8)
    }
}
再添加一些文字。
我们在与Image组件同样的地方添加一个VStack容器,
然后在容器里添加两组文字(Text)。
        ZStack{
            Image("woman-6787784")

            VStack{
                Text("Hi,我是标题")
                    .font(.largeTitle)
                    .fontWeight(.heavy)
                    .foregroundColor(.green)
                    .multilineTextAlignment(.center)
                Text("小蚊子")
                    .fontWeight(.light)
                    .foregroundColor(.blue)
                    .italic()//斜体
            }.offset(y:-238)
第九章:为卡片添加按钮
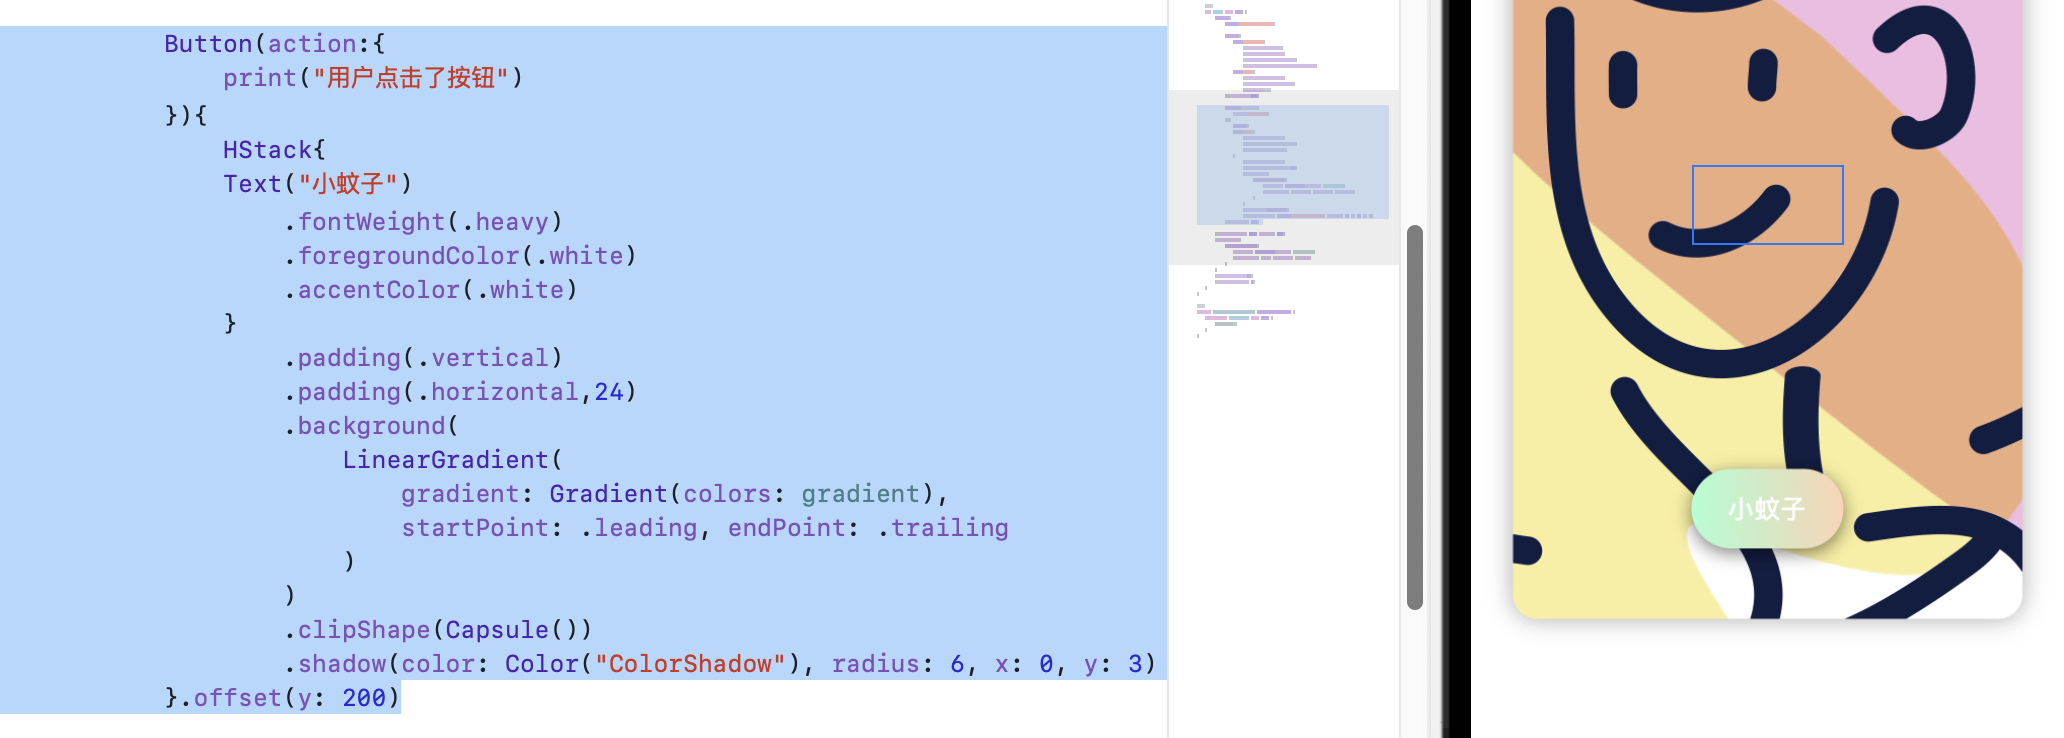
            Button(action:{
                print("用户点击了按钮")
            }){
                HStack{
                Text("小蚊子")
                    .fontWeight(.heavy)
                    .foregroundColor(.white)
                    .accentColor(.white)
                }
                    .padding(.vertical)
                    .padding(.horizontal,24)
                    .background(
                        LinearGradient(
                            gradient: Gradient(colors: gradient),
                            startPoint: .leading, endPoint: .trailing
                        )
                    )
                    .clipShape(Capsule())
                    .shadow(color: Color("ColorShadow"), radius: 6, x: 0, y: 3)
            }.offset(y: 200)
padding()用于修正位置,有时候可能需要使用四次,修订上下左右。
我们这个按钮使用了一个HStack容器封装,从左到右的渐变色。
clipShape是将矩形按钮裁切为Capsule(),胶囊形状。
ColorShadow是按钮的阴影,我们设置为60
第十章:循环生成多张卡片
在ContentView中创建一个横向的视野,然后用横向的容器装载Card。
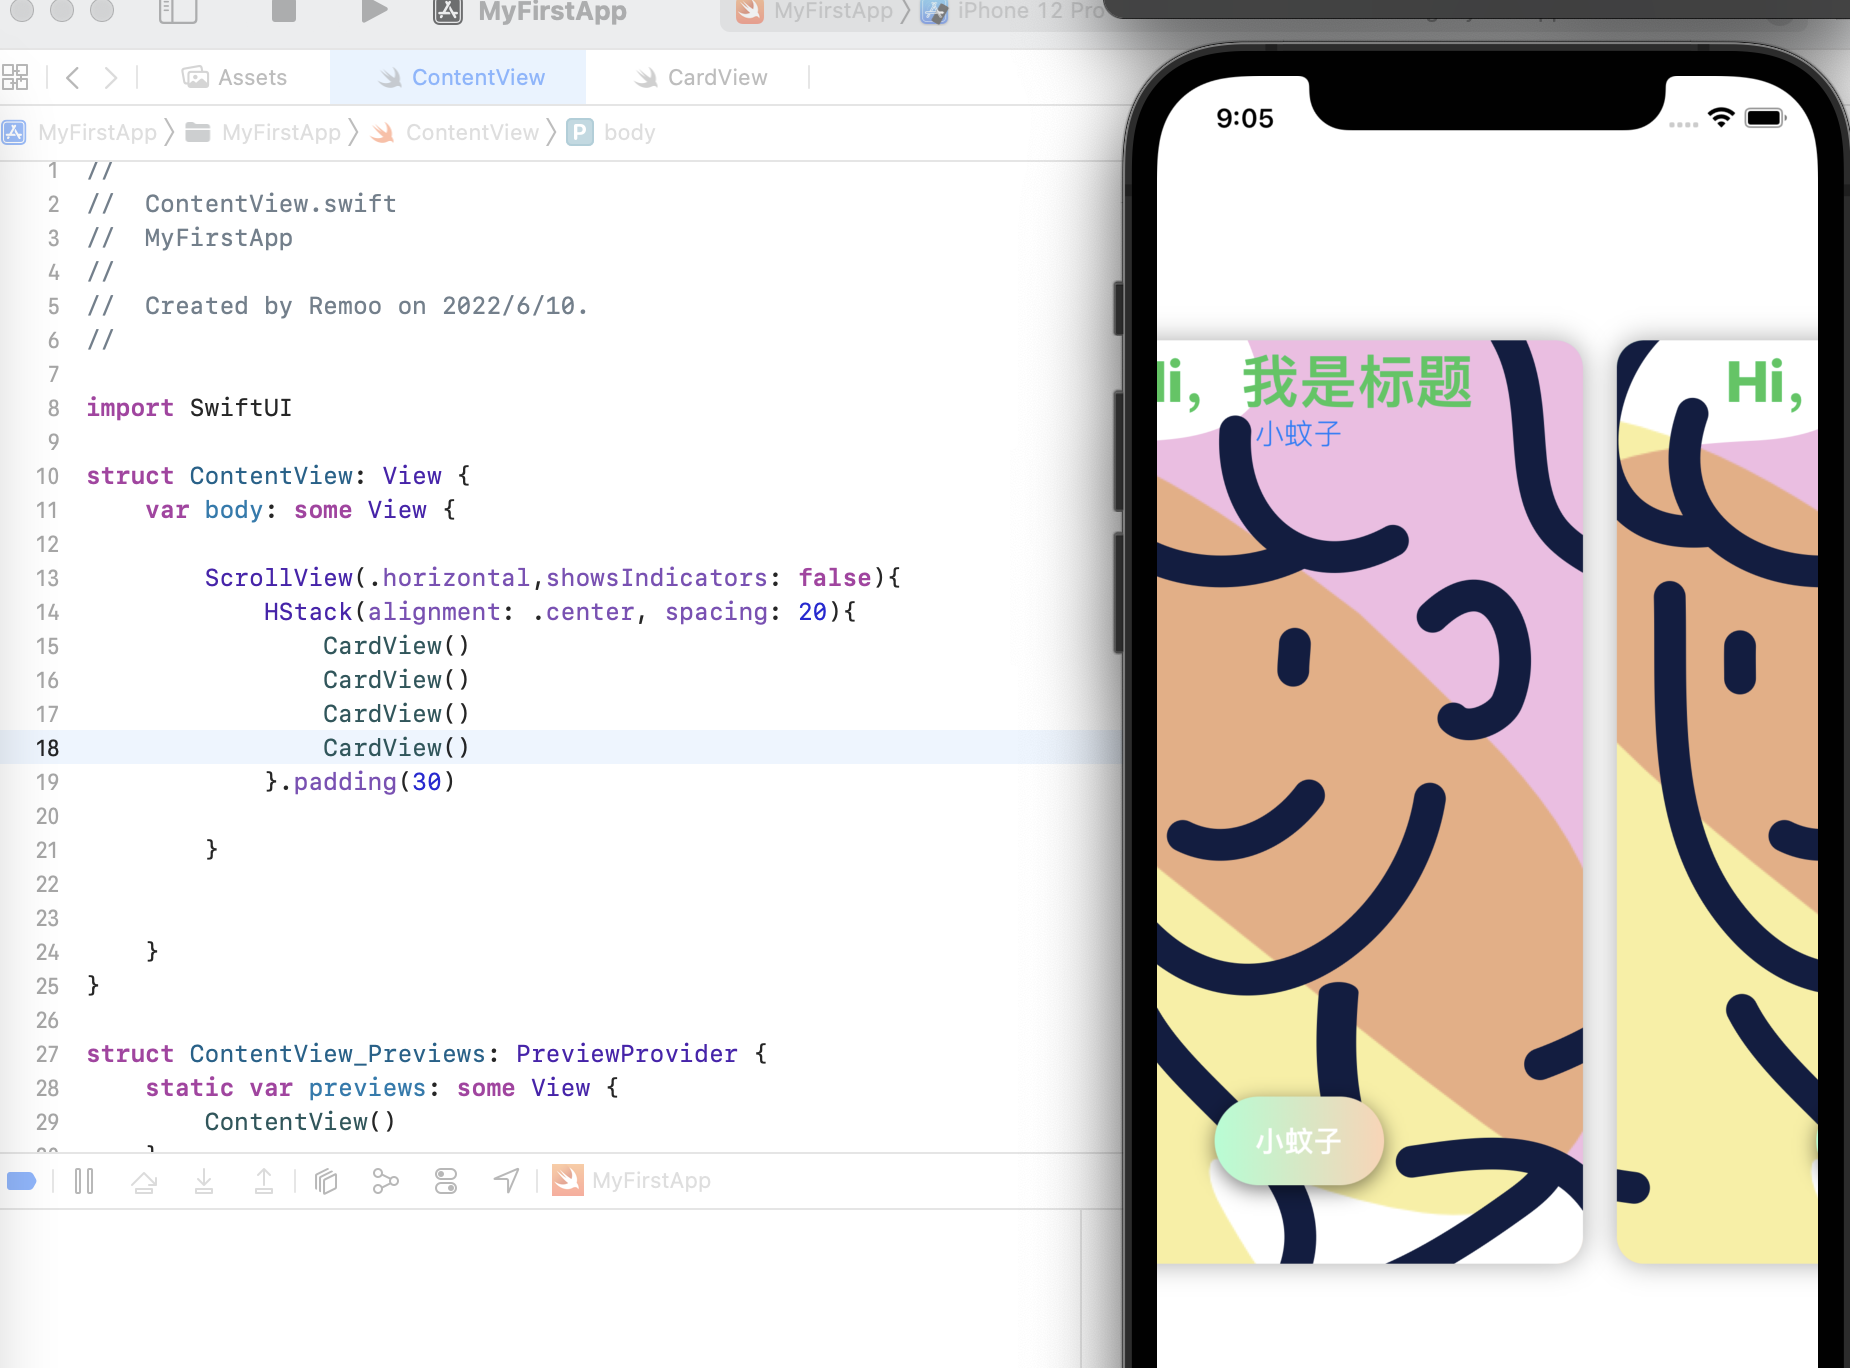
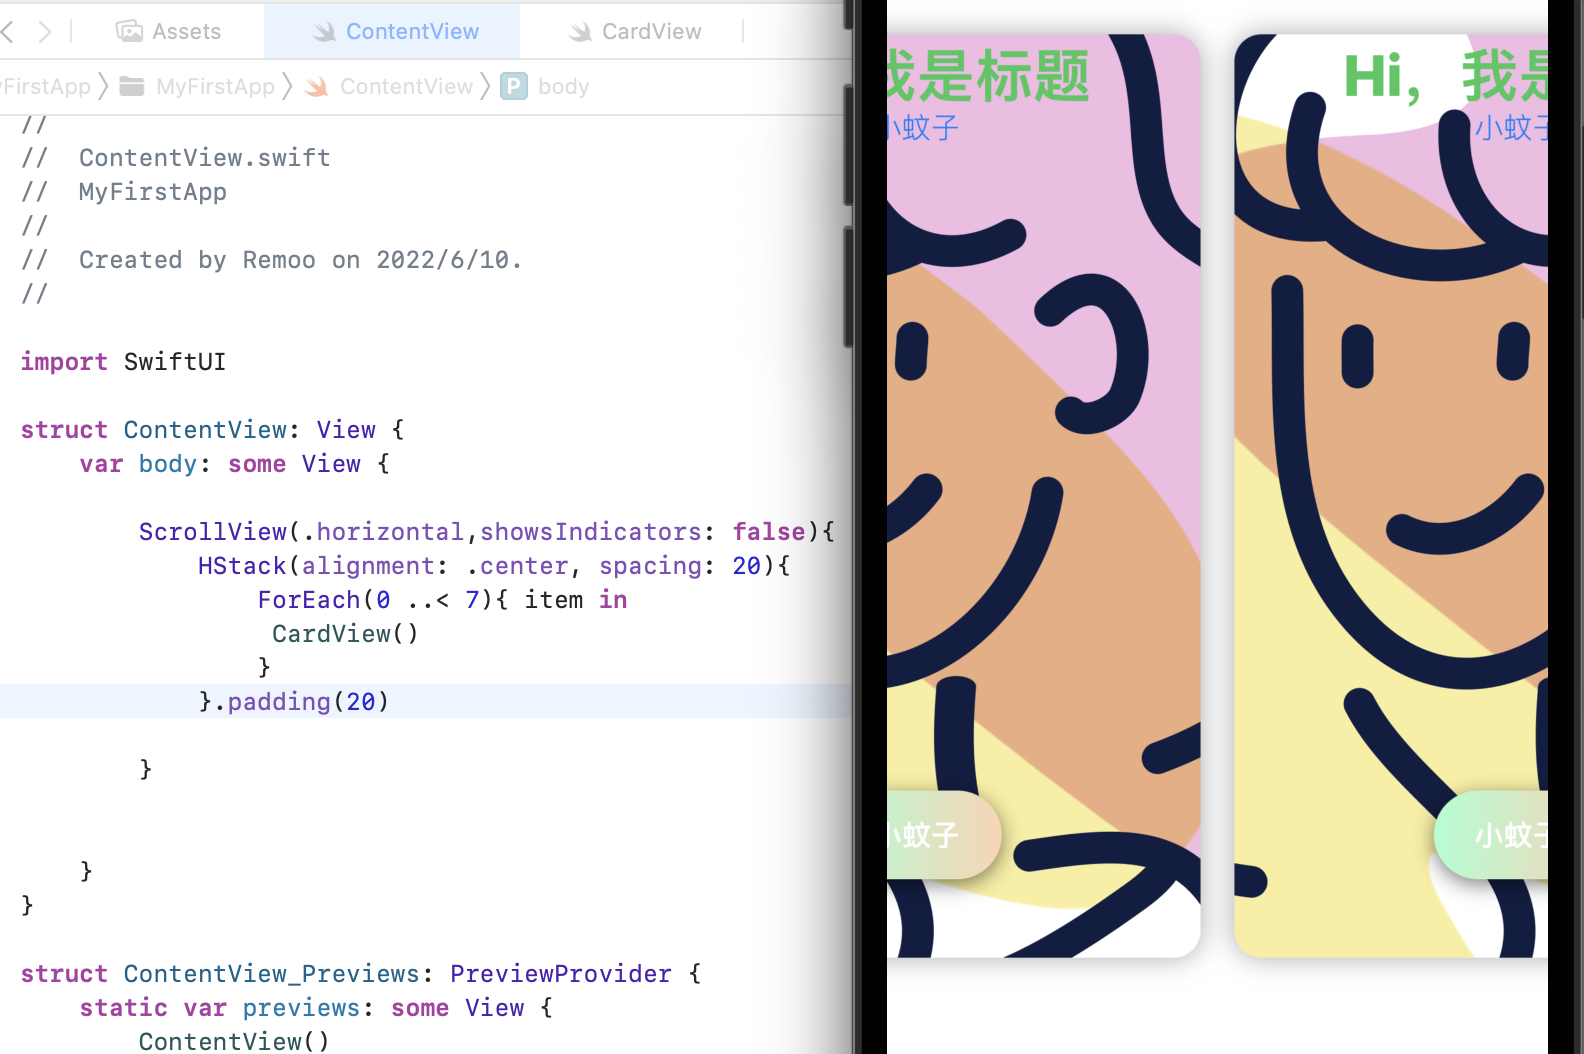
我们也可以使用foreach生成。
第十一章:创建一个数据模型
刚才我们创建的只是一些重复的卡片,现在我们创建一个模型,再用这个模型来存储卡片信息。
在导航栏中新建一个文件,叫CardModel。

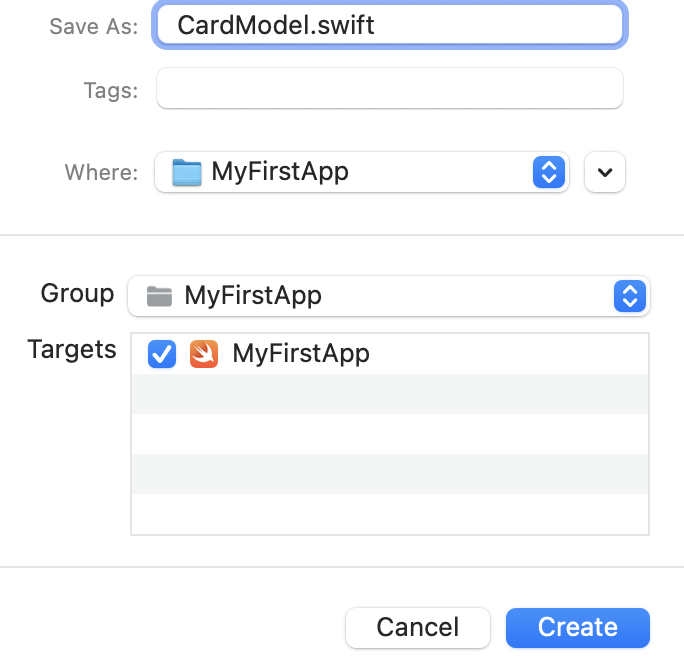
输入如下代码,构建结构体 Card
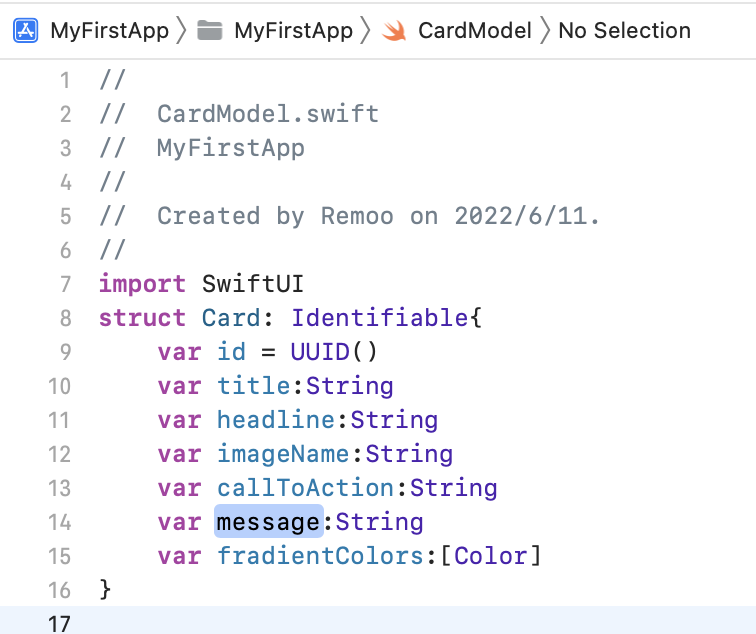
import SwiftUI
struct Card: Identifiable{
    var id = UUID()
    var title:String
    var headline:String
    var imageName:String
    var callToAction:String
    var message:String
    var fradientColors:[Color]
}
这里我们需要注意,要将原来的Foundation框架换成SwiftUI。
结构体要符合Identifiable协议,即通过这个结构体实例化的对象必须是唯一的、可标识的。这里UUID()函数作为id值,就是那个标识的,类似于MySQL的key。
这几个变量意思都非常直接,大家应该都能看懂。
弄完这个模型,我们得弄一个真正存储信息的文件。
第十二章:为静态数据创建数组
我们现在先使用比较简单的方法构建这些数据,以后我们会用更加专业的方法。下面这种是最简单滴方式。
在导航栏中创一个新的文件。名字叫:CardData
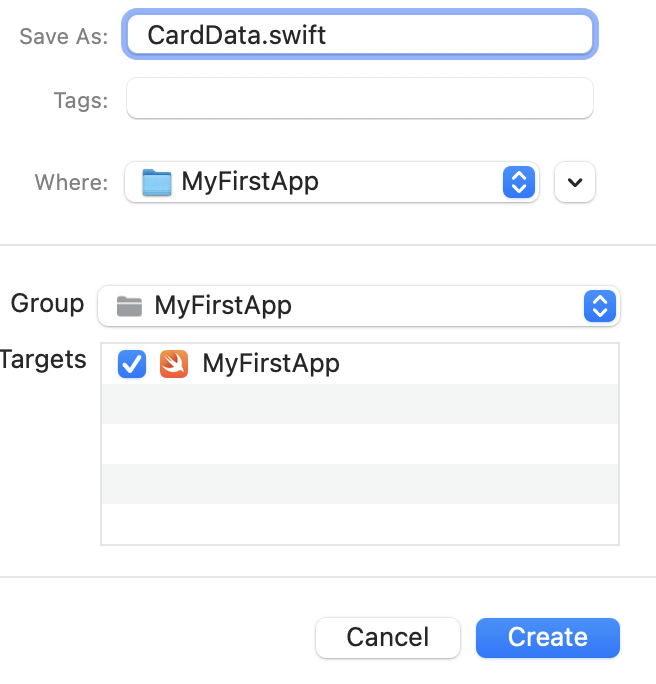
let cardData:[Card]=[Card()]
Card里面需要填入所有struct里面的参数哦。
即:
import SwiftUI

let cardData:[Card]=[Card(
    title: "我是remoo", headline: "嘻嘻", imageName: "Image001", callToAction: "我是开发者", message: "我喜欢你~", fradientColors: [Color("Color04"),Color("Color06")]
)]
第十三章:显示数据
为了实现不同的卡片显示不同的数据,我们需要把CardView里面的属性设置为变量,可供传入。
CardView代码修改为:
//
//  CardView.swift
//  MyFirstApp
//
//  Created by Remoo on 2022/6/10.
//
import SwiftUI

struct CardView: View {
    //属性
    var card:Card
    var gradient: [Color] = [Color("Color03"),Color("Color04")]

    //主体
    var body: some View {
        ZStack{
            Image(card.imageName)

            VStack{
                Text(card.title)
                    .font(.largeTitle)
                    .fontWeight(.heavy)
                    .foregroundColor(.green)
                    .multilineTextAlignment(.center)
                Text(card.headline)
                    .fontWeight(.light)
                    .foregroundColor(.blue)
                    .italic()//斜体
            }.offset(y:-238)

            Button(action:{
                print("用户点击了按钮")
            }){
                HStack{
                    Text(card.callToAction)
                    .fontWeight(.heavy)
                    .foregroundColor(.white)
                    .accentColor(.white)
                }
                    .padding(.vertical)
                    .padding(.horizontal,24)
                    .background(
                        LinearGradient(
                            gradient: Gradient(colors: card.gradientColors),
                            startPoint: .leading, endPoint: .trailing
                        )
                    )
                    .clipShape(Capsule())
                    .shadow(color: Color("ColorShadow"), radius: 6, x: 0, y: 3)
            }.offset(y: 200)

        }.frame(width: 335, height: 545)
        .background(
            LinearGradient(
                gradient: Gradient(colors: card.gradientColors),
                startPoint: .top, endPoint: .bottom
            )
        )
        .cornerRadius(16)
        .shadow(radius: 8)
    }
}

//预览
struct CardView_Previews: PreviewProvider {
    static var previews: some View {
        CardView(card: cardData[0])
    }
}
修改了几处地方:title、headline、imageName、callToAction、gradientColors。
另外预览的部分也要修改,因为当你调用了CardView的时候,我们需要向其传入数据,就是我们下面的数据
也就是在ContentView中把我们的cardData用上。
以下是当前cardData的内容,现在有两个Card结构的数组,可以自行添加其他的内容。
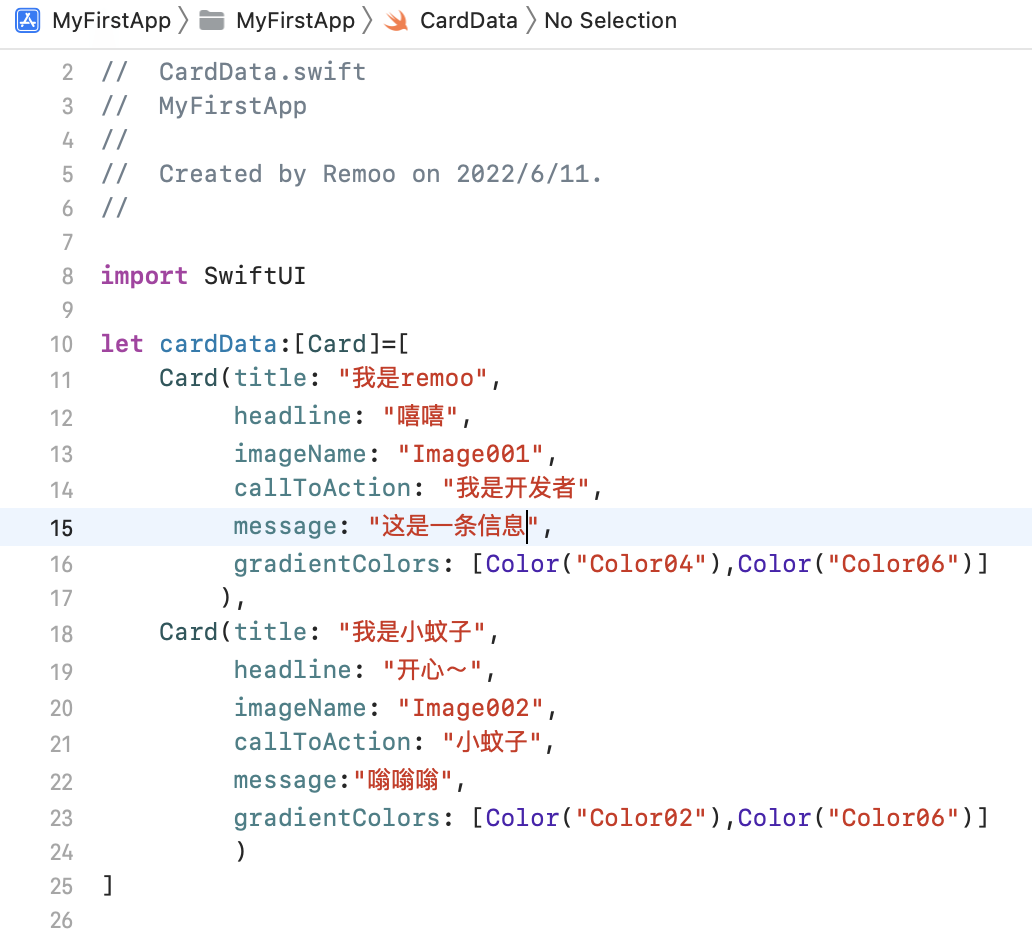
//
//  CardData.swift
//  MyFirstApp
//
//  Created by Remoo on 2022/6/11.
//

import SwiftUI

let cardData:[Card]=[
    Card(title: "我是remoo",
         headline: "嘻嘻",
         imageName: "Image001",
         callToAction: "我是开发者",
         message: "这是一条信息",
         gradientColors: [Color("Color04"),Color("Color06")]
        ),
    Card(title: "我是小蚊子",
         headline: "开心~",
         imageName: "Image002",
         callToAction: "小蚊子",
         message:"嗡嗡嗡",
         gradientColors: [Color("Color02"),Color("Color06")]
         )
]
//
//  ContentView.swift
//  MyFirstApp
//
//  Created by Remoo on 2022/6/10.
//

import SwiftUI

let cards:[Card] = cardData

struct ContentView: View {
    var body: some View {
        ScrollView(.horizontal,showsIndicators: false){
            HStack(alignment: .center, spacing: 20){
                ForEach(cards){ item in
                    CardView(card: item)
                }
            }.padding(20)
        }
    }
}

struct ContentView_Previews: PreviewProvider {
    static var previews: some View {
        ContentView()
    }
}
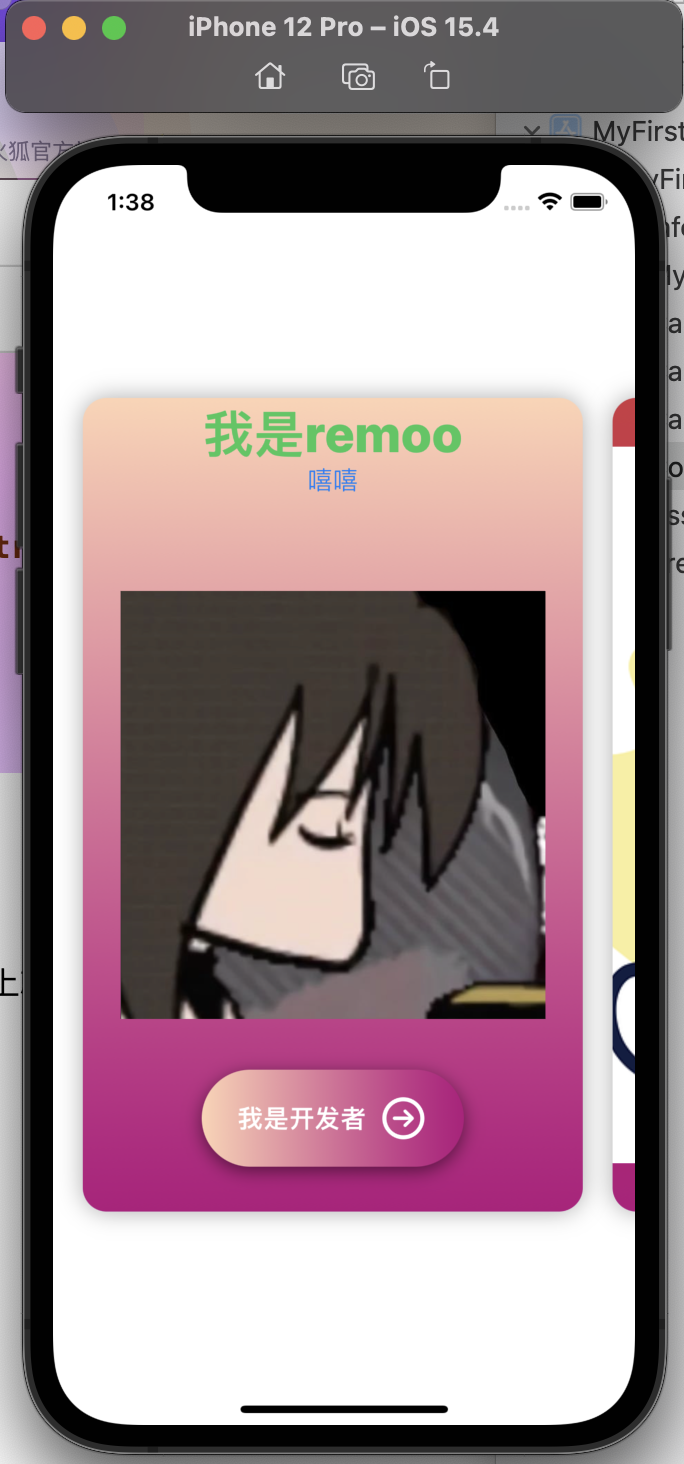
这里使用了ForEach的其中一种用法,非常方便,这里将会自动读取所有cardData里面的数据,生成卡片。
所有的卡片数据,都可以在cardData里面录入,程序启动时会自动读取。
以上就是目前的全部代码。
第十四章:播放提示声音
播放一些效果音乐会进一步提升用户体验。
先导入音效文件。 下载 然后解压即可。

导入到导航栏中。确认勾选了:Copy items if needed
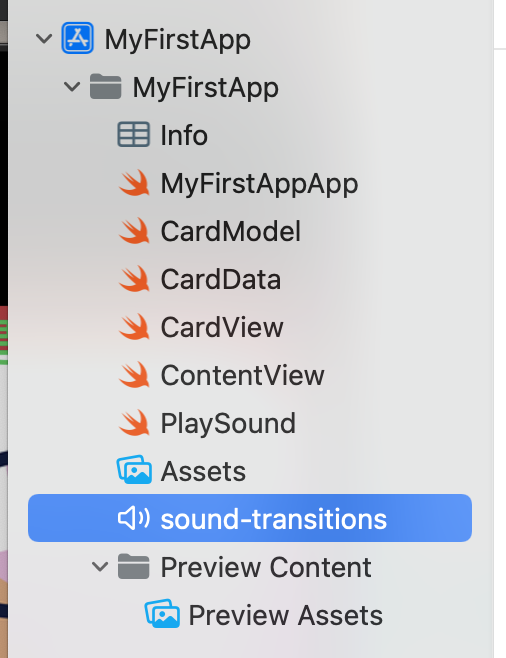
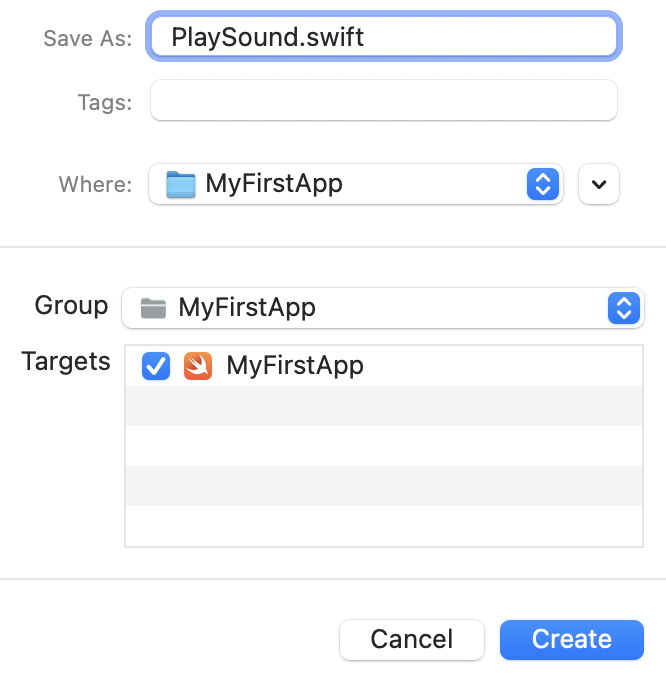
在导航栏中新建一个文件,命名为PlaySound
以下代码:
//
//  PlaySound.swift
//  MyFirstApp
//
//  Created by Remoo on 2022/6/12.
//

import Foundation
import AVFoundation

var audioPlayer: AVAudioPlayer?

func playSound(sound: String,type: String){
    if let path = Bundle.main.path(forResource: sound, ofType: type){
        do{
            audioPlayer = try AVAudioPlayer(contentsOf: URL(fileURLWithPath: path))
            audioPlayer?.play()
        }catch{
            print("播放失败。。")
        }
    }
}
AVFoundation框架是音频视频等播放的API,我们声明一个audioPlayer变量,注意加个问号表示可选性,以免系统出错时带来恶劣的影响。
接着创建一个playSound()函数,第一个参数是音频文件名字,迪厄个参数是音频拓展名字,都是String类型。
这里使用了do catch语句,用于捕捉错误。
在CardView中调用即可。

playSound(sound: "sound-transitions", type: "mp3")

