该系列分为两个大的部分。
- Swift基本语法
- 使用Xcode编写iOS应用程式
两个部分会双线并行更新。
本人的学习资料大多为Apple Develop官方上的生肉,难免会有疏漏,望斧正。
另外该系列的第二部分将以刘铭的《SwiftUI自学成长笔记》为路线推进。
学会如何使用Xcode 与 SwiftUI2.0框架开发商业级别的iOS和iPadOS应用程式。
使用的Xcode版本为:Version 13.3
1.0.0 在App Store安装Xcode
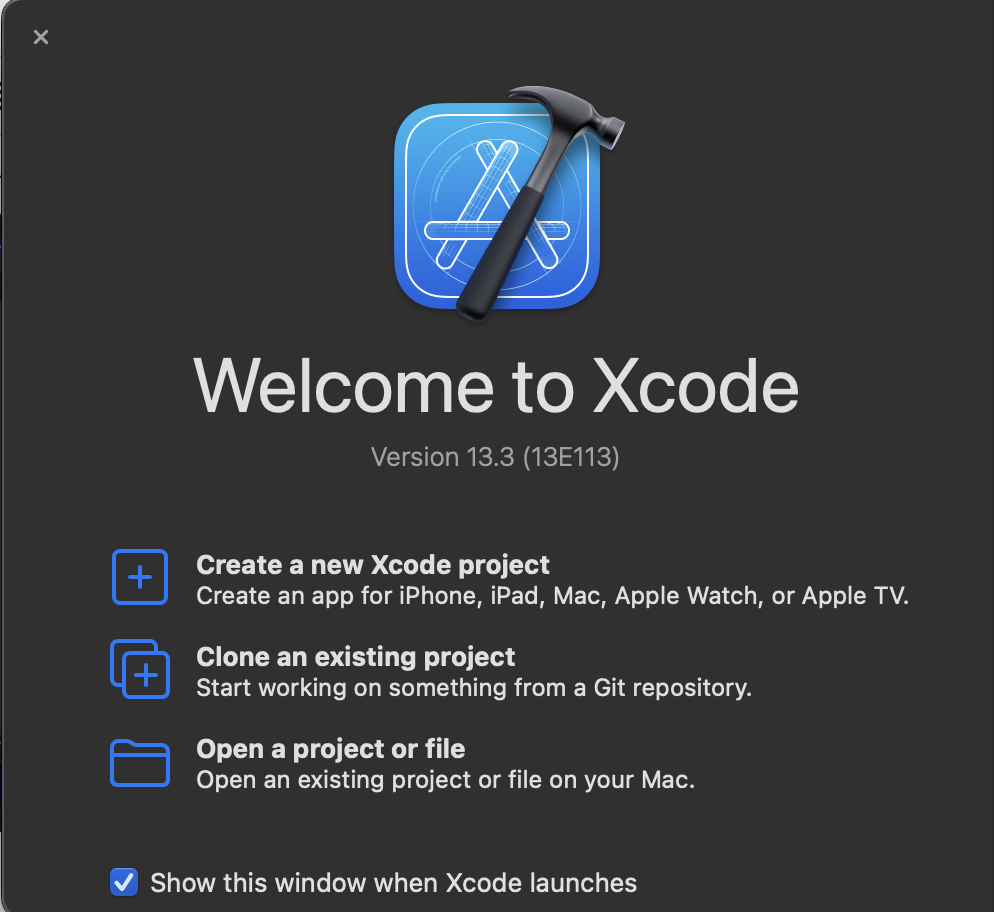
1.0.1 新建一个学习项目
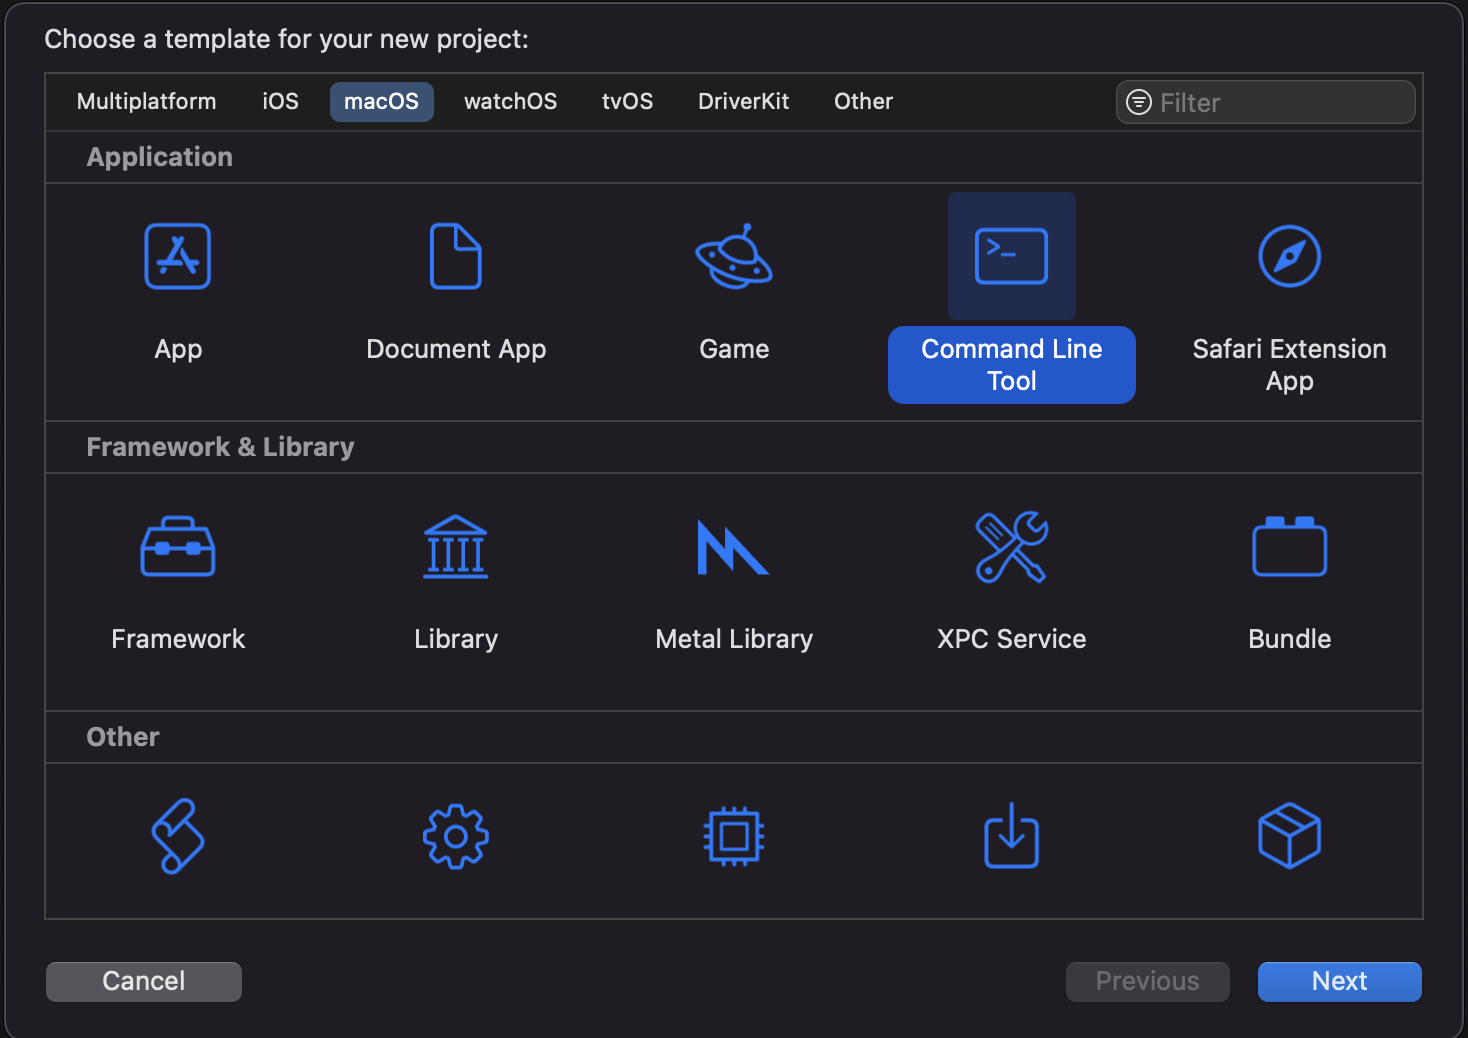
选择Creat a new Xcode project - macOS - Command Line Tool,如图1-2所示。
在随后的项目选项卡中,做出如下图1-3设置。
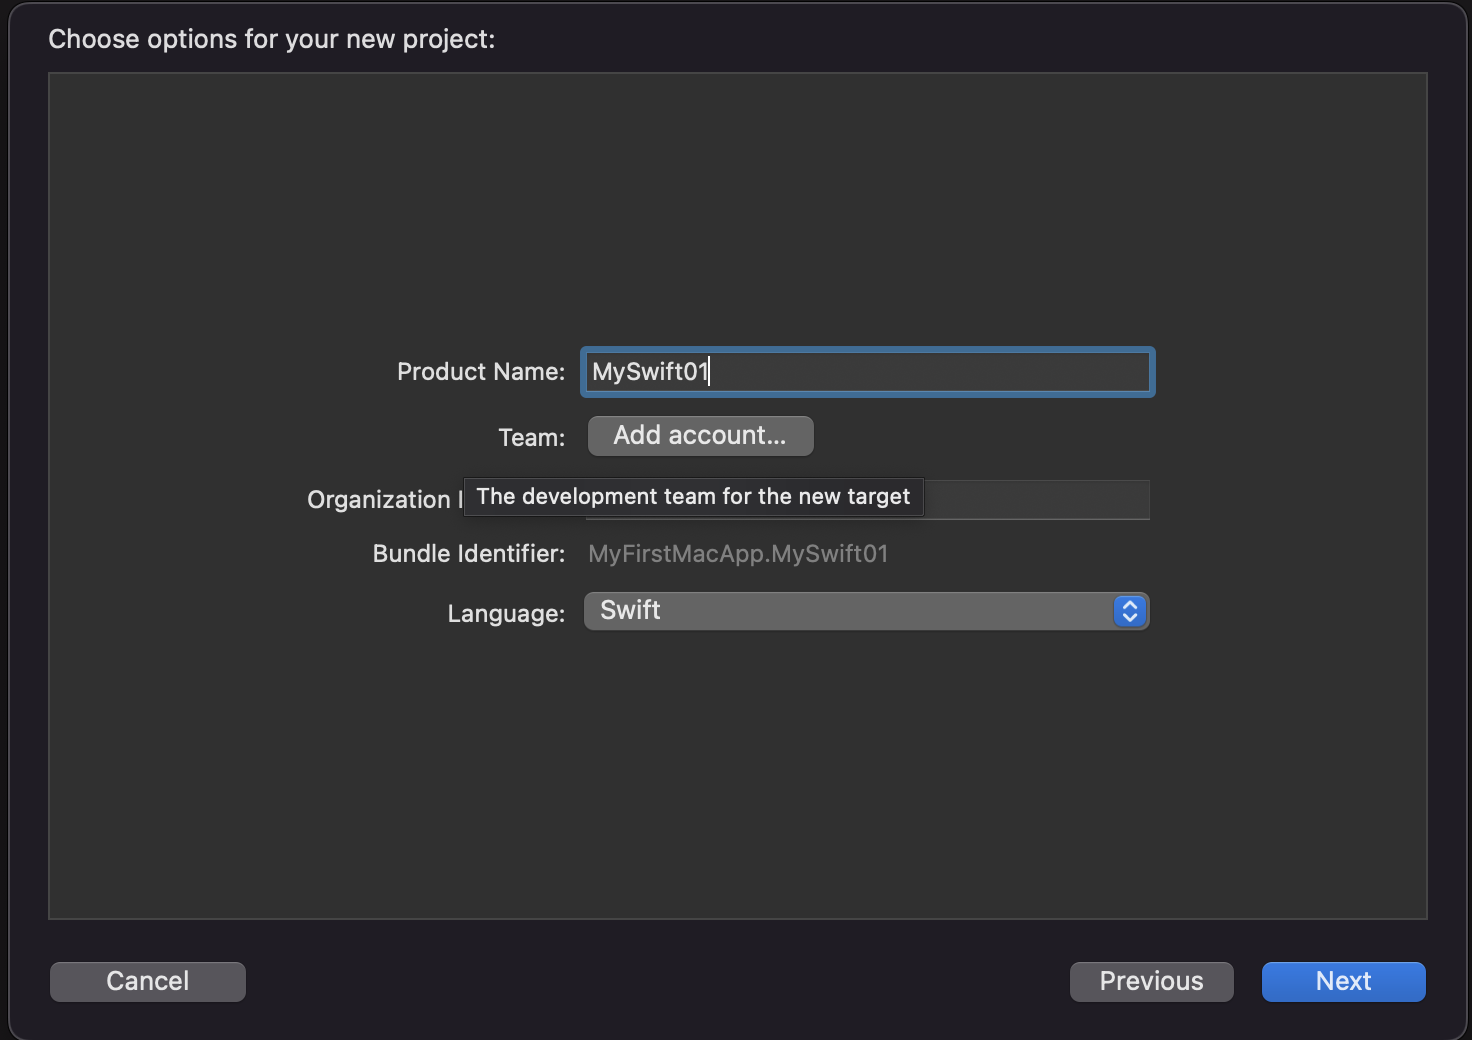
- Product Name 项目名称 填写 MySwift01
- Team 如果没有苹果开发者账户请忽略该选项
- Organization Identifier 可以随便填写,一般商业开发使用反向域名,如cn.remoo,都可。
- Language 选择Swift
对于Team选项,如果没有加入Apple开发者计划,也不妨碍后续开发。我们可以使用iOS模拟器完成全部工作。也可以使用外接一台iOS设备进行真机模拟。By the way,这个开发者计划一年需要向Apple支付688元人民币。
配置好项目之后,点击Next。然后选择项目的位置后,就可以开始我们的工作了。
1.0.2 编写Hello World
好吧说实话,Xcode已经为我们生成好了啦。就在左边那一栏(以后我们称为项目导航面板),MySwift01 - MySwift01 - main中。
就是那个黄色的图标。
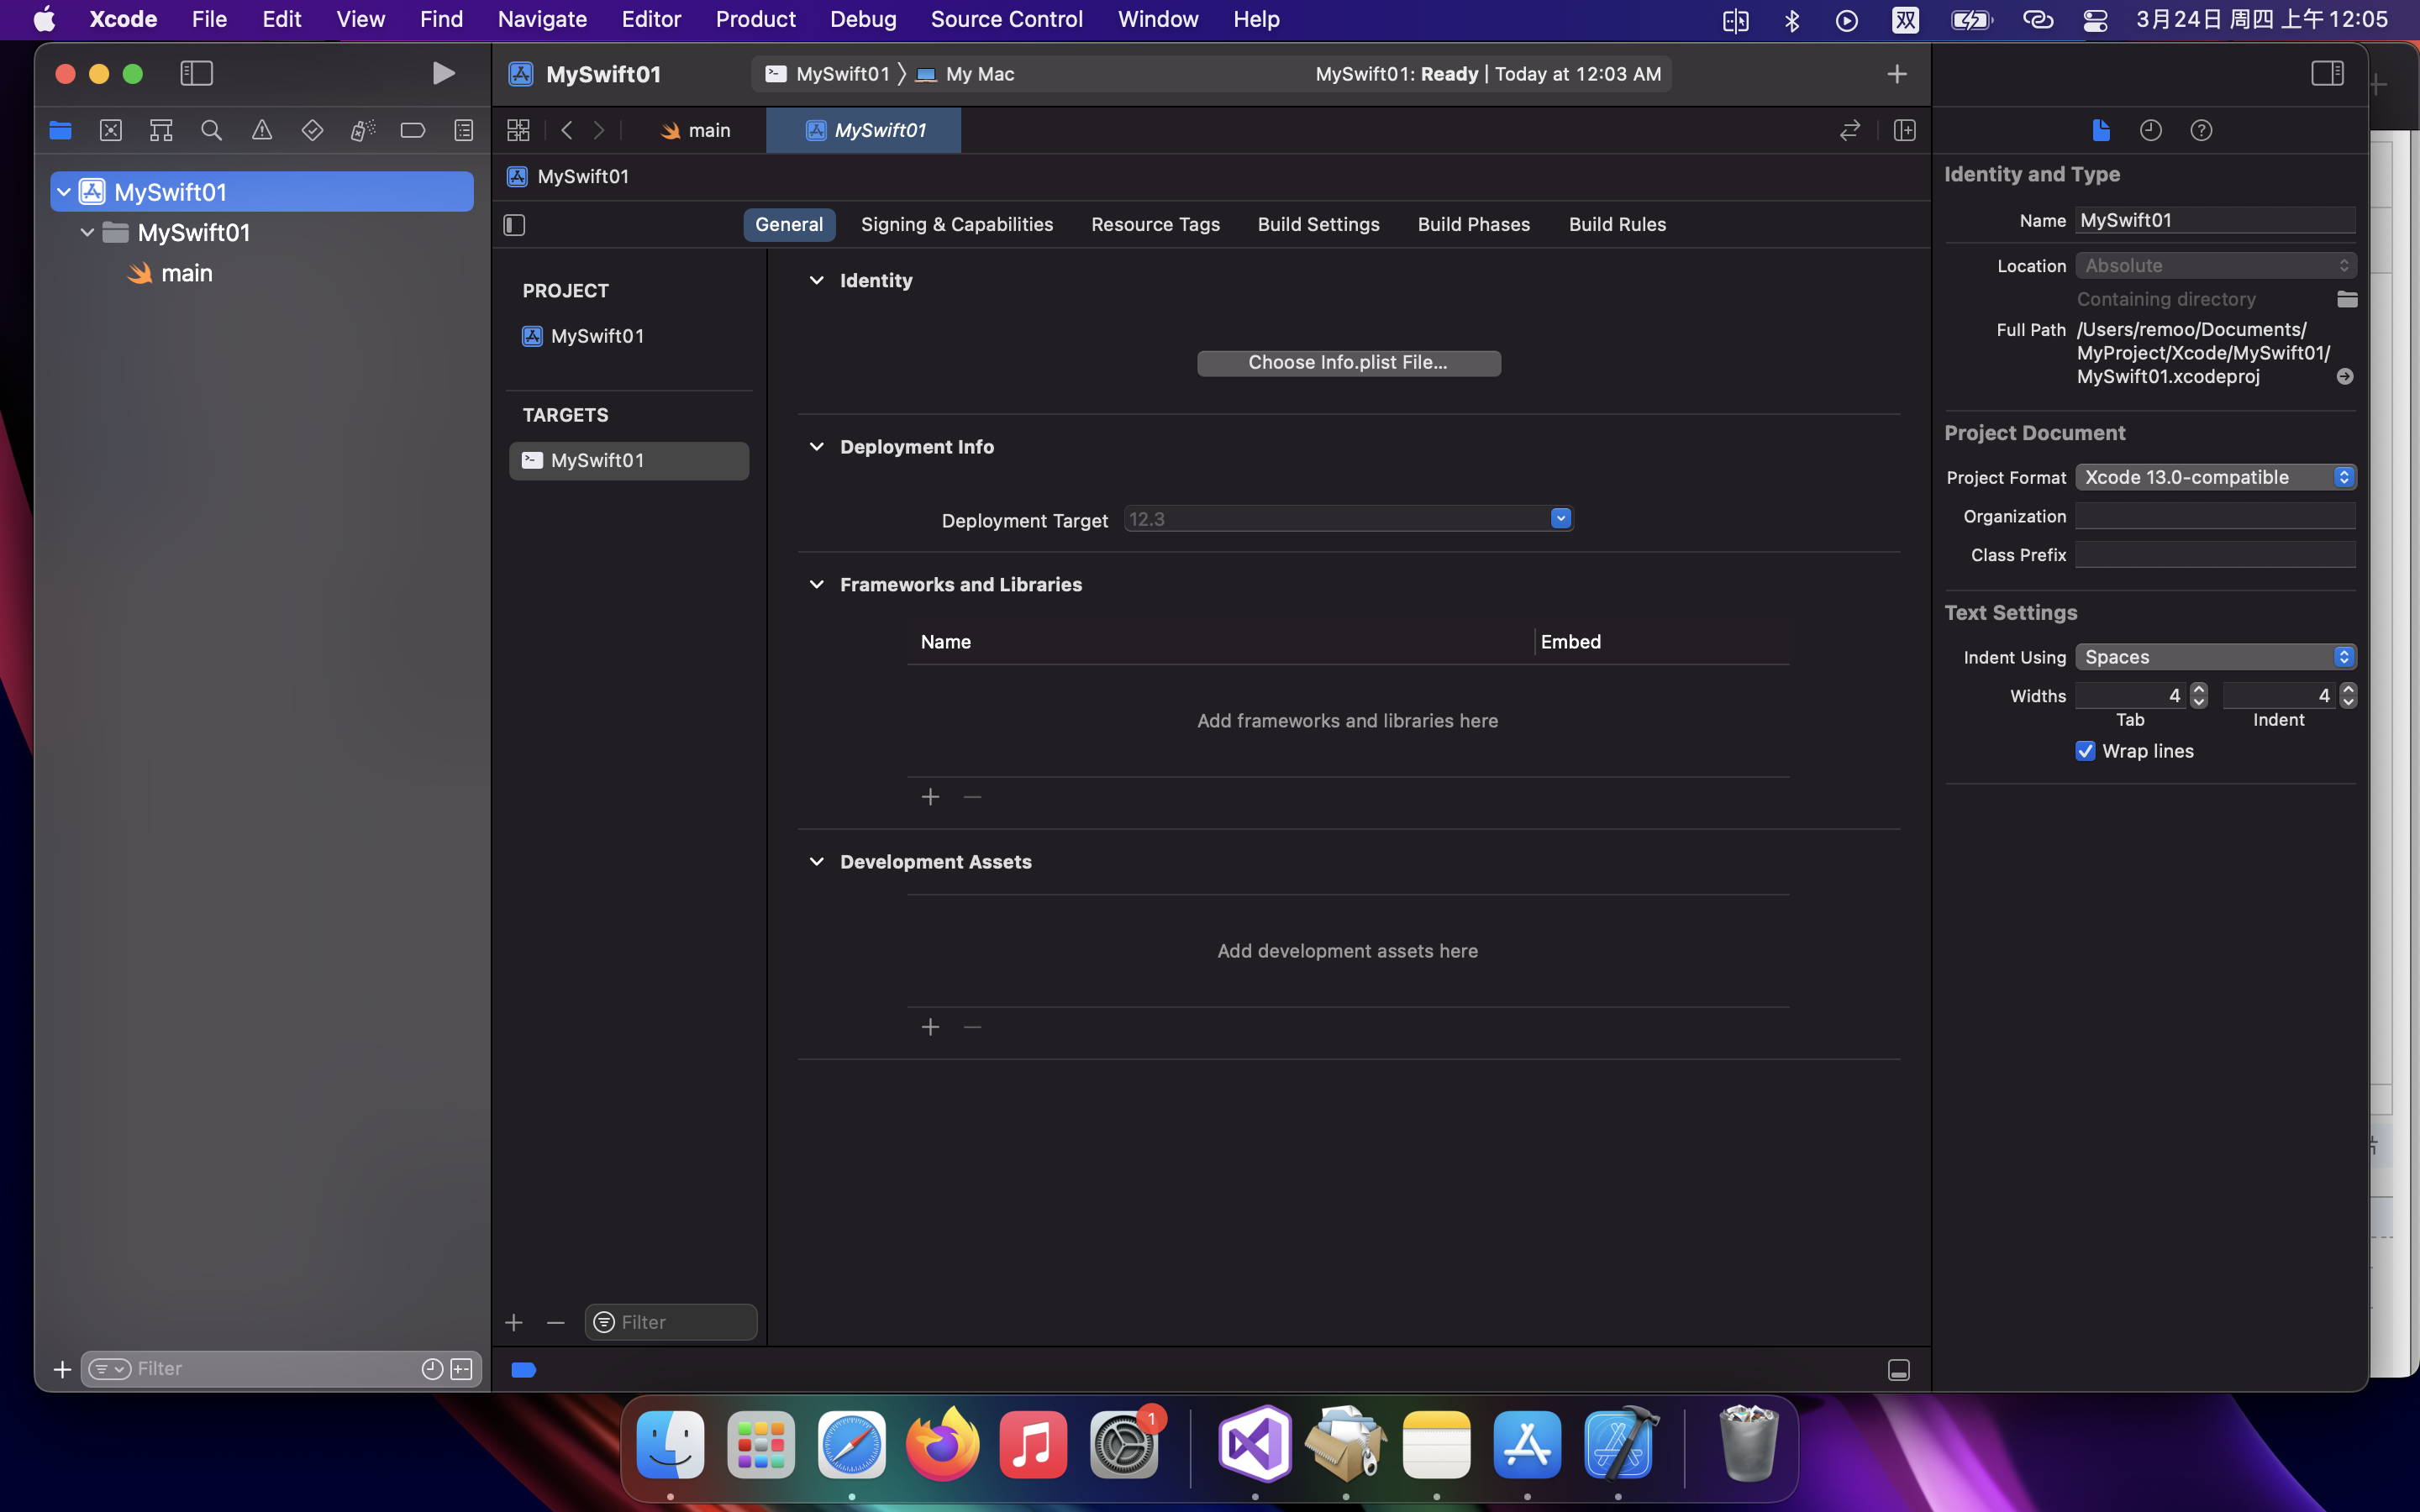
Xcode自动生成的代码
//
//  main.swift
//  MySwift01
//
//  Created by Remoo on 2022/3/24.
//

import Foundation

print("Hello, World!")
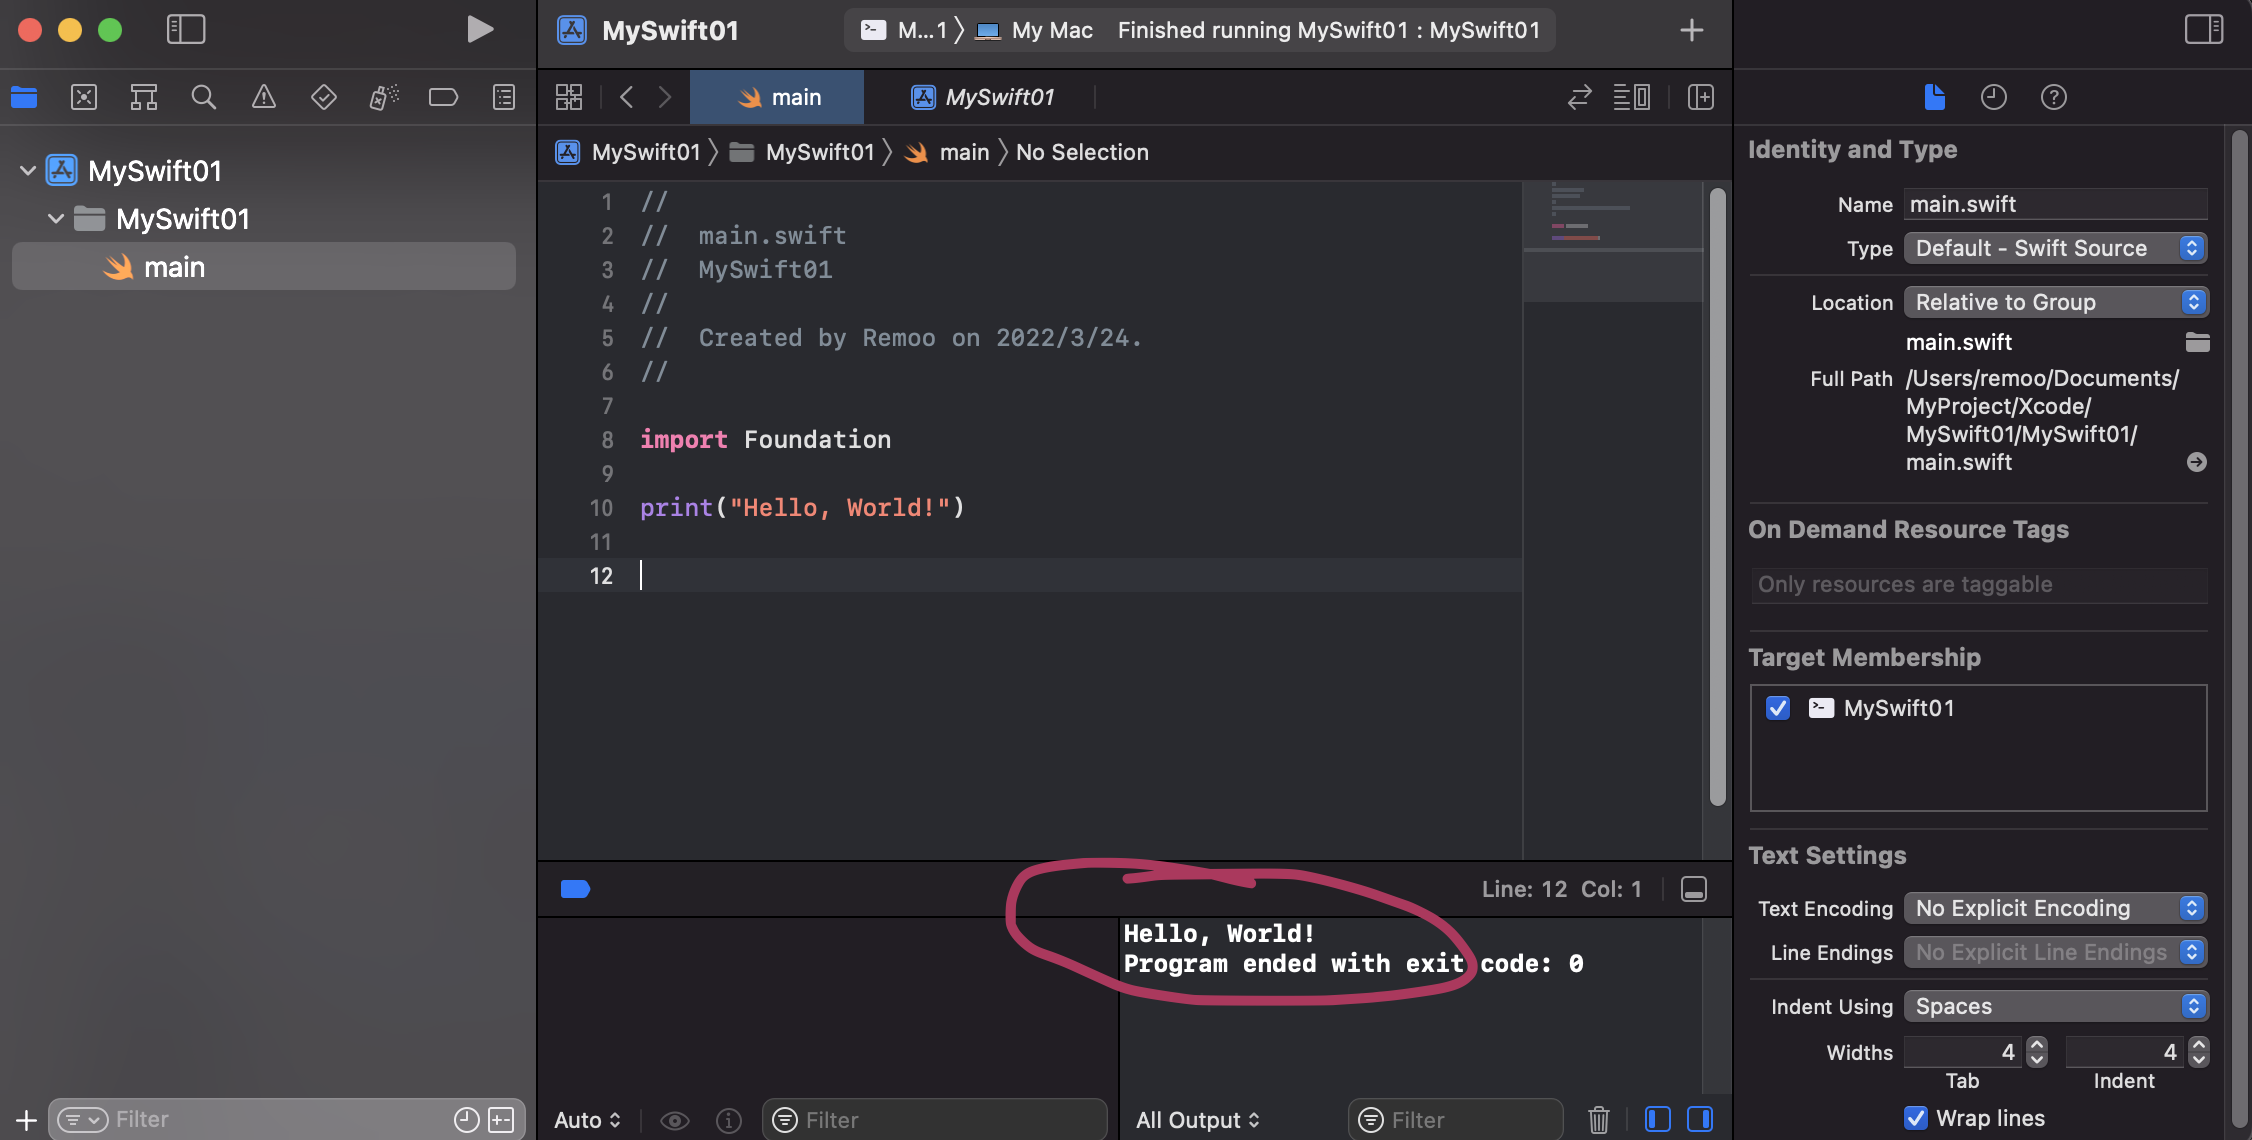
成功输出 Hello,World!了。
If you have written code in C or Objective-C, this syntax looks familiar to you—in Swift, this line of code is a complete program. You don’t need to import a separate library for functionality like input/output or string handling. Code written at global scope is used as the entry point for the program, so you don’t need a main() function. You also don’t need to write semicolons at the end of every statement.
总结一下这个小程序:
- 不需要倒入类似于stdio.h等库,Swift自带输入/输出的功能
- 我们不需要使用main()函数
- Swift语言不需要写分号
下一章我们学习如何声明变量,创建字典等等。


