
ES集群监控 之 Cerebro 0.8.3 安装及简单使用
注意权限,不建议使用root,同es集群的启动用户相同即可
1. 下载 & 解压
# 下载
wget https://github.com/lmenezes/cerebro/releases/download/v0.8.3/cerebro-0.8.3.zip
# 解压
unzip cerebro-0.8.3.zip
# 软链
ln -s cerebro-0.8.3 cerebro
2. 配置
什么都不配置,直接启动也是可以的(即:所有的都是用默认配置)
配置说明:
| 配置 | 备注 |
|---|---|
| pidfile.path | 服务运行的pid存放位置,如要避免产生pid可使用/dev/null |
| data.path | cerebro存储数据的位置,默认为cerebro安装目录 |
| auth -> settings -> username | cerebro web服务的账号 |
| auth -> settings -> password | cerebro web服务的密码 |
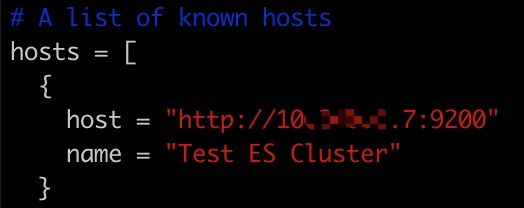
| hosts -> host | es集群的host地址 |
| hosts -> name | es集群的名称(随便起即可) |
配置详情:
vim conf/application.conf

# 这里仅配置hosts
hosts = [
  {
    host = "http://10.0.0.7:9200"
    name = "Test ES Cluster"
  }

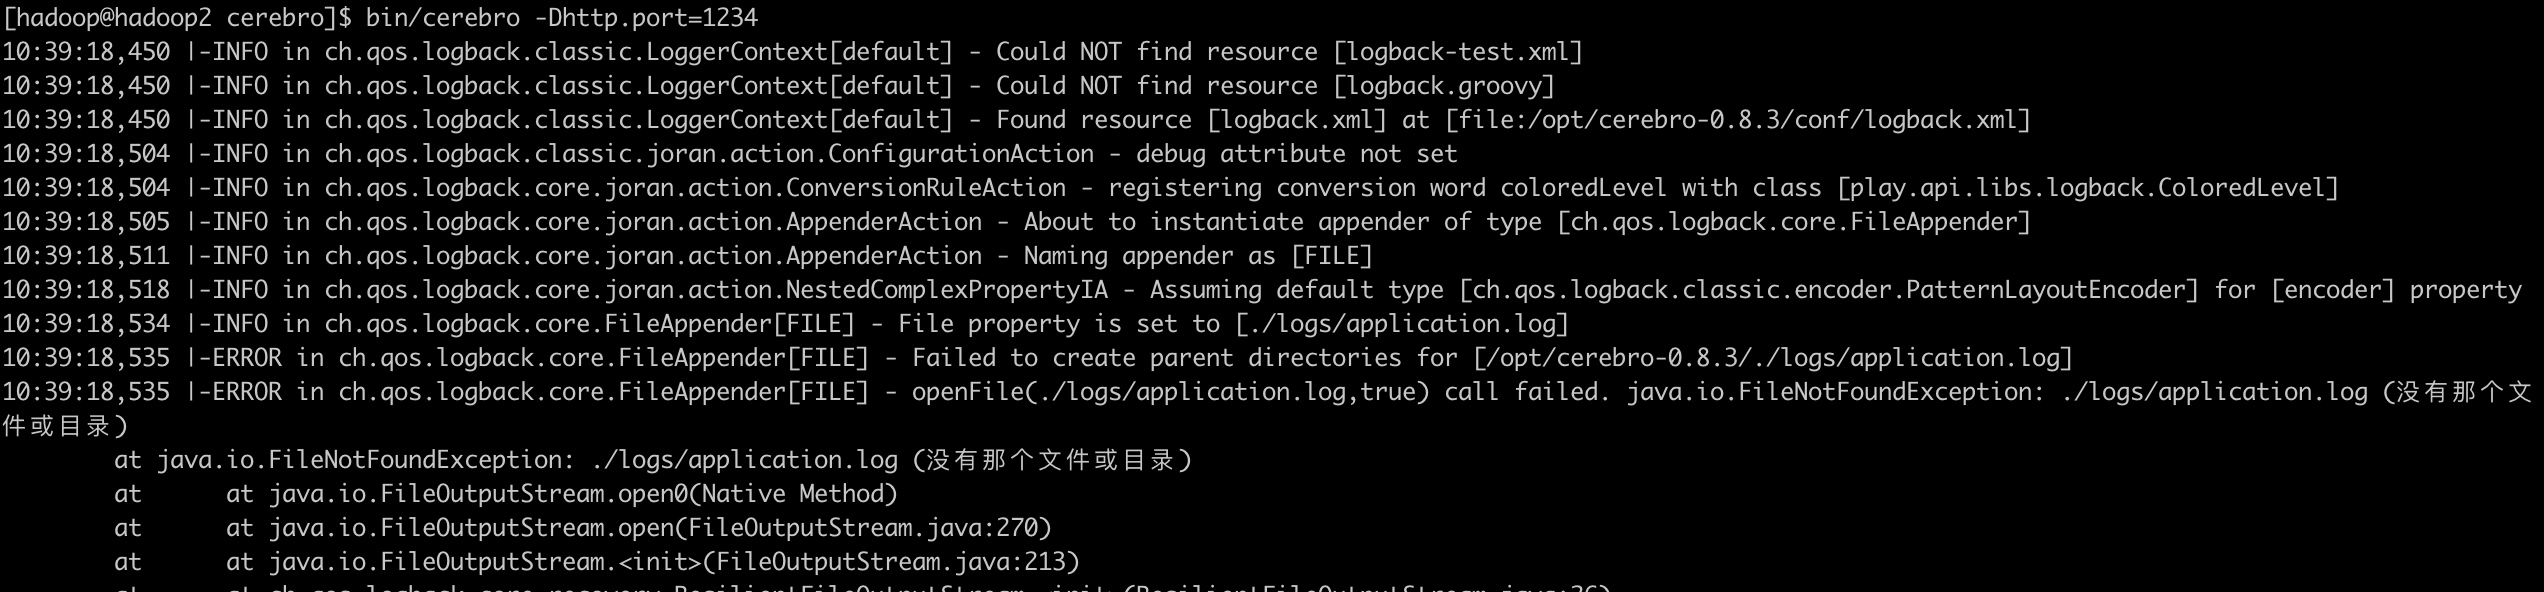
3. 启动
Cerebro 的默认监听ip为0.0.0.0,默认端口为9000
# 启动命令,可指定ip & pot
bin/cerebro -Dhttp.port=1234 -Dhttp.address=127.0.0.1
可能报如下错误,按提示新建目录即可

正确启动后,可以看到:
 

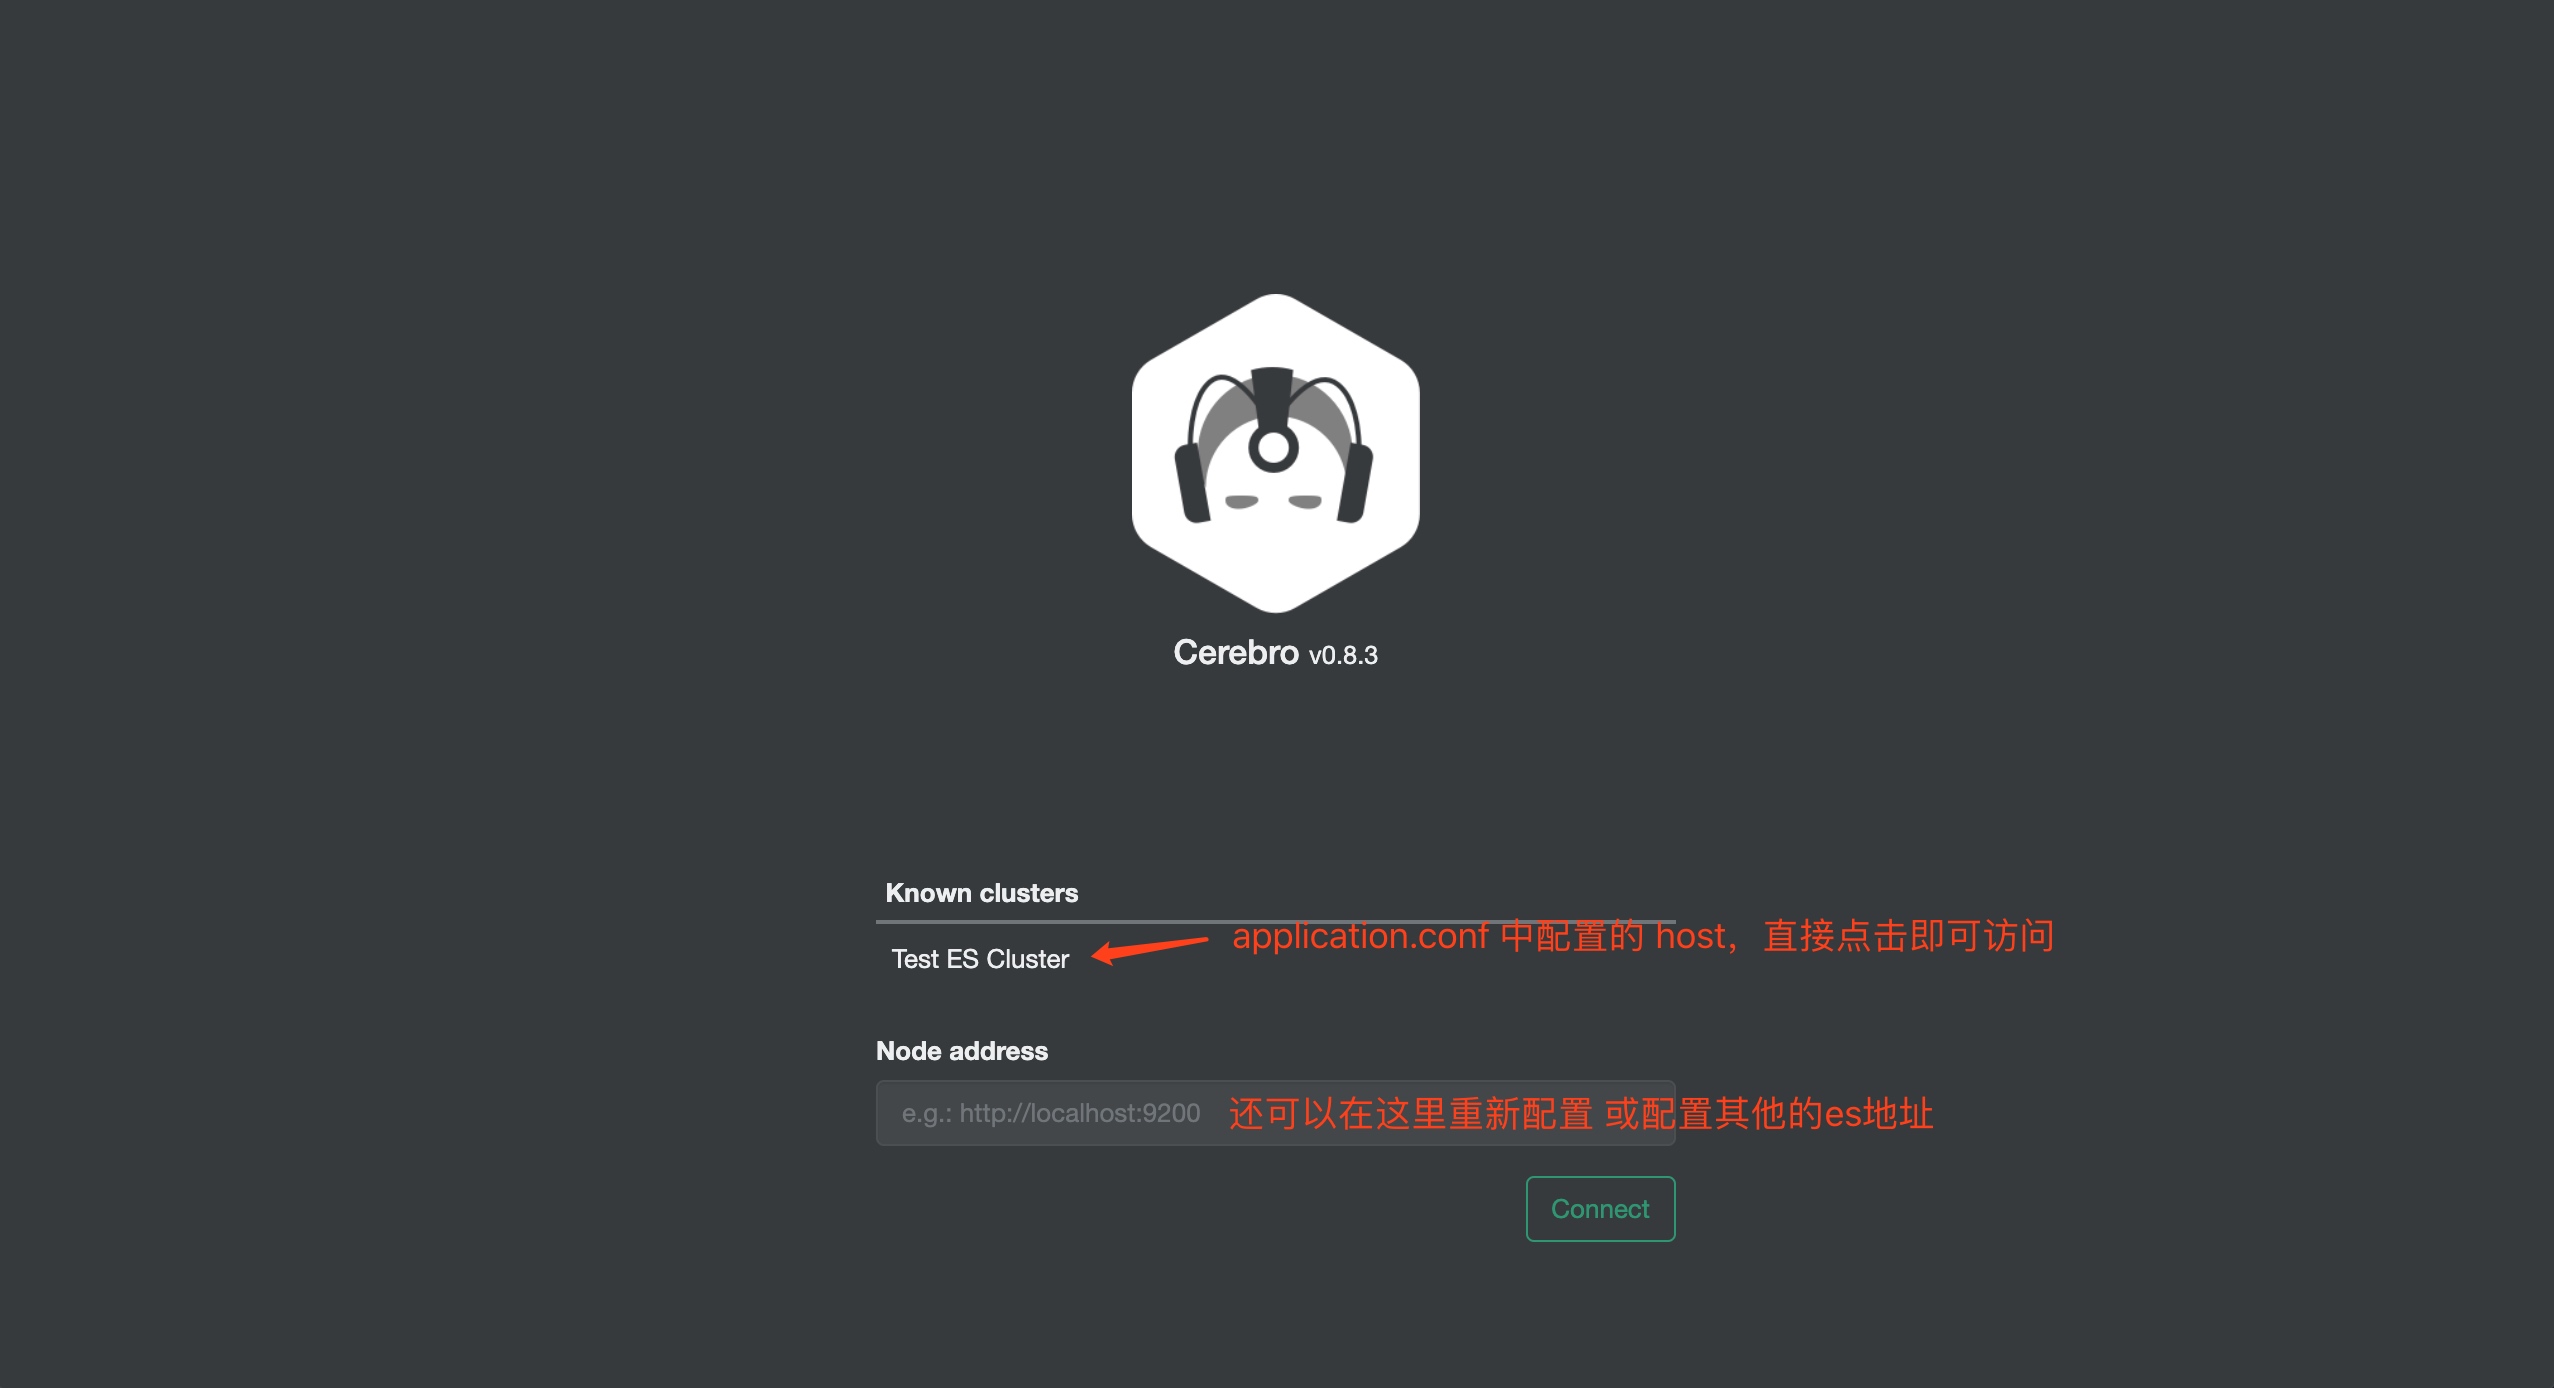
4. 访问
地址 http:// ip:1234,看到如下页面即为成功
登录页
首页
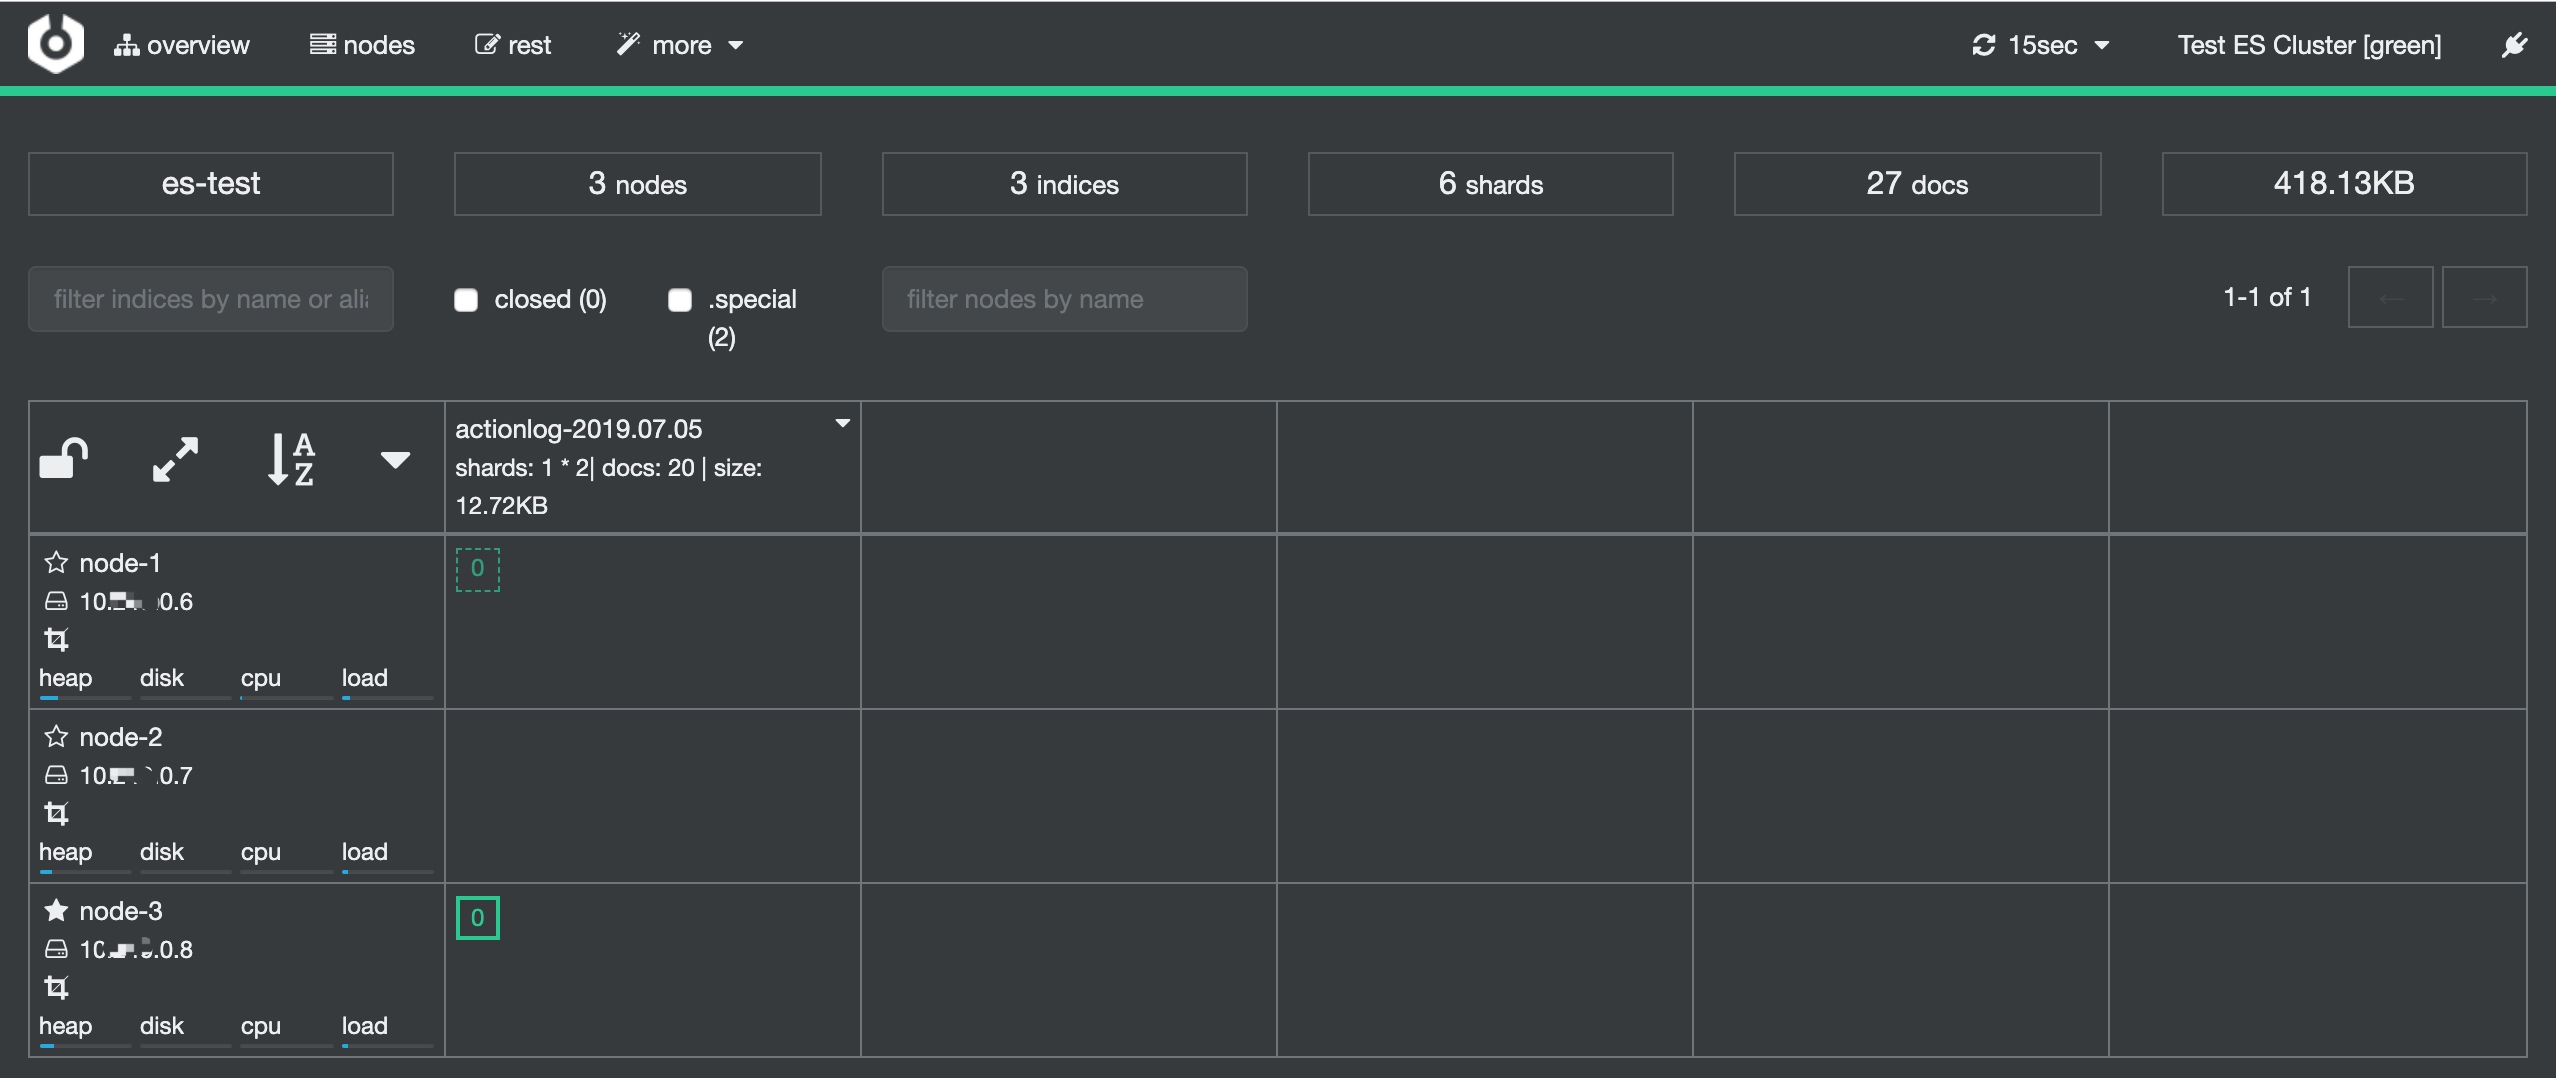 
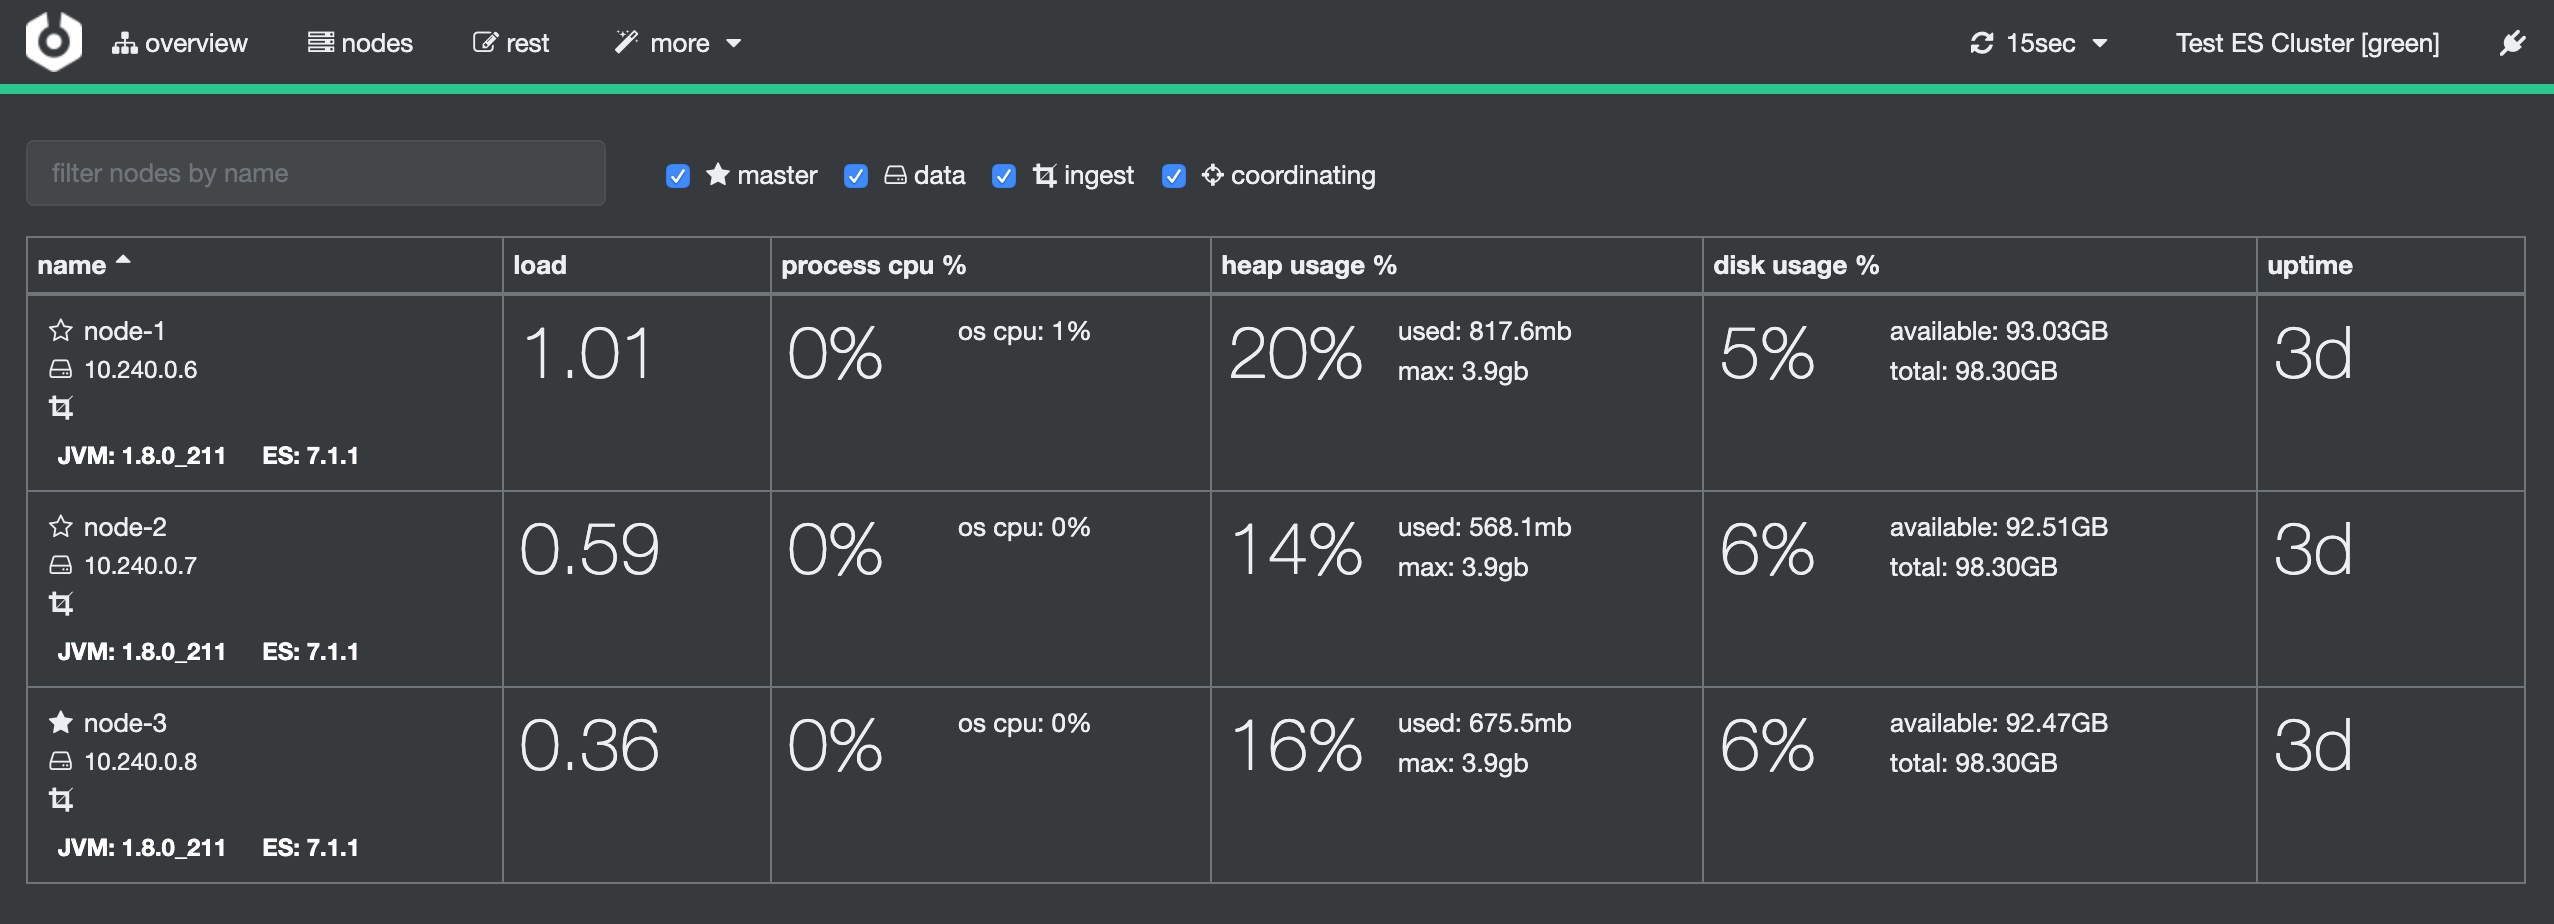
节点页,基本监控
rest页,可做rest请求
 
其他功能暂略
Souviens Toi Que Tu Vas Mourir !
