1.nginx负载均衡中常见的算法及原理有哪些?
1.1 轮询
轮询,nginx默认方式。一次将请求分配给各个后台服务器。
upstream backserver {
server 10.0.0.7;
server 10.0.0.8;
}
1.2 加权轮询
根据权重加权依次轮询,默认为1,实现类似于LVS中的WRR,WLC等。默认时和rr效果一样。
upstream backserver {
server 10.0.0.7 weight 20;
server 10.0.0.8 weight 30;
}
1.3 源地址hash
源地址hash调度方法,基于的客户端的remote_addr(源地址IPv4的前24位或整个IPv6地址)做hash计算,以实现会话保持。
upstream backserver {
ip_hash;
server 10.0.0.7;
server 10.0.0.8;
}
1.4 目的url hash
根据请求的url的hash值分配服务器,当后台服务器为缓存时,效率较高。
upstream backserver {
consistent_hash $remote_addr;
server 10.0.0.7;
server 10.0.0.8;
}
1.5最少连接数
最少连接调度算法,优先将客户端请求调度到当前连接最少的后端服务器,相当于LVS中的WLC。
upstream backserver {
least_conn;
server 10.0.0.7;
server 10.0.0.8;
}
1.6 最快响应时间
根据服务器响应时间来分发,响应时间短,分发越多。
upstream backserver {
fair;
server 10.0.0.7;
server 10.0.0.8;
}
2.使用rewrite规则实现将所有到a域名的访问rewrite到b域名
[root@centos8 ~]#vim /apps/nginx/conf/conf.d/mobile.conf
server {
listen 80;
server_name www.a.com;
location / {
root "/data/nginx/html/mobile";
index index.html;
rewrite / http://www.b.com redirect;
}
}
server {
listen 80;
server_name www.b.com;
location / {
root "/nginx/html/";
index index.html;
}
}
[root@centos8 ~]#echo 111 > /data/nginx/html/mobile/index.html
[root@centos8 ~]#echo 222 > /nginx/html/index.html
[root@centos8 ~]#vim /etc/hosts
10.0.0.150 www.a.com www.b.com
[root@centos8 ~]#curl www.a.com
[root@centos8 ~]#curl -L www.a.com
222
3.实现反向代理客户端IP透传
一、Apache后端服务器部署
1.1 安装apaceh
[root@web ~]# yum -y install httpd
1.2 修改配置文件
[root@web ~]# vim /etc/httpd/conf/httpd.conf
...省略
LogFormat "%{X-Forwarded-For}i %h %l %u %t "%r" %>s %b "%{Referer}i" "% #在此项添加%{X-Forwarded-For}i
1.3 启动apache
[root@web ~]# systemctl start httpd
二、安装反向代理
2.1 安装nginx
[root@nginx ~]# yum -y install nginx
2.2 修改配置文件
[root@nginx ~]# vim /etc/nginx/nginx.conf
user nginx;
worker_processes auto;
error_log /var/log/nginx/error.log;
pid /run/nginx.pid;
include /usr/share/nginx/modules/*.conf;
events {
worker_connections 1024;
}
http {
log_format main '$remote_addr - $remote_user [$time_local] "$request" '
'$status $body_bytes_sent "$http_referer" '
'"$http_user_agent" "$http_x_forwarded_for"';
access_log /var/log/nginx/access.log main;
sendfile on;
tcp_nopush on;
tcp_nodelay on;
keepalive_timeout 65;
types_hash_max_size 2048;
include /etc/nginx/mime.types;
default_type application/octet-stream;
include /etc/nginx/conf.d/.conf;
server {
listen 80;
root /usr/share/nginx/html;
include /etc/nginx/default.d/.conf;
location / {
index index.html index.php;
root /data/nginx/html/pc;
proxy_pass http://10.0.0.18; #添加此项
proxy_set_header X-Forwarded-For $proxy_add_x_forwarded_for; #添加此项
}
}
}
2.3 启动nginx
[root@nginx ~]# systemctl start nginx
三、测试IP透传
打开客户端浏览器访问10.0.0.8,然后观察后端服务器日记
[root@web ~]#tail /var/log/httpd/access_log
...省略...
10.0.0.3 10.0.0.8 - - [16/Jan/2022:14:11:31 +0800] "GET /favicon.ico HTTP/1.0" 404 196 "http://10.0.0.8/" "Mozilla/5.0 (Windows NT 10.0; Win64; x64) AppleWebKit/537.36 (KHTML, like Gecko) Chrome/96.0.4664.110 Safari/537.36"
10.0.0.3 10.0.0.8 - - [16/Jan/2022:14:11:33 +0800] "GET / HTTP/1.0" 304 - "-" "Mozilla/5.0 (Windows NT 10.0; Win64; x64) AppleWebKit/537.36 (KHTML, like Gecko) Chrome/96.0.4664.110 Safari/537.36"
4.利用LNMP实现wordpress站点搭建
一、部署MySQL
1.1 二进制安装mysql5.6
准备用户,依赖包,二进制程序
[root@nginx ~]# yum install -y libaio perl-Data-Dumper autoconf
[root@nginx ~]# groupadd -r mysql
[root@nginx ~]# useradd -r -g mysql -d /data/mysql mysql
[root@nginx ~]# mkdir -p /data/mysql
[root@nginx ~]# chown -R mysql.mysql /data/mysql
[root@nginx ~]# wget http://mirrors.163.com/mysql/Downloads/MySQL-5.6/mysql-5.6.51-linux-glibc2.12-x86_64.tar.gz
[root@nginx ~]# tar xvf mysql-5.6.51-linux-glibc2.12-x86_64.tar.gz -C /usr/local
[root@nginx ~]# cd /usr/local
[root@nginx local]# ln -sv mysql-5.6.51-linux-glibc2.12-x86_64/ mysql
[root@nginx local]# chown -R mysql.mysql /usr/local/mysql/
[root@nginx local]# cd mysql
[root@nginx mysql]# ./scripts/mysql_install_db --user=mysql --datadir=/data/mysql --basedir=/usr/local/mysql/
[root@nginx mysql]# ls /data/mysql/ -l #检验数据文件是否生成
[root@nginx ~]# cat > /etc/my.cnf <<EOF
[mysqld]
user=mysql
datadir=/data/mysql
socket=/data/mysql/mysql.sock
innodb_file_per_table=on
skip_name_resolve = on
[client]
port=3306
socket=/data/mysql/mysql.sock
[mysqld_safe]
log-error=/var/log/mysqld.log
pid-file=/data/mysql/mysql.pid
EOF
[root@nginx ~]# cp /usr/local/mysql/support-files/mysql.server /etc/init.d/mysqld
[root@nginx ~]# chkconfig --add mysqld && chkconfig mysqld on
[root@nginx ~]# service mysqld start
[root@nginx ~]# echo 'PATH=/usr/local/mysql/bin:$PATH' > /etc/profile.d/mysql.sh
[root@nginx ~]# . /etc/profile.d/mysql.sh
1.2 创建wordpress账户
mysql> create database wordpress;
mysql> create user wordpress@'10.0.0.%' identified by '123456';
mysql> grant all on wordpress.* to wordpress@'10.0.0.%';
二、部署PHP
2.1 编译安装php
[root@nginx ~]# yum -y install gcc libxml2-devel bzip2-devel libmcrypt-devel sqlite-devel oniguruma-devel
[root@nginx ~]# tar xf php-7.4.27.tar.gz
[root@nginx ~]# cd php-7.4.27/
[root@nginx php-7.4.27]# ./configure
--prefix=/apps/php
--enable-mysqlnd
--with-mysqli=mysqlnd
--with-pdo-mysql=mysqlnd
--with-openssl
--with-zlib
--with-config-file-path=/etc
--with-config-file-scan-dir=/etc/php.d
--enable-mbstring
--enable-xml
--enable-sockets
--enable-fpm
--enable-maintainer-zts
--disable-fileinfo
[root@nginx ~]# make -j 4 && make install
[root@nginx ~]# echo 'PATH=/apps/php/bin:/apps/httpd/bin:$PATH' > /etc/profile.d/php.sh
[root@nginx ~]# . /etc/profile.d/php.sh
1.2准备PHP配置文件
[root@nginx php-7.4.27]# cp php.ini-production /etc/php.ini
[root@nginx php-7.4.27]# cd /apps/php/etc && cp php-fpm.conf.default php-fpm.conf
[root@nginx etc]# cd php-fpm.d/ && cp www.conf.default www.conf
[root@nginx etc]# vim www.conf
[www]
user = www
group = www
listen = 127.0.0.1:9000
pm = dynamic
pm.max_children = 5
pm.start_servers = 2
pm.min_spare_servers = 1
pm.max_spare_servers = 3
pm.status_path = /pm_status
ping.path = /ping
access.log = log/$pool.access.log
slowlog = log/$pool.log.slow
[root@nginx ~]# useradd -r -s /sbin/nologin www #创建用户
[root@nginx ~]# mkdir /apps/php/log #创建访问日志文件路径
2.3启动并验证php-fpm服务
[root@nginx ~]# /apps/php/sbin/php-fpm -t
[root@nginx ~]# cp php-7.4.27/sapi/fpm/php-fpm.service /usr/lib/systemd/system/
[root@nginx ~]# systemctl daemon-reload && systemctl enable --now php-fpm
[root@nginx ~]# ss -ntl #9000端口一打开
三、部署NGINX
3.1编译安装nginx
1.1 获取源码包
[root@cetnos7 ~]#wget -O /usr/local/src/nginx-1.18.0.tar.gz http://nginx.org/download/nginx-1.18.0.tar.gz
[root@cetnos7 ~]#cd /usr/local/src/
[root@cetnos7 src]#tar xvf nginx-1.18.0.tar.gz
1.2 准备工作
[root@cetnos7 ~]#yum -y install gcc pcre-devel openssl-devel zlib-devel
[root@cetnos7 ~]#useradd -s /sbin/nologin nginx
1.3 进行编译
[root@cetnos7 ~]#cd nginx-1.18.0
[root@cetnos7 nginx-1.18.0]#./configure --prefix=/apps/nginx
--user=nginx
--group=nginx
--with-http_ssl_module
--with-http_v2_module
--with-http_realip_module
--with-http_stub_status_module
--with-http_gzip_static_module
--with-pcre
--with-stream
--with-stream_ssl_module
--with-stream_realip_module
[root@cetnos7 nginx-1.18.0]#make -j 4 && make install
[root@cetnos7 nginx-1.18.0]#chown -R nginx.nginx /apps/nginx
[root@cetnos7 nginx-1.18.0]#ll /apps/nginx/
1.4 创建server文件
[root@centos7 ~]#vim /usr/lib/systemd/system/nginx.service
[Unit]
Description=nginx - high performance web server
Documentation=http://nginx.org/en/docs/
After=network-online.target remote-fs.target nss-lookup.target
Wants=network-online.target
[Service]
Type=forking
PIDFile=/apps/nginx/run/nginx.pid
ExecStart=/apps/nginx/sbin/nginx -c /apps/nginx/conf/nginx.conf
ExecReload=/bin/kill -s HUP $MAINPID
ExecStop=/bin/kill -s TERM $MAINPID
[Install]
WantedBy=multi-user.target
[root@centos7 ~]#mkdir /apps/nginx/run/ #创建pid目录
[root@centos7 ~]#vim /apps/nginx/conf/nginx.conf
pid /apps/nginx/run/nginx.pid;
1.5 启动nginx
[root@cetnos7 ~]# ln -s /apps/nginx/sbin/nginx /usr/sbin/
[root@cetnos7 ~]#nginx -v
nginx version: nginx/1.18.0
[root@cetnos7 ~]#systemctl enable --now nginx
[root@cetnos7 ~]#ll /apps/nginx/run/
二、实现多域名
2.1 声明子配置文件
[root@cetnos7 ~]#vim /apps/nginx/conf/nginx.conf
http {
include /apps/nginx/conf.d/*.conf; #在http语句块添加此行
}
[root@cetnos7 ~]#mkdir /apps/nginx/conf.d -v
[root@cetnos7 ~]#touch /apps/nginx/conf.d/test{1..3}.conf #创建子配置文件
2.2 子配置文件配置
[root@cetnos7 ~]#cd /apps/nginx/conf.d
[root@cetnos7 ~]#cat test1.conf
[root@cetnos7 ~]#cat test2.conf
[root@cetnos7 ~]#cat test3.conf
2.3 创建web目录
[root@cetnos7 conf.d]#mkdir /data/nginx/html/test{1..3} -p
2.4 重启nginx
[root@cetnos7 ~]#nginx -t #检查配置语法是否正确
[root@cetnos7 ~]#nginx -s reload
2.5 测试
[root@client ~]#cat /etc/hosts
10.0.0.7 test1.org test2.org test3.org #添加本地域名解析
[root@client ~]#curl www.pc.test1.org www.pc.test2.org
三、实现https
3.1 生成自签名证书
[root@centos7 ~]#openssl req -newkey rsa:4096 -nodes -sha256 -keyout ca.key -x509 -days 3650 -out ca.crt
[root@7-1 certs]#ll
3.2自制key和csr文件
[root@7-1 certs]#openssl req -newkey rsa:4096 -nodes -sha256 -keyout www.test1.org.key -out www.test1.org.csr #重复此步骤,生成test2,test3的相关文件
签发证书
[root@7-1 certs]#openssl x509 -req -days 3650 -in www.pc.test1.org.csr -CA ca.crt -CAkey ca.key -CAcreateserial -out www.pc.test1.org.crt
[root@7-1 certs]#openssl x509 -req -days 3650 -in www.pc.test2.org.csr -CA ca.crt -CAkey ca.key -CAcreateserial -out www.pc.test2.org.crt
[root@7-1 certs]#openssl x509 -req -days 3650 -in www.pc.test3.org.csr -CA ca.crt -CAkey ca.key -CAcreateserial -out www.pc.test3.org.crt
合并证书文件
[root@7-1 certs]#cat www.pc.test1.org.crt ca.crt > www.test1.org.pem
[root@7-1 certs]#cat www.pc.test2.org.crt ca.crt > www.test2.org.pem
[root@7-1 certs]#cat www.pc.test3.org.crt ca.crt > www.test3.org.pem
证书文件目录如下
total 60
...省略
3.3 修改配置文件
在各子配置文件的sever语句块添加,如下内容以test1为例:
server {
listen 80;
listen 443 ssl;
server_name www.pc.test1.org;
ssl_certificate /apps/nginx/certs/www.test1.org.pem;
ssl_certificate_key /apps/nginx/certs/www.test1.org.key;
ssl_session_cache shared:sslcache:20m;
ssl_session_timeout 10m;
location / {
root /data/nginx/html/test1;
index index.html;
}
}
[root@cetnos7 ~]#nginx -t
[root@cetnos7 ~]#nginx -s reload
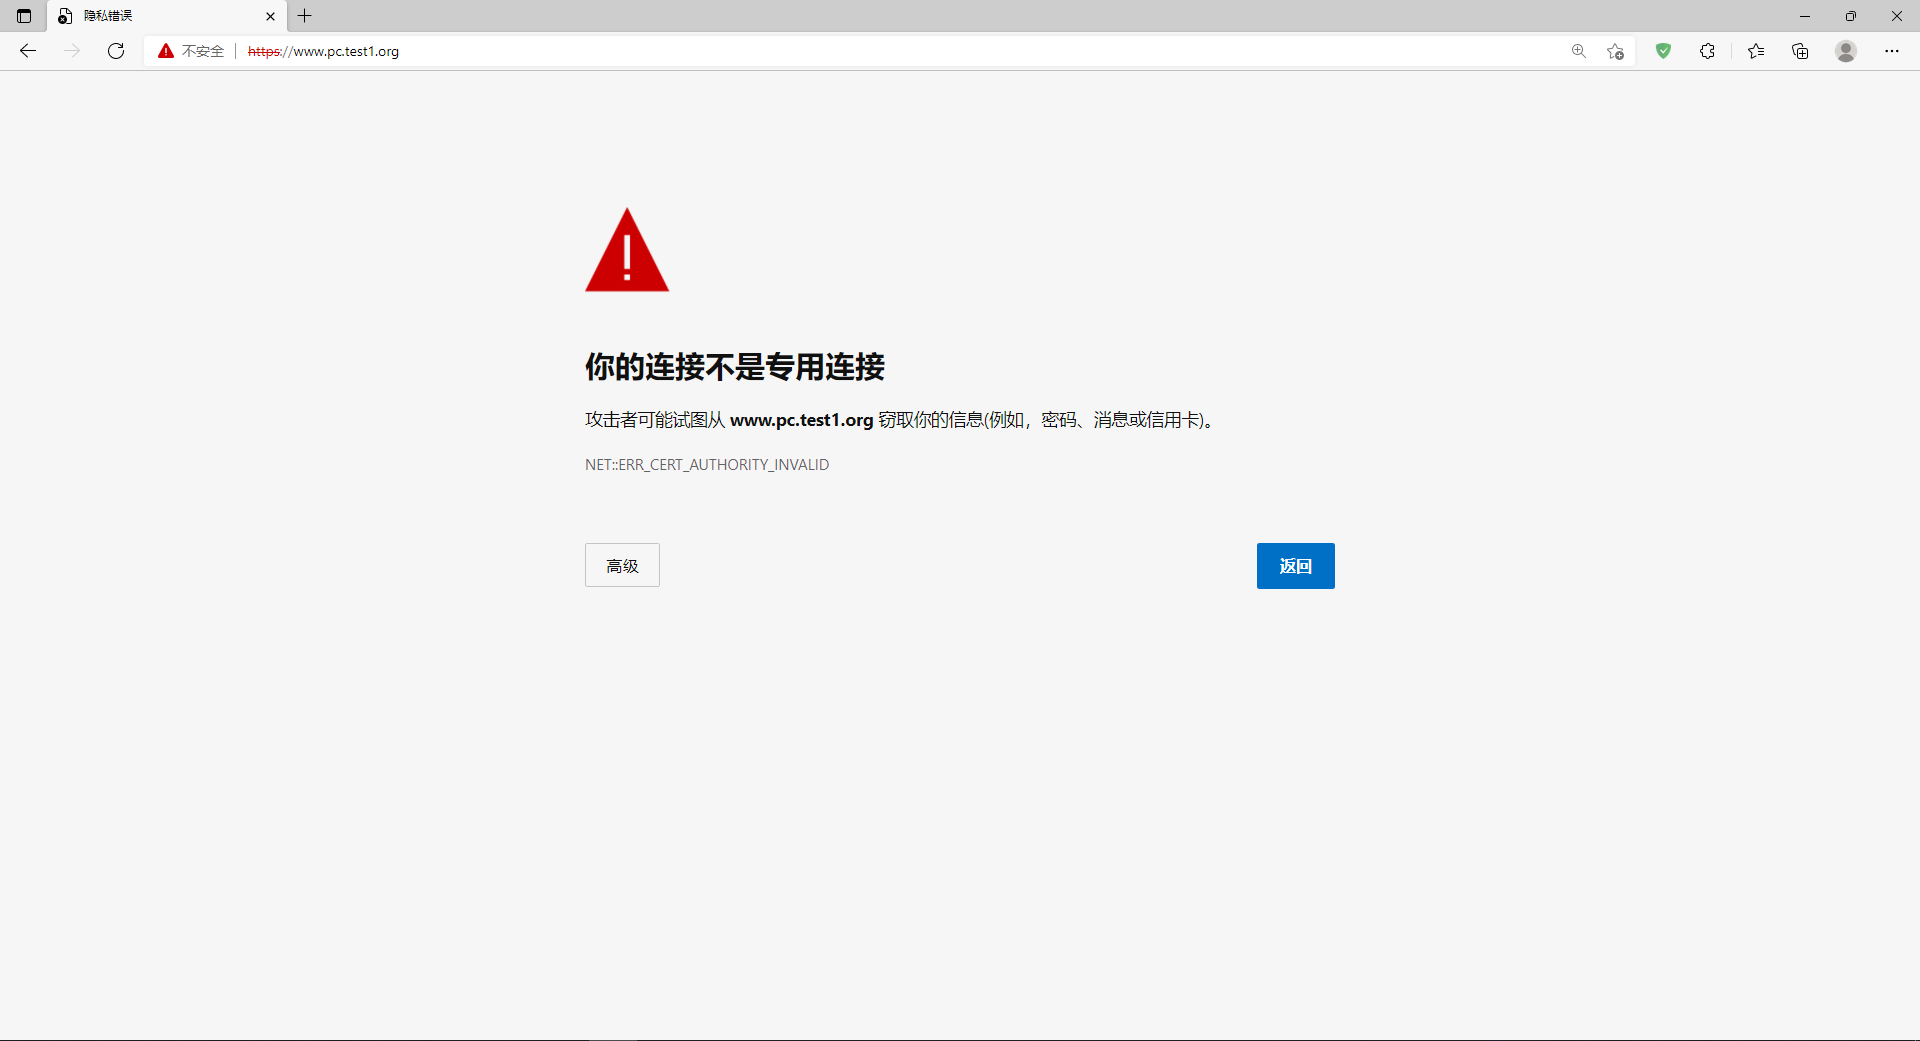
3.4 访问测试
[root@client ~]#curl https://www.pc.test1.org -k
[root@client ~]#curl https://www.pc.test2.org -k
[root@client ~]#curl https://www.pc.test3.org -k
3.2配置NGINX支持fastcgi
[root@nginx ~]# cat /apps/nginx/conf/nginx.conf
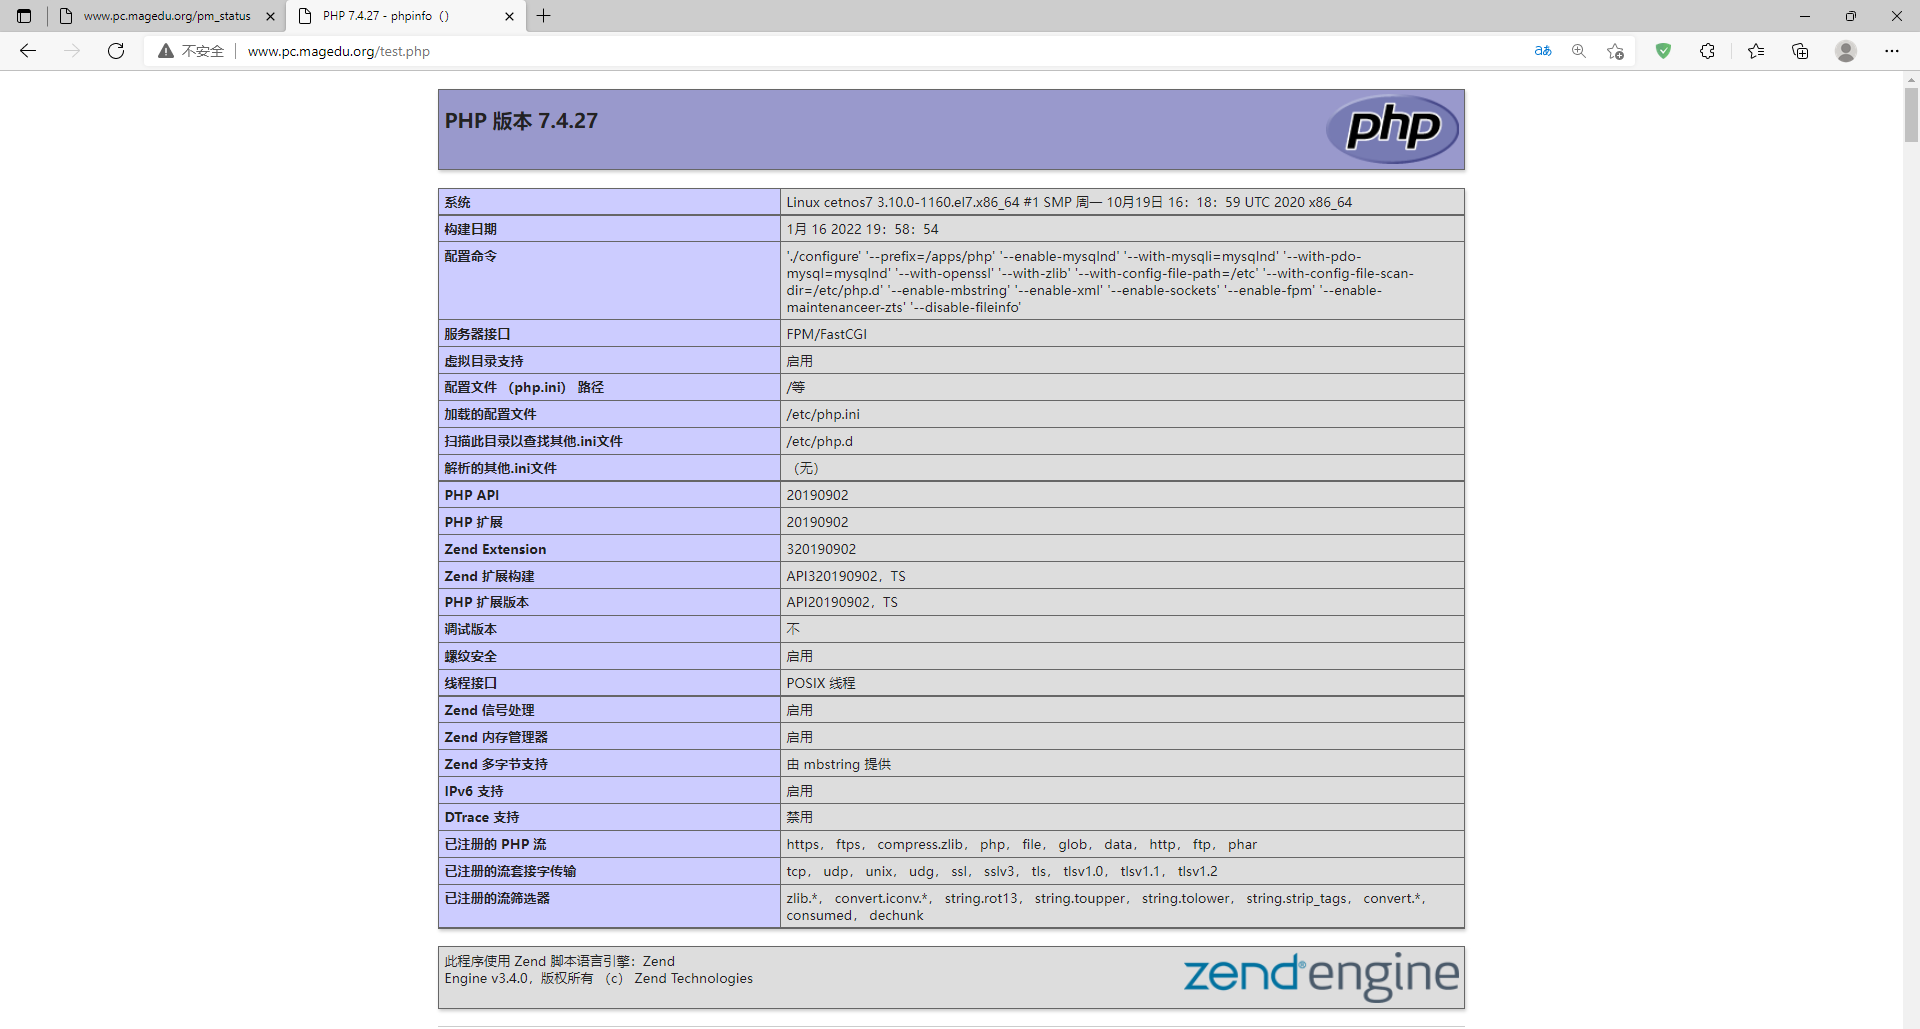
3.3准备php测试页并测试
[root@nginx ~]# mkdir -p /data/nginx/wordpress
[root@nginx ~]# vim /data/nginx/wordpress/test.php


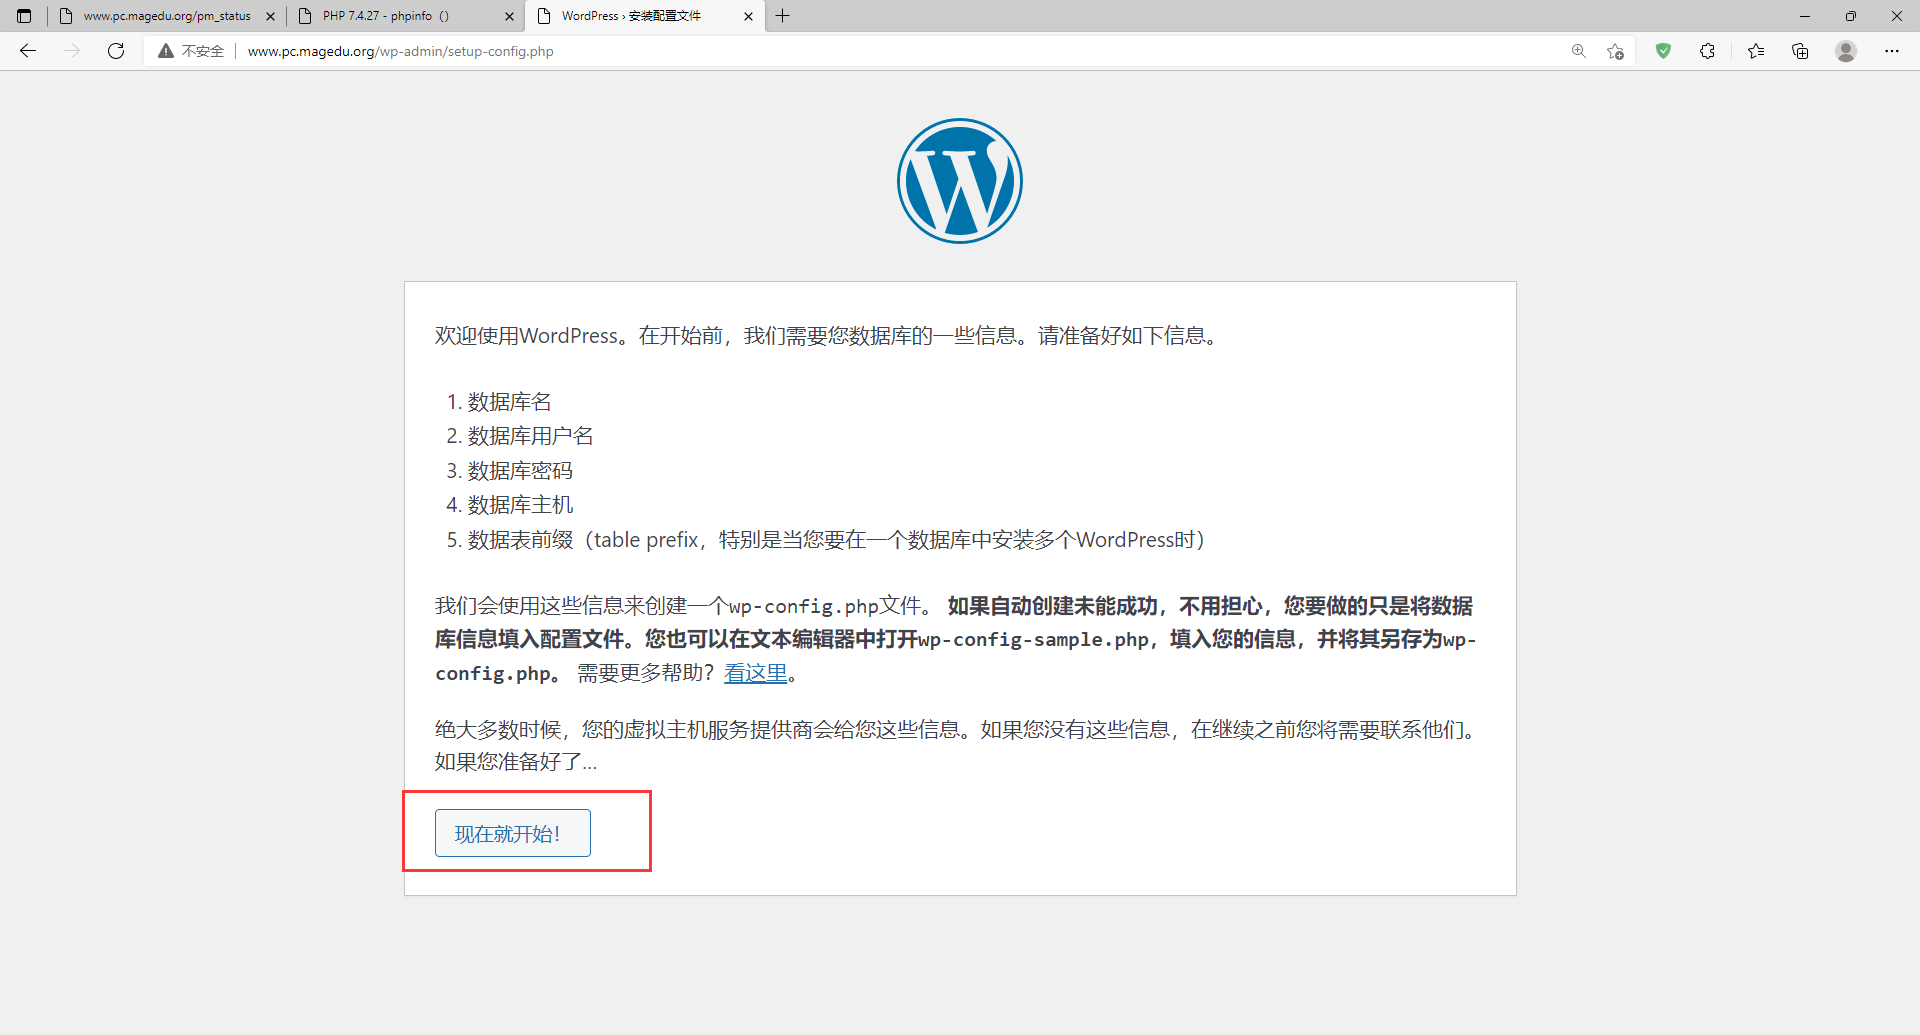
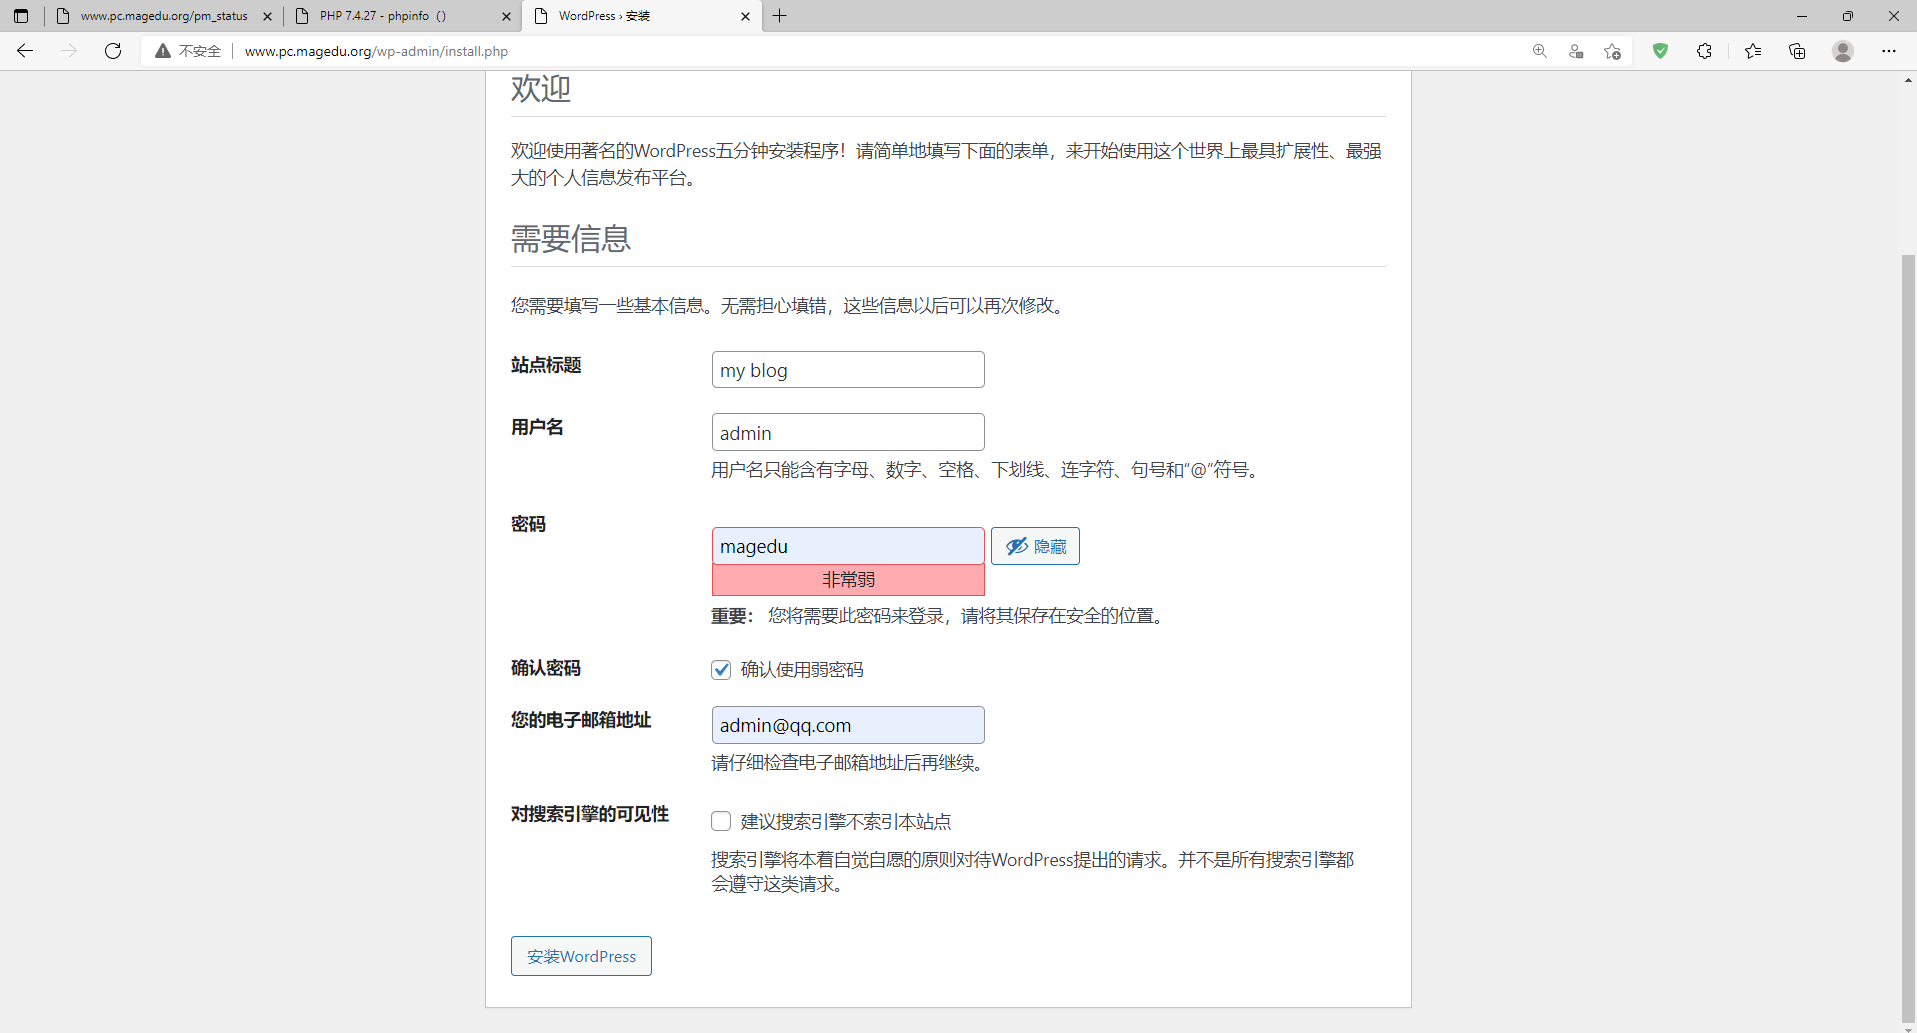
四、部署WordPress
4.1 准备wordpress文件
tar xf latest-zh_CN.tar.gz
cp -r wordpress/* /data/nginx/wordpress
chown -R www.www /data/nginx/wordpress/


 浙公网安备 33010602011771号