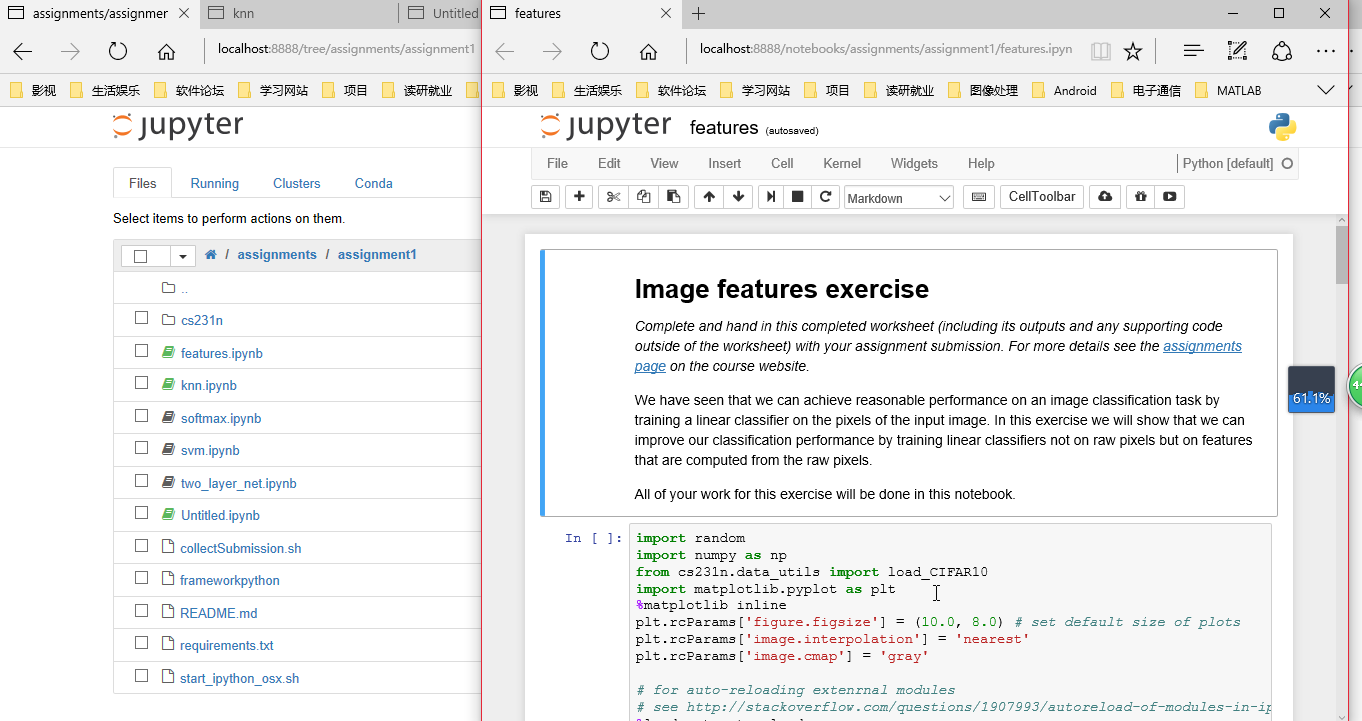
Jupyter Notebook 基本使用
-
IPython Notebook使用浏览器作为界面,向后台的IPython服务器发送请求,并显示结果。在浏览器的界面中使用单元(Cell)保存各种信息。Cell有多种类型,经常使用的有表示格式化文本的Markdown单元,和表示代码的Code单元。
-
每个代码单元都有一个输出区域,在Code单元中输入代码,按 Shift-Enter 将运行此代码,代码中最后一个表达式的值将输出区域显示。如果希望屏蔽输出,可以在最后一条语句之后添加一个分号:”;”。此外,代码中还可以使用print语句在输出区域中显示信息。在Markdown单元中还可以直接使用Html和Javascript。
-
对应虚拟环境
第一步,为需要在jupyter-notebook中使用的虚拟环境安装ipykernel,如我为自己的py27-caffe虚拟环境添加ipykernel

conda install -n name(自己环境的名字) ipykernel

第二步,激活py27-caffe虚拟环境(source activate py27-caffe),然后用如下命令生成ipykernel的配置文件(--name之后跟的是在jupyter-notebook中对应虚拟环境的kernel名称)

python -m ipykernel install --name py27-caffe-notebook(自己kernel的名字)
- 对应系统默认python3环境
首先,确保python3环境下安装了ipykernel
pip3 install ipykernel
然后在python3的python.exe所在目录下执行 python -m ipykernel install
可以添加命令 --name kernelname 为kernel指定名字
查看jupyter notebook kernel

使用命令jupyter kernelspec list可以查看当前的kernel
删除notebook kernel

使用命令jupyter kernelspec remove kernelname
dsp@dsp-System-Product-Name:~$ /usr/bin/python3
python3             python3.6m          python3-gflags2man
python3.6           python3.6m-config   python3m
python3.6-config    python3-config      python3m-config
dsp@dsp-System-Product-Name:~$ /usr/bin/python3.6 -m ipykernel install --name dfpy3
/home/dsp/.local/lib/python3.6/site-packages/IPython/paths.py:61: UserWarning: IPython dir '/home/dsp/.ipython' is not a writable location, using a temp directory.
  " using a temp directory.".format(ipdir))
[Errno 13] Permission denied: '/usr/local/share/jupyter'
dsp@dsp-System-Product-Name:~$ sudo /usr/bin/python3.6 -m ipykernel install --name dfpy3
Installed kernelspec dfpy3 in /usr/local/share/jupyter/kernels/dfpy3
dsp@dsp-System-Product-Name:~$ jupyter kernelspec list
/home/dsp/.local/lib/python3.6/site-packages/IPython/paths.py:61: UserWarning: IPython dir '/home/dsp/.ipython' is not a writable location, using a temp directory.
  " using a temp directory.".format(ipdir))
Available kernels:
  py3.5      /home/dsp/.local/share/jupyter/kernels/py3.5
  python3    /home/dsp/.local/share/jupyter/kernels/python3
  dfpy3      /usr/local/share/jupyter/kernels/dfpy3
假如我现在anaconda默认的是python3,我还有一个python2的自定义的环境,命名为myPython2。打开jupyter notebook发现只有python3可用,而我想使用myPython2这个环境却找不到。

    首先,在anaconda中切换到myPython2环境下,确认是否安装了ipykernel这个包,如果没有则安装。
    然后,在这个环境下输入一下命令

# xxx是在jupyter中显示的名字,建议使用环境的名字,但是不一样也没关系
# 我这里和环境名字一样,使用myPython2这个名字
python -m ipykernel install --name XXXX

    然后启动jupyter,会发现现在有了myPython2这个选项了!

eg:
(tensorflow_py3.5) dsp@dsp:/media/dsp/Ran-学习/Github/Kaggle-Action/Iceberg_Classifier_Challe
nge$ python -m ipykernel install --name tensorflow_py3.5
[Errno 13] Permission denied: '/usr/local/share/jupyter/kernels/tensorflow_py3.5'
(tensorflow_py3.5) dsp@dsp:/media/dsp/Ran-学习/Github/Kaggle-Action/Iceberg_Classifier_Challe
nge$ sudo python -m ipykernel install --name tensorflow_py3.5
[sudo] password for dsp:
Installed kernelspec tensorflow_py3.5 in /usr/local/share/jupyter/kernels/tensorflow_py3.5
-
具体的操作还没弄明白,运行有错,待解决!
-
在有
ipynb文件夹目录下打开cmd,输入juptter notebook,命名行如下,且后台输出

-
浏览器输出

C/C++基本语法学习
STL
C++ primer


