APatch 安装(全能 ROOT 解决方案)
准备 :
boot.Img
APatch
adb 和 fastboot 环境
插件:
ZygiskNext
LSPosed
我需要准备 crosshatch-sp1a.210812.016.c2 的 boot.img(没有的话可以提取,也可以直接下载对应的 boot.img)。

# 上传 boot.img 到 sdcard/Download
➜  ~ adb push /Users/c/android/crosshatch-sp1a.210812.016.c2/image-crosshatch-sp1a.210812.016.c2/boot.img  sdcard/Download
/image-crosshatch-sp1a.210812.016.c2/boot.img: 1... 0 skipped. 71.4 MB/s (67108864 bytes in 0.897s)
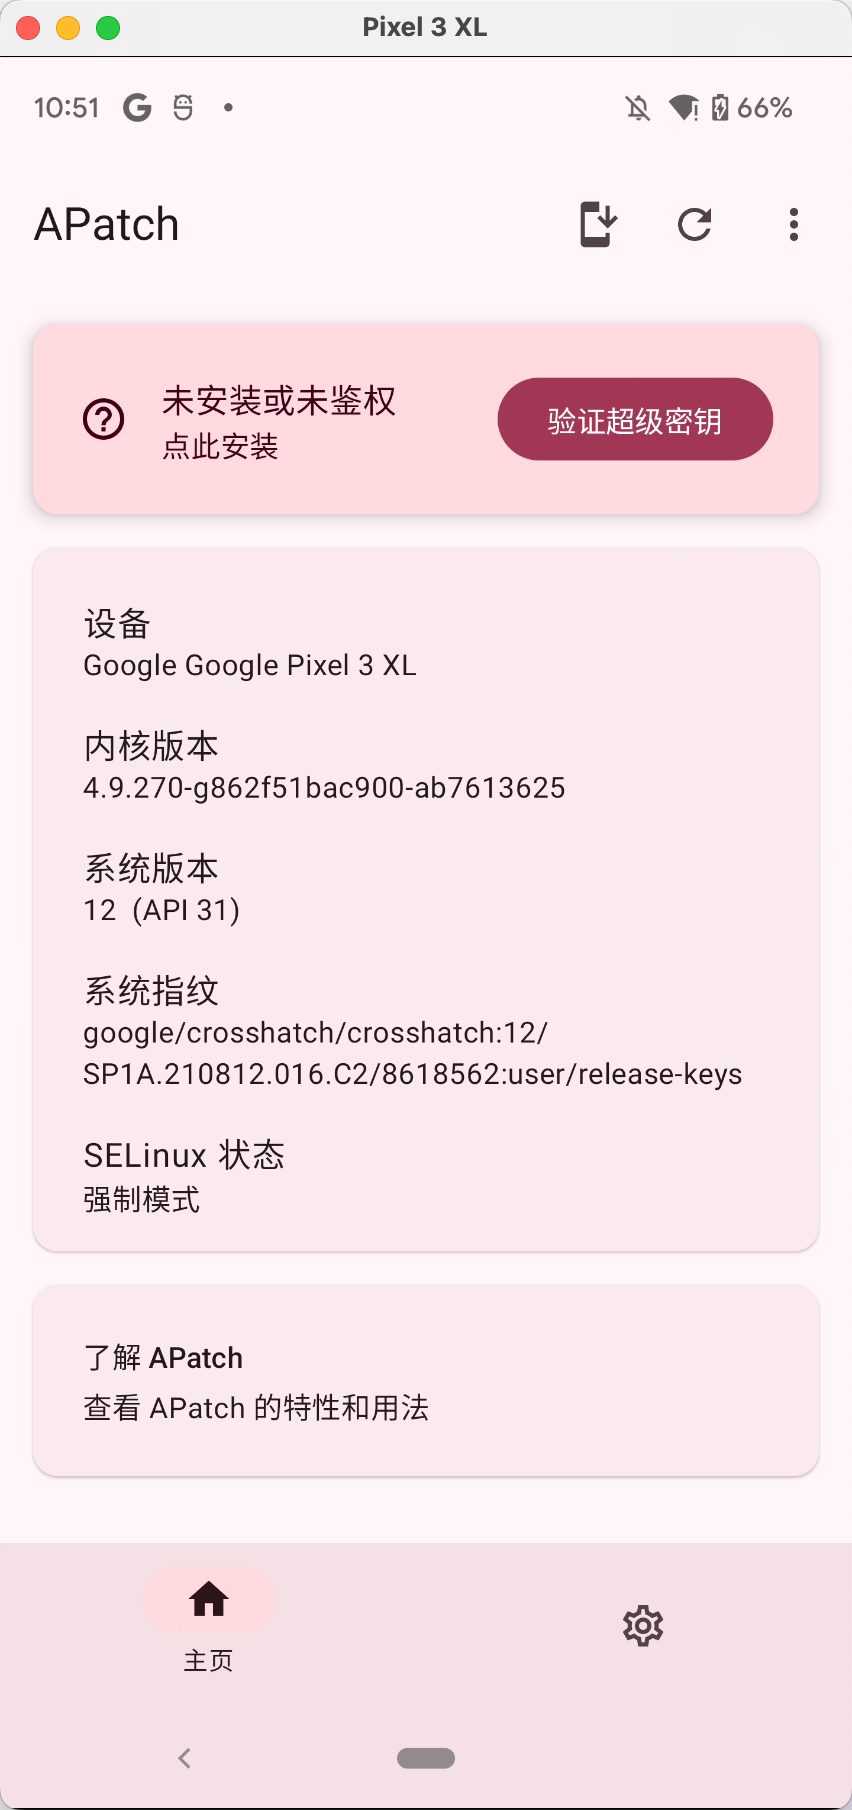
安装 APatch.apk ,找到下图位置安装 boog.img,点击选择一个镜像并修补,找到 sdcard/Download 下的 boot. Img。


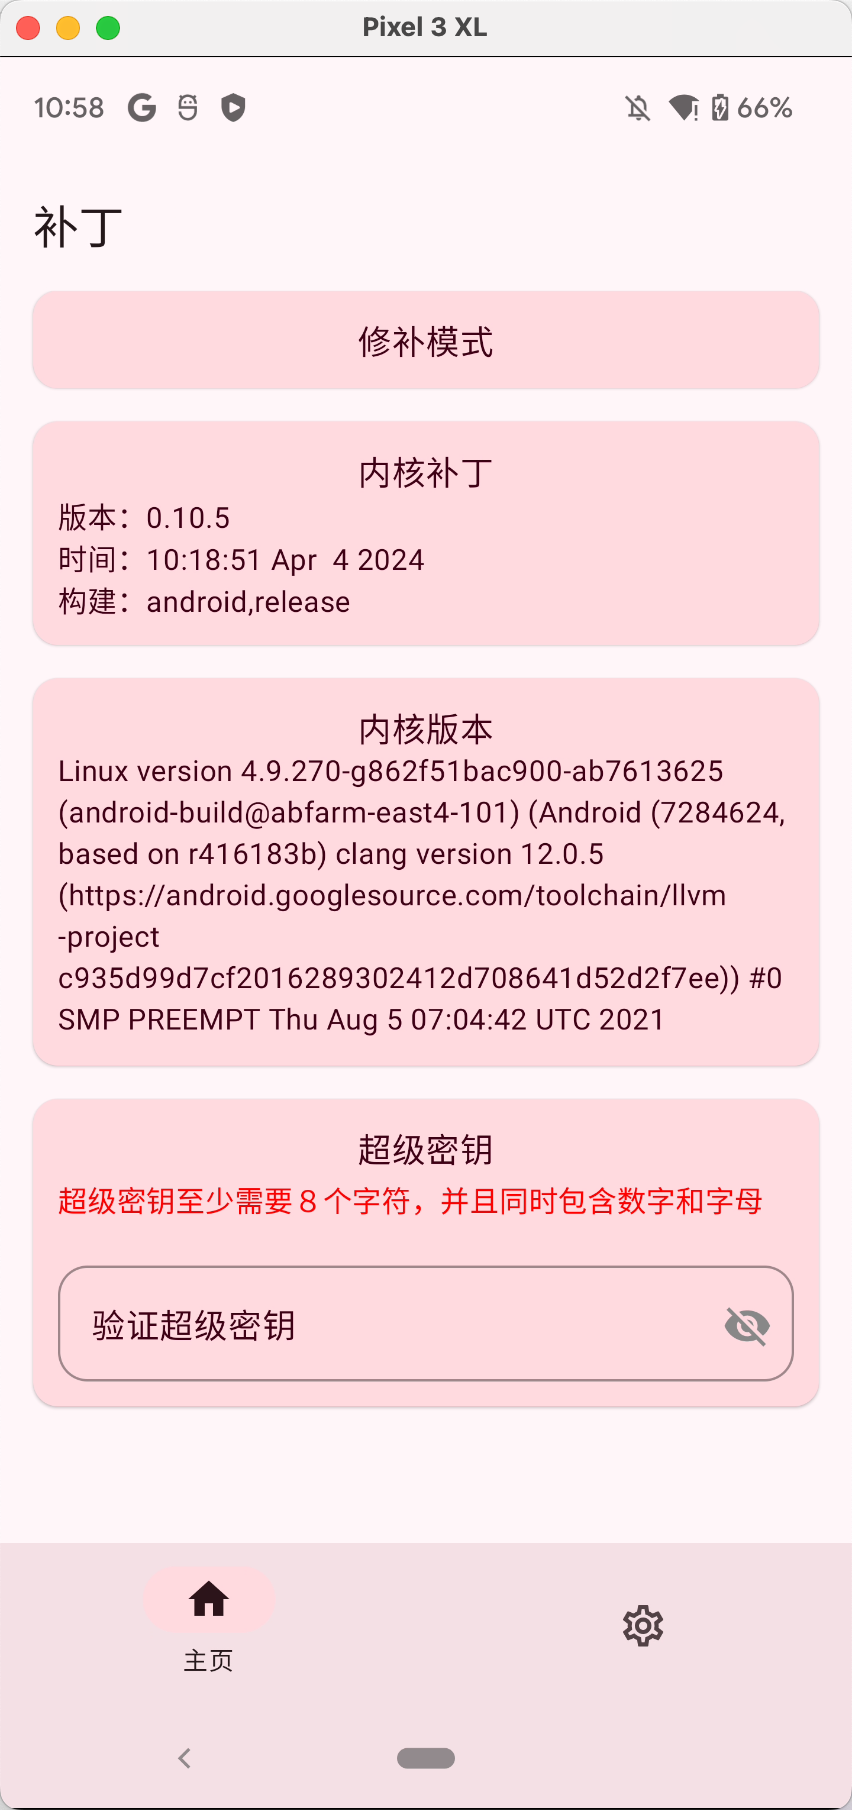
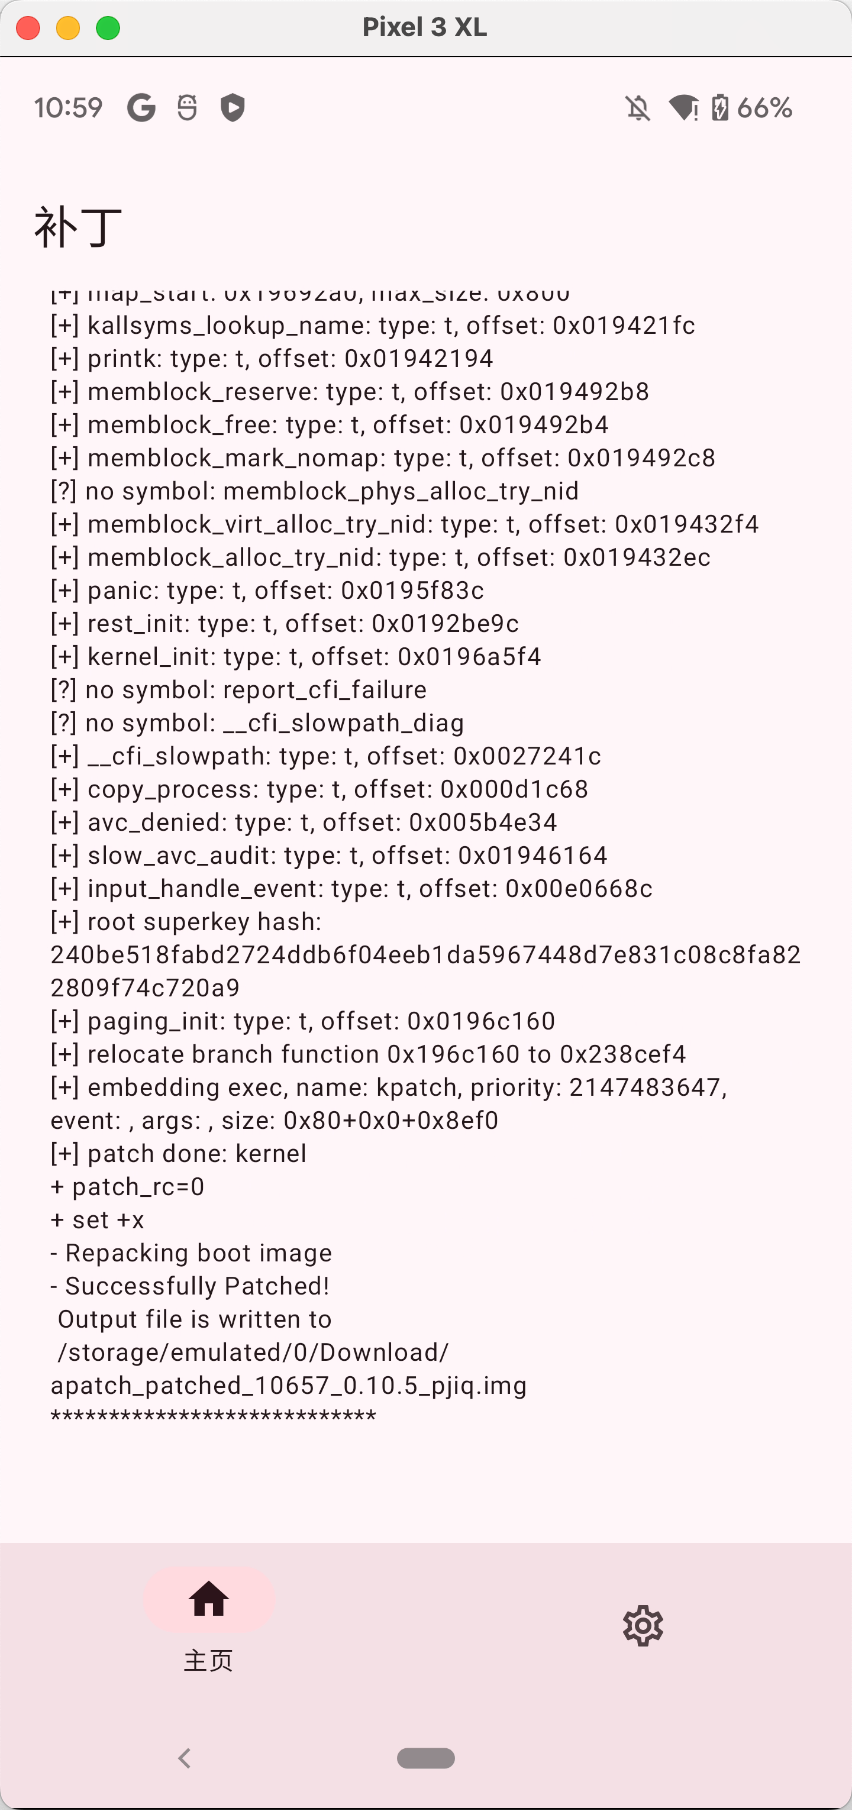
设置超级密钥,点击开始修补,修补完成后会生成 apatch_patched 开头的文件。

修补后找到上面路径的文件,导入到电脑。
# 上传 apatch_patched 文件到电脑
➜  ~ adb pull /storage/emulated/0/Download/apatch_patched_10657_0.10.5_pjiq.img /Users/c/android
/storage/emulated/0/Download/apatch_patched_1065... 0 skipped. 37.4 MB/s (67108864 bytes in 1.711s)

# 重启进入 fastboot 模式
➜  ~ adb reboot bootloader

➜  ~ fastboot devices
8AJY0LU0Q	fastboot

# 刷入 apatch_patched
➜  ~  fastboot flash boot /Users/c/android/apatch_patched_10657_0.10.5_pjiq.img
Sending 'boot_a' (65536 KB)                        OKAY [  1.720s]
Writing 'boot_a'                                   OKAY [  0.316s]
Finished. Total time: 2.365s

# 重启
➜  ~ fastboot reboot
Rebooting                                          OKAY [  0.079s]
Finished. Total time: 0.080s
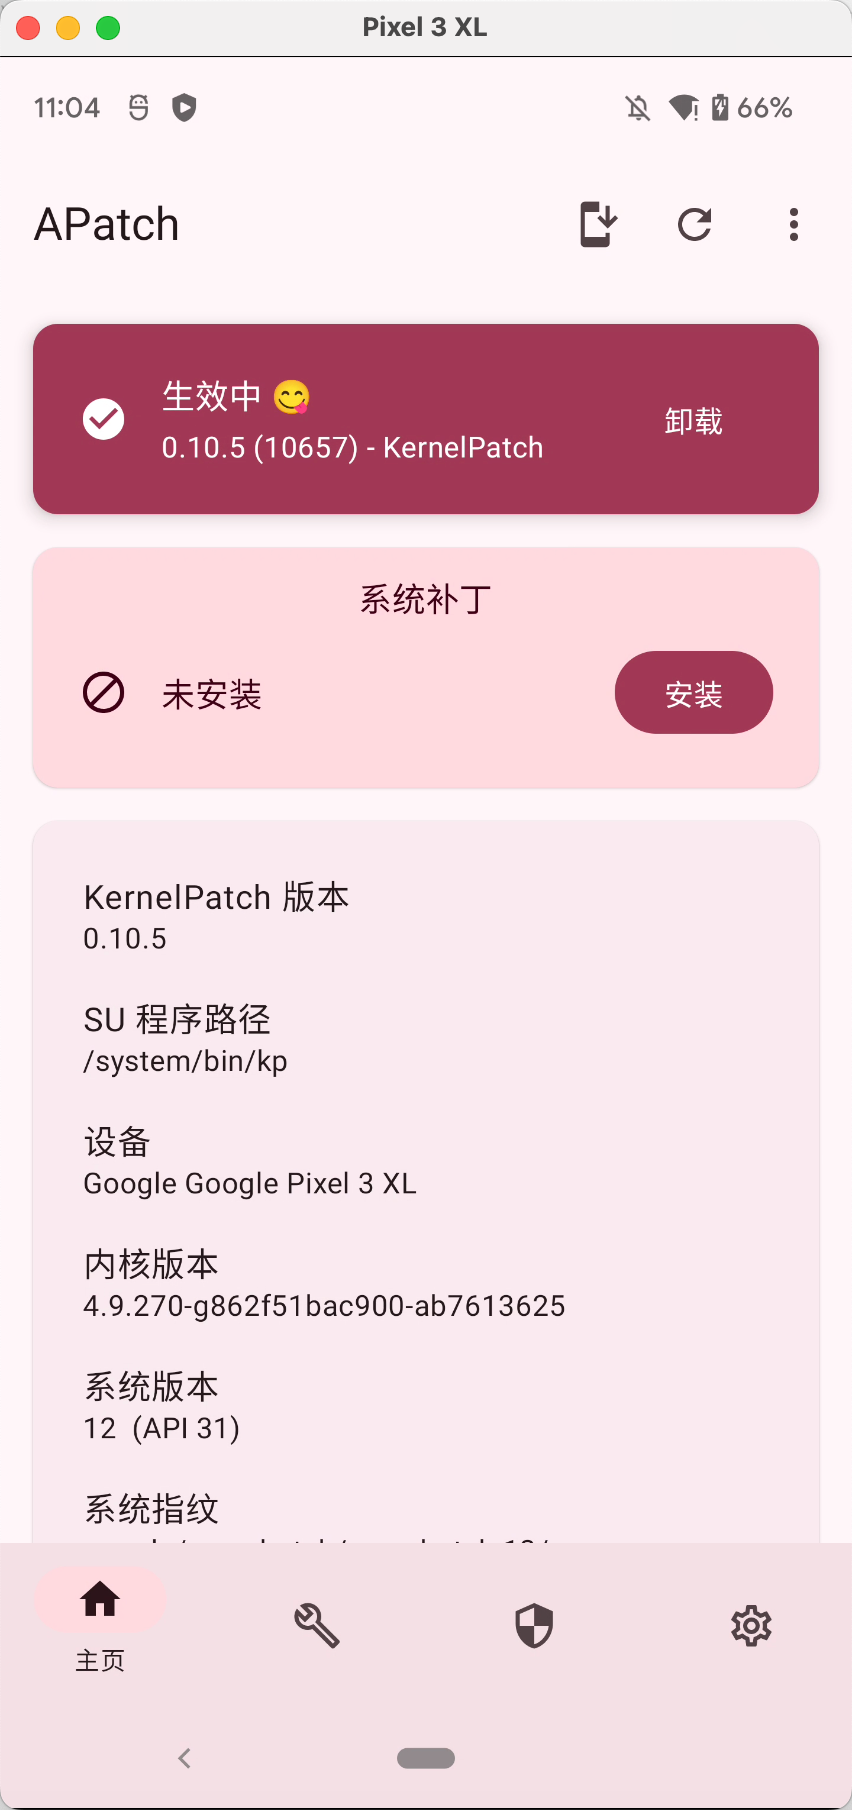
开机后,打开 apatch ,输入超级密钥安装系统补丁

启动 apatch 软件后,点击安装,自动安装系统补丁。在系统模块位置可安装 Zygisk-Next 和 LSPosed。
➜  ~ adb push /Users/c/android/Zygisk-Next-1.0.4-292-b36a0ad-release.zip  sdcard/Download
/Users/c/android/Zygisk-Next-1.0.4..., 0 skipped. 61.9 MB/s (1760639 bytes in 0.027s)
➜  ~ adb push /Users/c/android/LSPosed-v1.9.2-7024-zygisk-release.zip sdcard/Download
/Users/c/android/LSPosed-v1.9.2-7024..., 0 skipped. 30.9 MB/s (160639 bytes in 0.02s)

逆水行舟,不进则退。


 浙公网安备 33010602011771号