CUDA学习1 在Visual Studio和CodeBlocks上配置
1. Visual Studio
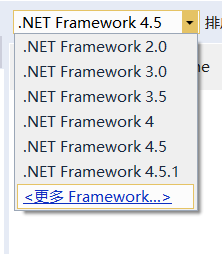
在Windows系统上安装vs(先)和cuda(后),就能在vs中新建cuda项目,新建之后可以直接运行。

如果下拉列表没有.NET 3.5,可能需要在Windows系统中启用它以正常运行示例。
2.CodeBlocks
点击菜单栏上的Settings --> Compiler;
在上方的Selected compiler中,选择“GNU GCC Compiler”(一般默认),然后点击下面的Copy按钮;
输入新compiler名;
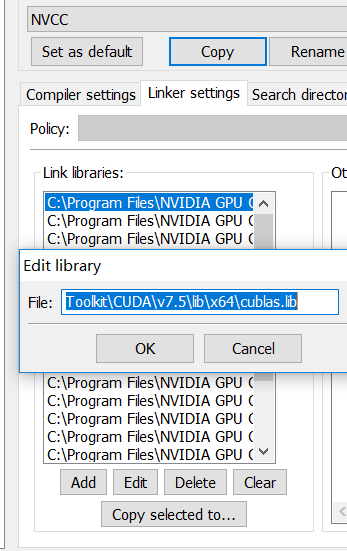
在Linker settings中加入CUDA lib;
在Search directories中加入相应版本的include文件夹,如C:\Program Files\NVIDIA GPU Computing Toolkit\CUDA\v7.5\include;
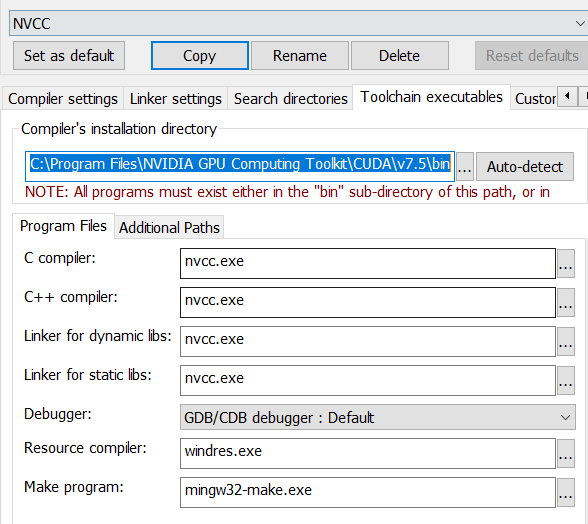
在Toolchain executables中选择bin文件夹,compiler输入nvcc.exe;
在Other settings中点击Advanced options,确认(YES)进入;
- 替换第一个选项卡中的 Command line macro 为 $compiler --compiler-options "$options" $includes -c $file -o $object
- 到 Output parsing 选项卡
- 选择 'Instantiated from' info 改为 ([][{}() #%$~A-Za-z0-9_:+/\.-]+)[(:]([0-9]+)\)?:[ ]+([iI]nstantiated from .*)
- 选择 Compiler warning 改为 ([][{}() #%$~A-Za-z0-9_:+/\.-]+)[(:]([0-9]+)\)?:[ ]([Ww]arning:[ ].*)
- 选择 Compiler error 改为 ([][{}() #%$~A-Za-z0-9_:+/\.-]+)[(:]([0-9]+)\)?:[ ](.*)
选择菜单栏上的Project --> Project tree --> Edit file types & categories;
- 点击Add按钮
- 输入类别名,如“CUDA sources”
- 在下面的fire masks中输入: *.cu
在项目中添加cu文件后,右键文件名,在Build选项卡中勾选Compile file和Link file,即可编译运行。
参考链接:http://benbarsdell.blogspot.com/2009/03/cuda-in-codeblocks-first-things-second.html


 浙公网安备 33010602011771号